-

Thypoch Simera 28mm f1.4 Review & Sample Photos
Following the release of their 35mm, Thypoch has quickly established itself not just as another third-party alternative, but as a serious contender in the M-mount space. While the Thypoch Simera 75mm f1.4 is a masterclass in portrait compression and bokeh,…
No comments on Thypoch Simera 28mm f1.4 Review & Sample Photos
-

Thypoch KSANA 21mm f3.5 Review & Sample Photos
Following the successful release of Simera primes, Thypoch has expanded to the Ksana line with a more compact, slower ultra-wide. This review of the Thypoch KSANA 21mm f3.5 focuses on how this lens balances modern high-resolution optics with the tactile,…
-

Viltrox Z2 Flash Review & Sample Street/Lifestyle Photos
Viltrox is rewriting the script on compact lighting. While their larger flashes, like the Spark Z3, are about robust features and “cyberpunk” aesthetics, the newly released Viltrox Z2 takes a more minimalist approach. This ultra-pocketable unit trades raw power for…
-

Fujifilm X-E5 Review: Their Best Camera So Far
The Fujifilm X-E5 has always been a relatively niche camera in the Fujifilm lineup, and it’s never really gotten the attention it deserves. Part of that is because the older version of this camera always felt much more limited than…
-

Adapt Leica M-Mount Lenses to Fujifilm (The Right Way)
The Fujifilm X-Series is built around the philosophy of tactile, analog-style shooting. With physical dials and film simulations, these cameras practically beg you to slow down. But as Fujifilm’s modern sensors have evolved, they can sometimes render images with a…
-
Viltrox TCL-X100VI Review | A Budget-Friendly 50mm Upgrade
The Fujifilm X100 series has always thrived on the constraints of its fixed 23mm lens. But with the X100VI’s high-resolution 40MP sensor, photographers are cropping more than ever to achieve that standard 50mm “human eye” look. While digital zooming is…
-

Thypoch Simera 75mm f1.4 Review & Sample Photos
When a new manufacturer steps into the M-mount arena with an ambitious focal length like a 75mm f1.4, they are entering a space defined by some of the greatest lenses ever made. You’re competing against the legendary Summilux and the…
-

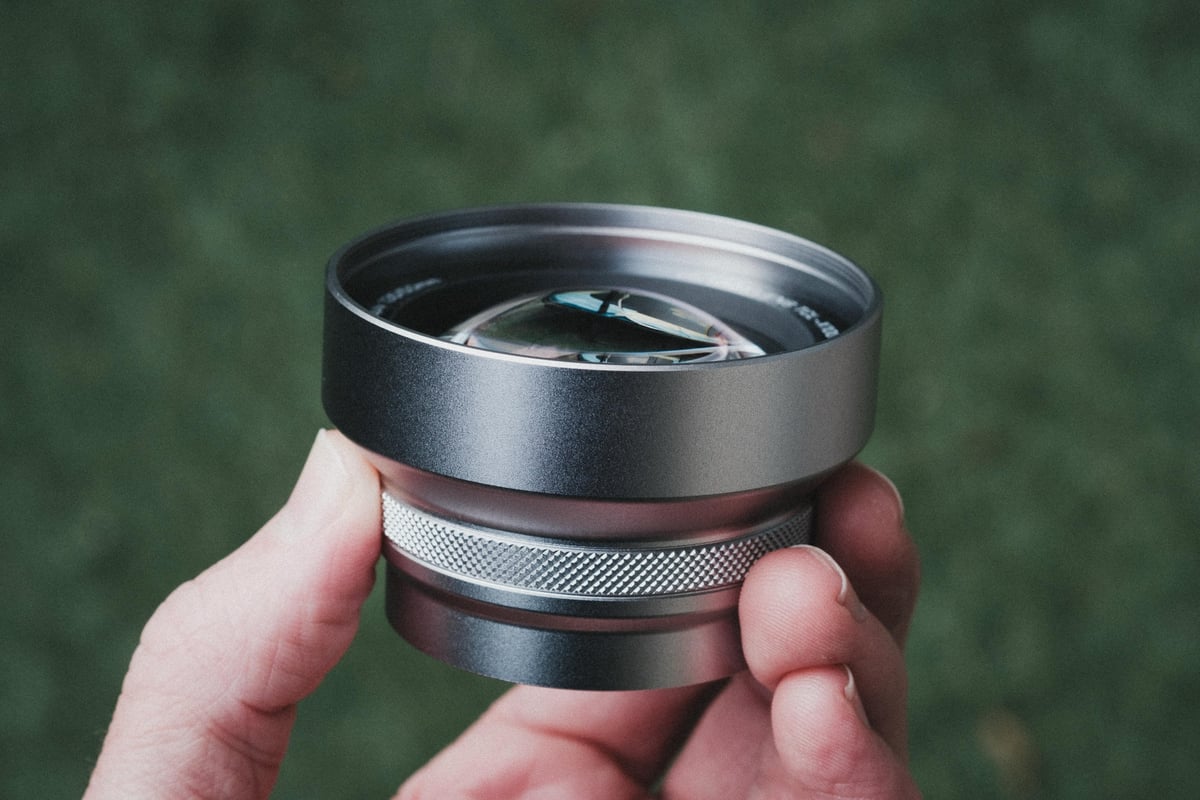
Viltrox WCL-X100VI Review | A Budget-Friendly 28mm Upgrade
The Fujifilm X100 series has always been about the “one camera, one lens” philosophy. But as we’ve seen with the jump to the 40MP sensor in the X100VI, that “one lens” is being asked to do more than ever. While…
Latest Posts
Featured Posts
-

Nikon Z 50mm f1.8 S Lens Review & Sample Photos
-

Nikon Z 40mm f2 Review | The New Compact King
-

Nikon Z 35mm f1.4 vs 35mm f1.8 S – Sample Images
-

Nikon Z 28mm f2.8 Review & Sample Photos
-

Nikon Z 26mm f2.8 Review – A Little Miracle
-

Nikon Z 85mm f1.8 S Review & Sample Photos
-

Nikon Z 50mm f1.4 Review & Sample Photos
-

Micro-Contrast, Is It Real? – Samples With Lens Comparisons