The Sony A7S III is arguably the most capable mirrorless video camera ever made. However, out of the box, it’s a bare-bones tool. To unlock its full potential—especially for 4K 120p recording and professional audio—you need a specific kit of accessories.
In this guide, we break down the “must-haves” into functional categories and share pro tips for using them to improve your workflow.
Table of Contents
1. Memory Cards: The Key to Unlocking 4K 120p
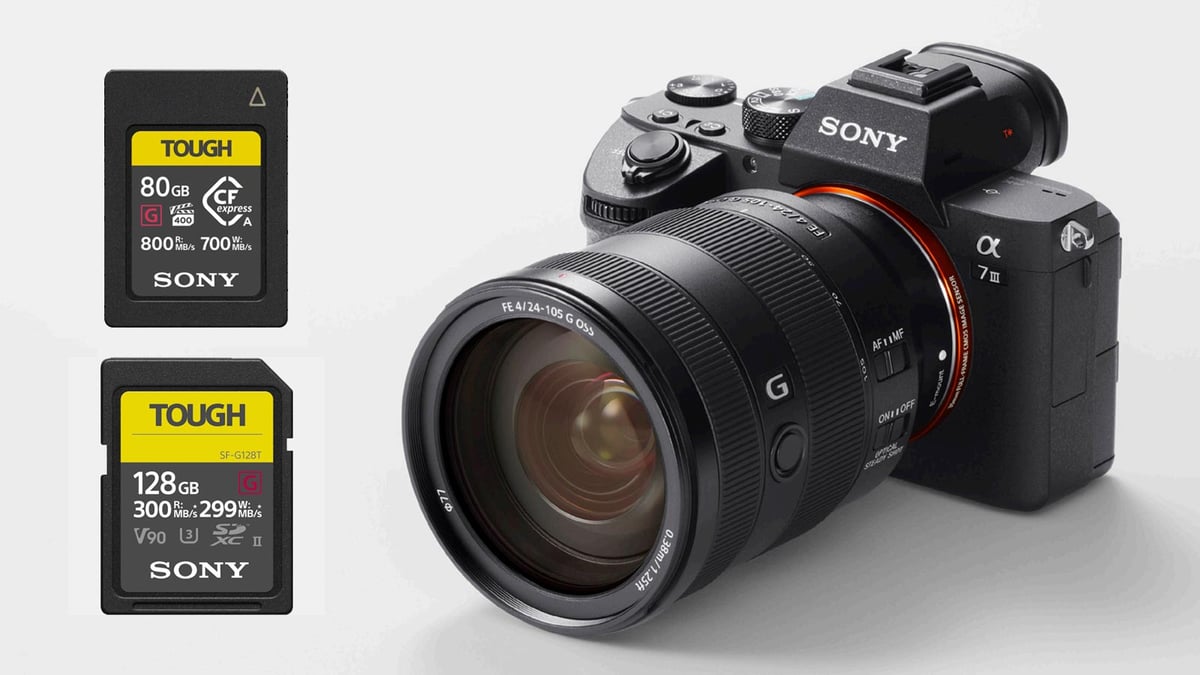
The A7S III features dual slots that accept both UHS-II SD cards and CFexpress Type A cards. Your choice of media dictates which internal codecs you can use.
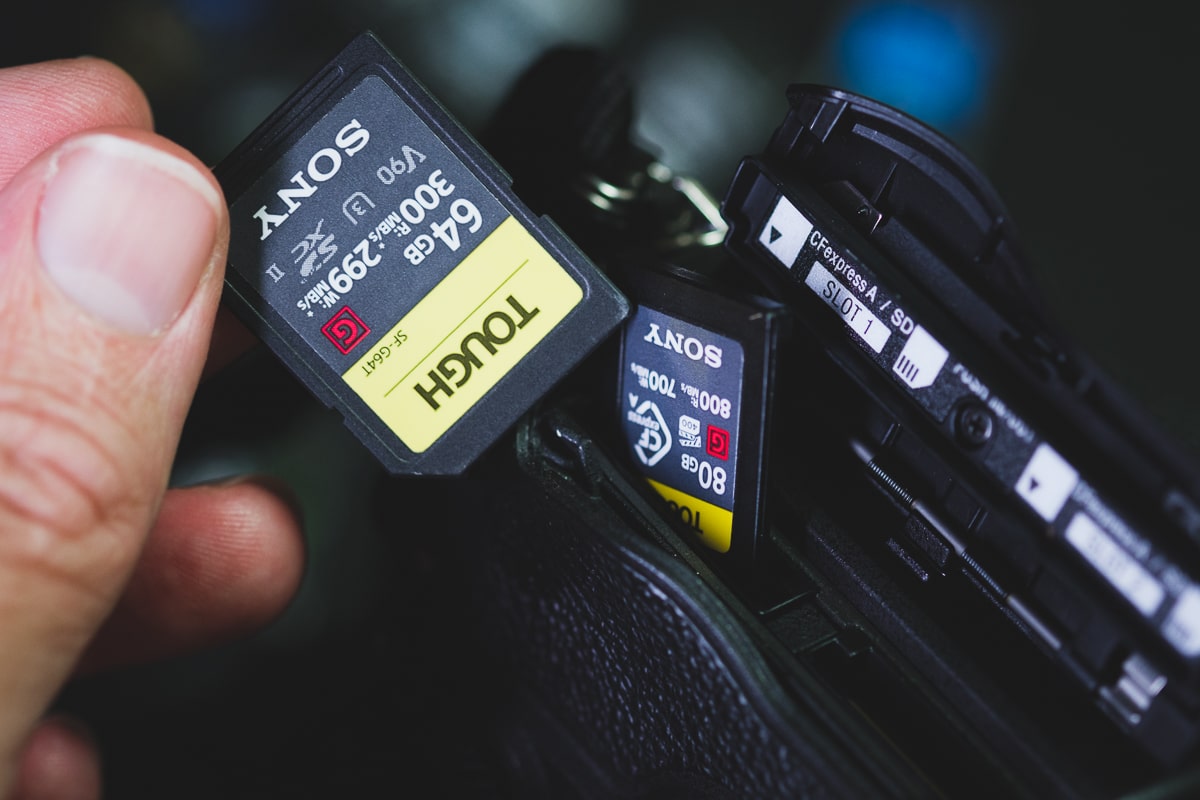
- The “Pro” Choice: Sony Tough CFexpress Type A. These are the only cards that allow you to record in XAVC S-I (All-Intra) at high frame rates. If you need the highest bitrates for color grading, this is mandatory.
- The Budget Choice: V60 UHS-II SD Cards. Excellent for 4K 60p with H.265 encodings. But for higher bitrates like 600 Mbps or S&Q slomo, CFexpress Type-A cards offer better value and performance.
Deep Dive: Choosing the right media can be confusing, given the A7S III’s bitrate requirements. For a complete breakdown of speed tests and brand reliability, check out my Sony A7S III Memory Card Guide.
2. Power Solutions: Shooting All Day
While the NP-FZ100 battery is a huge improvement over older Sony generations, 4K video is a power hog.
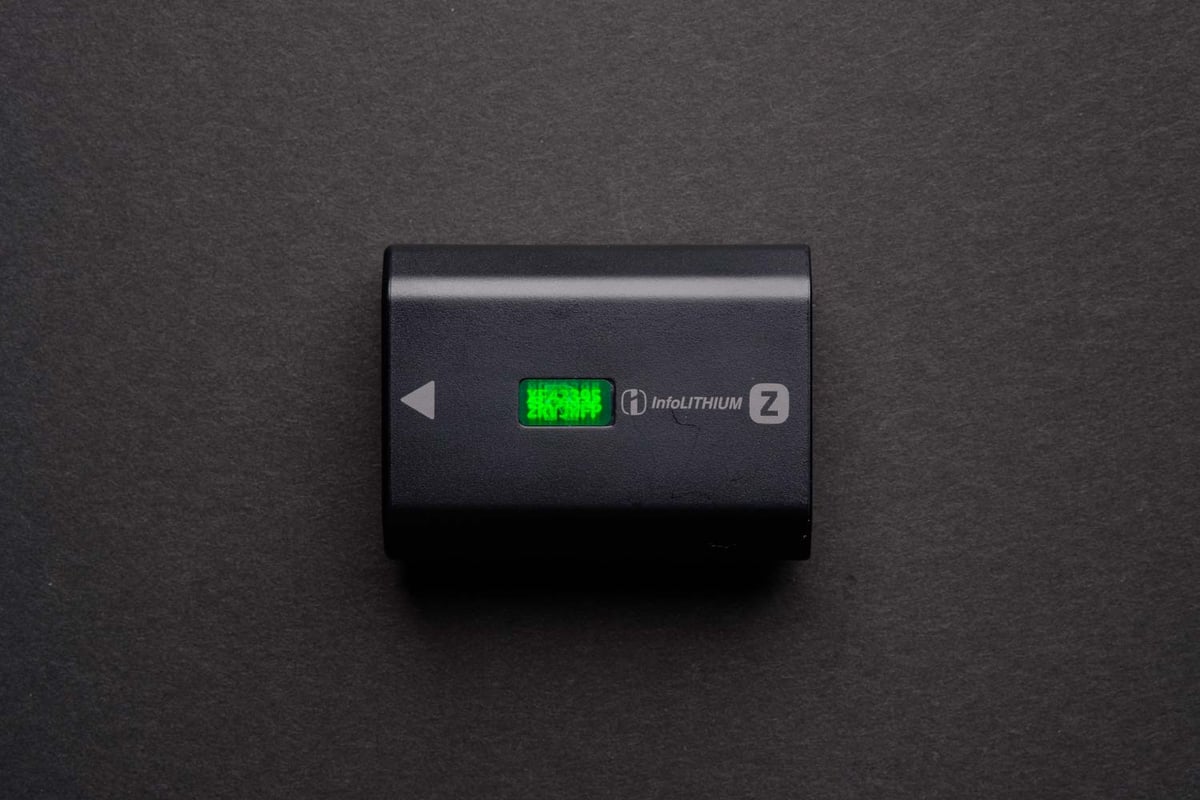
- Official Sony NP-FZ100: Always keep at least three. Third-party batteries often trigger a “warning” pop-up on the A7S III screen.
Available At: Amazon / B&H
- Wasabi Third-Party Batteries: Wasabi sells the best third-party batteries for Sony cameras. These batteries use a decoded chip, so the cameras will see them as authentic. It is rated at 7.2V with 2000mAh, which is slightly less than the official batteries.
Available At: Amazon
- USB-C PD (Power Delivery): The A7S III can be powered via its USB-C port.
Pro Tip: For long studio sessions or interviews, use a USB-C PD Wall Charger. As long as it provides at least 9V/3A, the camera will run indefinitely without draining the internal battery.
3. Audio: From Shotguns to Wireless Systems
The A7S III’s “secret weapon” is its Digital Multi Interface (MI) Shoe. While you can use any mic with a 3.5mm cable, a Sony digital mic offers a cable-free, battery-free setup with incredibly low floor noise.
- The Pro Shotgun: Sony ECM-B1M. This is the flagship digital shotgun. It uses eight high-performance mic capsules and digital signal processing to give you three selectable pickup patterns (Super-directional, Unidirectional, and Omnidirectional) all in one compact unit.
Available At: Amazon / B&H
- The Digital Wireless: Sony ECM-W3. For those who prefer a lapel mic, this dual-channel wireless system plugs directly into the MI shoe. No cables are needed to connect the receiver to the camera, keeping your rig clean.
Available At: Amazon / B&H
- The 32-Bit Float King: DJI Mic 2. While not a native Sony, you can use an MI Shoe adapter to run this digitally. It’s the most popular choice for creators who want the safety of 32-bit float internal recording so their audio never “clips.”
Available At: Amazon / B&H
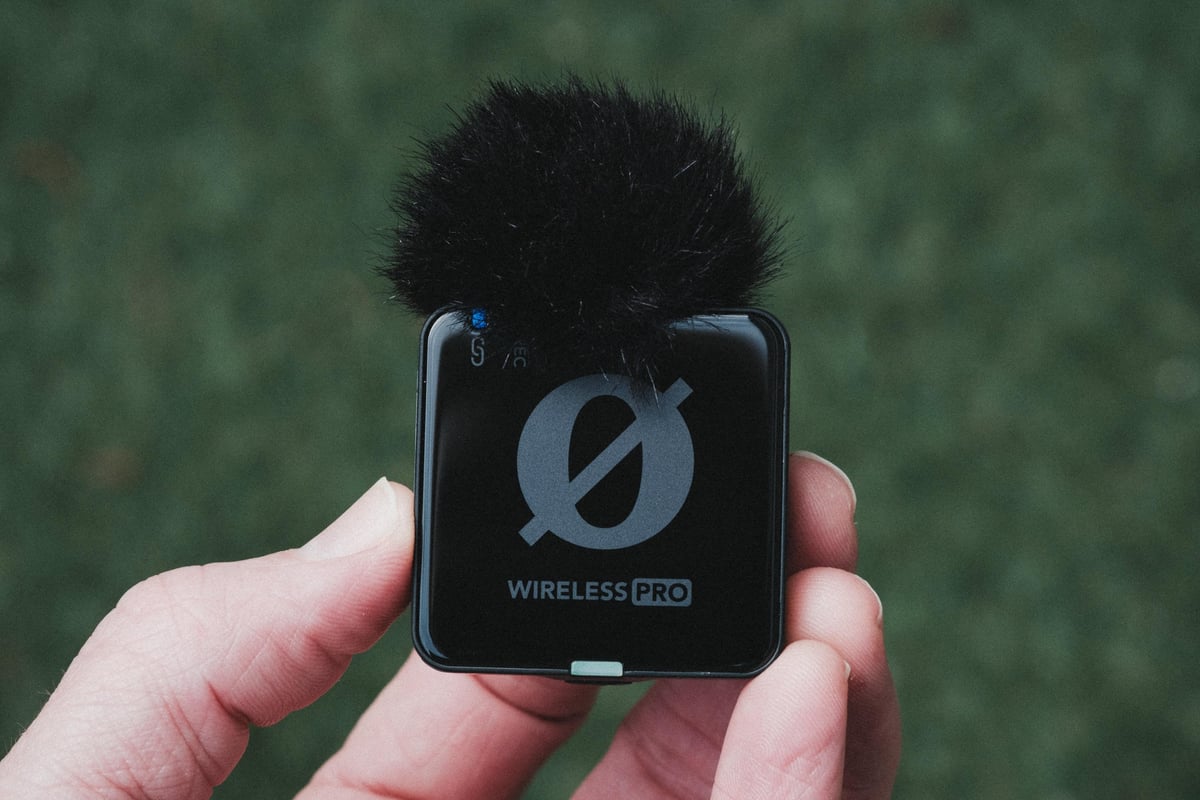
- The Top Pick: Rode Wireless Pro. This is widely considered the best all-around kit for the A7S III. It features 32-bit floating-point internal recording, which means you can recover audio even if your subject suddenly starts screaming or whispering. This is what I own and absolutely love it.
Available At: Amazon / B&H
Pro Tip: When you slide a digital mic into the A7S III shoe, look for the “Shoe Audio Set” in the menu. You can toggle between 2-channel and 4-channel recording. If you’re using the XLR-K3M adapter, you can actually record four channels of audio simultaneously (e.g., two XLR inputs plus the internal stereo mics as a backup).
4. Protection & Ergonomics: The Camera Cage

- Full Camera Cage: Brands like SmallRig or Tilta are essential. The A7S III is small; a cage adds “heft” for stability and provides mounting points for mics and monitors.
Available At: B&H
- Screen Protector: The A7S III finally got a flip-out screen—protect it immediately with a tempered glass protector.
Available At: B&H
5. External Monitoring: The “Director’s” View
Atomos Ninja V/V+: While the flip screen is great, a 5-inch external monitor is vital for checking focus.
Bonus: The Ninja V lets you record ProRes RAW over HDMI, offering even more flexibility in post-production.
6. Straps & Carry: Security for Heavy Rigs
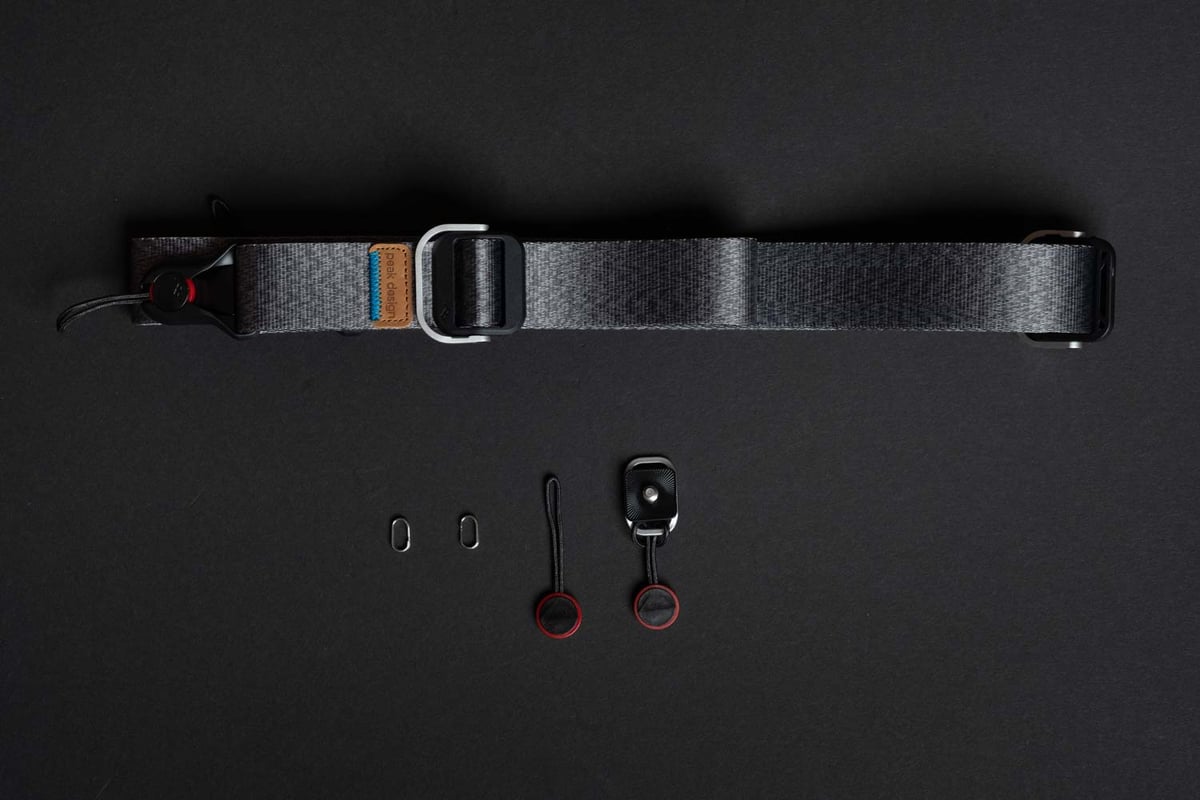
- Peak Design Slide / Slide Lite: The “Anchor Link” system is a game-changer. It allows you to switch from a neck strap to a wrist strap, or remove it entirely for tripod work, in seconds.
Available At: Amazon
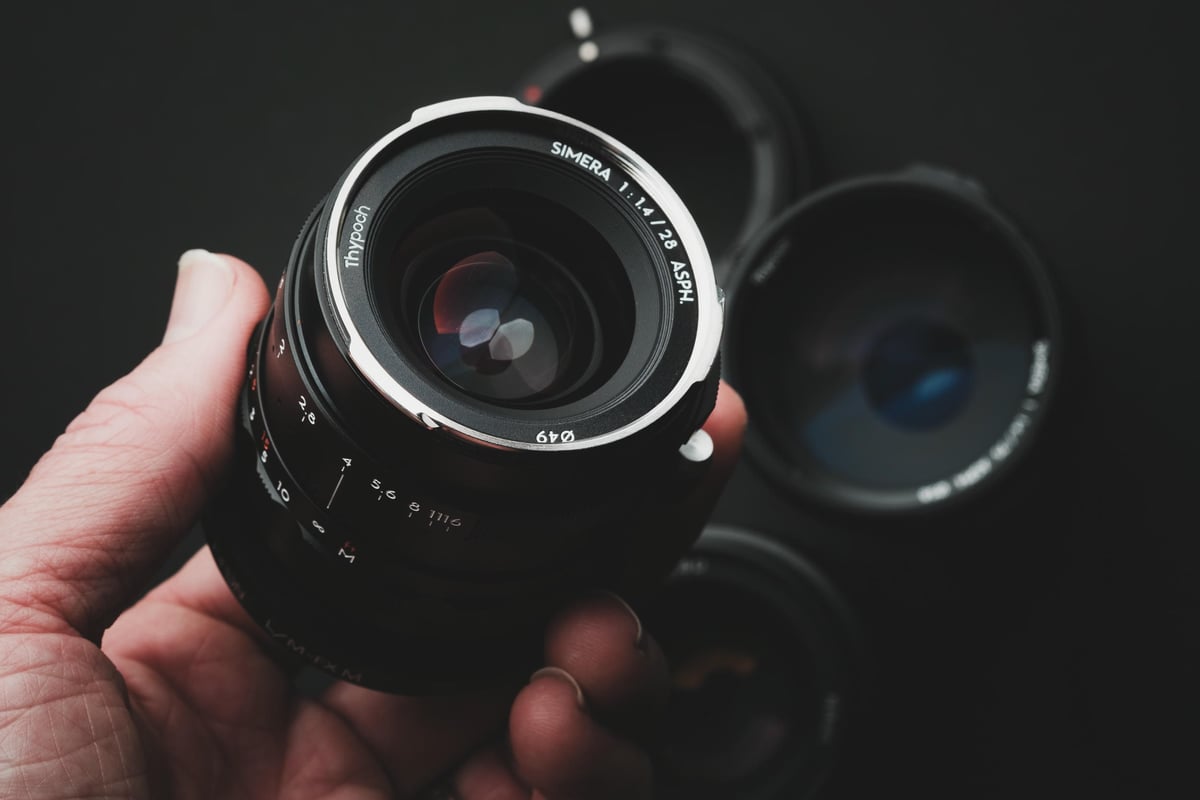
Lens Adapters: Using Vintage or EF Glass
- Sony LA-EA5: Perfect if you have old A-mount glass like those old Minolta lenses you want to bring into the mirrorless era.
Available At: Amazon / B&H
- Sigma MC-11 (EF to E): If you are coming from Canon, this adapter makes your EF lenses feel almost native on the A7S III.
Available At: Amazon / B&H
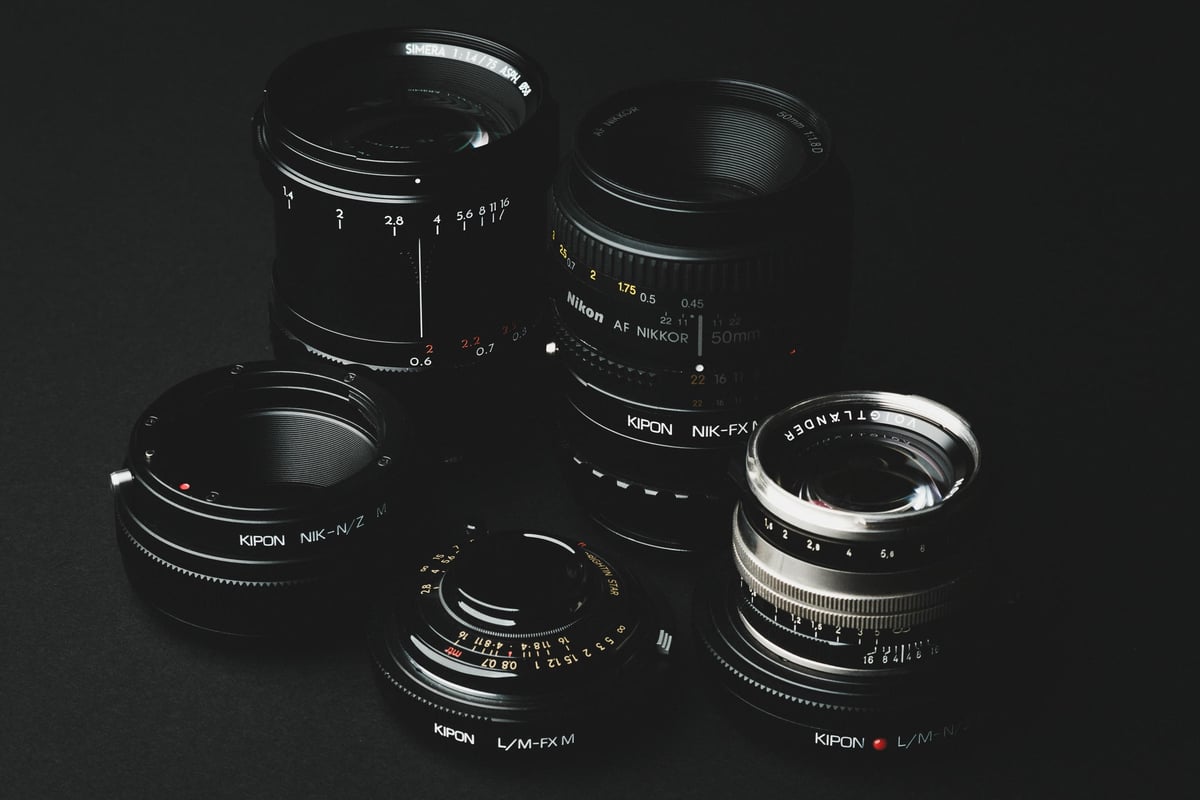
- Kipon M Adapter with Helicoid – Includes a close focus Helicoid adjustment.
Available At: B&H


Leave a Reply