
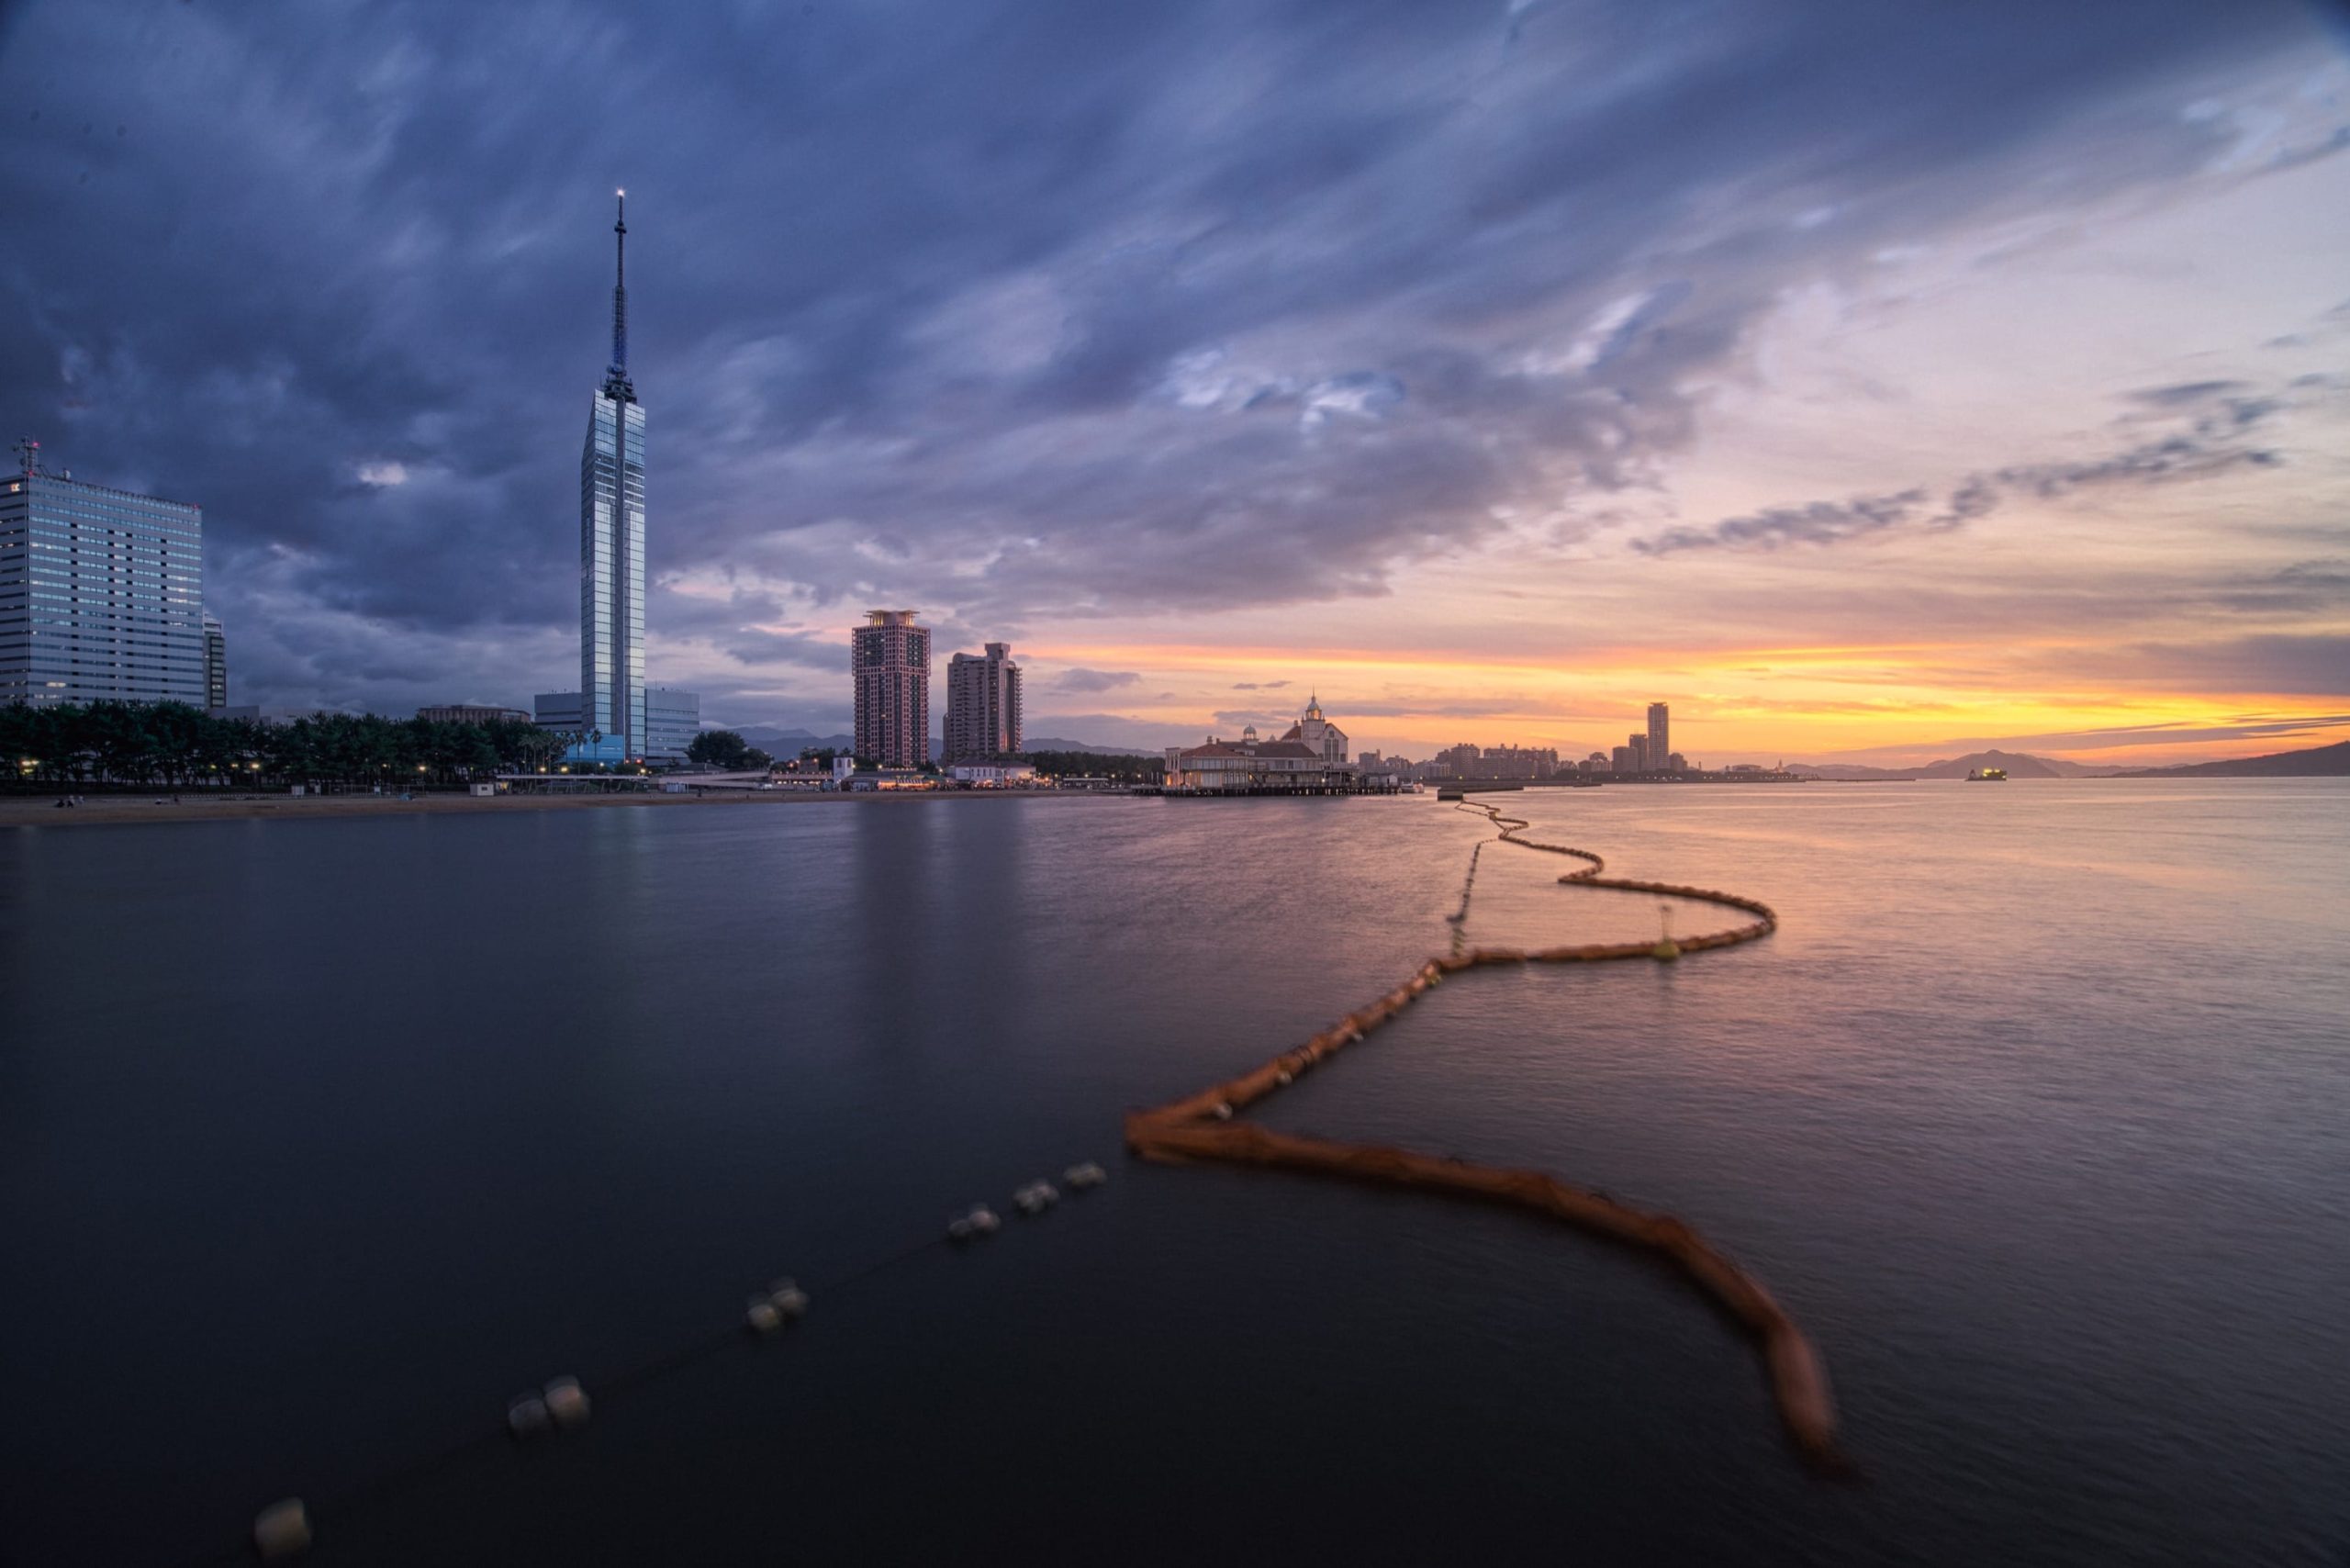
Now that I’m not working two jobs here in Japan, I’ll hopefully have a little more time to post some more photos and tell some more stories. This shot is from out on a Jetty near the Fukuoka Tower. It was the one nice day we had sandwiched between two brutal storms.
We were lucky. The rivers all around us were on the brink of overflowing and many of the neighbor towns had to evacuate. We live in a giant apartment complex that could probably withstand a tsunami so we didn’t have too much to worry about, but as the rivers all around us started filling up and our phones continued beeping with alerts about evacuations for areas near us, we were still a bit nervous. It never let up from relentless pouring rain.
Anyway, now that I’m shooting more landscapes, I’m starting to get back into the rhythm, man am I rusty. I’m trying to find the fastest and best workflow using different software for different tasks.
My Landscape Workflow
Lightroom To AuroraHDR To Photoshop
Import all photos into Lightroom for organization purposes. Send shots to AuroraHDR for exposure blending. BTW, if you hate HDR, you can exposure blend your landscapes by hand in AuroraHDR as well.
From Aurora I go to Photoshop.
Here I do some basic adjustments, a little bit of brushing, nothing major. I then make a stamp visible layer and go to Luminar.
This is where the majority of the work happens.
I have four presets I run in Luminar that load different workspaces that are blank.
It goes like this.
Luminar
Preset 1 – Color Adjustments
Here I have all the tools for adjusting the color and tones. Develop, Curves, HSL, Color Contrast and Advance Contrast.
Once that is looking decent, I create a new adjustment layer and load my next workspace preset.
Preset Number 2 – Details
Here I load everything I need to enhance my details.
Detail Enhancer, Microstructure and Structure.
Preset Number 3 – Special Effects
Special Effects has all the effects I sometimes might use.
Orton Effect, Matte Look, Image Radiance, Golden Hour, Sunrays, Soft Glow and Photo Filter.
Once done, I sometimes go back to Photoshop or continue with Preset Number 4.
Preset 4 – Final Adjustments
Here I have some basic filters to do any final tweaks I might need before leaving Luminar. I don’t always use these as Lightroom is much faster at doing most of these effects and the effects are not permanent when using Lightroom.
These filters include, Develop, Saturation / Vibrance, Curves, HSL, Split Toning, Denoise, Detail Enhancer, Sharpening, Grain and Vignetting.
Photoshop
Since I use Photoshop to load Luminar as a plug-in, once I’ve hit Apply in Luminar, this sends me back to Photoshop with a new layer. From here I’ll do some of the heavy color adjustments to create color harmony (something I still suck at), but here I mostly do some sunset enhancements by brushing on some colors. I use photoshop here because I can use solid colors which you can’t use in Luminar, Aurora or Lightroom and I have total control of luminosity masks and layer adjustments where I can mask out the highlights or the shadows.
Finish In Lightroom
Once Photoshop is done, I use Lightroom for my final final adjustments. Sharpness, grain, maybe a gradient filter, maybe a radial filter if the sunset needs some more pop still, or vignette. All those things that are easy to change in the future. I don’t do these things in Photoshop because I like to flatten or at least reduce my Photoshop files when I’m done so I’m not left with single comps that are gigabytes big. So Lightroom doesn’t add file size and is very quick in this regard and it allows me to program in the photos metadata.
If I post my photos to Instagram, there in Instagram I do a few more adjustments to make it look good on the phone or in a 1×1 crop. This usually includes a Fade maybe at 20, a ton of Sharpness, and a few adjustments to Exposure, Shadows, Highlights and Contrast.
That’s my current workflow, hopefully it helps you out.


Leave a Reply