The Nikon Z8 has quite a few upgrades over the previous generation of their mirrorless cameras. One of the big upgrades that I noticed almost immediately is the improved color balance, white balance, and auto exposure. It’s just in a whole different class than what we saw in the Nikon Z6 and Z7 cameras.
In this article, I wanted to post some straight-out-of-camera samples and some edited samples and talk about my user experience dealing with the new color, the noise, and the different settings that control the image quality. I’m coming from a Z6, so it’s possible some of these features were in some other cameras I’m not aware of.
Nikon Z8 – Amazon / Adorama / B&H
Also, see my Nikon Z8 Accessories List.
Improved Color Science
We saw this mentioned a little with the Z9 release, but it’s mostly been left out of the Z8 release and rarely mentioned in other reviews.
Color science is more than just the hue of different colors arranged with luminance and saturation. It also has to do with balancing colors with different light sources or in mixed lighting. Auto exposure and auto white balance can also have a huge impact on the look as well. As an example, the Z8 also does something different with highlight roll-off while boosting saturation at those near-clipping bright levels that I found in the Nikon Z8 ISO comparison charts.
Here are some samples of the improved Color Science of the Nikon Z8.
I’ll start with some straight-out-of-camera looks. These are the RAW profiles from Lightroom, which will be slightly different than the actual JPGs the camera renders.
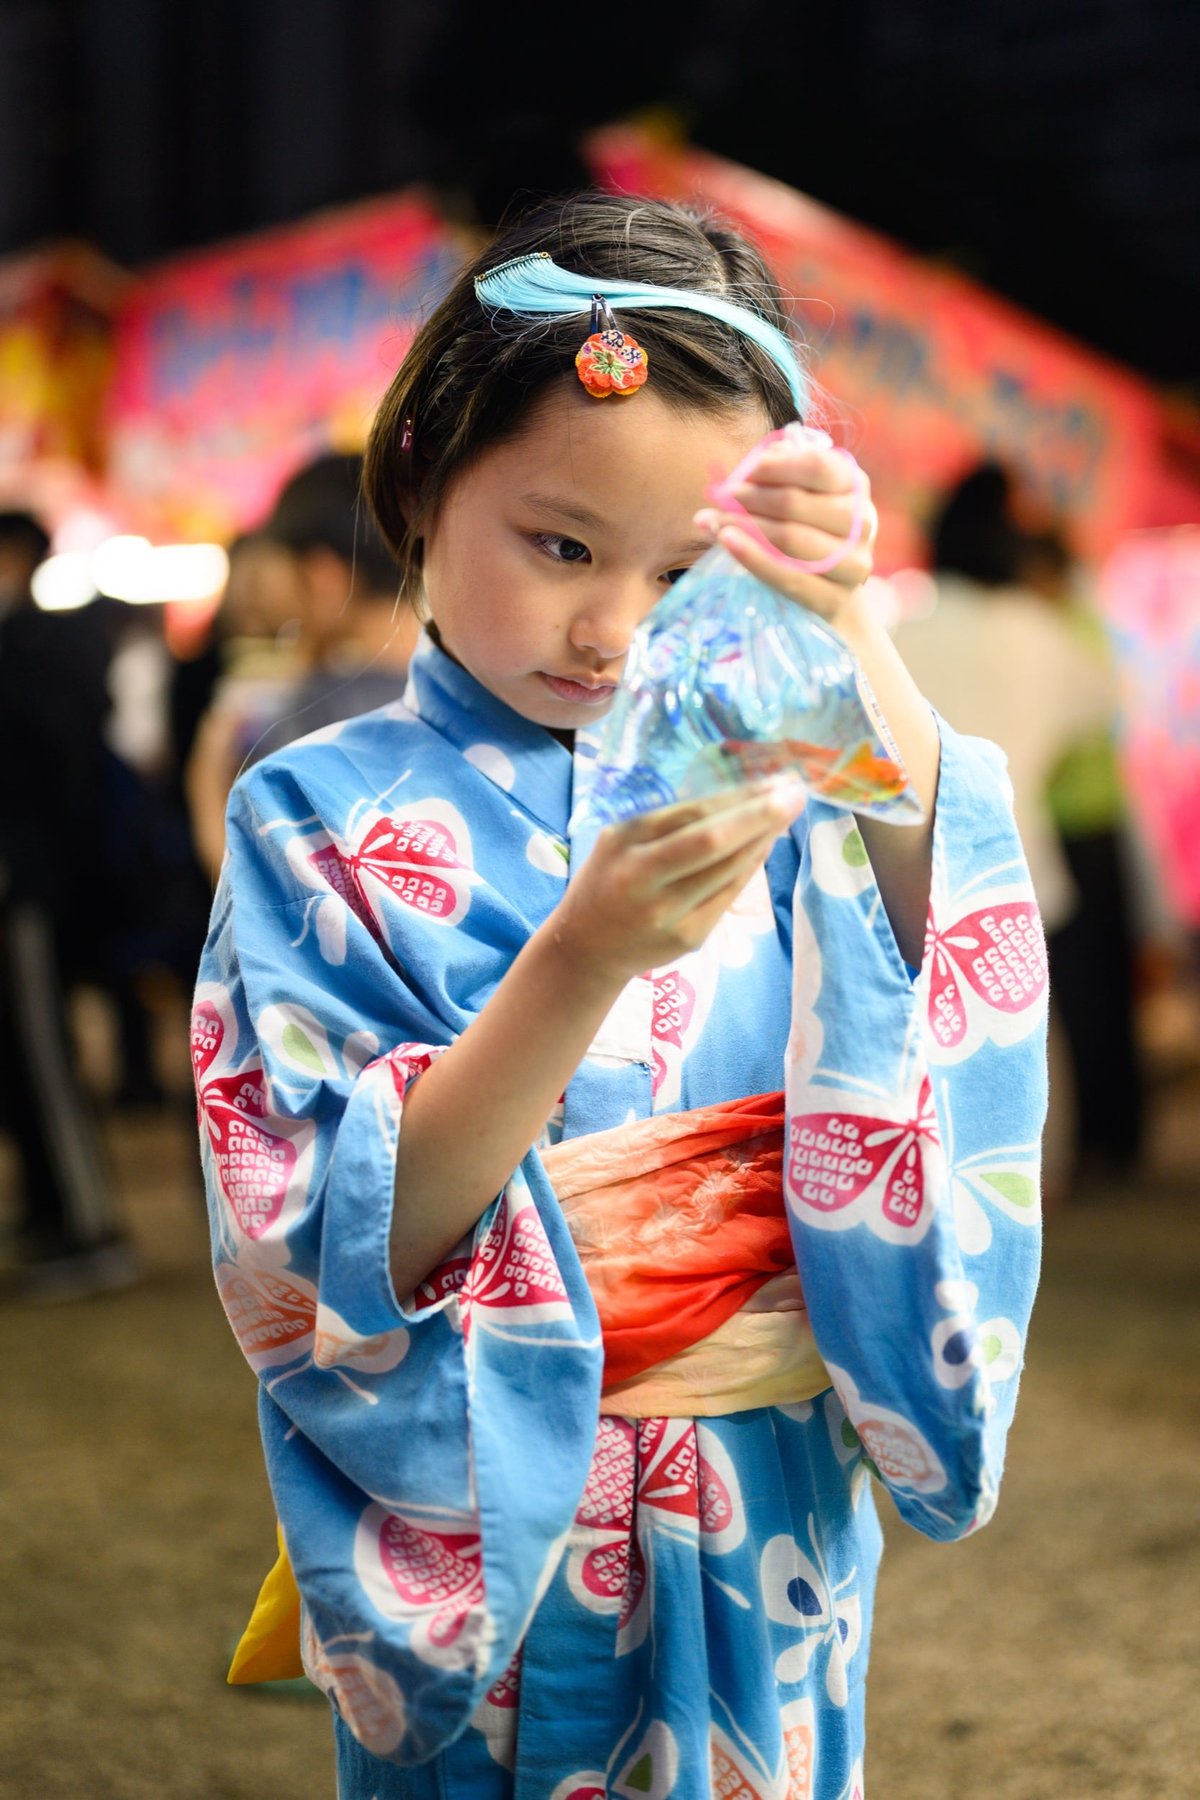
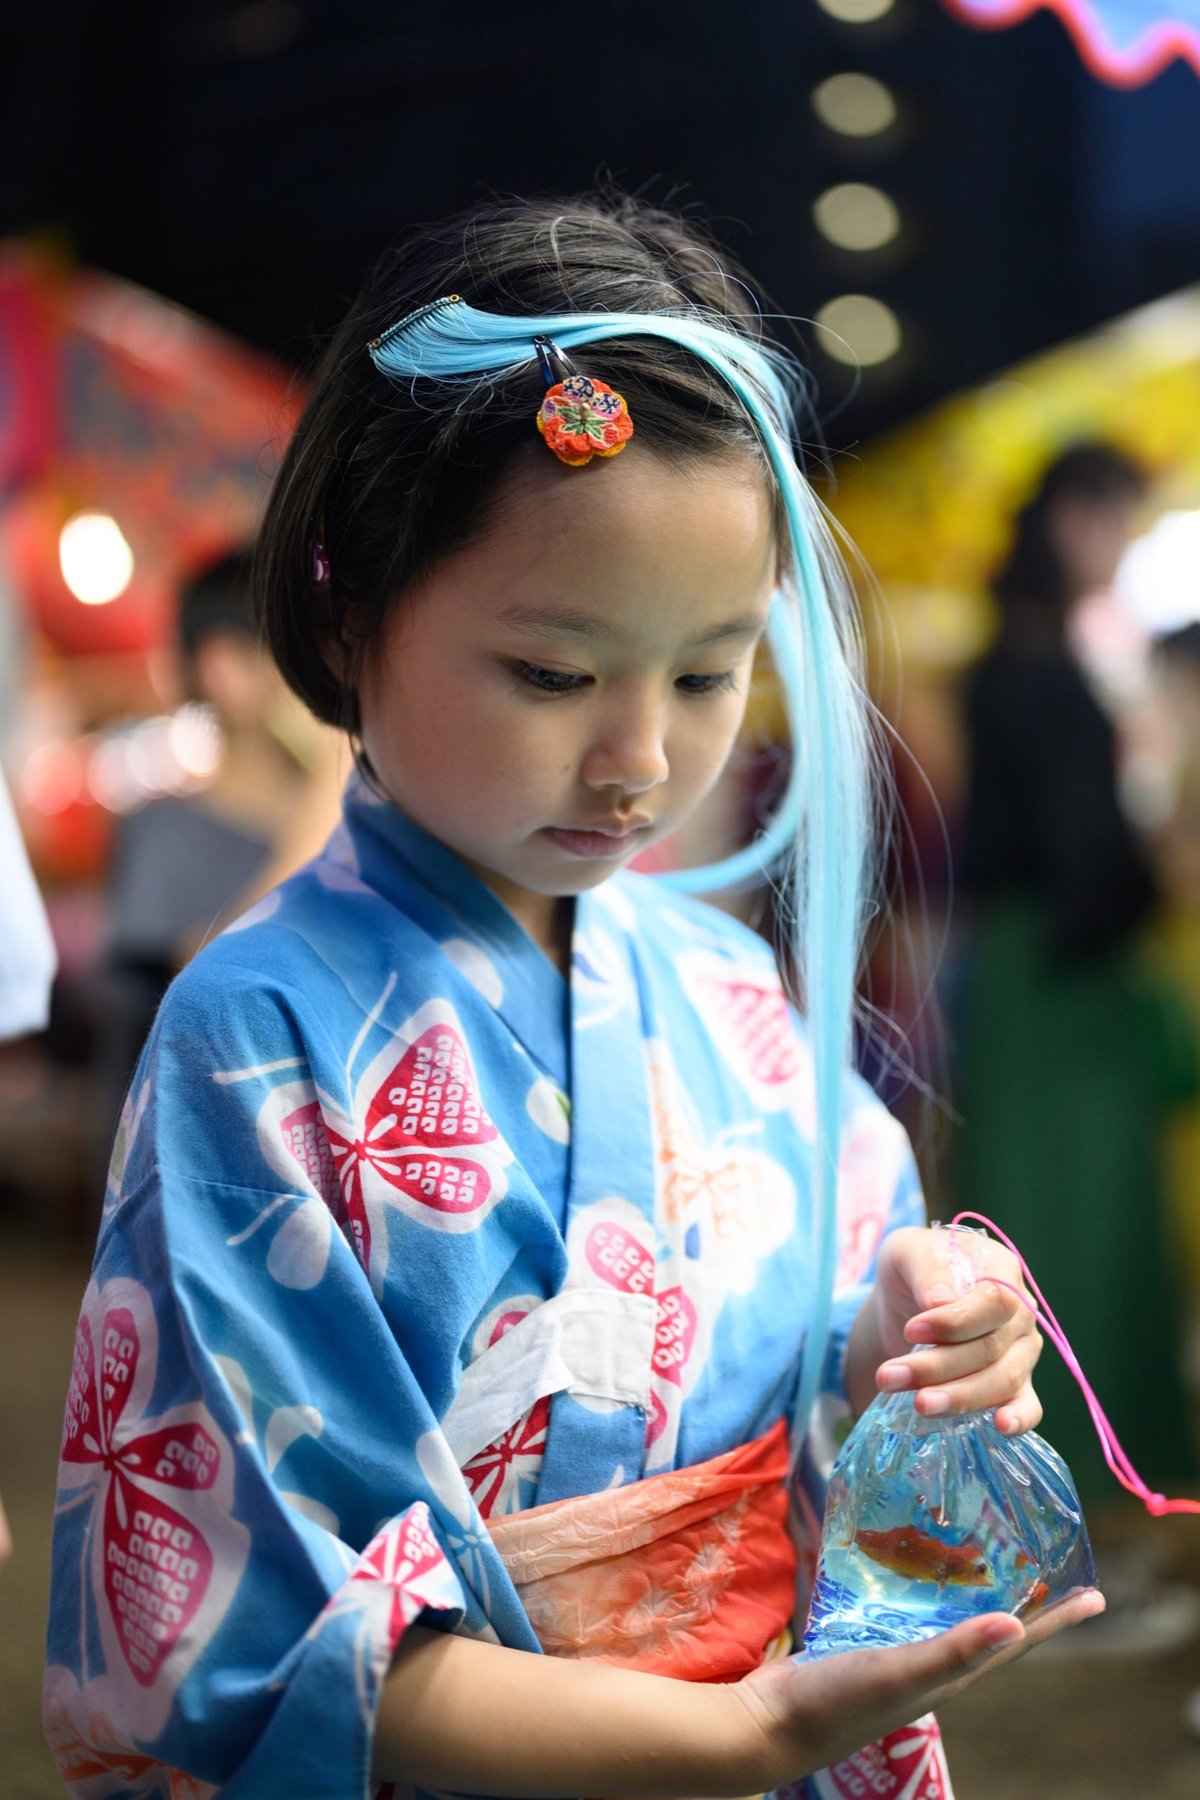
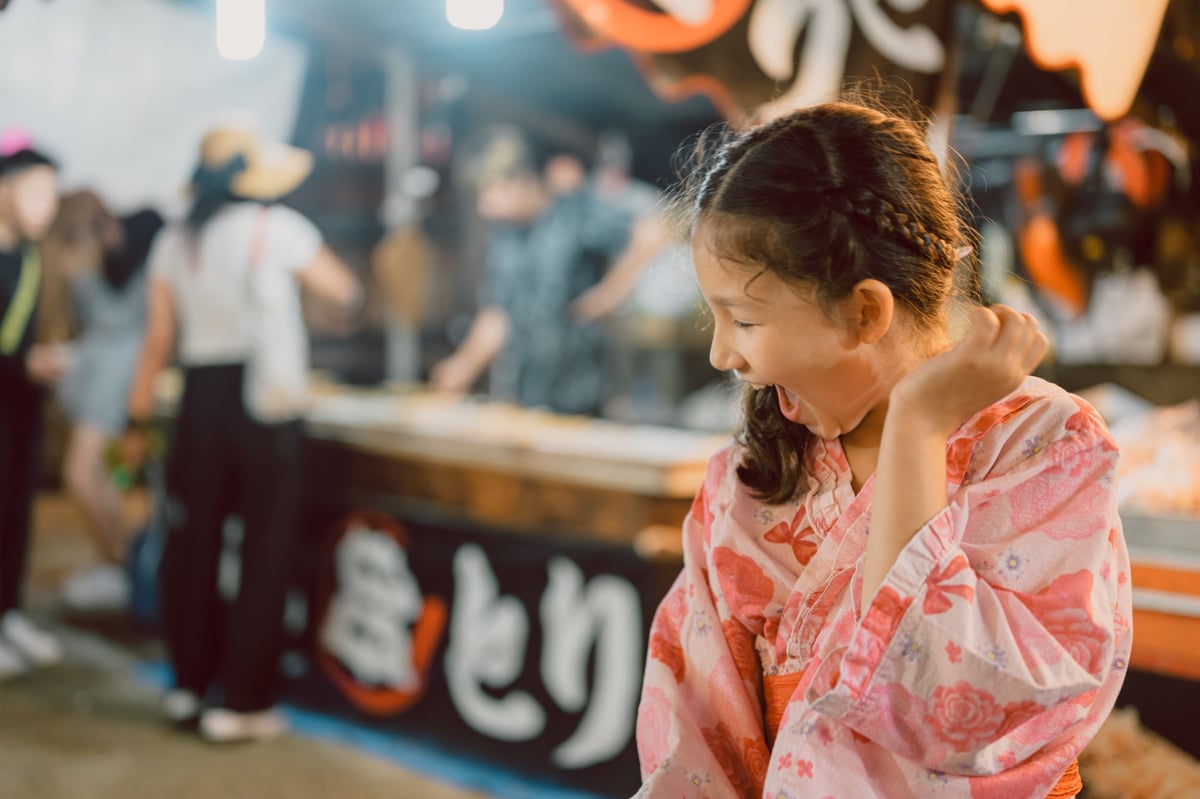
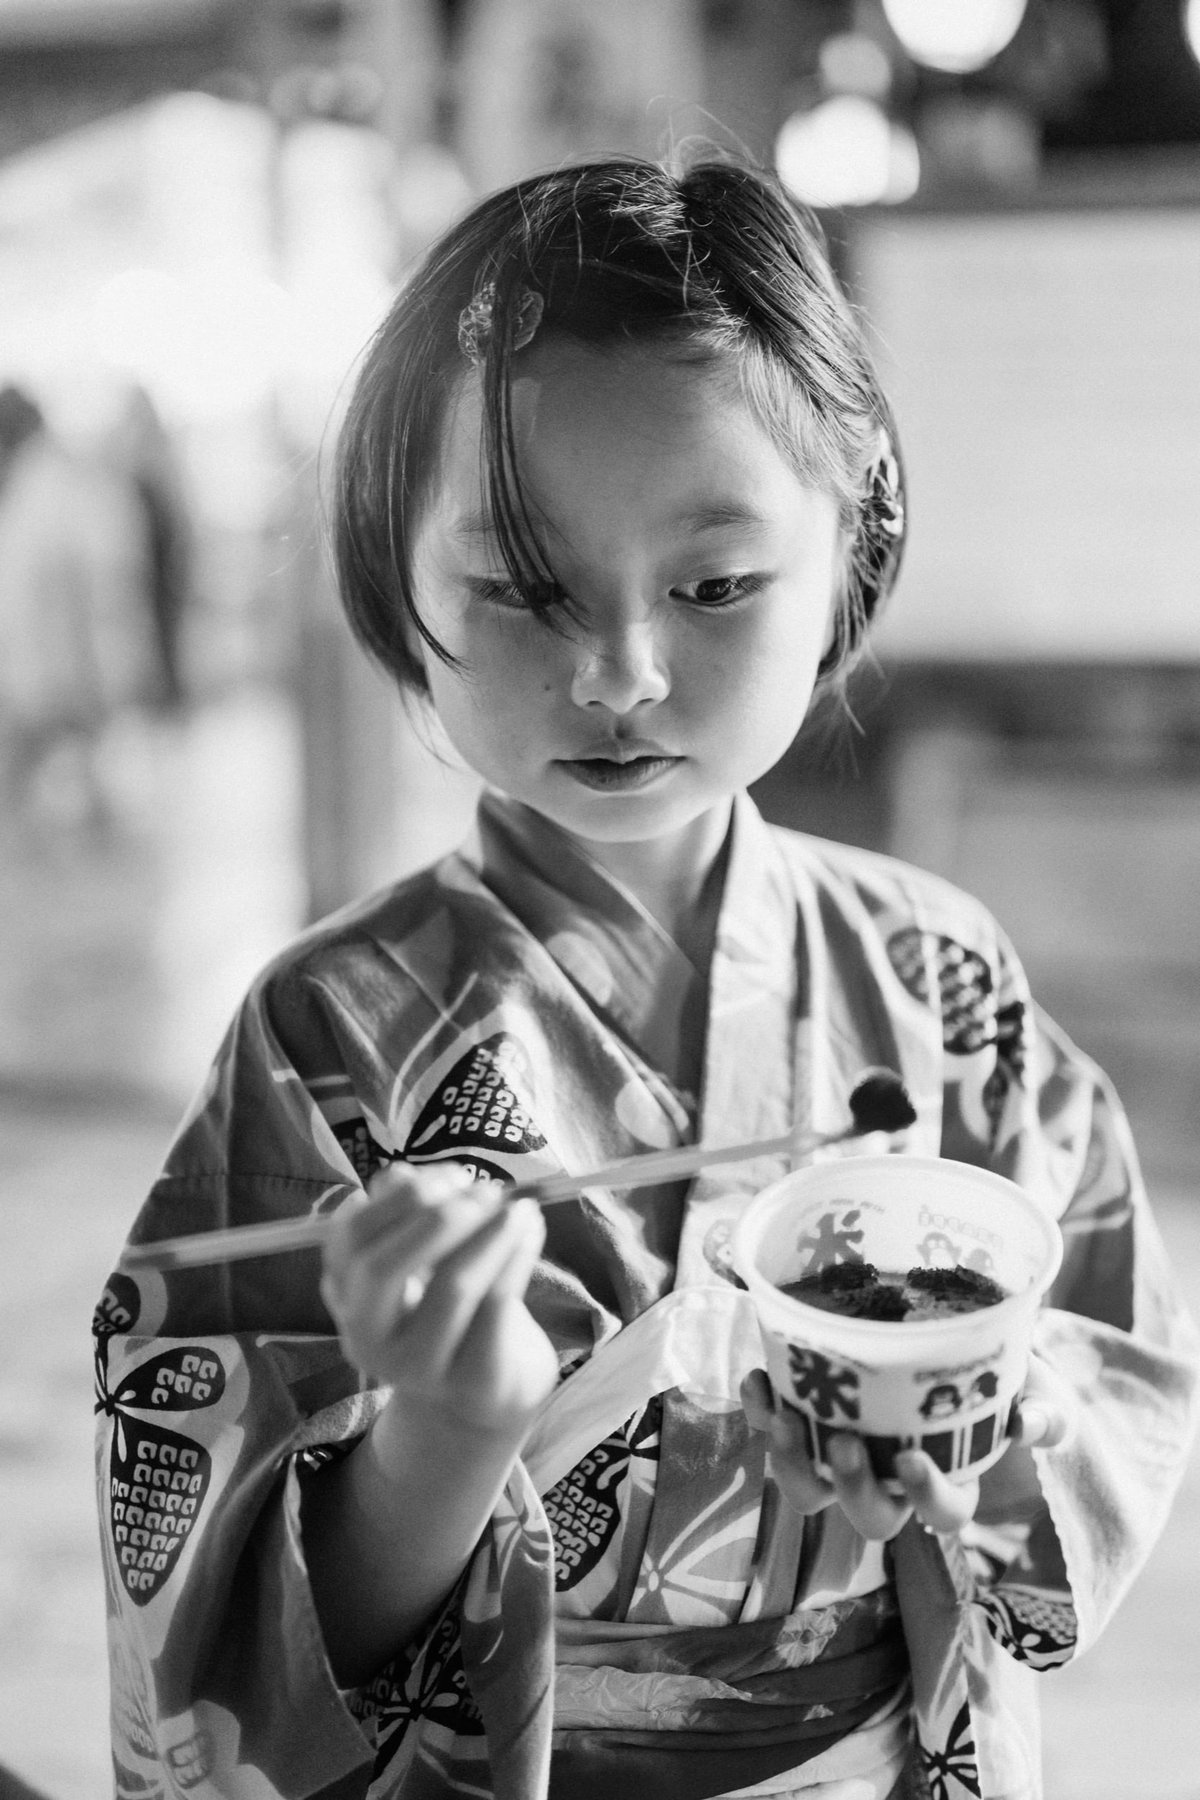
With the Nikon Z8, and I’m sure the Z9, the color science is so much more balanced and feels so much more alive than the previous cameras. It’s a really big deal for me coming from the Z6, which, in my opinion, struggled with skin tones, mixed lighting, and auto-white balance. This really feels next gen and I’m surprised I don’t see more people talking about it.
Also, the tonality has improved. The colors feel richer, and the tonal contrast (micro-contrast) is better, but that could be because I was on the Z6, which had a softer, almost more pastel rendering, possibly due to the aggressive optical lowpass filters – which I’m not saying that softer rendering of the Z6 was a bad thing. I’ve had more people ask me what camera I was shooting on Instagram than any other camera because of that calmer, more film-mick look.
I often hear people say, “Sony colors are accurate, so I can change them to whatever I want in the post.” This is not entirely true. All cameras have their DNA and their look; I like the Nikon look because it’s fun to build off of. Same with the Fujifilm looks, they have some cool styles that are fun to use as starting points. Then when I shoot Canon, even though I still throw a ton of color shifts on it, it still has a Canon DNA to the final image that you just can’t escape. The same is true with Nikon. You can’t simulate the Nikon look with another brand of camera. I tried for years until giving up and just eventually bought Nikon.
Nikon Z8 Profiles In Adobe Lightroom
Here is a quick look at Nikon Z8 Colors with a few of the different Profiles loaded in Lightroom. JPGs will look slightly different as the camera can do additional processing on them. But this gives us a general idea of the profiles.
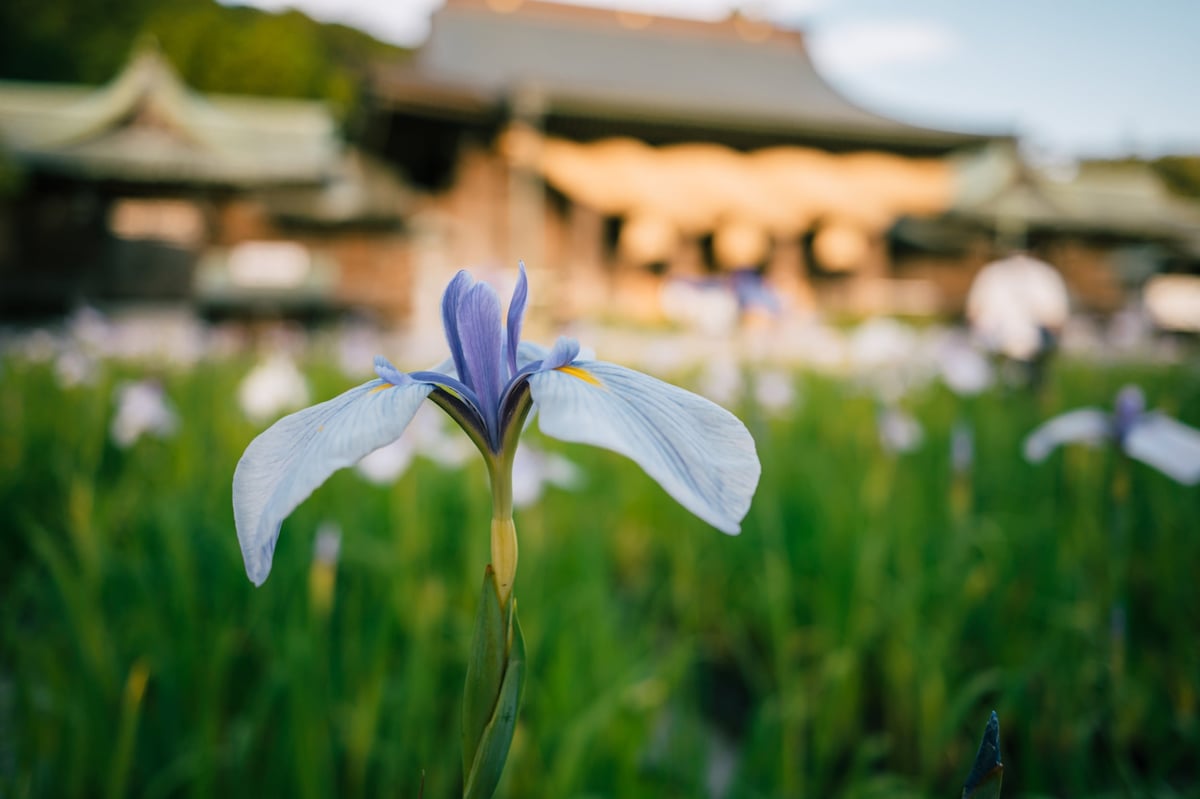
Pretty simple scene with a few different colors and lighting sources.


ISO 640, f2.8, 1/125 – Landscape

Adobe Color is the default for Lightroom. It’s a fairly neutral look, not too different from Portrait, but Portrait is even more neutral. I use Portrait a lot when I’m working with presets since there isn’t too much color saturation or contrast. The Neutral profile is similar, or you can go more extreme with Flat, but I didn’t share samples of those. At night I usually shoot on Neutral or Flat since I don’t want too much contrast when I’m initially viewing the images to start editing.
I also often shoot with Active D Lighting turned on, which makes some tonal adjustments in-camera that will actually load into Lightroom.
Nex,t in the set above, we have Standard. Standard is a really cool look with really rich reds I like it and it’s great to use in the day or in flat lighting.
Nikon has a few very punchy looks which would be Landscape and Vivid. The Landscape profile is very similar to Vivid it just rolls back the highlights of the sunset colors (oranges and yellows). I rarely use Vivid and Landscape. I generally like starting landscape edits with flatter looks and selectively adding contrast from there. Also, flatter landscapes are more of a trend right now anyway, so really Neutral or Flat would be a better starting point for a Landscape profile. Of course, there are those times when the Landscape or Vivid profiles just work.
Here is a sample with the Flat profile. It was one of those really bright, nasty, overcast days, but the Flat profile actually gives a somewhat usable image. Often, Nikon greens are shifted a little more to the yellow side.
Here are a few more samples of the Standard profile in difficult lighting with those really vibrant reds. Great for building an Ektar film simulation. Also, want to point out that I definitely wasn’t getting looks this balanced on my Z6 straight out of the camera. I almost always had to fiddle with the WB on my Z6.
Portrait Impression Balance & Skin Softening
There are a few other features Nikon added that have to do with Skin Tones. One is called Skin Softening which is self-explanatory, and the other is called Portrait Impression Balance.
Portrait Impression Balance – lets you alter the Skin Tone Hue that you can save into 3 different Presets. So if you’re working with a few different models, maybe one has more olive skin, or one has more yellow skin, you can make some micro adjustments to balance them out for your lighting for your client previews so you don’t have to tweak your white balance or lighting for that minor change. I won’t post any samples of this because it’s pretty self-explanatory – the skin tones change hue slightly.
Skin Softening – is not as obvious of an effect. It can be difficult sometimes to tell what it’s doing since the effect can be very subtle.
With Skin Softening, you have three different settings: High, Normal, and Low.
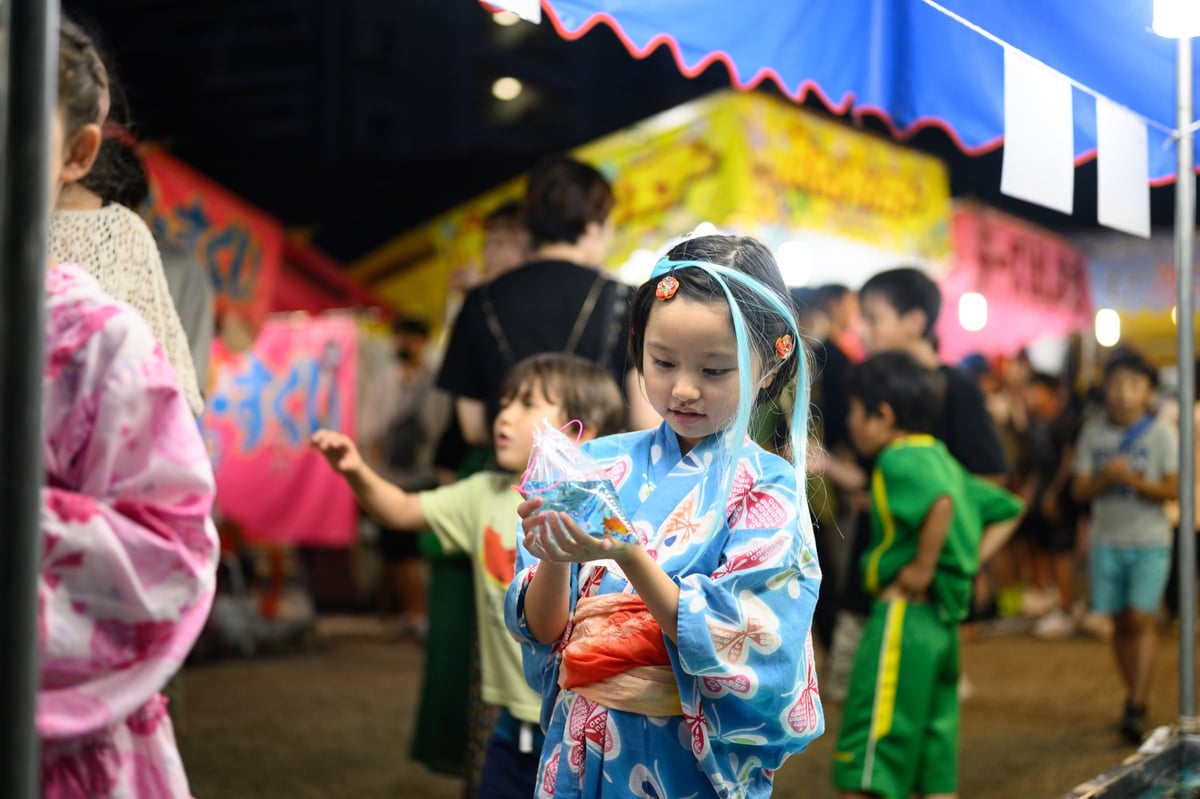
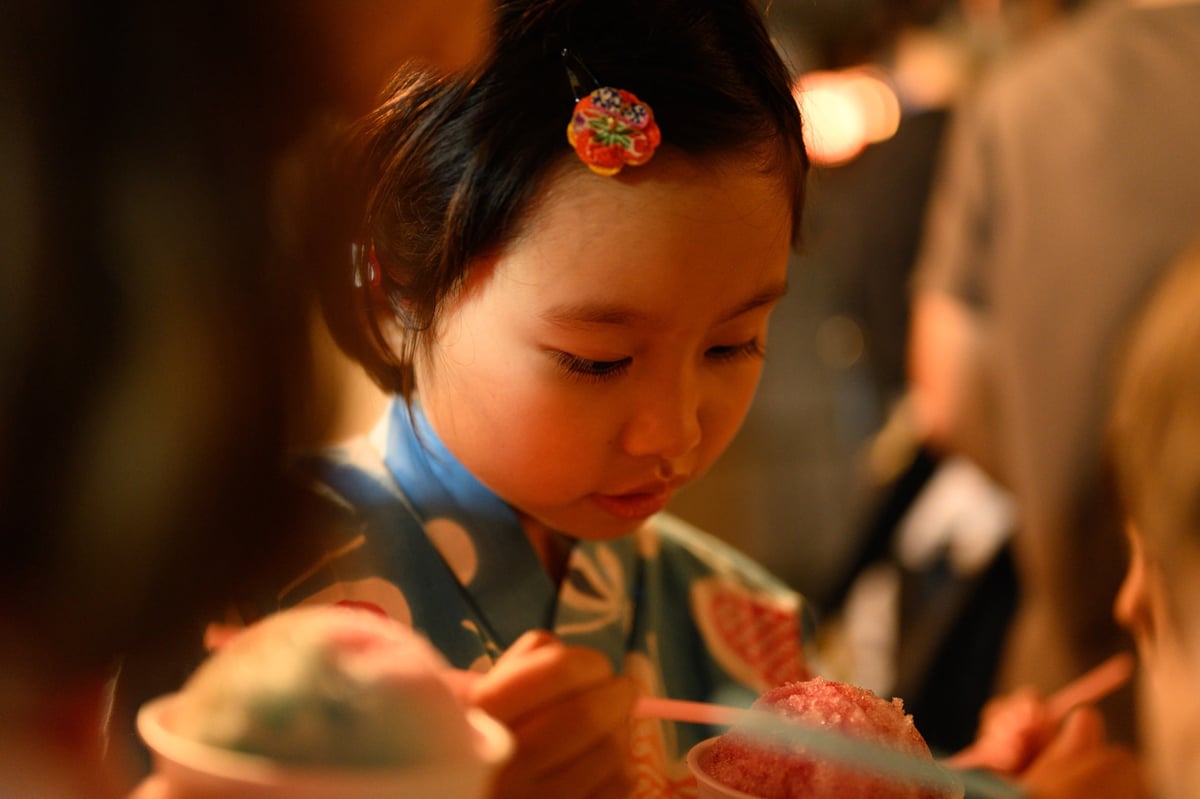
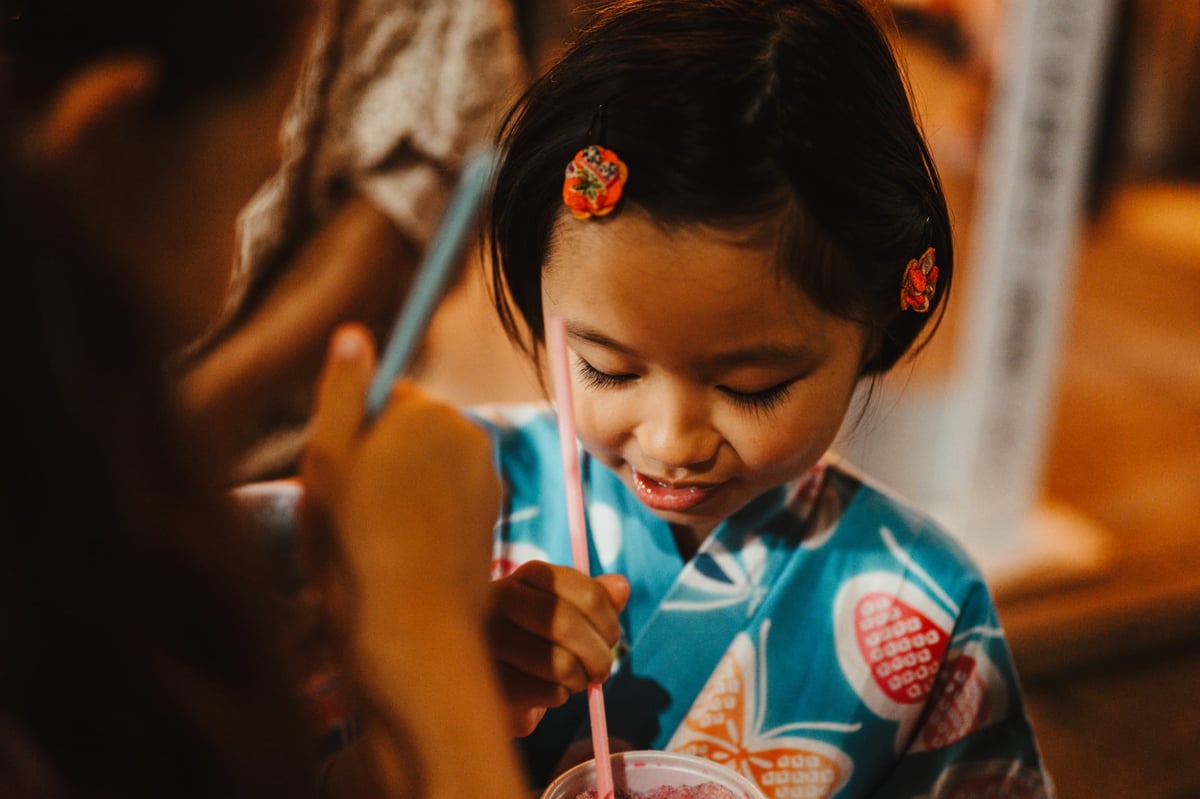
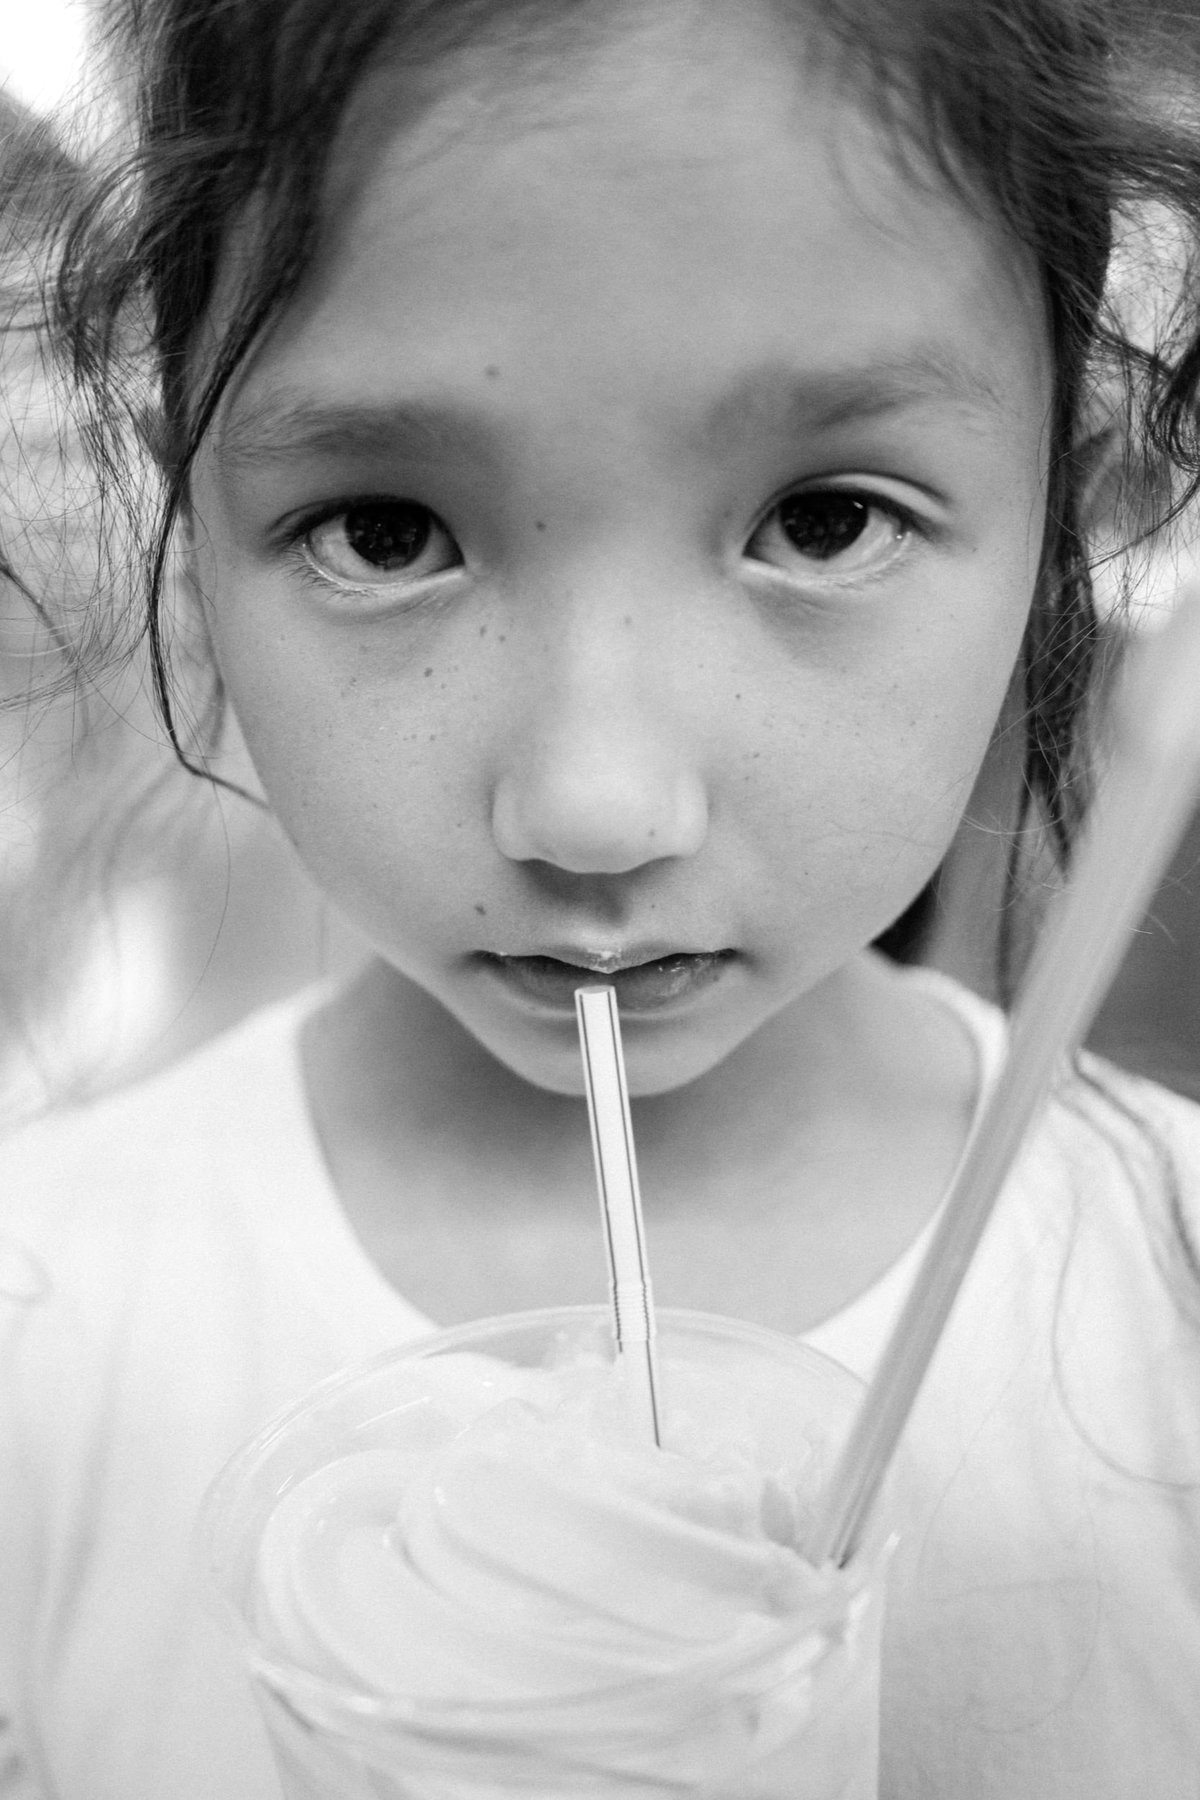
Here are some samples of no Skin Softening vs Skin Softening set to High. – The perfect skin of a 4-year-old isn’t the best example ,but you can also see what it does to the skin tones of the people in the background.
Skin Softening OFF

Skin Softening ON

All it really seems to do is mute some of the skin colors a little to balance out the different tones. Pulls back those brighter reds and pulls down the highlight tones for less contrast. It doesn’t really add clarity, a soft glow filter, or anything dramatic.
I could see this being useful when dealing with people who may get flushed easily or who are drinking and get blotchy red skin. Maybe wedding and event photographers could find this really useful.
For RAW shooters, it probably doesn’t make that big of a difference, but you can use this feature in H.265 video, which could be a nice effect as well.
Working With Presets
While I love the Nikon native looks, I love using them with presets even more since they give you so many nice starting points to build from. Maybe even more so than Fujifilm, because the different Fujifilm looks are so dramatically different, but the Nikon looks have more variety within the same color palette.
About Fujifilm real quick –
While I still absolutely love my Fujifilm cameras, outside of the fun of Classic Neg, Classic Chrome, and Astia, Nikon pretty much has Fujifilm beat with their color science, in my opinion. Provia and Classic Neg just don’t look that stunning with Fujifilm’s electric greens, even when using Adobe Color or Standard still have issues.
However, you still can’t really do the color shifts quite the same on a Nikon as you can with a Fujifilm, and there are no special effects with Nikon like Fujifilm has. For example, Clarity, Color Chrome, Color Chrome Blue, and Grain, are unique to Fujifilm and allow you to make some pretty cool JPG looks.
I really would wish one day some of that fun would come to Nikon, although I don’t write off all their JPG color effects, Denim, Sepia, Melancholic, Bleached, etc. You can do quite a bit of editing to these by adjusting their strength and then adding some WB shifts to get an interesting look.
But, once you just use Film Simulator Presets when shooting you can get pretty similar results. My presets can be found here.
Earlier, I was saying Camera Standard is fun to build an Ektar Look off of because of the punchy, rich reds. Here is a good example. This was just my Core III preset applied, with no tweaks other than maybe exposure, and sometimes I’ll tweak the skin tones a little since everyone has slightly different skin that needs balancing out.
Here is a calmer, more dreamy look. Sometimes, I forget how creamy the 50mm f1.8 lens can be at f1.8.
I also like to use some of the more Neutral looks like Camera Portrait or Neutral as the base with some simpler more classic film looks. I think these were just the Core I looks from my presets. But I have a bunch of new alterations coming to the Core Pack Version 3.


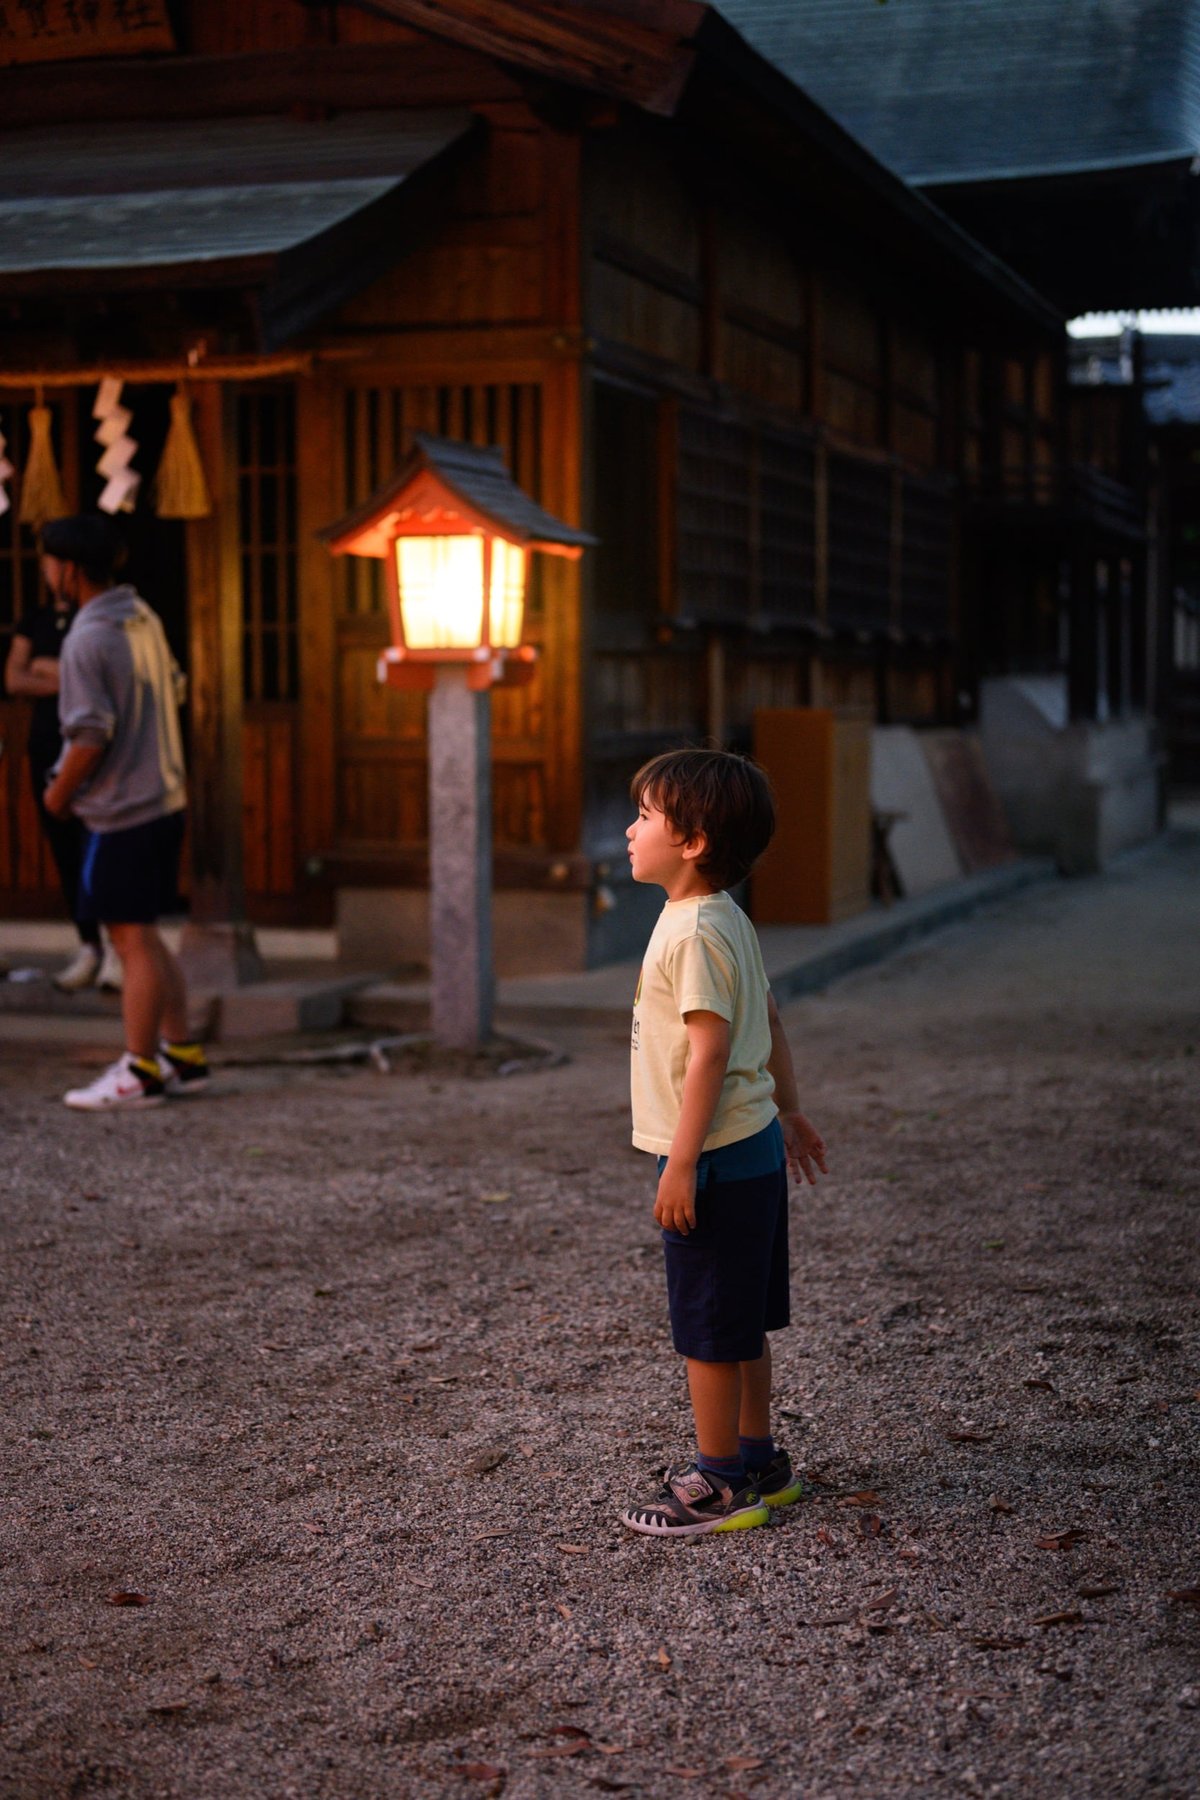
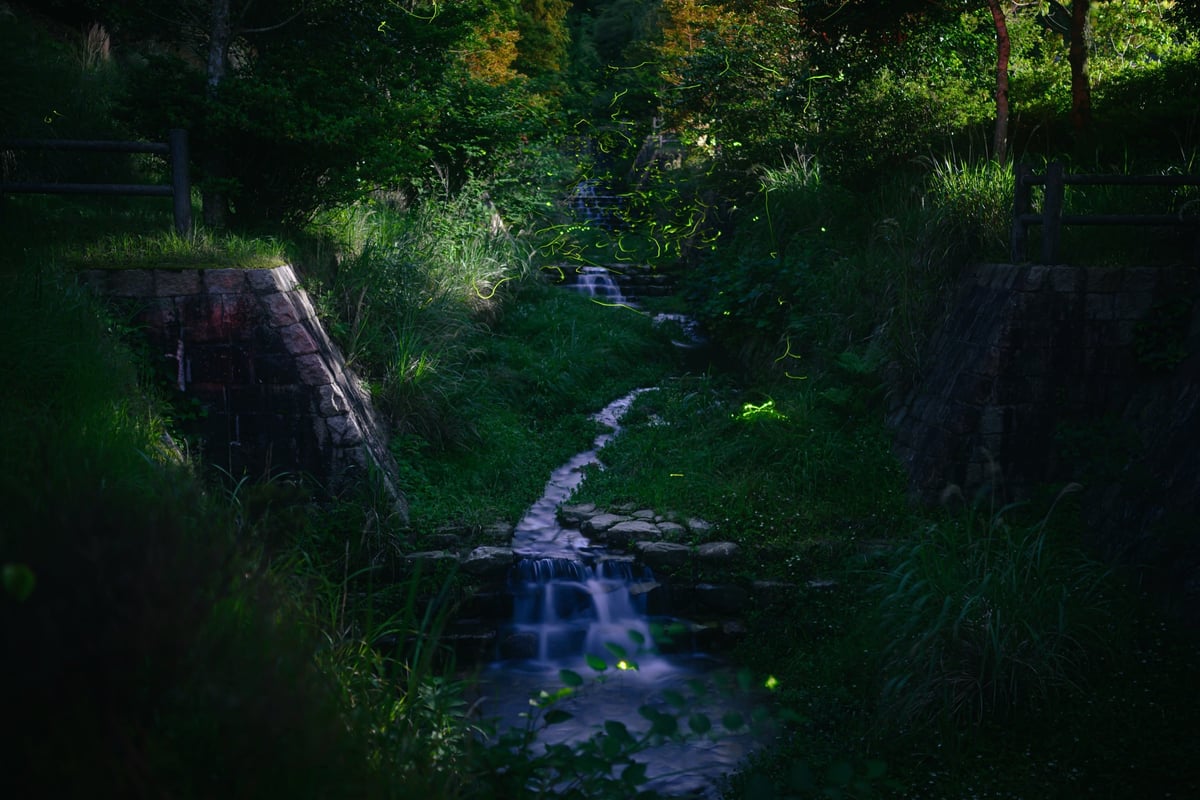
I haven’t shot much landscape photography yet, but I already like what the camera can do with a 90-second exposure in pitch black using Starlight mode. This shot below is barely edited, and the colors out of the camera were just amazing. It’s a stack of about five 90-second exposures.
Still trying to figure out how to do firefly photography. I’ve learned you really only have about 30-40 minutes when they’re active around here. So you need to be set up and ready to go before they even come out – in a place that is not super crowded.
Tonality (Micro-Contrast) Is It Better?
Possibly, it’s just from the higher resolution or not so aggressive of an anti-aliasing filter, but the Z8 files definitely have more bite to them than the Z6. I think this was a big difference between the Z6 and Z7 as well. The Z6 had a very calm look that was often very pleasant at times.
Let’s look at some samples.
The F1.8 S lenses are pretty creamy, to begin with, wide open, but on the Z8 they do feel to pull in a bit more of that mid-tone grit. The 50mm here is not quite as nice as the 40m and 28mm in this regard, but it is nice to see an improvement coming from the camera.
It’s especially nice for B&W photography. You can see the 50mm is very sharp still wide open, but it doesn’t quite have the same level of tonality as the lower element lenses. This is often why I like to stop it down to f2 or f2.8, it helps.
Above is the 50mm f1.8 at f1.8, below the 28mm lens just looks three-dimensional look even more so on this Nikon Z8. People say I never post any examples of MIcro-Contrast. Here you go!
Then our friend the 40mm. Those skin tones are always so rich and full of tonal information.

Here is a sample taken from the 35mm @ f2.8. You can see it’s better, but the highlights on the face still get a little blotchy which often happens from the higher elements. However, I love the look of the 35mm, it’s one of the most unique 35mm lenses I’ve used, not gritty like a Zeiss 35mm f2.8, but such smooth focus falloff.

One more shot from the 40mm.

One thing I will say, maybe a negative about the Z8 compared to the Z6, is the green color shift that happens at very high ISO and the chroma noise that shows up fairly early at even mid-ISO levels. You have to keep High ISO Noise Reduction turned on with this camera.
Nikon Z8 Improved Color Science Conclusions
The color science of the Z8 has seen some pretty nice improvements with also some new features. I tested the rendering across multiple Nikon lenses — both NIKKOR native glass and third-party options from Sigma and Viltrox — and it holds up consistently across the board. Since most reviews just call this camera a “Baby Z9” and skip all the nuance, we end up missing all the fun little details and improvements coming from the new image processor without going back and watching Z9 reviews.
Regular Z6 and Z7 users will probably notice the difference almost immediately, but it can still be difficult to tell what’s going on by just looking at samples. You have to use the camera, and then you really see the next level of refinement Nikon gave to the Z8 image processing. It’s really at the top of its class.


Leave a Reply