The Fujifilm X-Series is built around the philosophy of tactile, analog-style shooting. With physical dials and film simulations, these cameras practically beg you to slow down. But as Fujifilm’s modern sensors have evolved, they can sometimes render images with a hyper-perfect, clinical digital edge.
If you want to introduce some organic character back into your files while maintaining that classic shooting style, adapting Leica M-mount lenses to your Fujifilm body is the way to go.
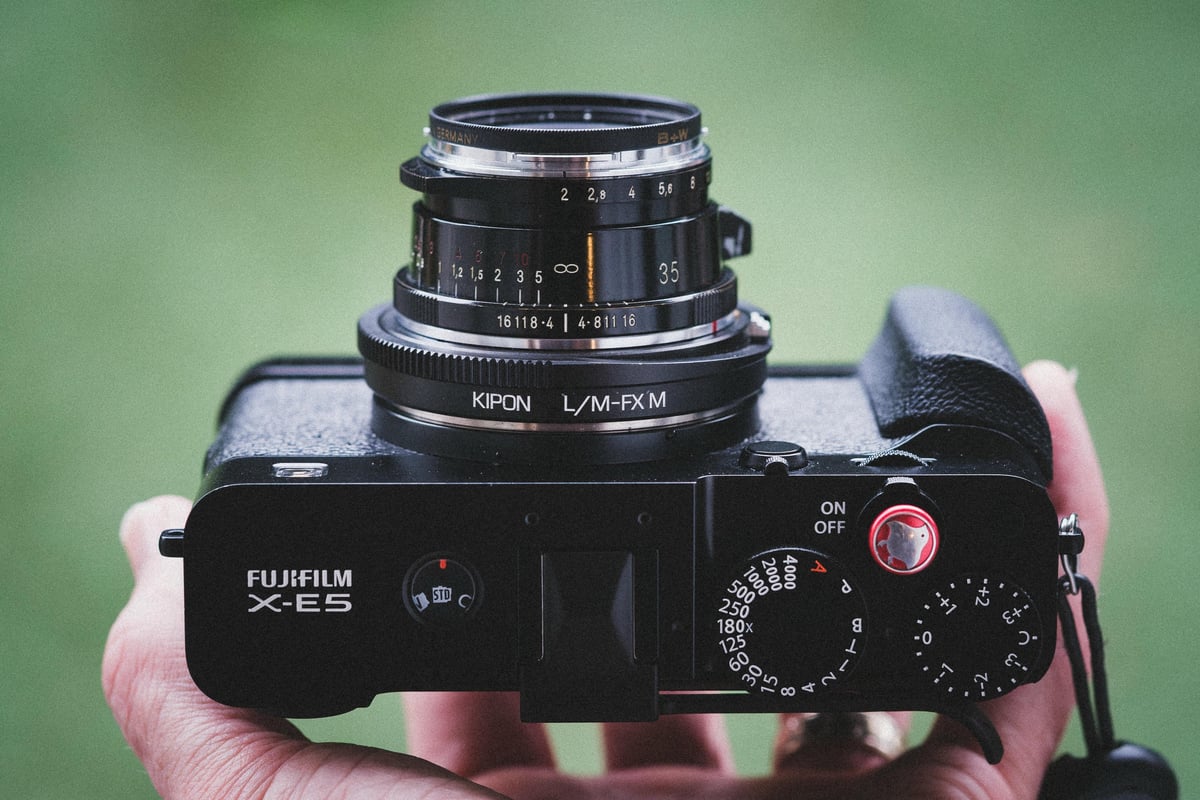
While this applies to the entire Fujifilm lineup, the experience truly peaks on the Fujifilm X-E5. With its minimalist design and corner EVF, the X-E5 delivers the best compact interchangeable-lens rangefinder experience in the APS-C world.
Here is a practical guide to getting the absolute most out of M-mount glass on the Fujifilm FX system.
Disclaimer: A lot of the gear in this post was not purchased; it was sent to me. Thypoch sends me lenses, and Kipon sends me their adapters. I thought it would be cool to do a roundup of the latest M-mount gear for Fujifilm available today.
Table of Contents
Advantages vs. Disadvantages of Adapting M-Mount Lenses
Before diving into this, it helps to weigh the pros and cons of adapting manual full-frame glass to an APS-C body. These are the basic need-to-know bullet points you should be aware of before considering jumping into this shooting style.
The Advantages:
- Takes the Digital Edge Off: M-mount lenses—especially those with classical optical designs—infuse your images with organic character, micro-contrast, and beautiful focus fall-off that modern clinical lenses often lack.
- The APS-C Sweet Spot: Because you are putting a full-frame lens on a crop sensor, you are only using the center “sweet spot” of the glass. This naturally crops out the soft edges and heavy vignetting that often plague smaller M-mount pancake lenses.
- Massive Versatility (with the right adapter): When paired with a Kipon macro helicoid adapter, these lenses become highly capable close-up tools, turning standard focal lengths into close-up options.


The Disadvantages:
- Terrible Minimum Focus Distance (Standard Adapters): Rangefinder lenses are inherently poor at close focusing, often bottoming out at 0.7 meters (over two feet). A standard dummy adapter will inherit this frustrating limitation. You’ll need the latest Kipon FX-M Macro Adapters to solve this.
- The Cost: The M-mount ecosystem is premium. Even third-party lenses are a significant financial investment.
- Size and Weight: Because these lenses are designed to cover a full-frame sensor, some of the faster optics can be surprisingly large or front-heavy when mounted on a compact APS-C body like the X-E5.

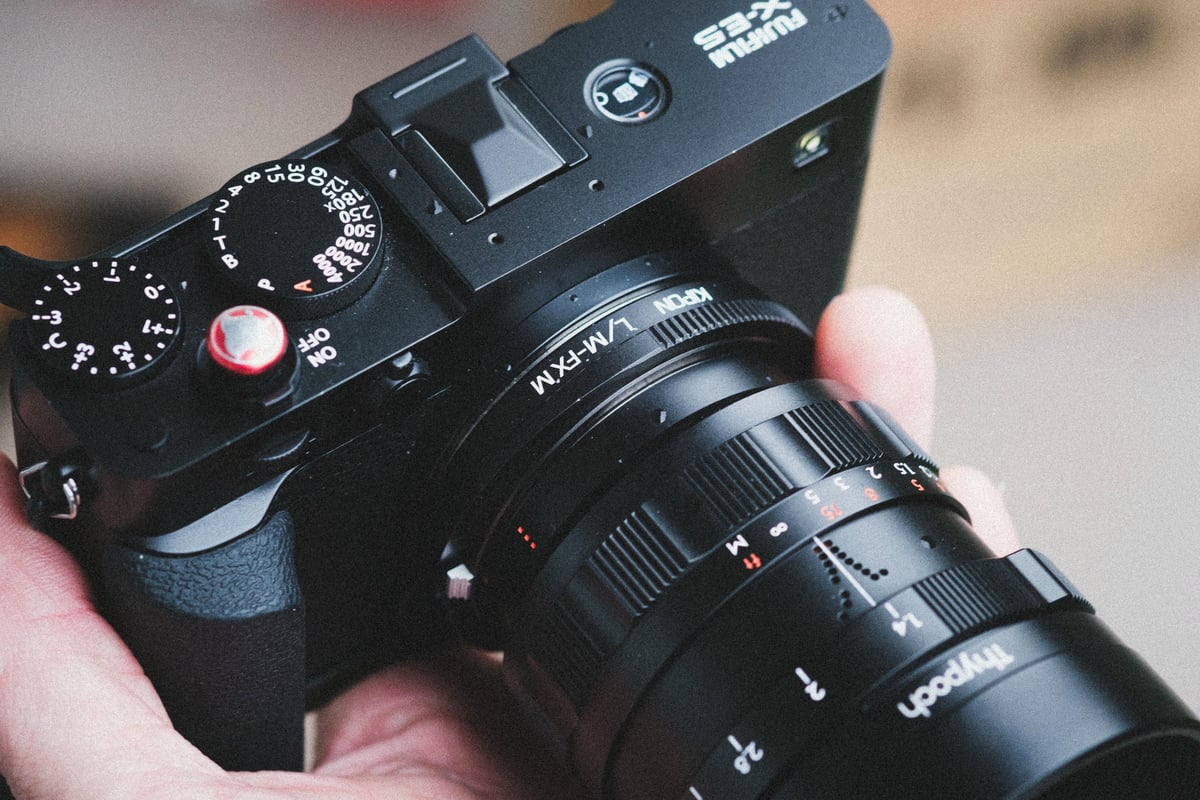
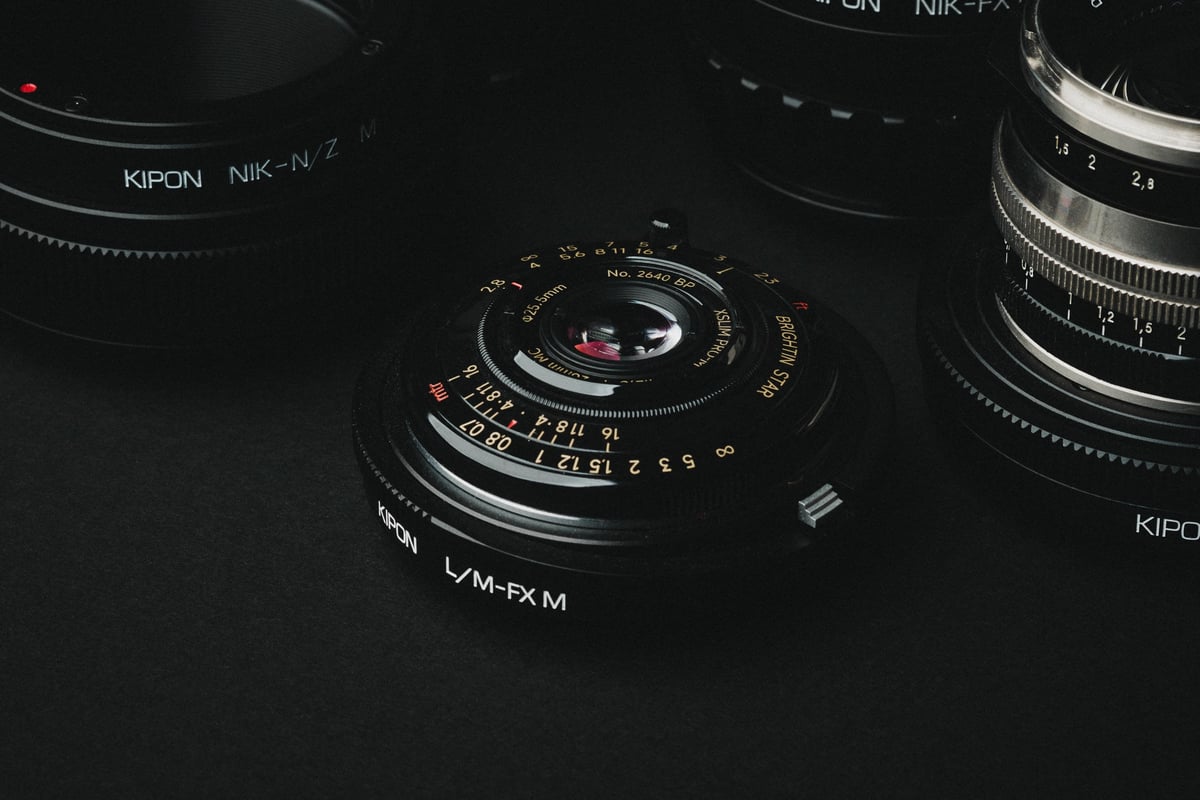
The Secret Weapon: Kipon FX to M Macro Adapter
If you are going to adapt M-mount glass, do not settle for a standard dummy ring. You need the Kipon FX to M Macro Adapter.
Kipon FX to M Macro Adapter with Helicoid – Kipon
This adapter features a built-in helicoid. By twisting the adapter ring, it acts as a variable extension tube, pushing the lens further from the sensor. This entirely solves the minimum focusing distance disadvantage mentioned above. Suddenly, your expensive M-mount glass transforms into a versatile macro lens that can focus, sometimes just inches from your subject. You get way more bang for your buck and a lot more versatility out of your setup that you can’t even get from standard third-party FX lenses.

The M-Mount Lens Ecosystem for Fujifilm
Let’s get one thing out of the way: buying an actual, multi-thousand-dollar Leica-branded lens just to adapt it to an APS-C Fujifilm body is frankly insane.
Fortunately, the third-party M-mount ecosystem is incredible. Here is where you should actually be looking.
Thypoch: The Modern Technical Balance
Thypoch is making serious waves by offering a brilliant technical balance to modern lens design. To me, they feel like they are picking up where Zeiss left off in the world of M-Mount glass in terms of precision and tech. Their optics are sharp where it counts, retain a smooth, pleasing character, and feature some of the absolute best build quality and features on the market today. I’m not trying to be biased here since they do send me gear, but these lenses basically fall into the “shut up and buy it” category.
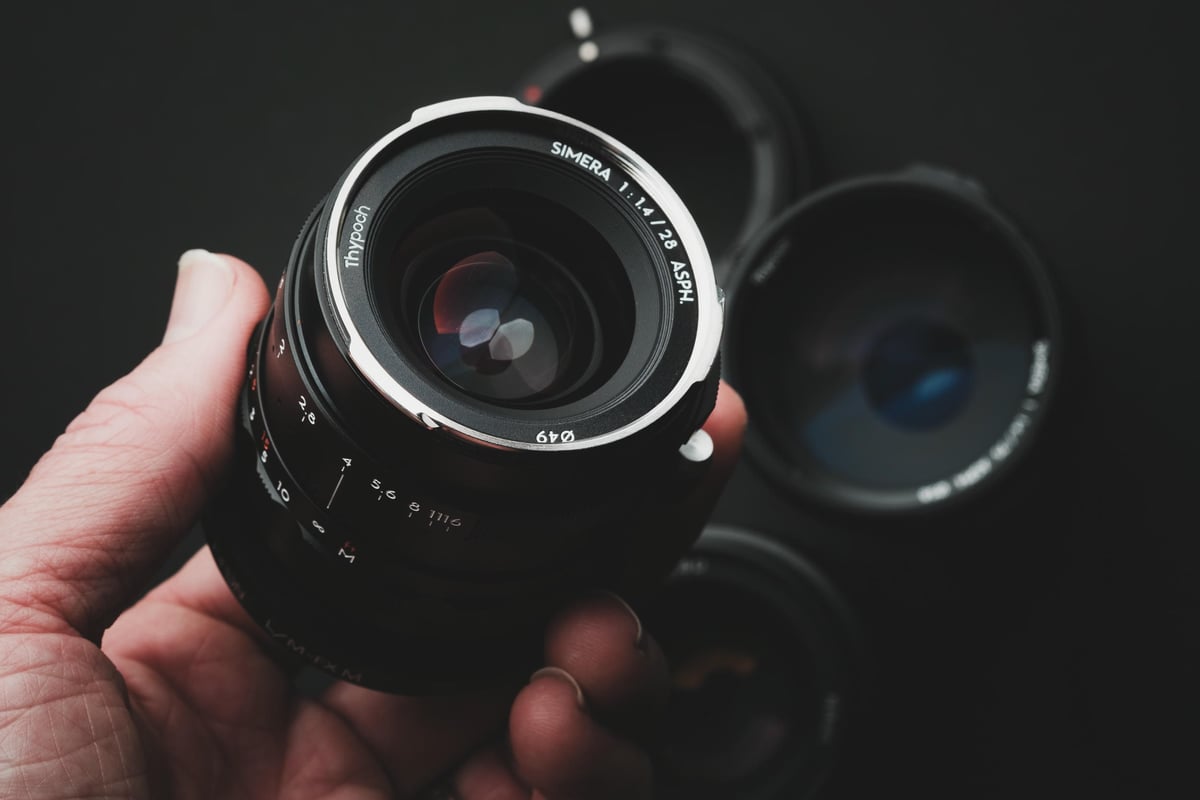
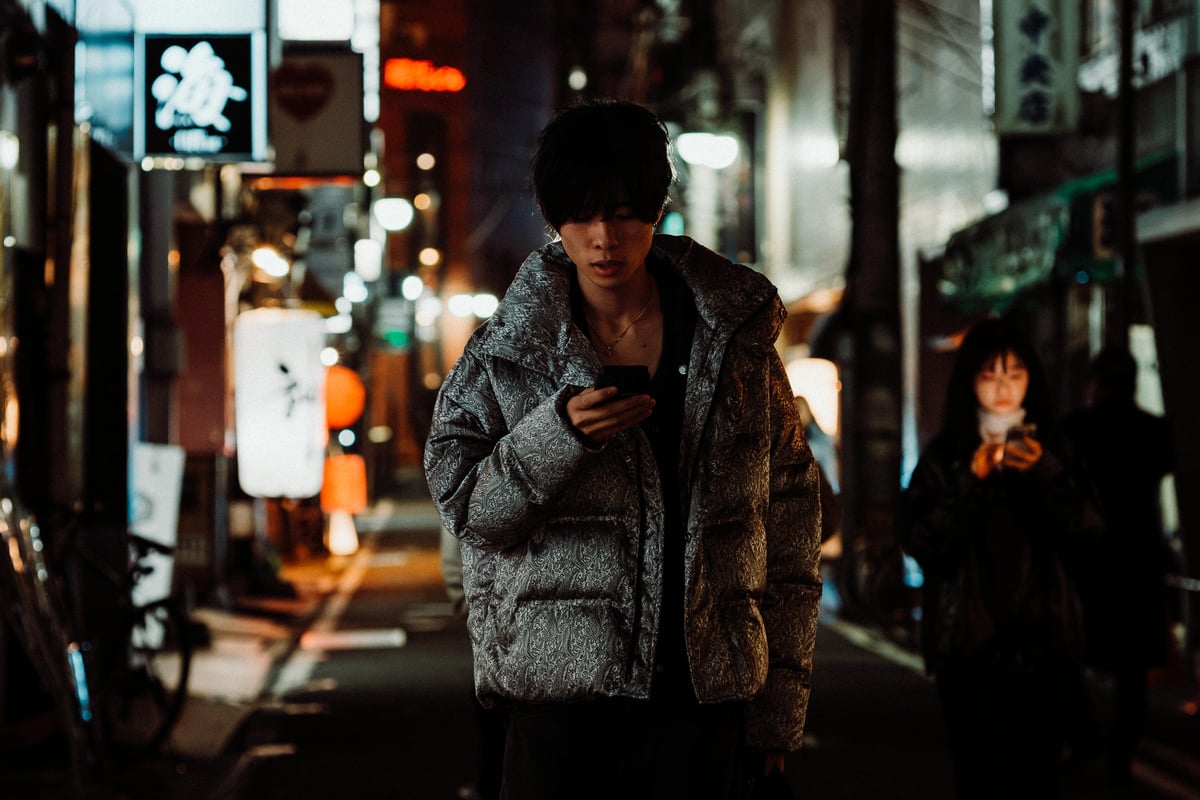
Simera 28mm f/2.8: A fantastic choice for a compact, everyday carry street setup. There aren’t many fast 28mm lenses on the market, and this is easily one of the best. I absolutely love this lens. On the Fujifilm X-E5, it behaves similarly to a 40mm full-frame lens, which is great for street or everyday shooting and is still wide enough to be a good party lens.
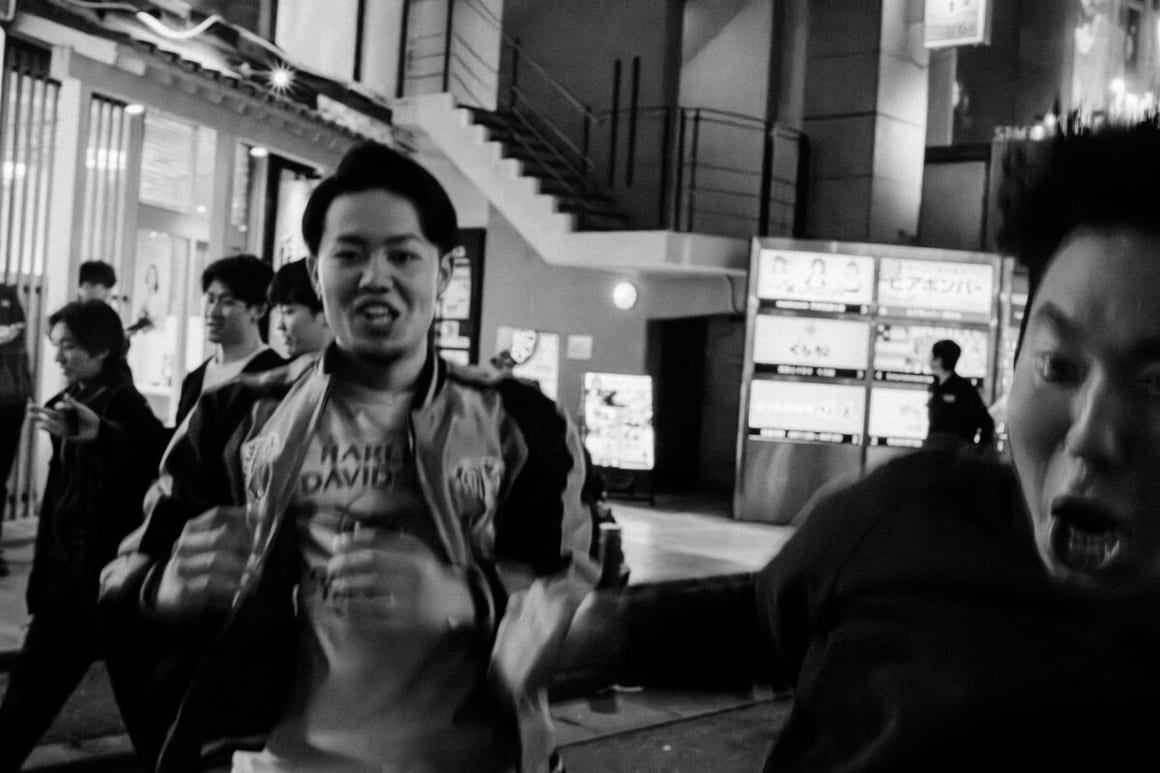

There is even a focus tab on the lens, which is great for snap-focusing or zone-focusing in street photography. That’s generally how I use it when I go out, set it to f8, then just figure out your range.
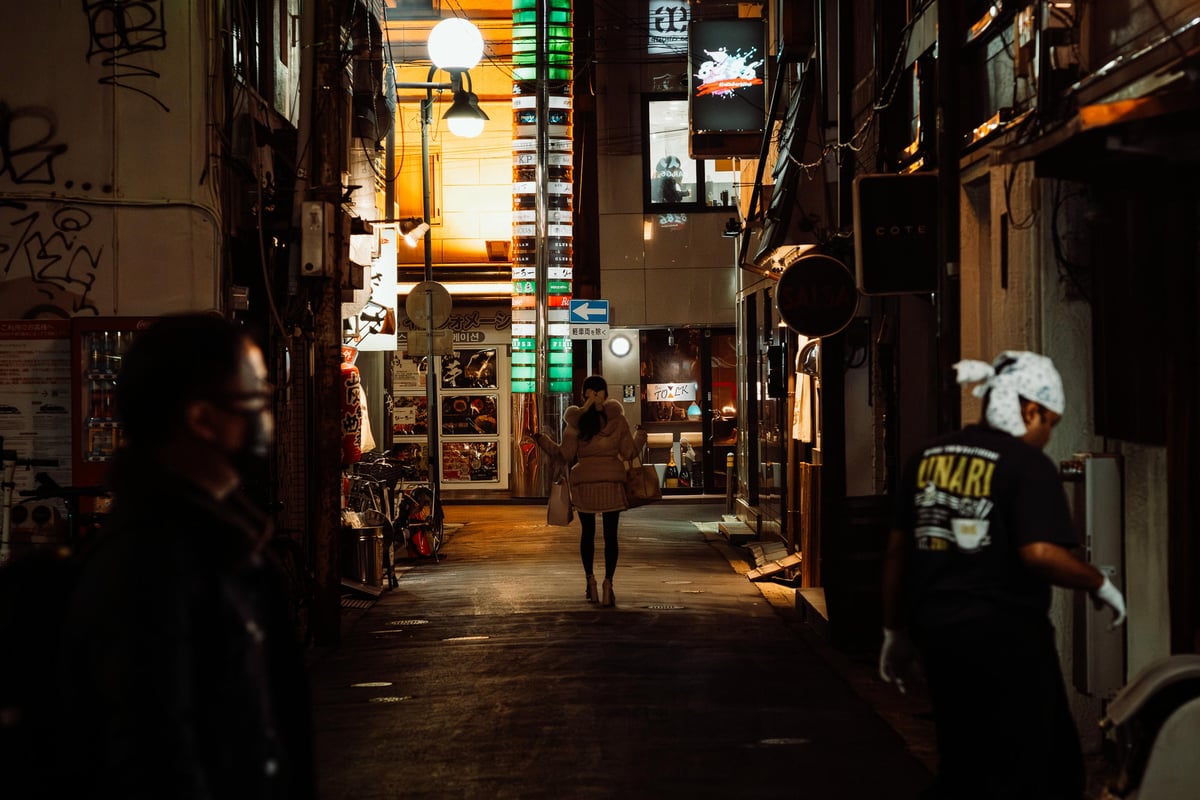
Simera 75mm f/1.4: If you want to see exactly how Thypoch glass renders on a high-resolution sensor, check out my deep dive here: Thypoch Simera 75mm f/1.4 Review & Sample Photos. Most of the samples in this guide were shot with this lens on the Fujifilm X-E5.
On a Fujifilm APS-C camera, this lens crops to a 112mm full-frame equivalent field of view. This lens is incredibly sharp, so even with the X-E5’s 40MP sensor and 1.5x crop, you can still pull some amazing resolution.

Voigtlander: The Artist’s Lens
Voigtlander is the undisputed king of third-party M-mount lenses. They offer a massive, diverse variety of focal lengths and super-fast apertures. These are true “artist’s lenses,” allowing you to choose exactly how much vintage character or modern sharpness you want based on the specific lens line (like the Classic, Vintage Line, or APO-Lanthar series). And every year, they roll out fun new designs to keep the market exciting. I own way too many Voigtlander lenses for this reason. The G.A.S. gets me every time!
One of my favorites for this kind of setup is the Voigtlander 35 mm f2. To see more of how this lens behaves, check out the Voigtlander 35mm f2 Ultron Review & Sample Photos. You’ll have to remember it will have a 1.5x crop on APS-C, making it behave similarly to a 50mm fov.
Brightin Star: The Pocket Setup
If your goal is to make your X-E5 as stealthy and pocketable as possible, the Brightin Star 28mm f/2.8 pancake lens is a must-look. It is incredibly thin and highly affordable. It turns your Fuji into an ultra-discreet street sweeper that is pure fun to use, and with the Kipon M adapters, you get full macro usability.
The main weakness of the Brightin Star 28mm is the weak corners and edges, and that all gets cropped out on the Fujifilm X system.


Other Great M-Lens Options
A few other brands I really like shooting with are Zeiss and Kipon lenses. Both are very classic, just with different designs. Zeiss will give you those deep shadows with their signature T* coatings. I particularly love the Zeiss 28mm f2.8 Biogon and the Zeiss 50mm f2 Planar.
Kipon will give you a bit more of that retro 70s or 80s feel with slightly more relaxed coatings. The Kipon 75mm f2.4 is a gem, and for a long time, I shot a lot with the Kipon 35mm f2.4. Those are my two favorite lenses from them. Those links will all point you to reviews I wrote years ago.
Once you have your chosen M-mount glass mounted to your Fujifilm body via the Kipon adapter, the real fun begins: actually shooting. Stripping away the safety net of modern eye-tracking autofocus, Fujifilm’s mirrorless system provides some of the best manual focus aids in the industry. Here is how to master the manual experience.
Mastering Manual Focus on Fujifilm
Manual focus can feel a little challenging at first if you are used to the stickiness of modern eye-tracking autofocus, but the more you do it, the more intuitive and second-nature it becomes. When adapting M-mount glass, you essentially have two main focusing techniques at your disposal, depending on your focal length.
Zone Focusing for Wider Lenses
When shooting street photography or everyday scenes with wider lenses (like a 28mm or 35mm), zone focusing is your best friend. By stopping your aperture down to f/5.6 or f/8, you create a very deep depth of field. You can then pre-focus your lens to a specific distance (say, 2 or 3 meters) and know that everything within that “zone” will be adequately sharp.
- Tip: If you plan to use zone focusing often, look for M-mount lenses with a focus tab. It builds muscle memory rapidly. You learn to know exactly where your focus distance is set just by feeling the physical position of the tab on the barrel, without ever taking the camera away from your eye.
Focus Peaking for Longer Lenses
When shooting with longer focal lengths (like a 50mm or 75mm) or shooting wide open, zone focusing isn’t viable due to the razor-thin depth of field. This is where Fujifilm’s focus peaking implementation comes in to save the day.
There are many manual focus assist settings on Fujifilm cameras, but I recommend sticking to focus peaking. That’s what most people use, including myself. I’ve tried to give those other focus assist systems a chance, and while some of them are cool, they never really work as well as good old-fashioned focus peaking.
- The Black & White Trick: Some photographers love to set their film simulation profile to a monochrome setting (like Acros) and use a brightly colored focus peaking highlight. I typically use Red focus peaking. The high contrast of the bright red peaking against the black-and-white image in the EVF makes nailing critical focus incredibly fast and obvious. (Since you are shooting RAW, you’ll still retain your full-color file in post!) This is where that little film simulator dial is a godsend on the X-E5.

Taming the Helicoid Adapter
The Kipon macro adapter is a complete game-changer, but using a variable extension tube does require a bit of technical knowledge to get the best possible image quality from your glass.
Stop Down for Close Focus: When you extend the helicoid adapter all the way out to its closest focusing position, you are pushing the lens’s optical design beyond what it was engineered to do. Because of this, shooting wide open at macro distances can sometimes introduce some wild rendering and optical aberrations. To clean up the image and get a sharper file, you will usually need to stop down the aperture. This is entirely normal! Even dedicated, highly engineered native lenses like the Nikon 105mm Macro force a smaller effective aperture at close focusing distances to avoid these exact types of aberrations.
Always Collapse for Infinity: When you aren’t shooting macro, make sure the helicoid adapter is fully collapsed (retracted). If it is even slightly extended, you are altering the flange distance, and you won’t be able to hit infinity focus.
Escaping the Modern Trap
At the end of the day, it is incredibly easy to fall into the trap of modern digital photography. We often find ourselves chasing clinical perfection, relying on lightning-fast autofocus, and obsessing over corner-to-corner sharpness until the actual process of taking a photo feels more like operating a computer than practicing an art form.
Adapting M-mount lenses to your Fujifilm camera—especially when paired with the X-E5’s digital rangefinder experience and a Kipon Macro adapter—is the perfect antidote. It forces you to slow down and shoot with intention. By trading the convenience of fly-by-wire autofocus for the tactile, mechanical precision of a manual helicoid, you add an entirely new, artistic layer to your photography.

It transforms your camera from a clinical, high-tech tool into a true artist’s instrument. If you are feeling uninspired or if you just want to inject some soul and physical connection back into your image-making, adapting M-mount glass is an experience you absolutely have to try.
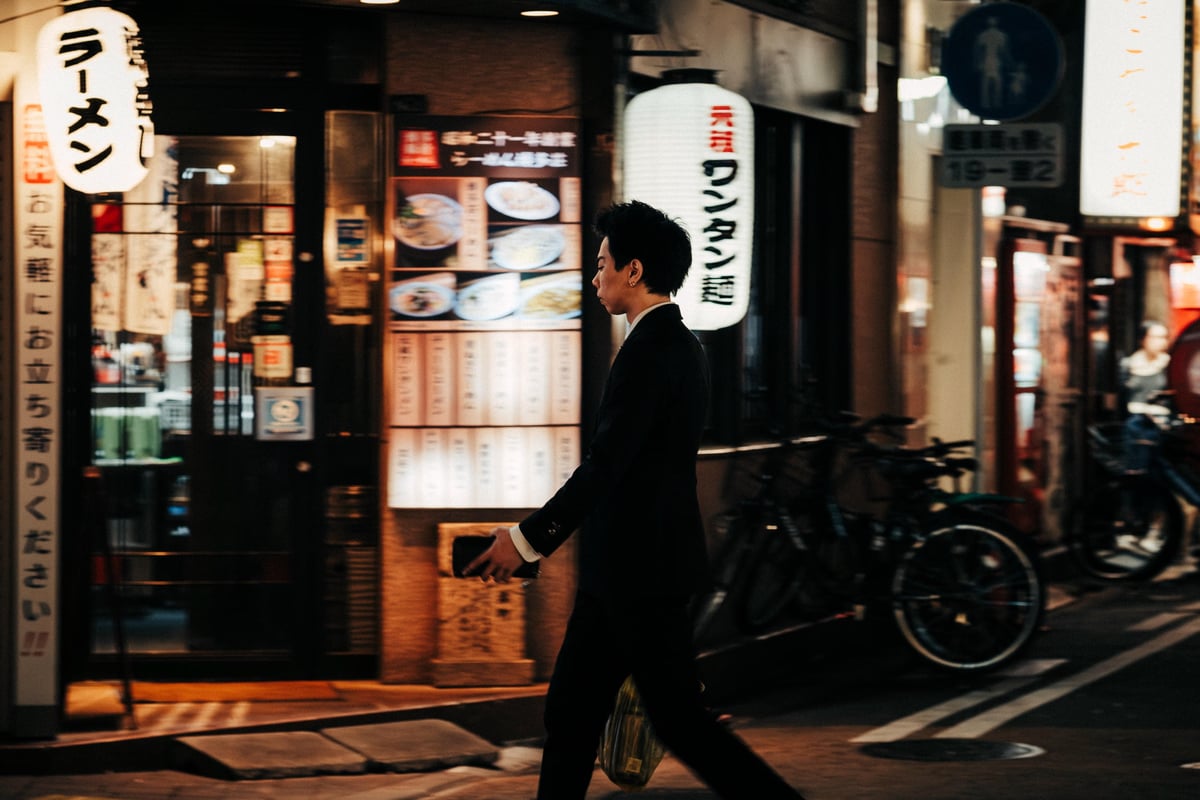
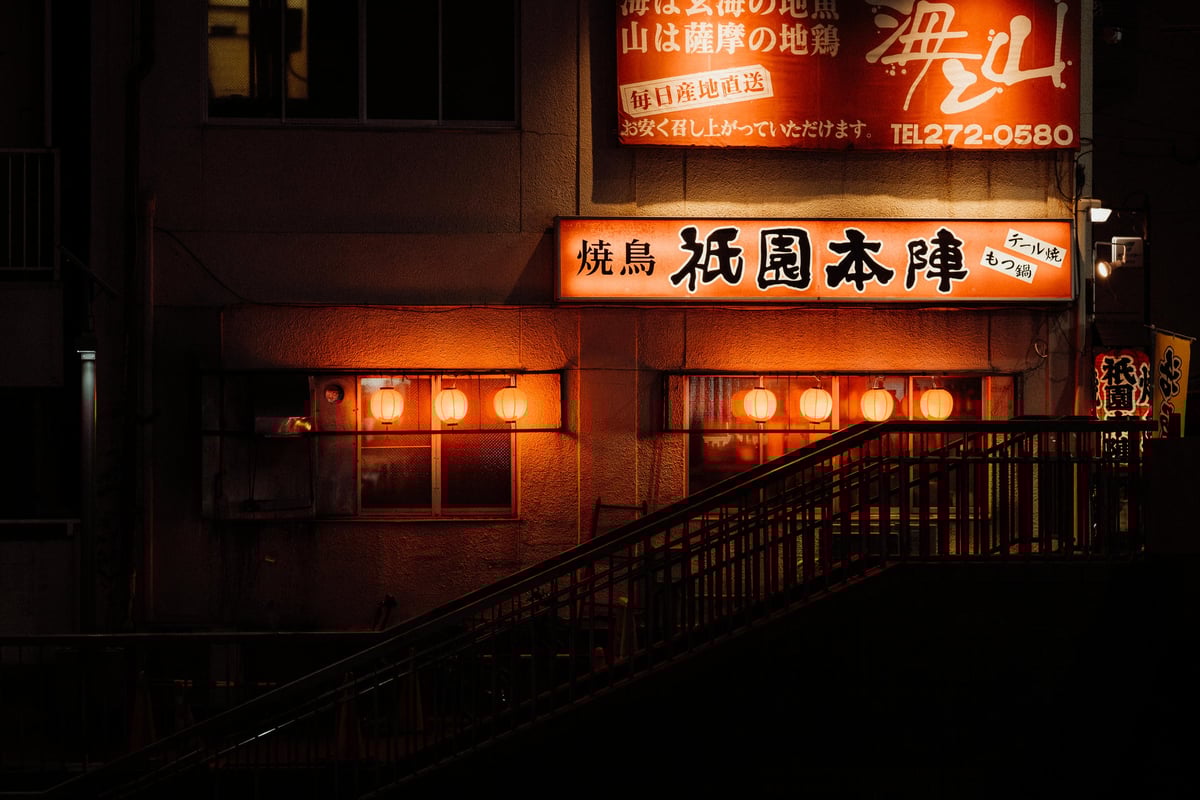
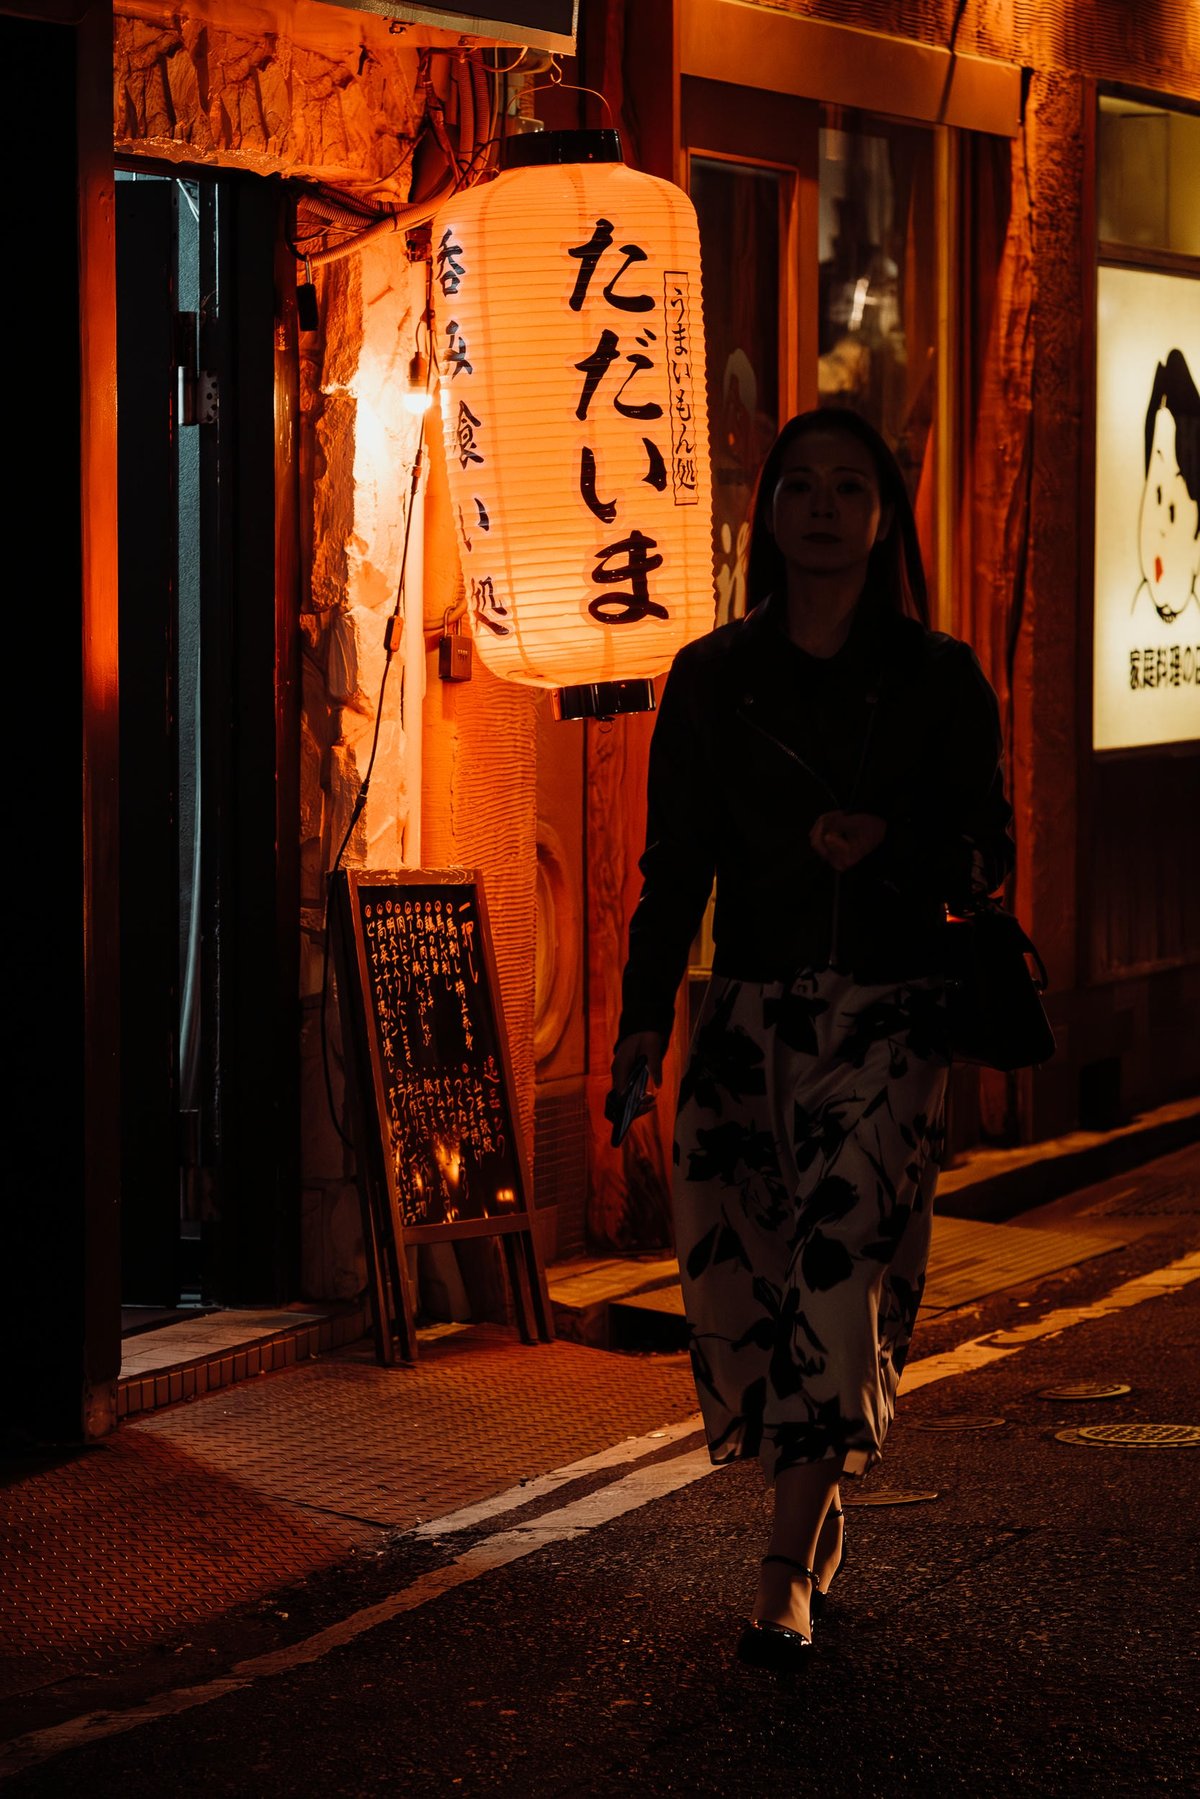
Kipon FX to M Macro Adapter Sample Images
Lens I’ve been using with the Kipon FX to M Macro adapter on the Fujifilm X-E5 are the Thypoch 75mm and 28mm f1.4 lenses, and the Brightin Star 28mm.


Leave a Reply to Steve Cancel reply