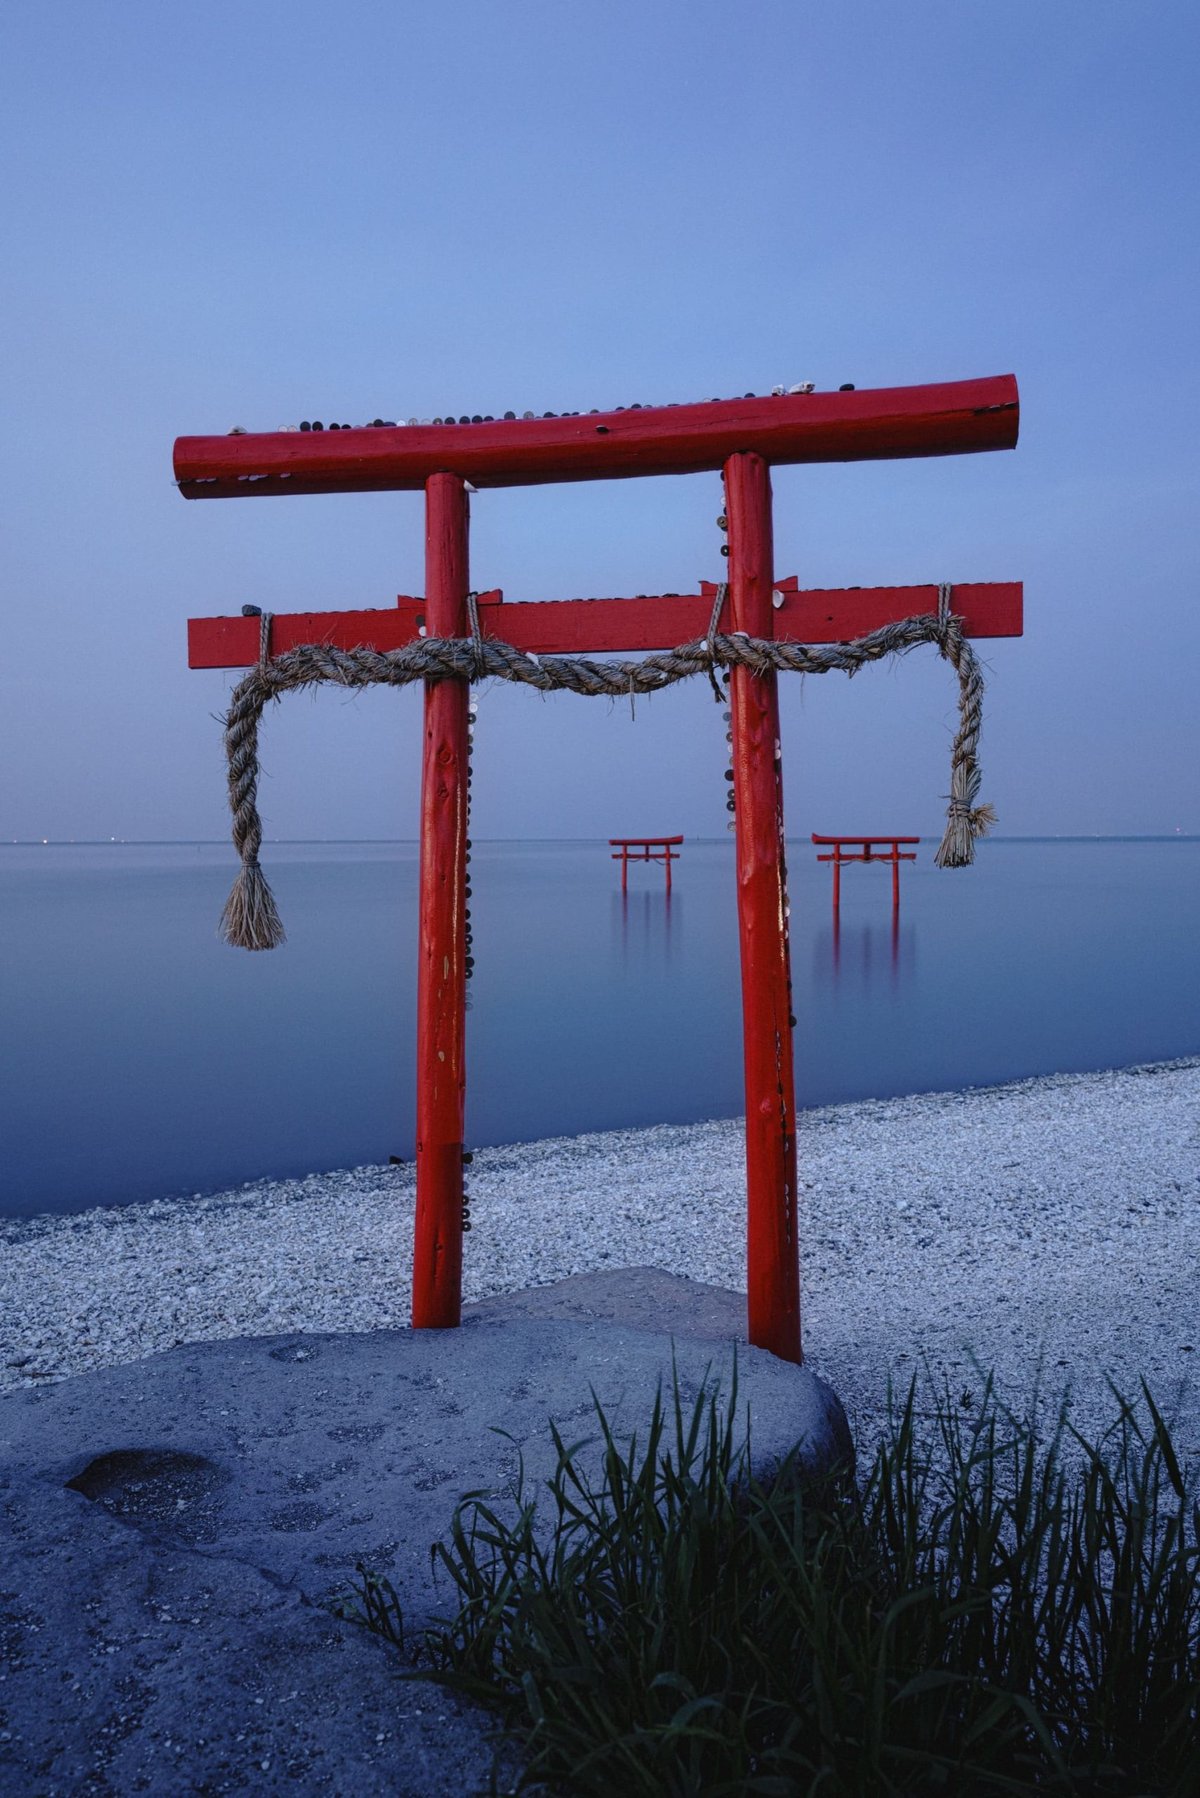
Deep within Kyushu island in the Ariake Sea of Japan are these cool Torii gates that get flooded twice a day with the high tide.
The official name for this spot is The Floating Torii Gate of Oouo Shrine.
They were built nearly 300 years ago by a repentant governor who had been left stranded on a nearby island by the locals he had oppressed. According to legend, he was saved by a giant fish called Namiuo, who carried him back to the shore. He dedicated the shrine and the gates to Namiuo and prayed for the prosperity of the fishing industry.
That’s usually how it goes with historical sites in Japan. A giant catfish, a giant fish, a mountain god, etc. Fun stuff.
Shooting The Floating Torii Gates
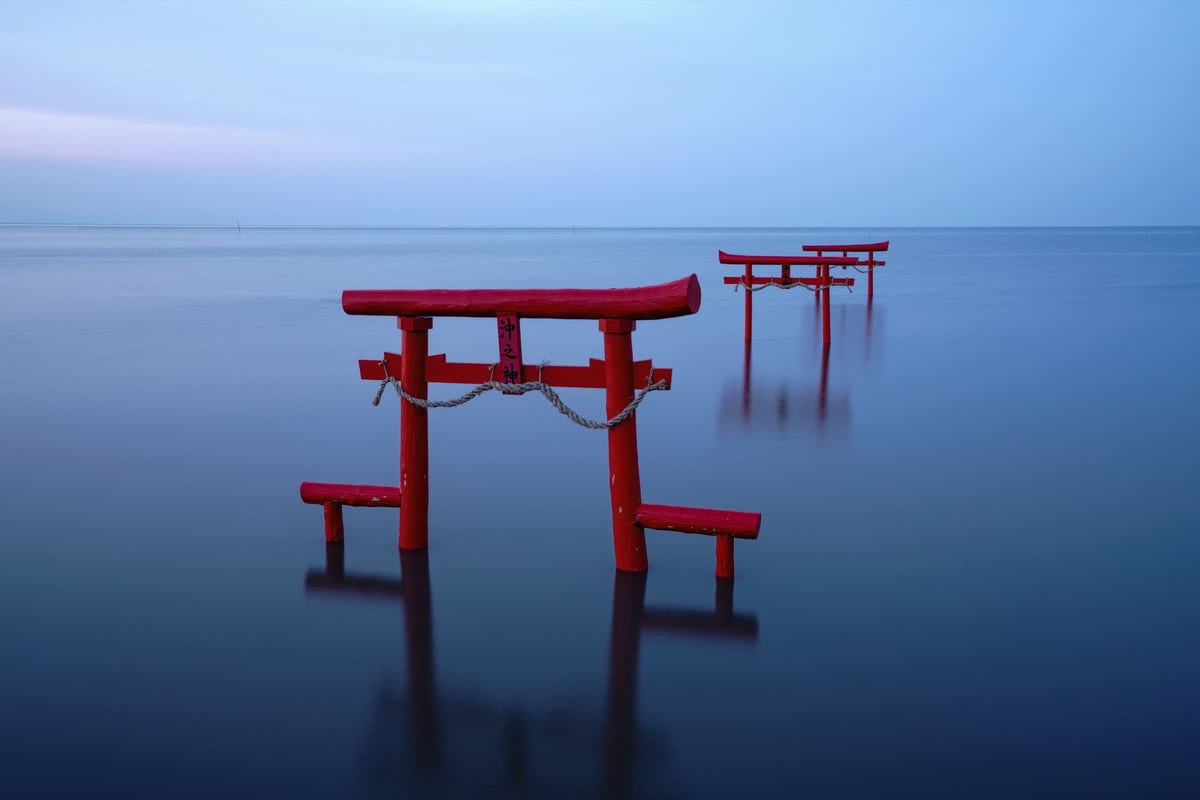
If you ever happen to go to southern Japan to the prefecture of Saga, this is a must-go spot if you’re a landscape photographer or just want to see something very unique and cool.
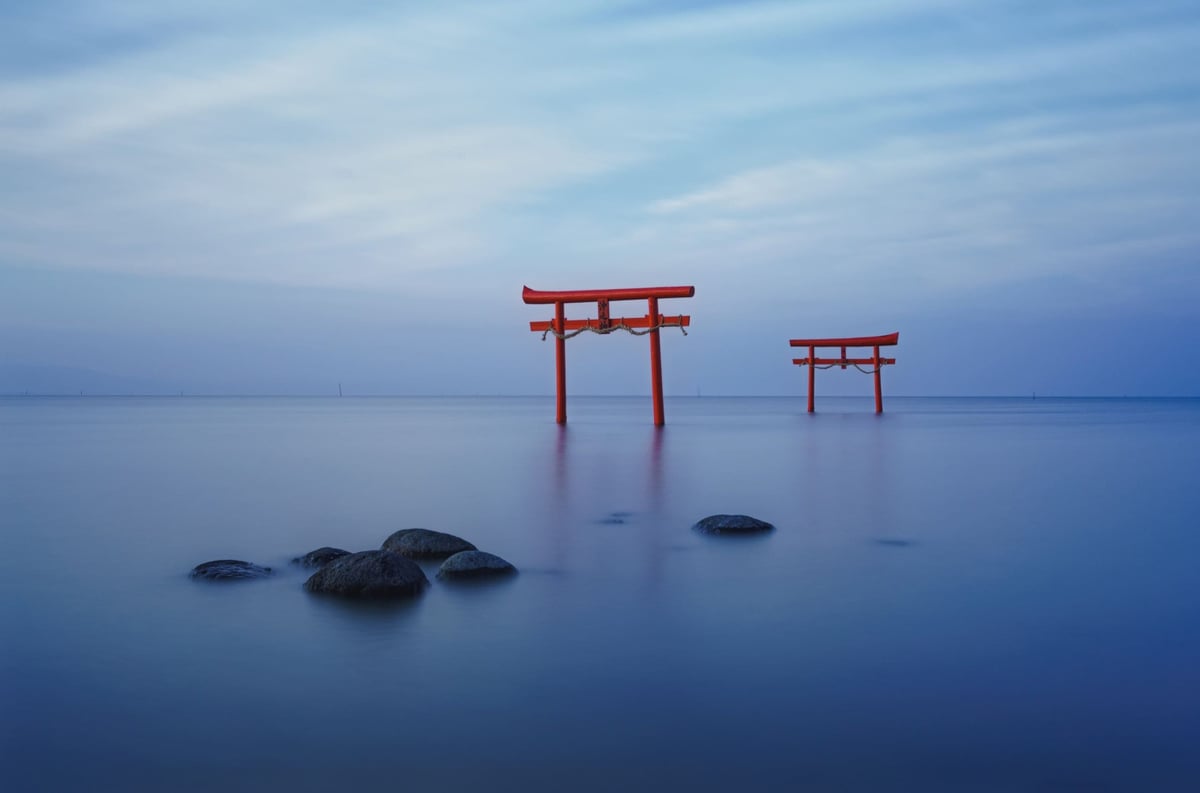
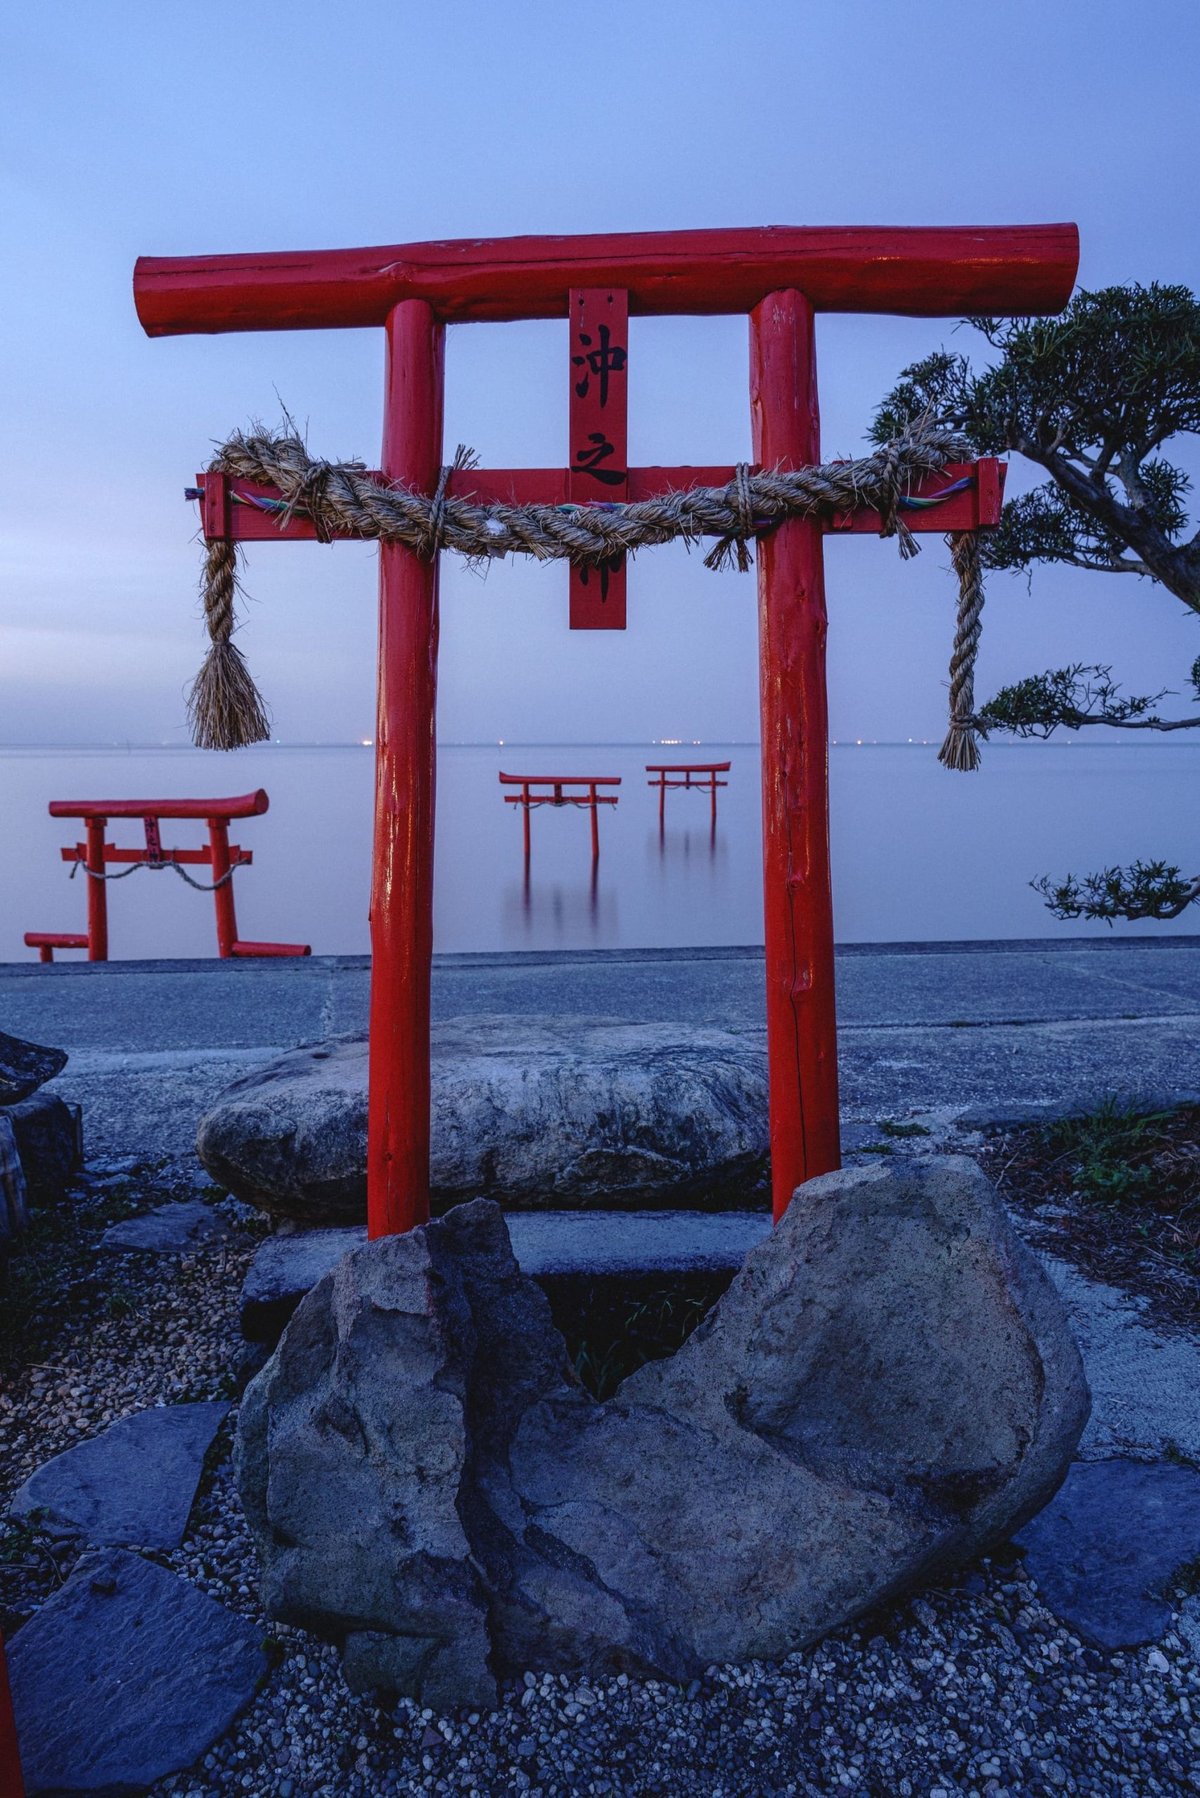
You can capture the three red gates from different perspectives, and they change dramatically with the tide. The Ariake Sea has a huge 6-meter tidal range, so the gates can be either submerged or exposed. I was lucky to be there when the tide was rising during the sunset. The water was so calm and still, it felt eerie.
The sunset was not very impressive, but the blue hour was stunning.
Bring a 10-stop ND filter. You’ll probably be fine with a 24-70mm lens but a 16-35mm is probably better and that is what I used. The Zeiss Sony 16-35mm f4.
Getting The Shots
There was nothing too complicated when processing these photos. It was blue hour and I was using a Firecrest 10-stop ND filter.
I use the Formatt Hitech Firecrest Elia Locardi 100mm Signature Edition, which works great with my Sony 16-35mm f4, and my Canon 24-105 f4. There is a touch of vignetting at the 16mm end but that’s not a huge deal since I often crop a little anyway. I like to shoot a little wider to get a little more of the scene than what I think I might need just in case I need to do some distortion correction, warp corrections, or slight recomposing in post.
I probably could have bought a bigger filter set, but this kit was very affordable, small, and works fine for me for now. It’s probably the best bang for the buck right now as well.
Being that I’m in Japan, if I do upgrade I’ll probably go with the Nisi filters. I’ve seen a few photographers around here using them and it seems like their kit is a bit higher in quality compared to my Formatt Hitech filters that I constantly have to forcefully pry, push, and pull in and out of the filter holders.
However, Firecrest filters are very good in that they don’t have much of a cast and they don’t vignette much either.
Processing
Processing these shots wasn’t too complicated because the ND filters and long exposures do a nice job of smoothing everything out. Getting the colors and tones right sometimes was a little more difficult and required a bit of noodling.
I’m still using Lightroom to catalog all my photos since my one giant catalog goes back for years now, I’m a career editor who needs Premiere and After Effects among other applications so I end up just subscribing to the whole suite.
Floating Torii Gates Workflow
This was my workflow for this series, but it’s kind of my general workflow for all my landscape shots unless I’m doing HDR, where I usually use Aurora or Lightroom. If the shot is very complicated and requires a ton of dodging and burning or manipulation, then I do most of the work in Photoshop with some effects in Luminar.
When importing into Lightroom, the first thing I do is change the camera profile. Either Camera Neutral or Deep Clear – when doing landscapes. There is a lot of bias with Sony color science, but their camera profiles can actually do a lot of good things if you use the right profile in the right situation. It helps me tremendously compared to starting with Lightroom defaults.
For this series of the Floating Torii Gate, it was all Luminar and Lightroom, but one image I shot with a focus stack so I had to use Photoshop to blend them together.
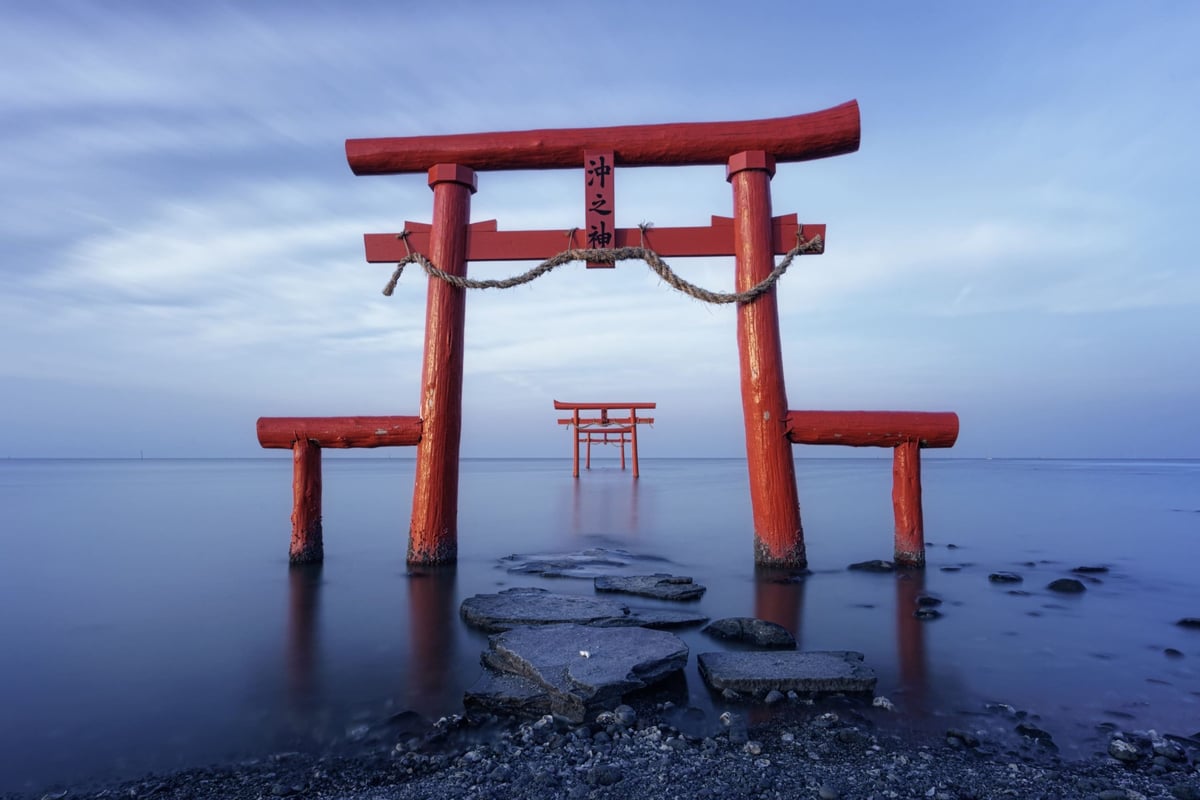
I mostly noodle the white balance and general colors in Lightroom with some spot removal, then import into Luminar 3 where I usually do the rest of the work.
In Luminar, I do some dodging and burning with a few more tonal adjustments and color adjustments that you just can’t do in Lightroom. Luminar is kind of like Photoshop in that you have almost unlimited options with how you can adjust things because of their layering and filter system. It makes it really easy to polish your photos to perfection. It’s kind of crazy to think about how far they’ve come in such a short amount of time.
The last thing I usually do is add sharpening and detail enhancements then top it off with some effects.
I usually use some light Orton Effect, Soft Focus, or Sunrays on my landscape photos. Sometimes all three effects together with a very low opacity to the layer, I just use one. For these photos, I was using a very light Orton Effect with the Amount slider set to about 10 for most shots with all the other settings noodled for each shot.
Finally, I always go back to Lightroom where I organize everything and program in all the metadata before exporting.





Leave a Reply