If you’re struggling to play 4k, 8k, or HEVC footage and don’t have a very fast computer or don’t have a very fast hard drive, you might want to consider using Proxies in Premiere Pro.
Here is a quick guide showing you how to use Proxy editing in Premiere Pro.
How To Make Proxies
It’s super easy but requires a few steps.
Premiere Pro comes proxy-ready. It’s all set up; all you need to do is add the toggle buttons to your UI so you can turn them on and off. (You’ll also need to have the media encoder installed and working correctly.)
Toggle Proxies In Premiere – Adding the Toggle Button
On your playback window and clip viewer, click the little plus button at the bottom right.
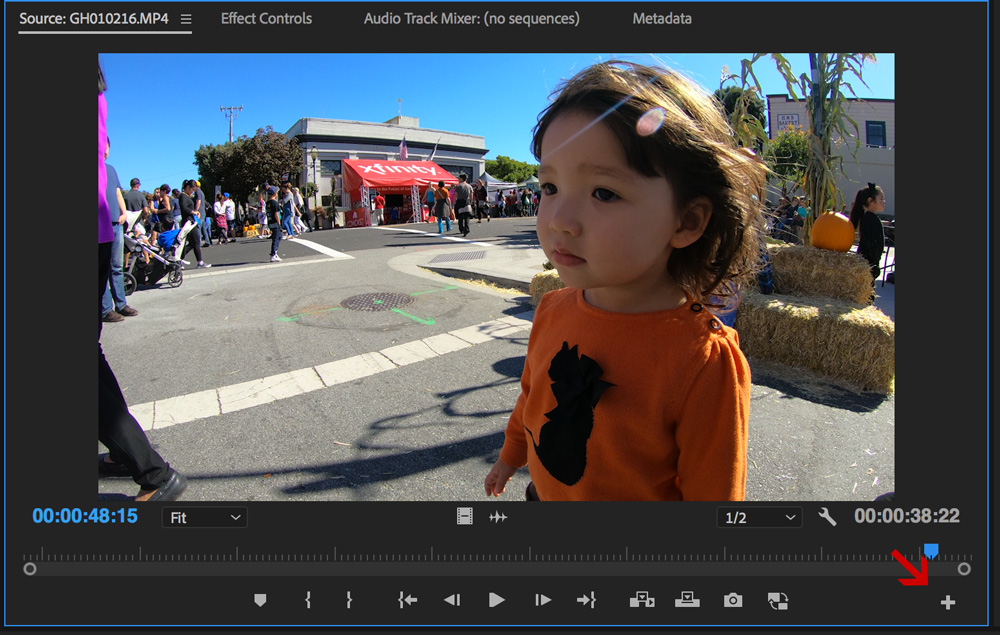
Once that is open, you’ll want to drag the Proxy Icon to your bottom bar. I already have it in the image above so you can see where I like to put it.

This little button toggles the proxy on and off. It’s turned off in the image shown above.
Now you’re free to make your Proxies.
Creating Proxies In Premiere Pro
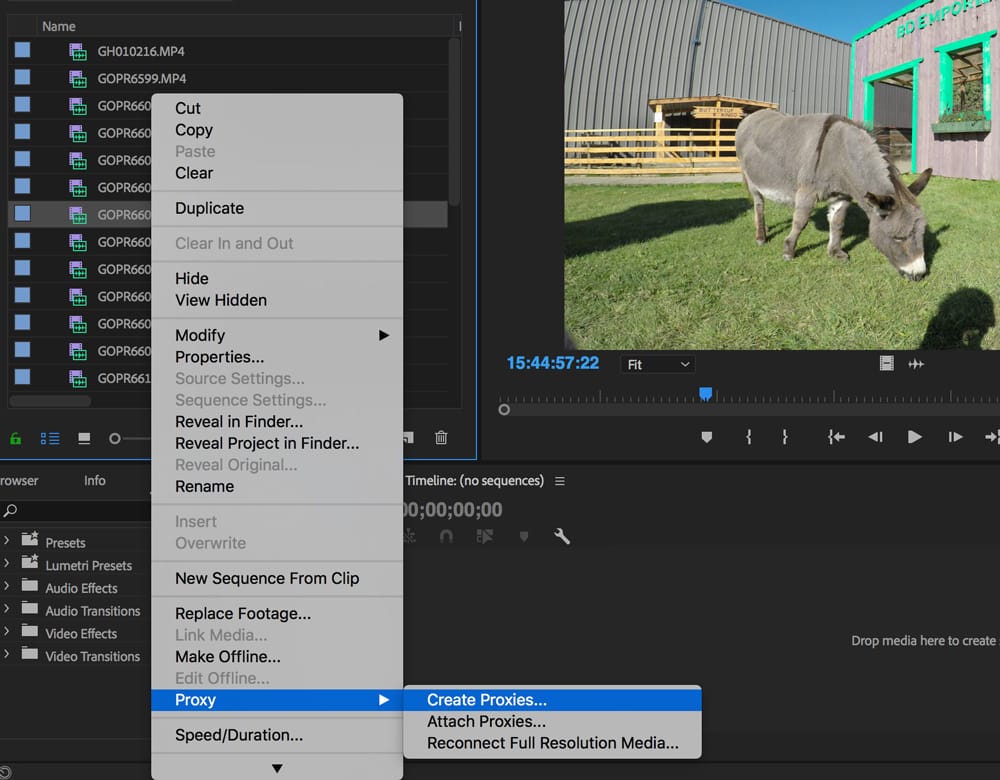
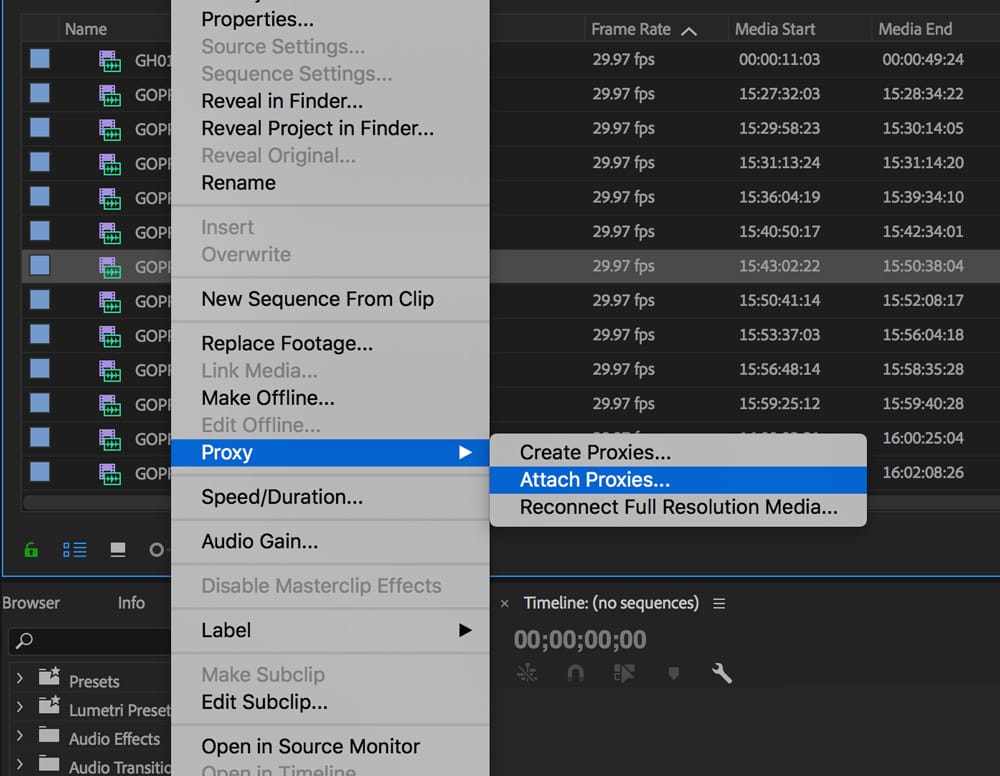
You create proxies by right-clicking any clip or multiple clips and selecting Proxy -> Create Proxy.
Next, you’ll have a proxy dialogue.
I always like to put my proxies next to the clips, but you can put them wherever you like.
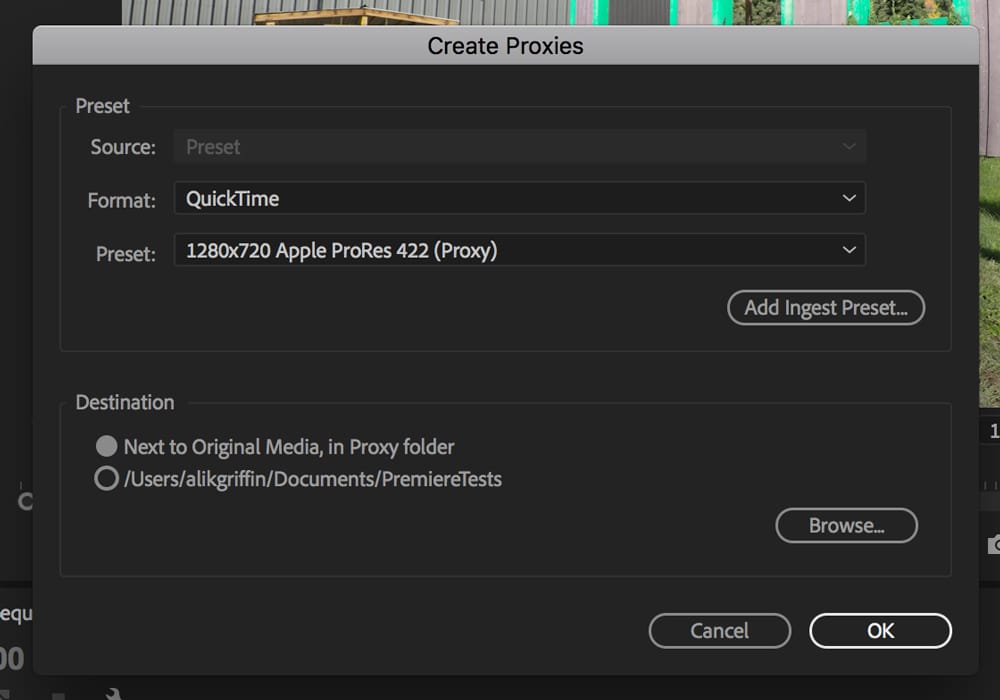
I have always liked to use ProRes 422 (Proxy). Sometimes, it’s important to have high-quality playback for client review, so I’ll create my own Ingest Preset with 1080p 422 in Adobe Media Encoder and add that for higher-quality proxies.
If you’re on PC, you can also use some form of DNxHD or the equivalent. I wouldn’t say I like using one of the default H264 proxies because it is a fairly resource-heavy codec.
That’s it. The Proxies will render and automatically attach.
You don’t have to use Premiere to make your proxies if you don’t want to. You can also use something like Devinci and then attach your proxies separately.
Attaching Proxies In Premiere
You can attach proxies by right-clicking on your clip, scrolling down to Proxies, and selecting Attach Proxy.
To see if you have Proxies attached, you can add the Proxy section to the metadata bar by right-clicking the bar and scrolling down to the Proxy Metadata tab.
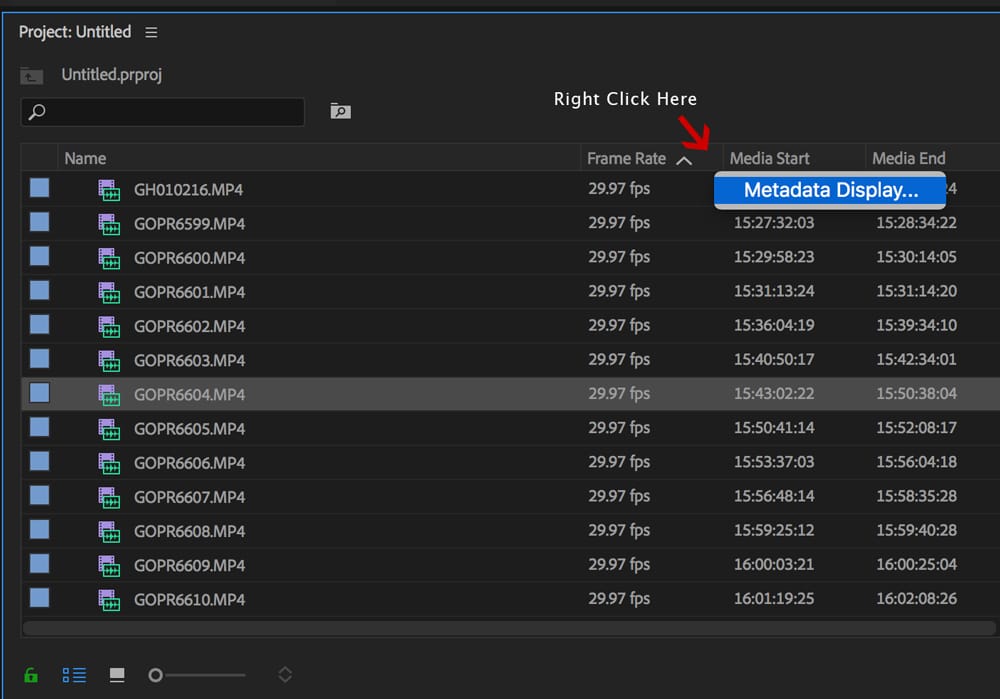
Now search “Proxy,” and you will have Metadata options to add to your window. I usually add “Proxy.”

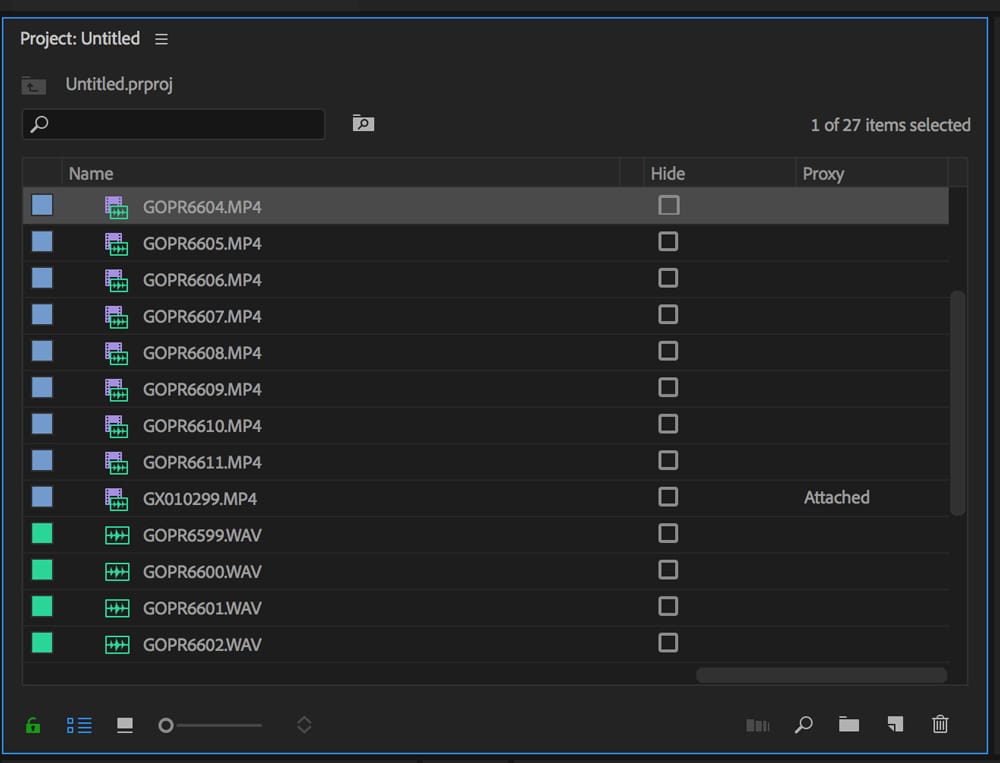
If you scroll to the very right in your Project clip viewing window, you will see whether you have a Proxy attached.
That’s it. It’s super easy; you can now edit with Proxies in just a few steps. The only hard part about this process is waiting for the Proxies to render.
Other Tips
With Media Encoder, you can build proxies with your resolution and aspect ratios. When I shoot with my GoPro, I often shoot 4:3, so you have to build custom proxies for those dimensions, which you need to set up in Media Encoder beforehand.


Leave a Reply