Shooting HDR on the Sony A7 or A7r isn’t the easiest thing to do out of the box. They just didn’t build great HDR controls into the camera. But here is how you can do it.
How To Set Up Your Sony A7 and A7r To Shoot HDR
Open the rear menu by pushing the Display Button or the Fn Button on the wheel. Select the cont. The shooting/timer menu option is at the top right. Your icon might look different depending on how you’ve set it.
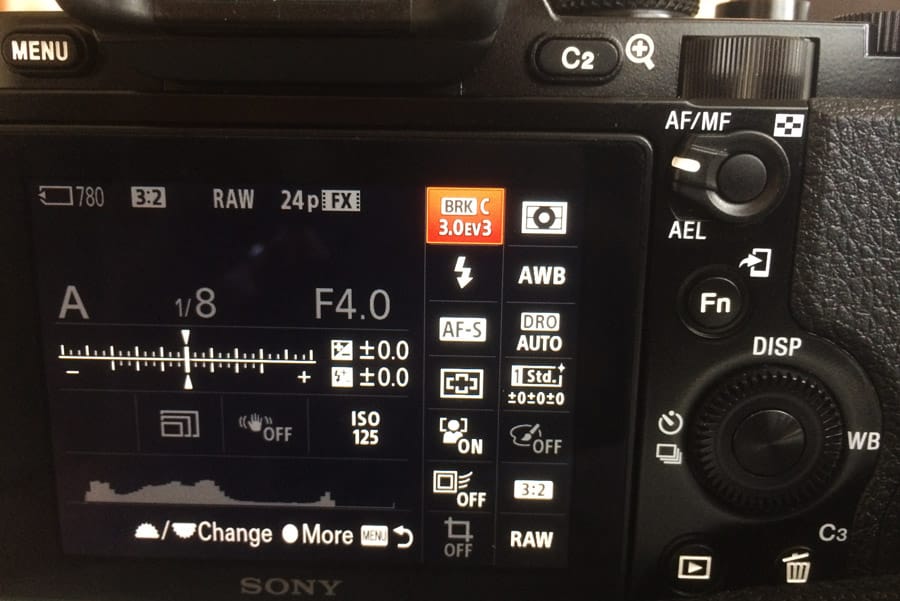
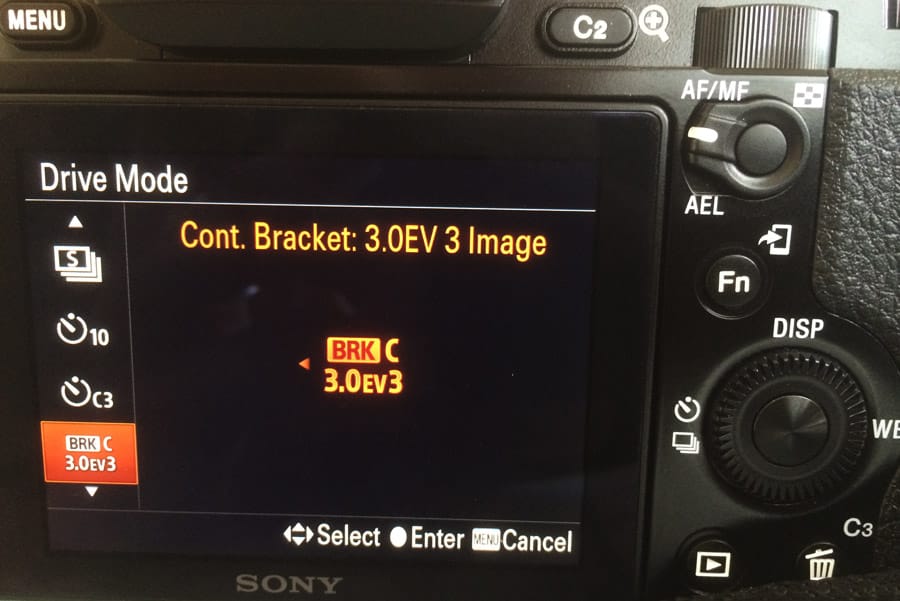
Scroll down and Select Continuous Bracketing.
You can toggle several different options to suit your needs. With the amazing dynamic range of the Sony A7r, I typically only need to do three stops at +-2ev.
You can also do 5 stops at +-0.7EV, which some say yields sharper results when tone mapping with Photomatix.
An important thing to remember is when you shoot the bracketed shots; you’ll have to press the shutter button and hold it down until all the shots are finished exposing. (Unless you have the IR remote)
You won’t be able to auto bracket with a countdown timer like you can with your Canon and Nikon cameras. You have to press the button manually throughout the sequence. So, to avoid camera shake, you must either adjust your exposures manually and use a countdown timer or get a remote.
Using An IR Remotes For Shooting HDR
I shot without one for 6 months, then finally found one that works great.
I couldn’t imagine shooting without it. It’s great not just for HDR but for general landscape photography as well.
Here Is What I Have Used
Sony RMTDSLR2 Wireless Remote – Amazon
Fototech IR Wireless Shutter Release Remote – Amazon
The Sony remote has a few more buttons than the FotoTech, including a play button and a control, which I use to review shots.
The FotoTech is cheaper and comes with a carrying case, but you only have two buttons. Single shot and 2-second countdown timer, which is all you need.
How Do You Shoot Low Light HDR Without The Remote?
I’ve found that the best way to shoot low-light HDR on the Sony A7 or A7r is to use the countdown timer to avoid camera shake.
You can do this by setting the camera to full manual or aperture priority and adjusting your exposure compensation by hand between each shot. I usually do it with the wheel on top.
Dial it manually from -2 to 0 to +2 with a two-second countdown timer. Just ensure your shutter speed changes, not your aperture or ISO. The unfortunate thing about doing it this way is your camera might move slightly between each exposure from you fiddling with the dials.
Unfortunately, the Sony A7r doesn’t have a better built-in HDR system, but at least the dynamic range is amazing. I find myself shooting HDR photography less and less because of this. It’s just not needed most of the time.
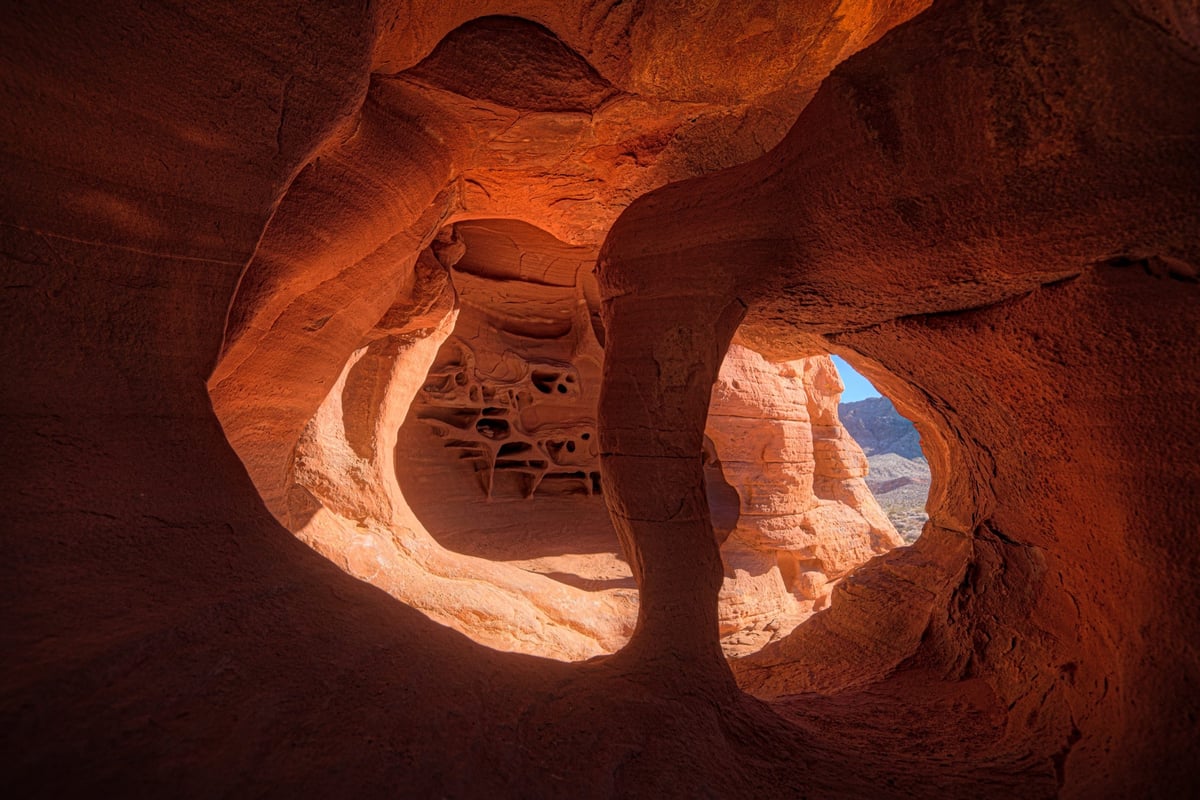
An HDR Shot The Manual Way With The Sony A7r

Hand Blended HDR – Fire Cave, Valley Of Fire Nevada
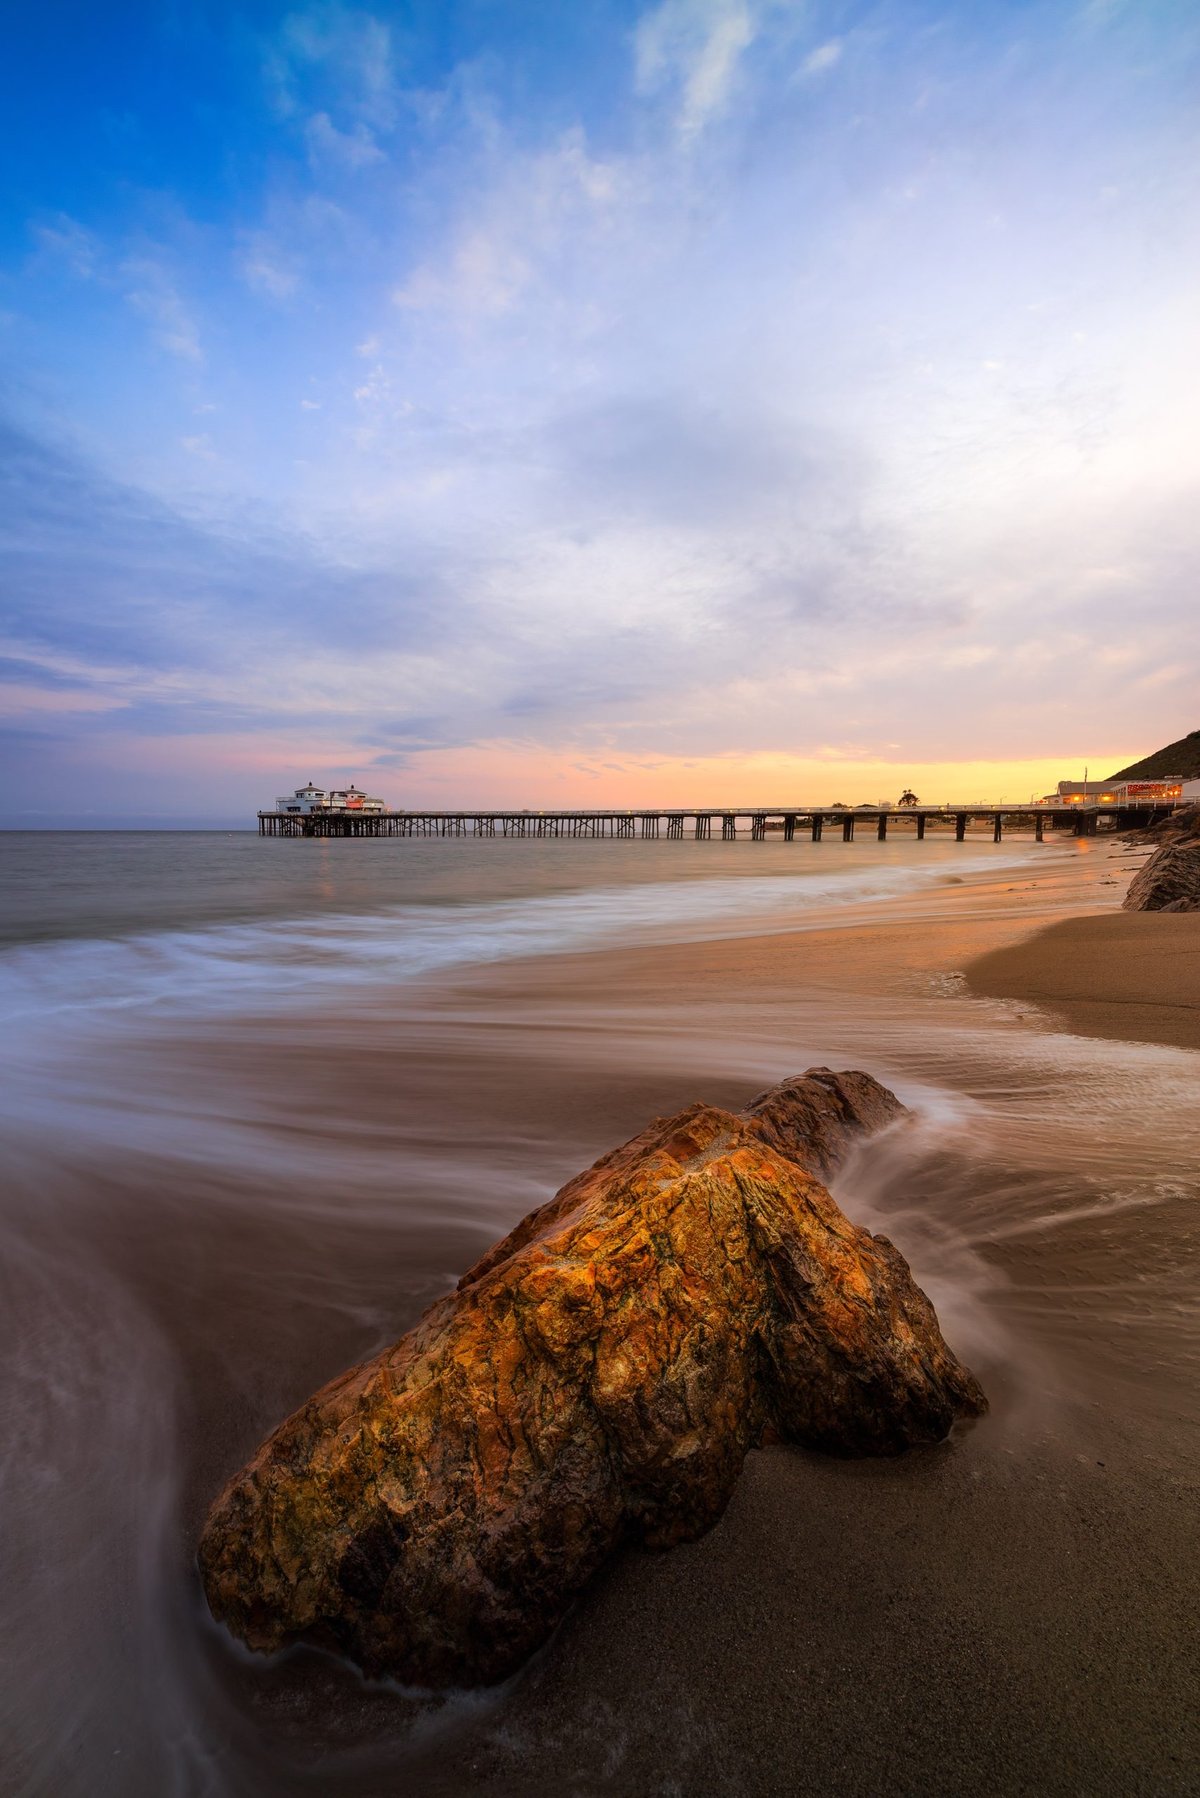
More Sample HDR Photos With The Sony A7r

Photomatix HDR – Kyoto, Japan


Leave a Reply