For years, the Samyang 12mm f2 has been the go-to lens for APS-C shooters looking for a great ultra-wide prime lens. For a while, it was the only viable option really and probably still is the best bang for the buck in terms of what you get and the pro-level image quality it outputs.
Today, there are a few new options that come in at a much more affordable price. Pergear and Brightin Star now both have their 12mm f2 lenses that are about half the price. There is also the 7Artisans and Meike 12mm f2.8 lenses, which are about the same price as the Pergear lens, but . . . f2.8. That may or may not matter for some, depending on if you shoot Astro or not – I have yet to test those lenses.
The thing I’m trying to figure out now is, whether is it worth paying almost double for the Rokinon 12mm f2 or just sticking with the Pergear 12mm f2 when it comes to casual photography.
This is not a comparison article, but just a general discussion from my experience with both lenses. I haven’t formally reviewed them, just used them a lot. Especially the Rokinon. So I’ll talk about what I like and don’t like about each lens.
You can see samples from the Pergear 12mm f2 here. Right away you’ll notice they don’t have the same bite as the Rokinon images, but the weather was definitely in the Rokinon’s favor when I went out shooting the other night, compared to the days before when I shot with the Pergear. Lighting was a little harsher on the days with the Pergear where the evening with the Samyang had a beautiful soft haze in the air, so I’ll keep shooting with the Pergear to get a sense of the situations it can handle.
I also have a perfect copy of the Rokinon where my Pergear lens has a few issues – decentered elements softening the right side, and there is some contact cement or something on one of the inter elements on the left side.
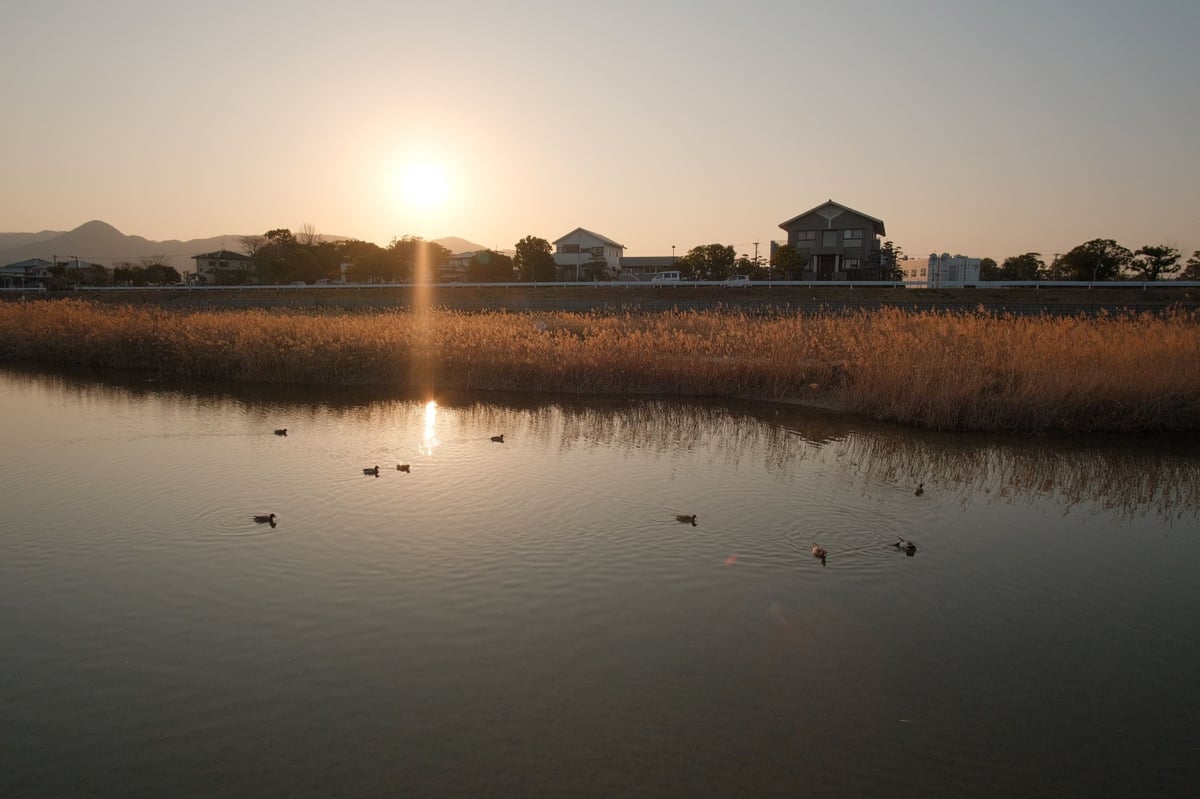
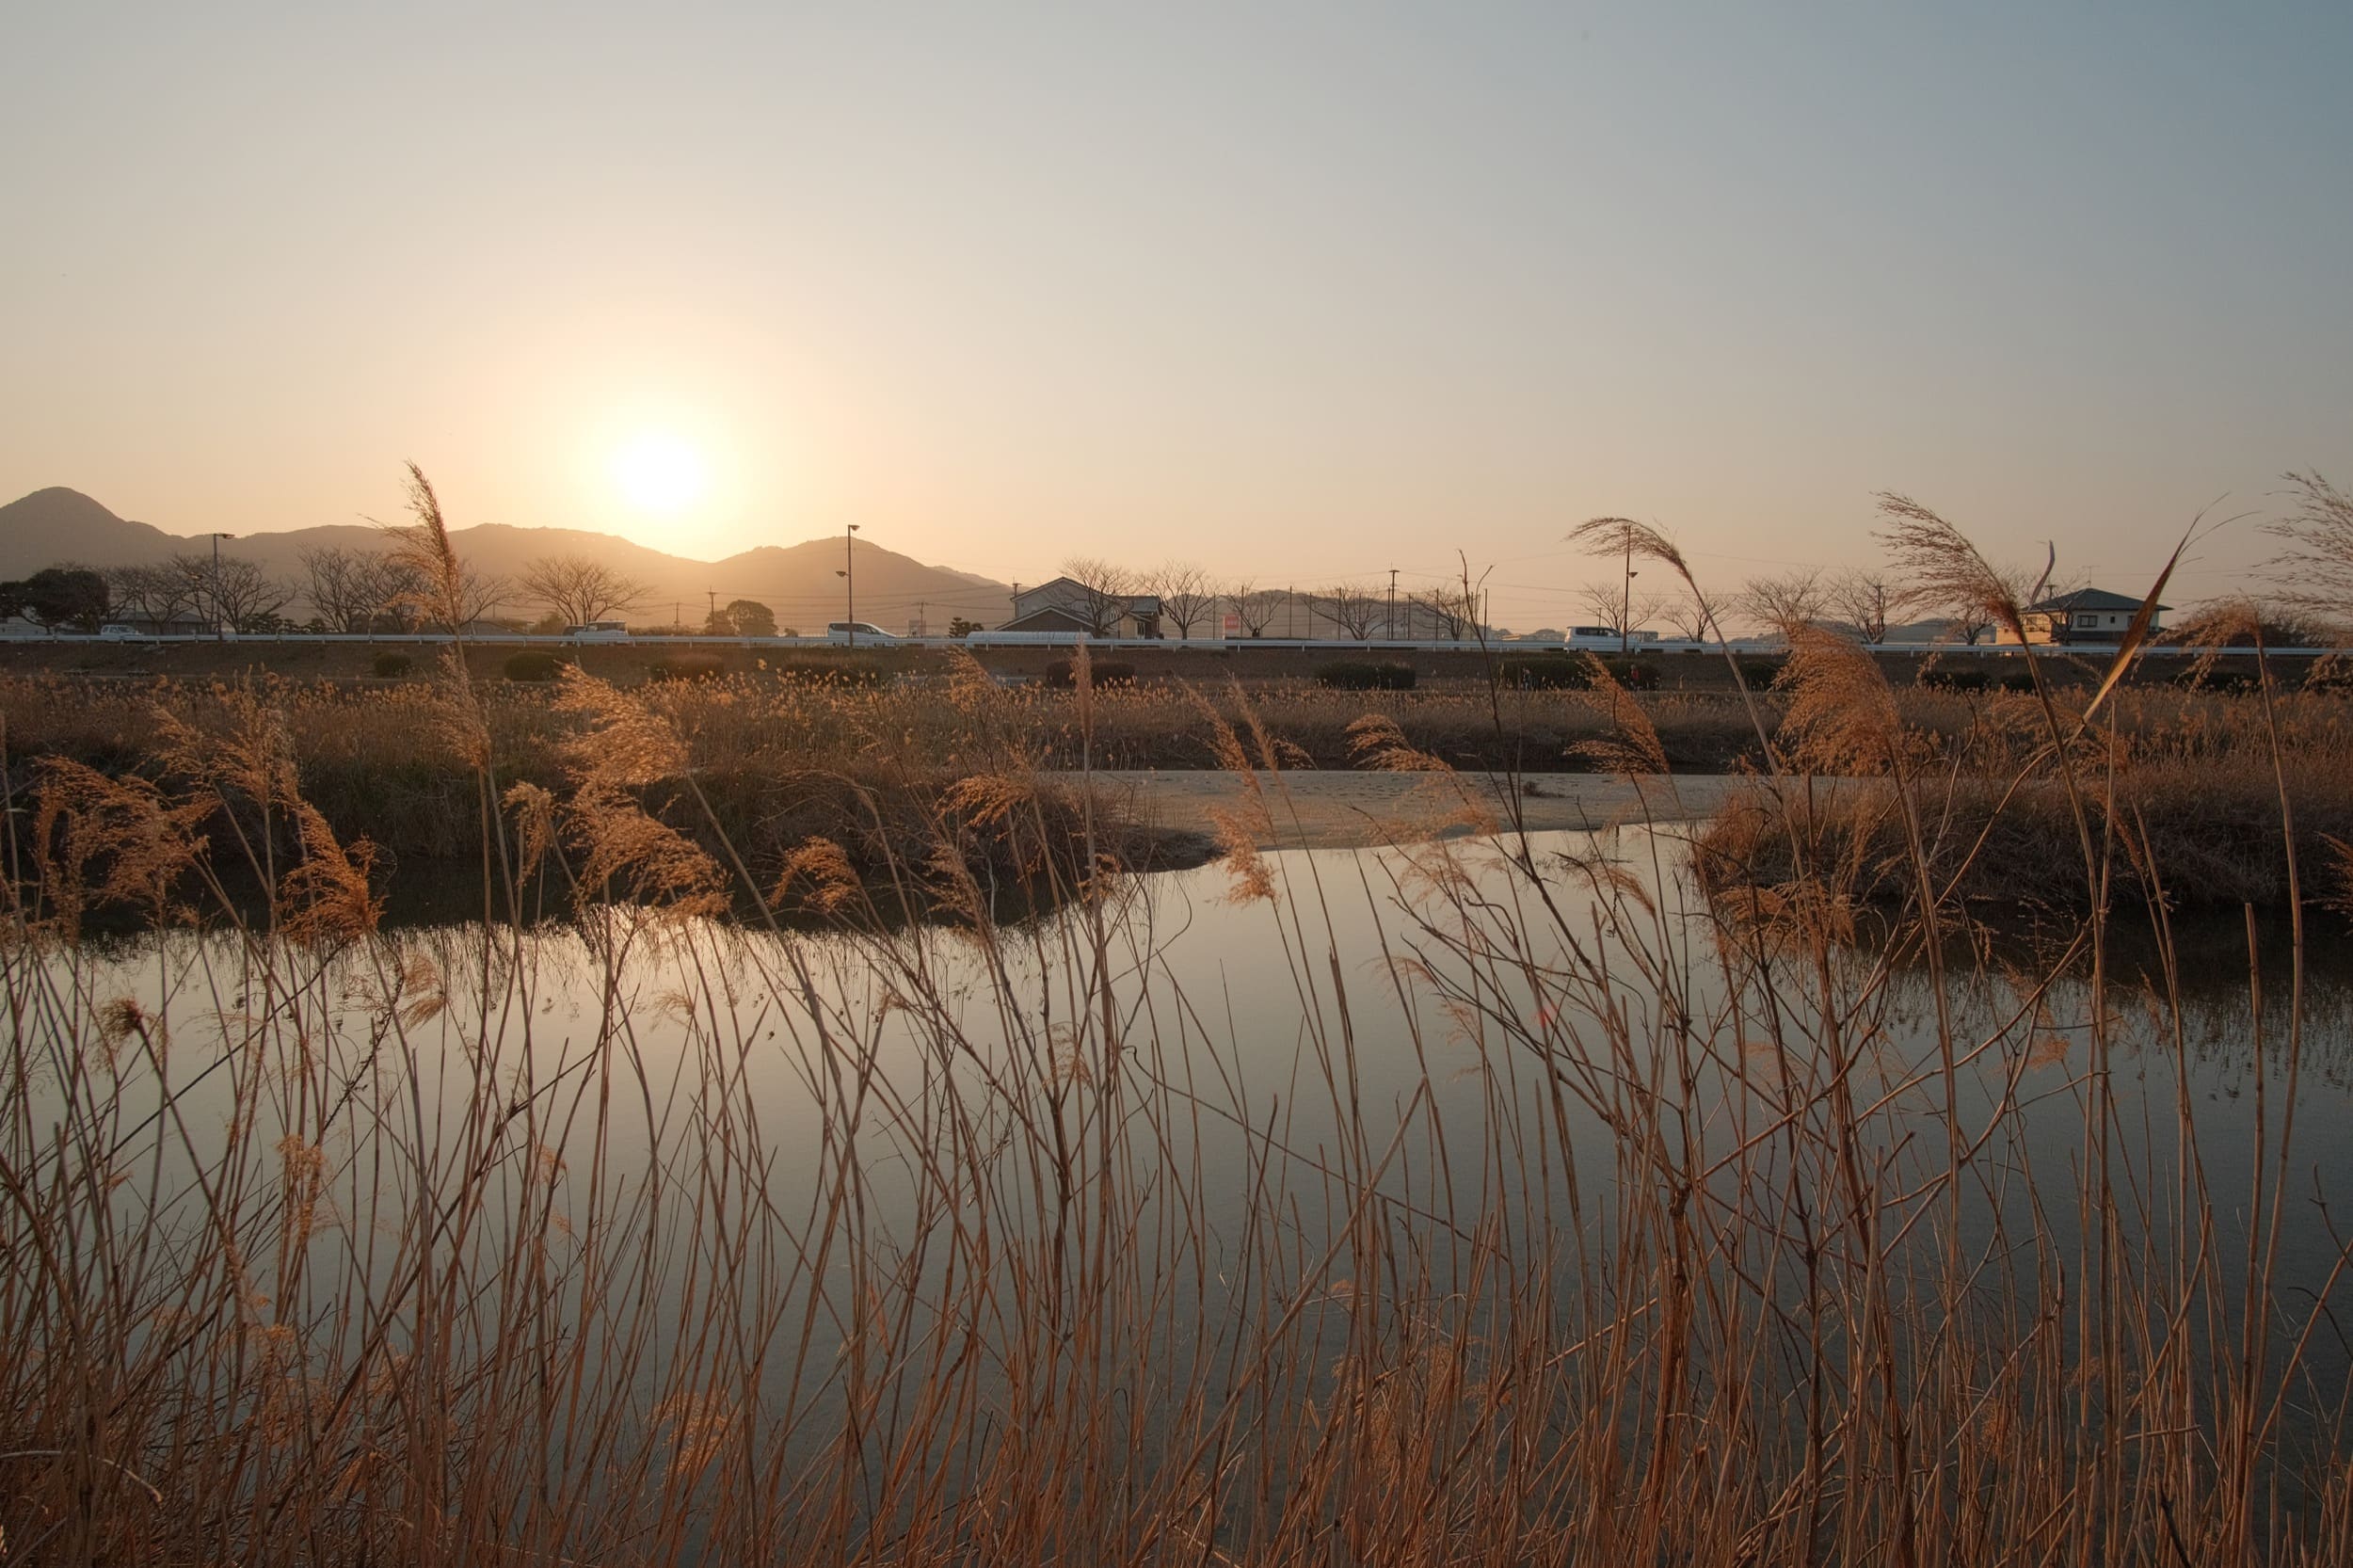
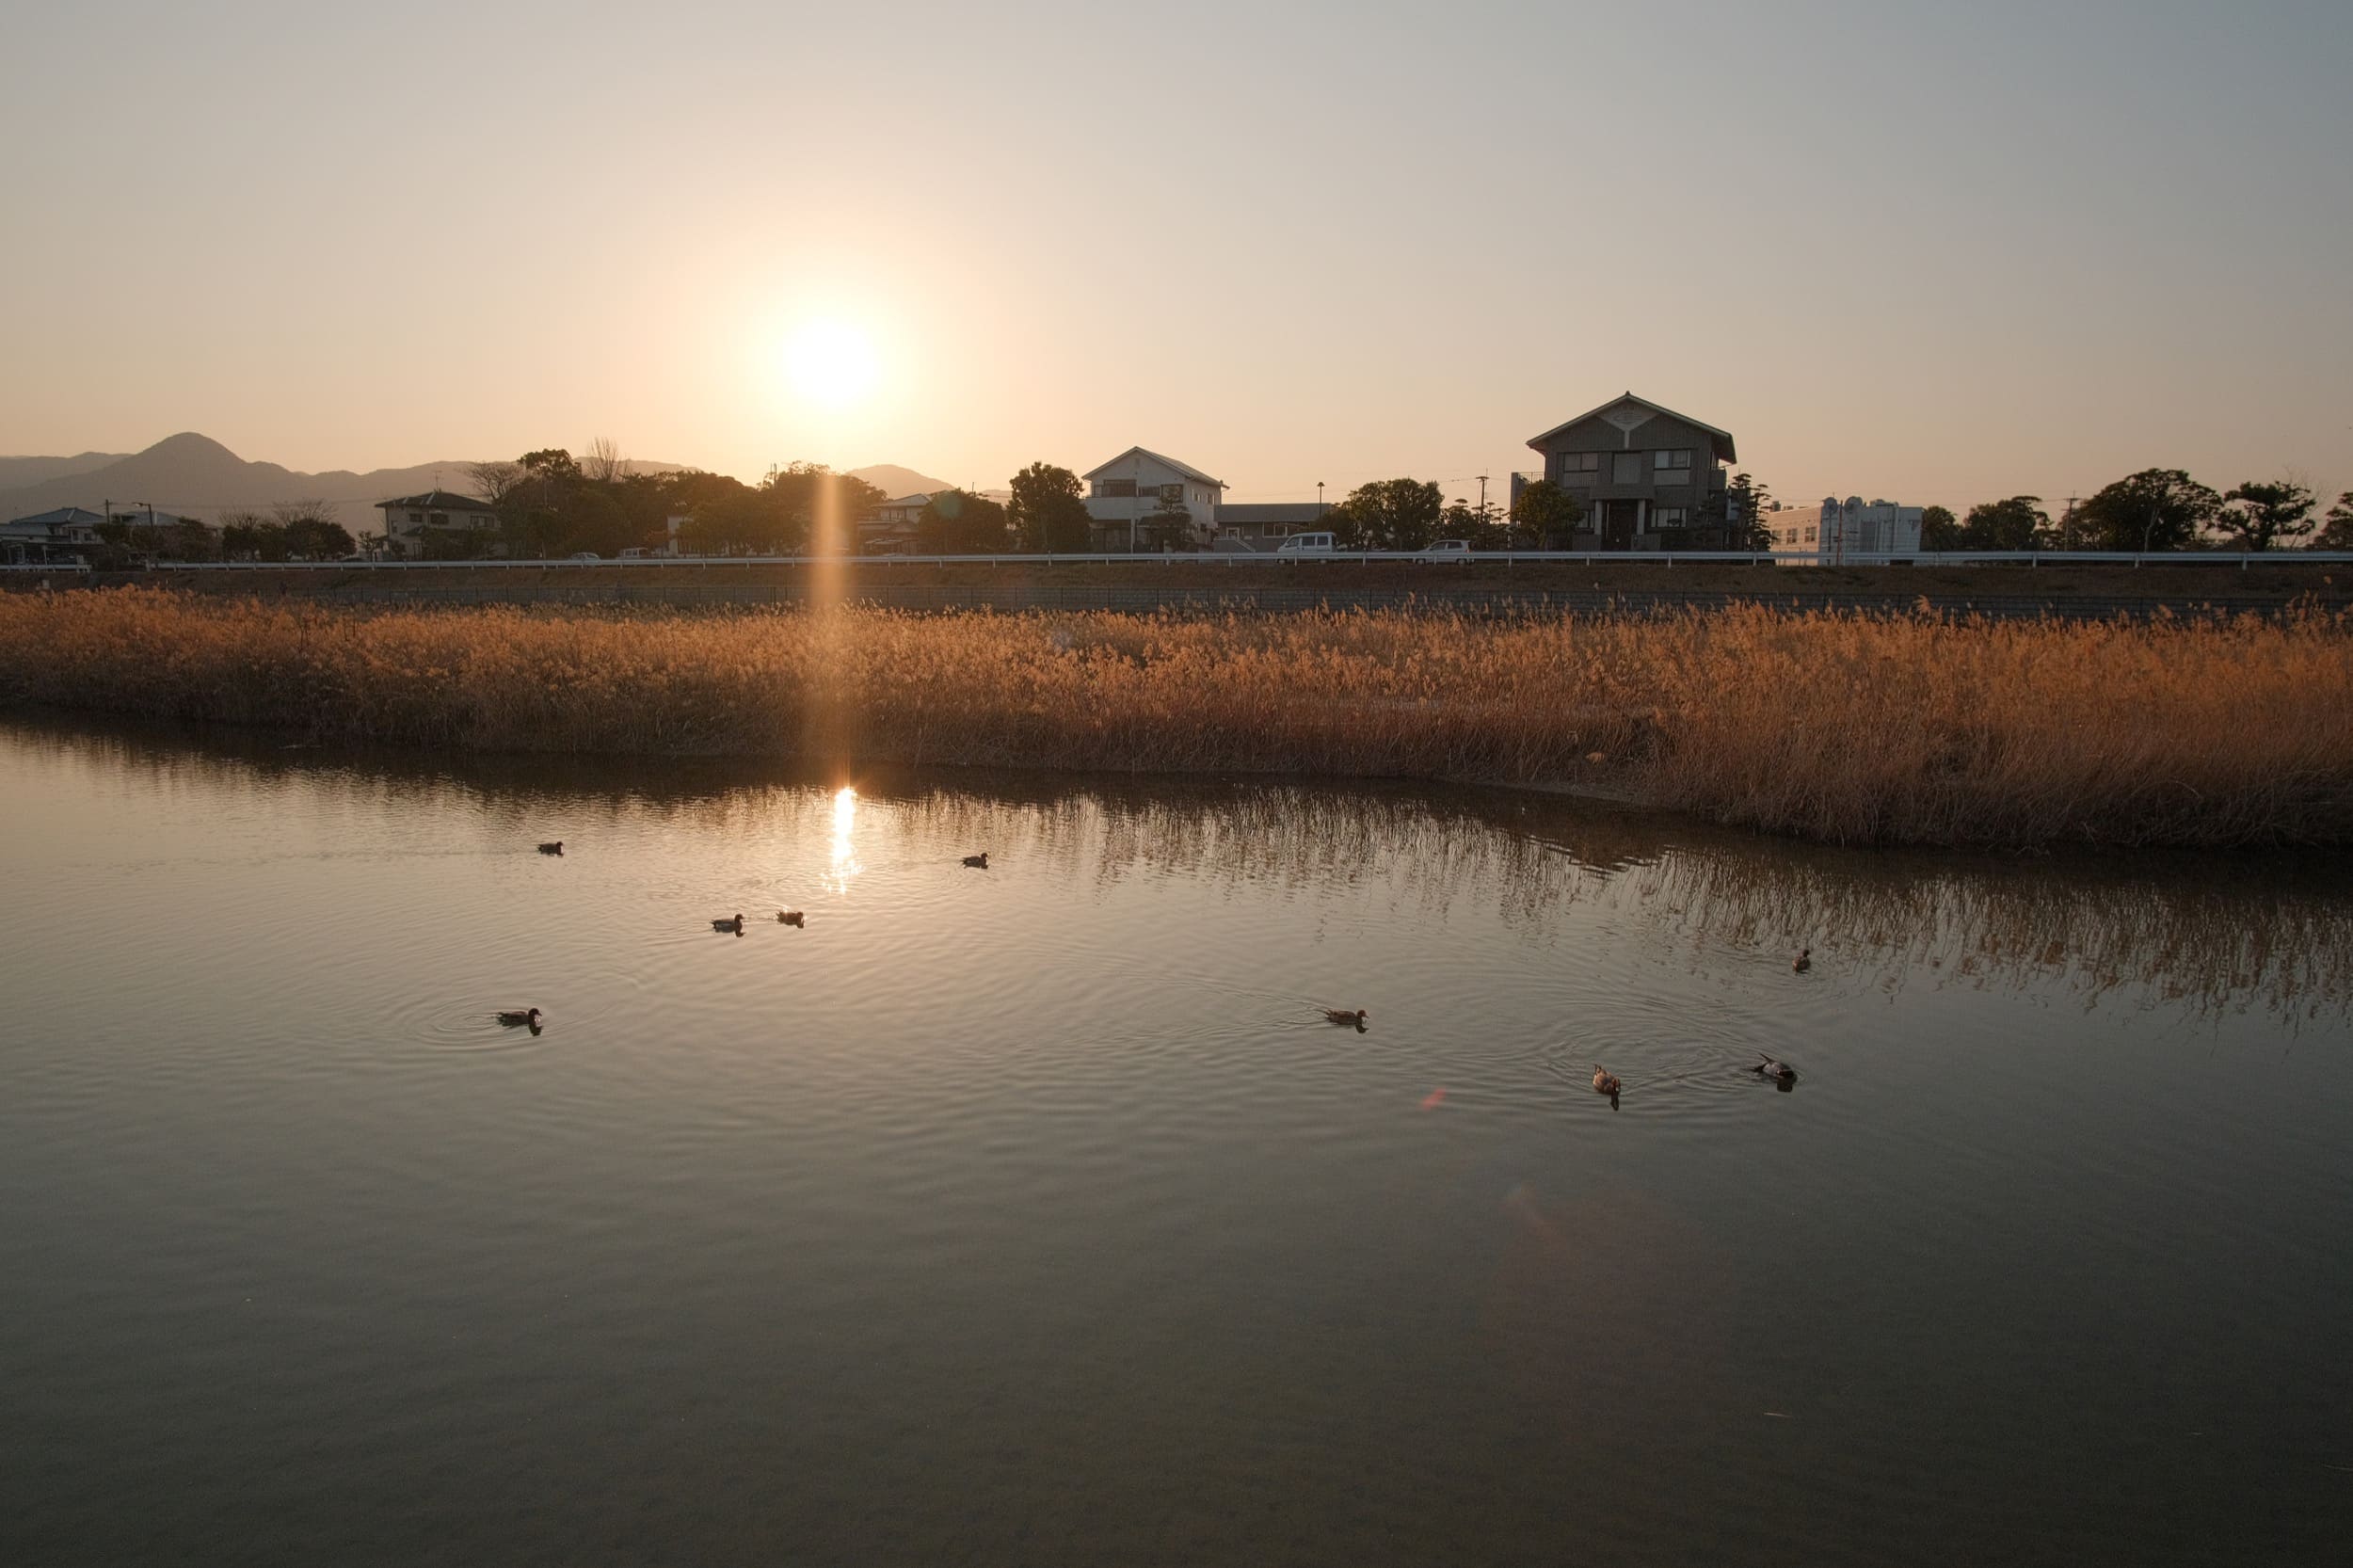
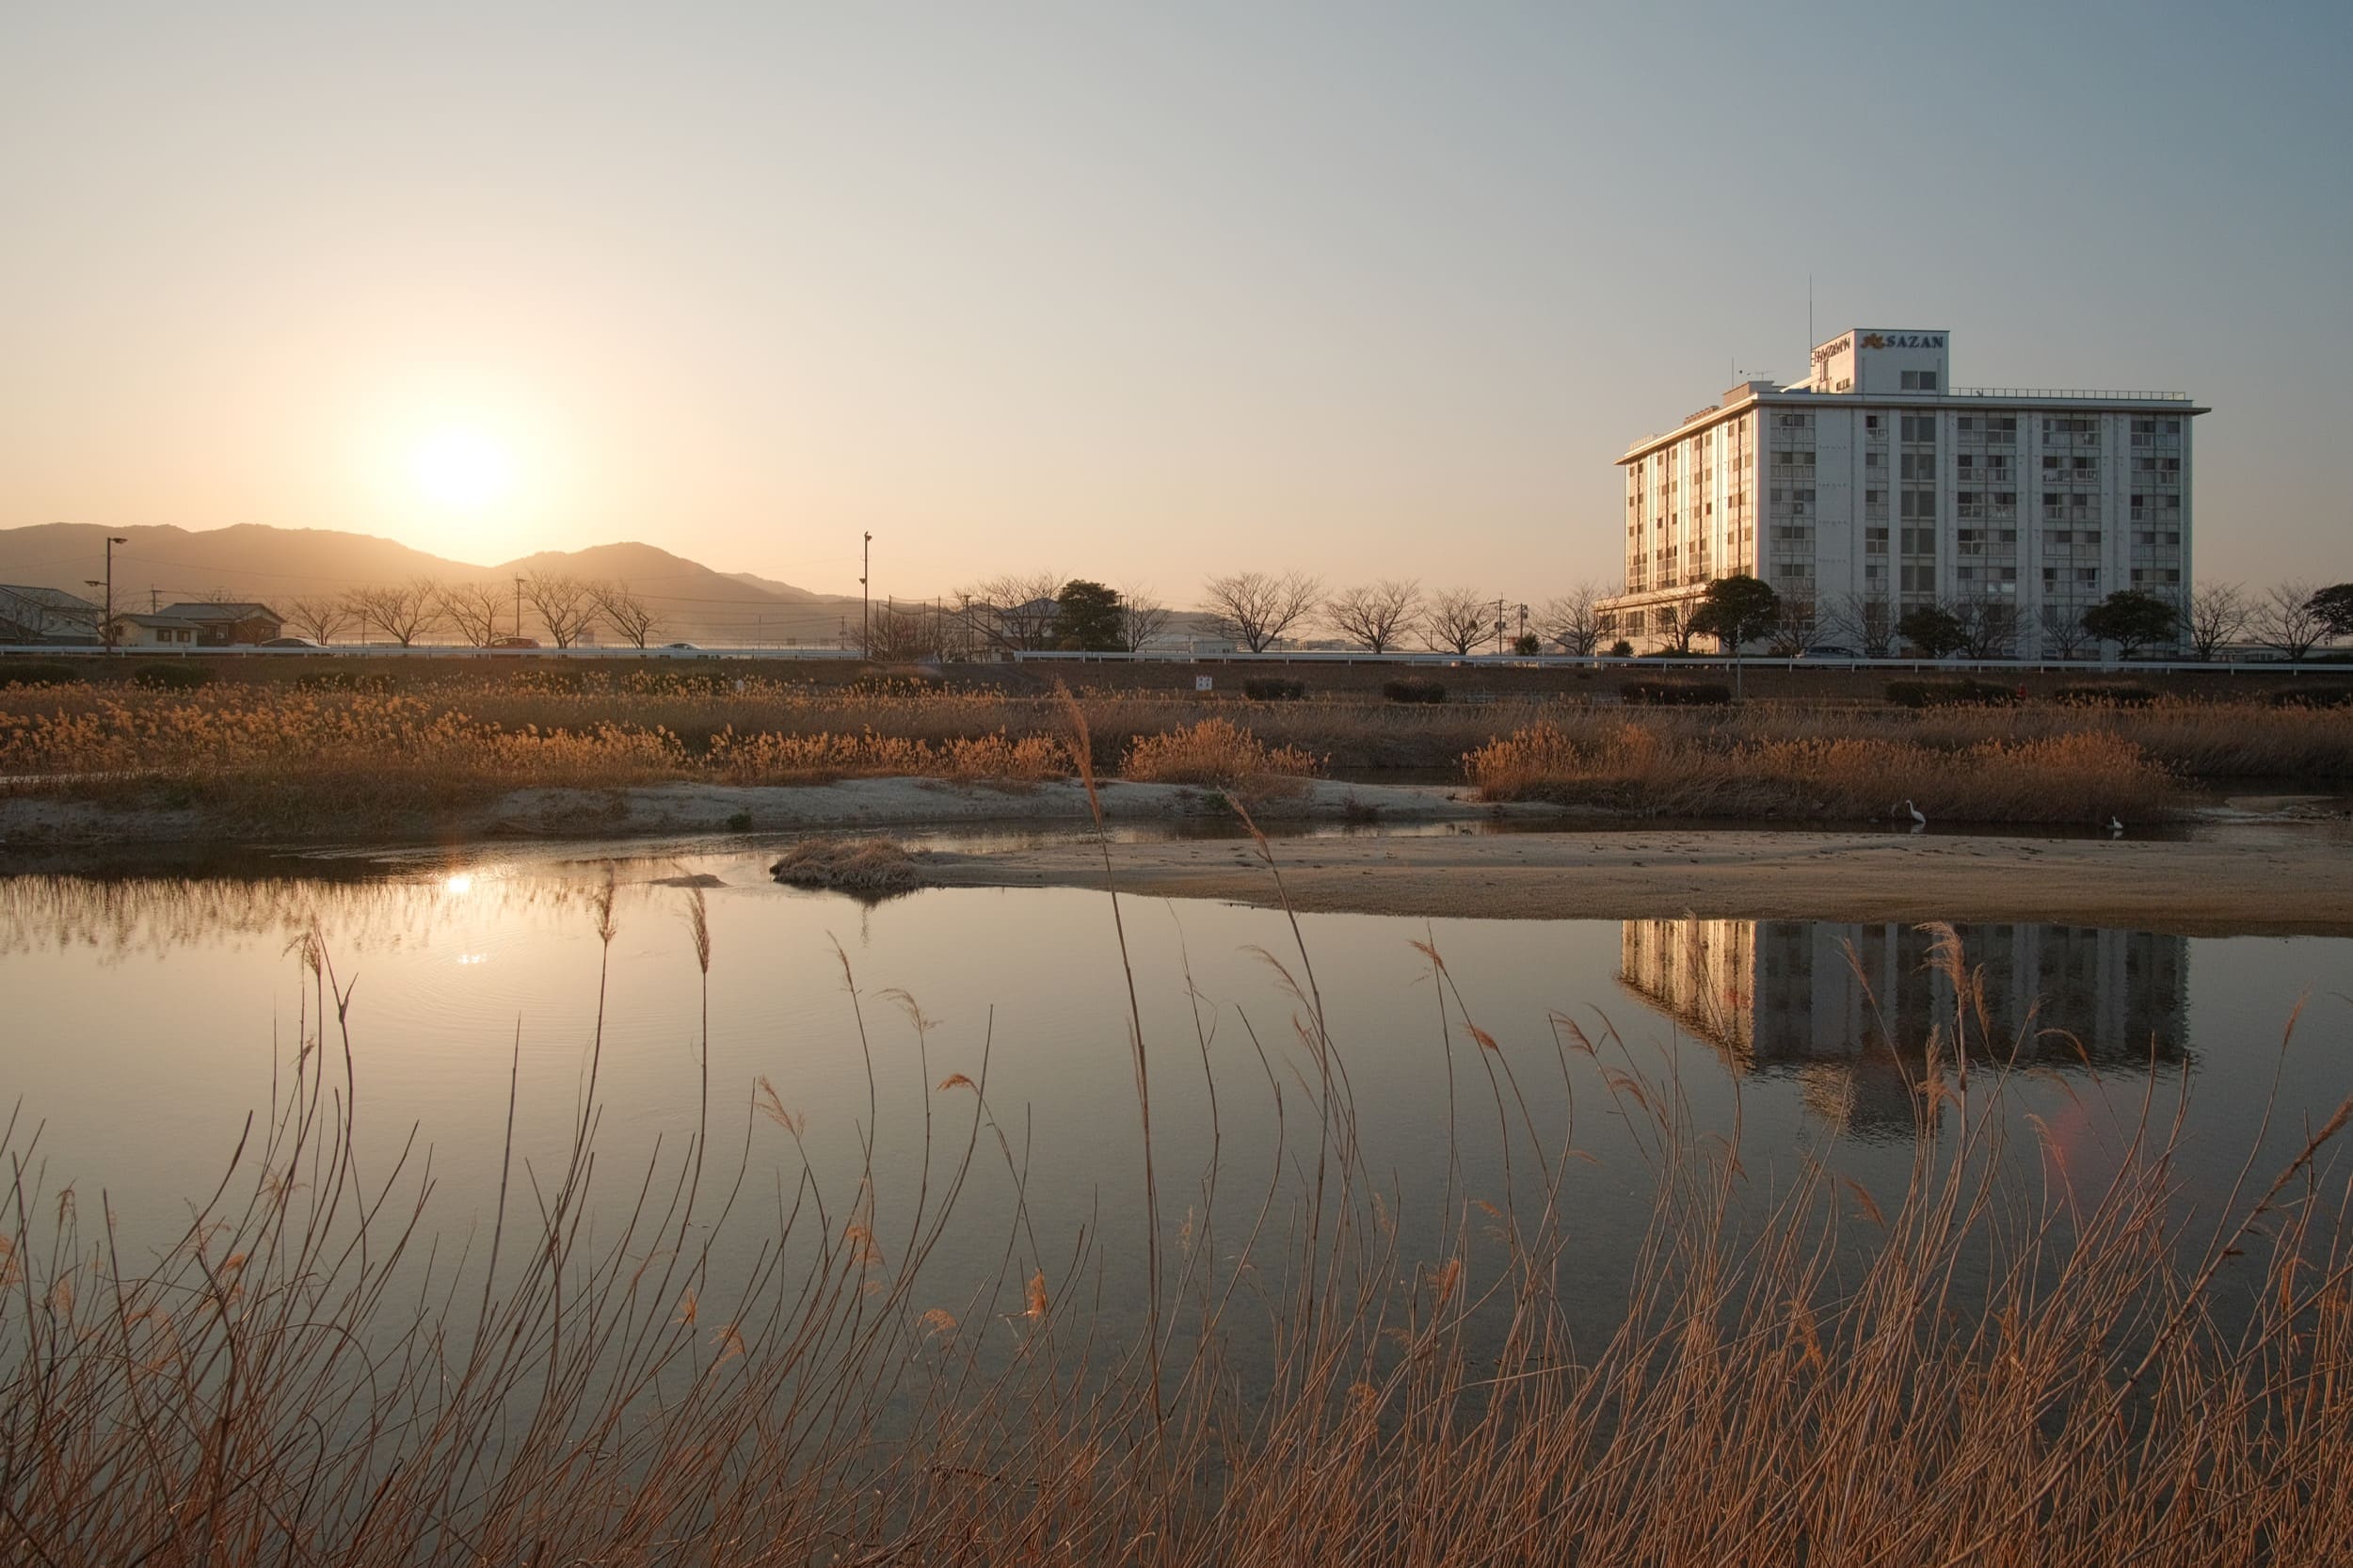
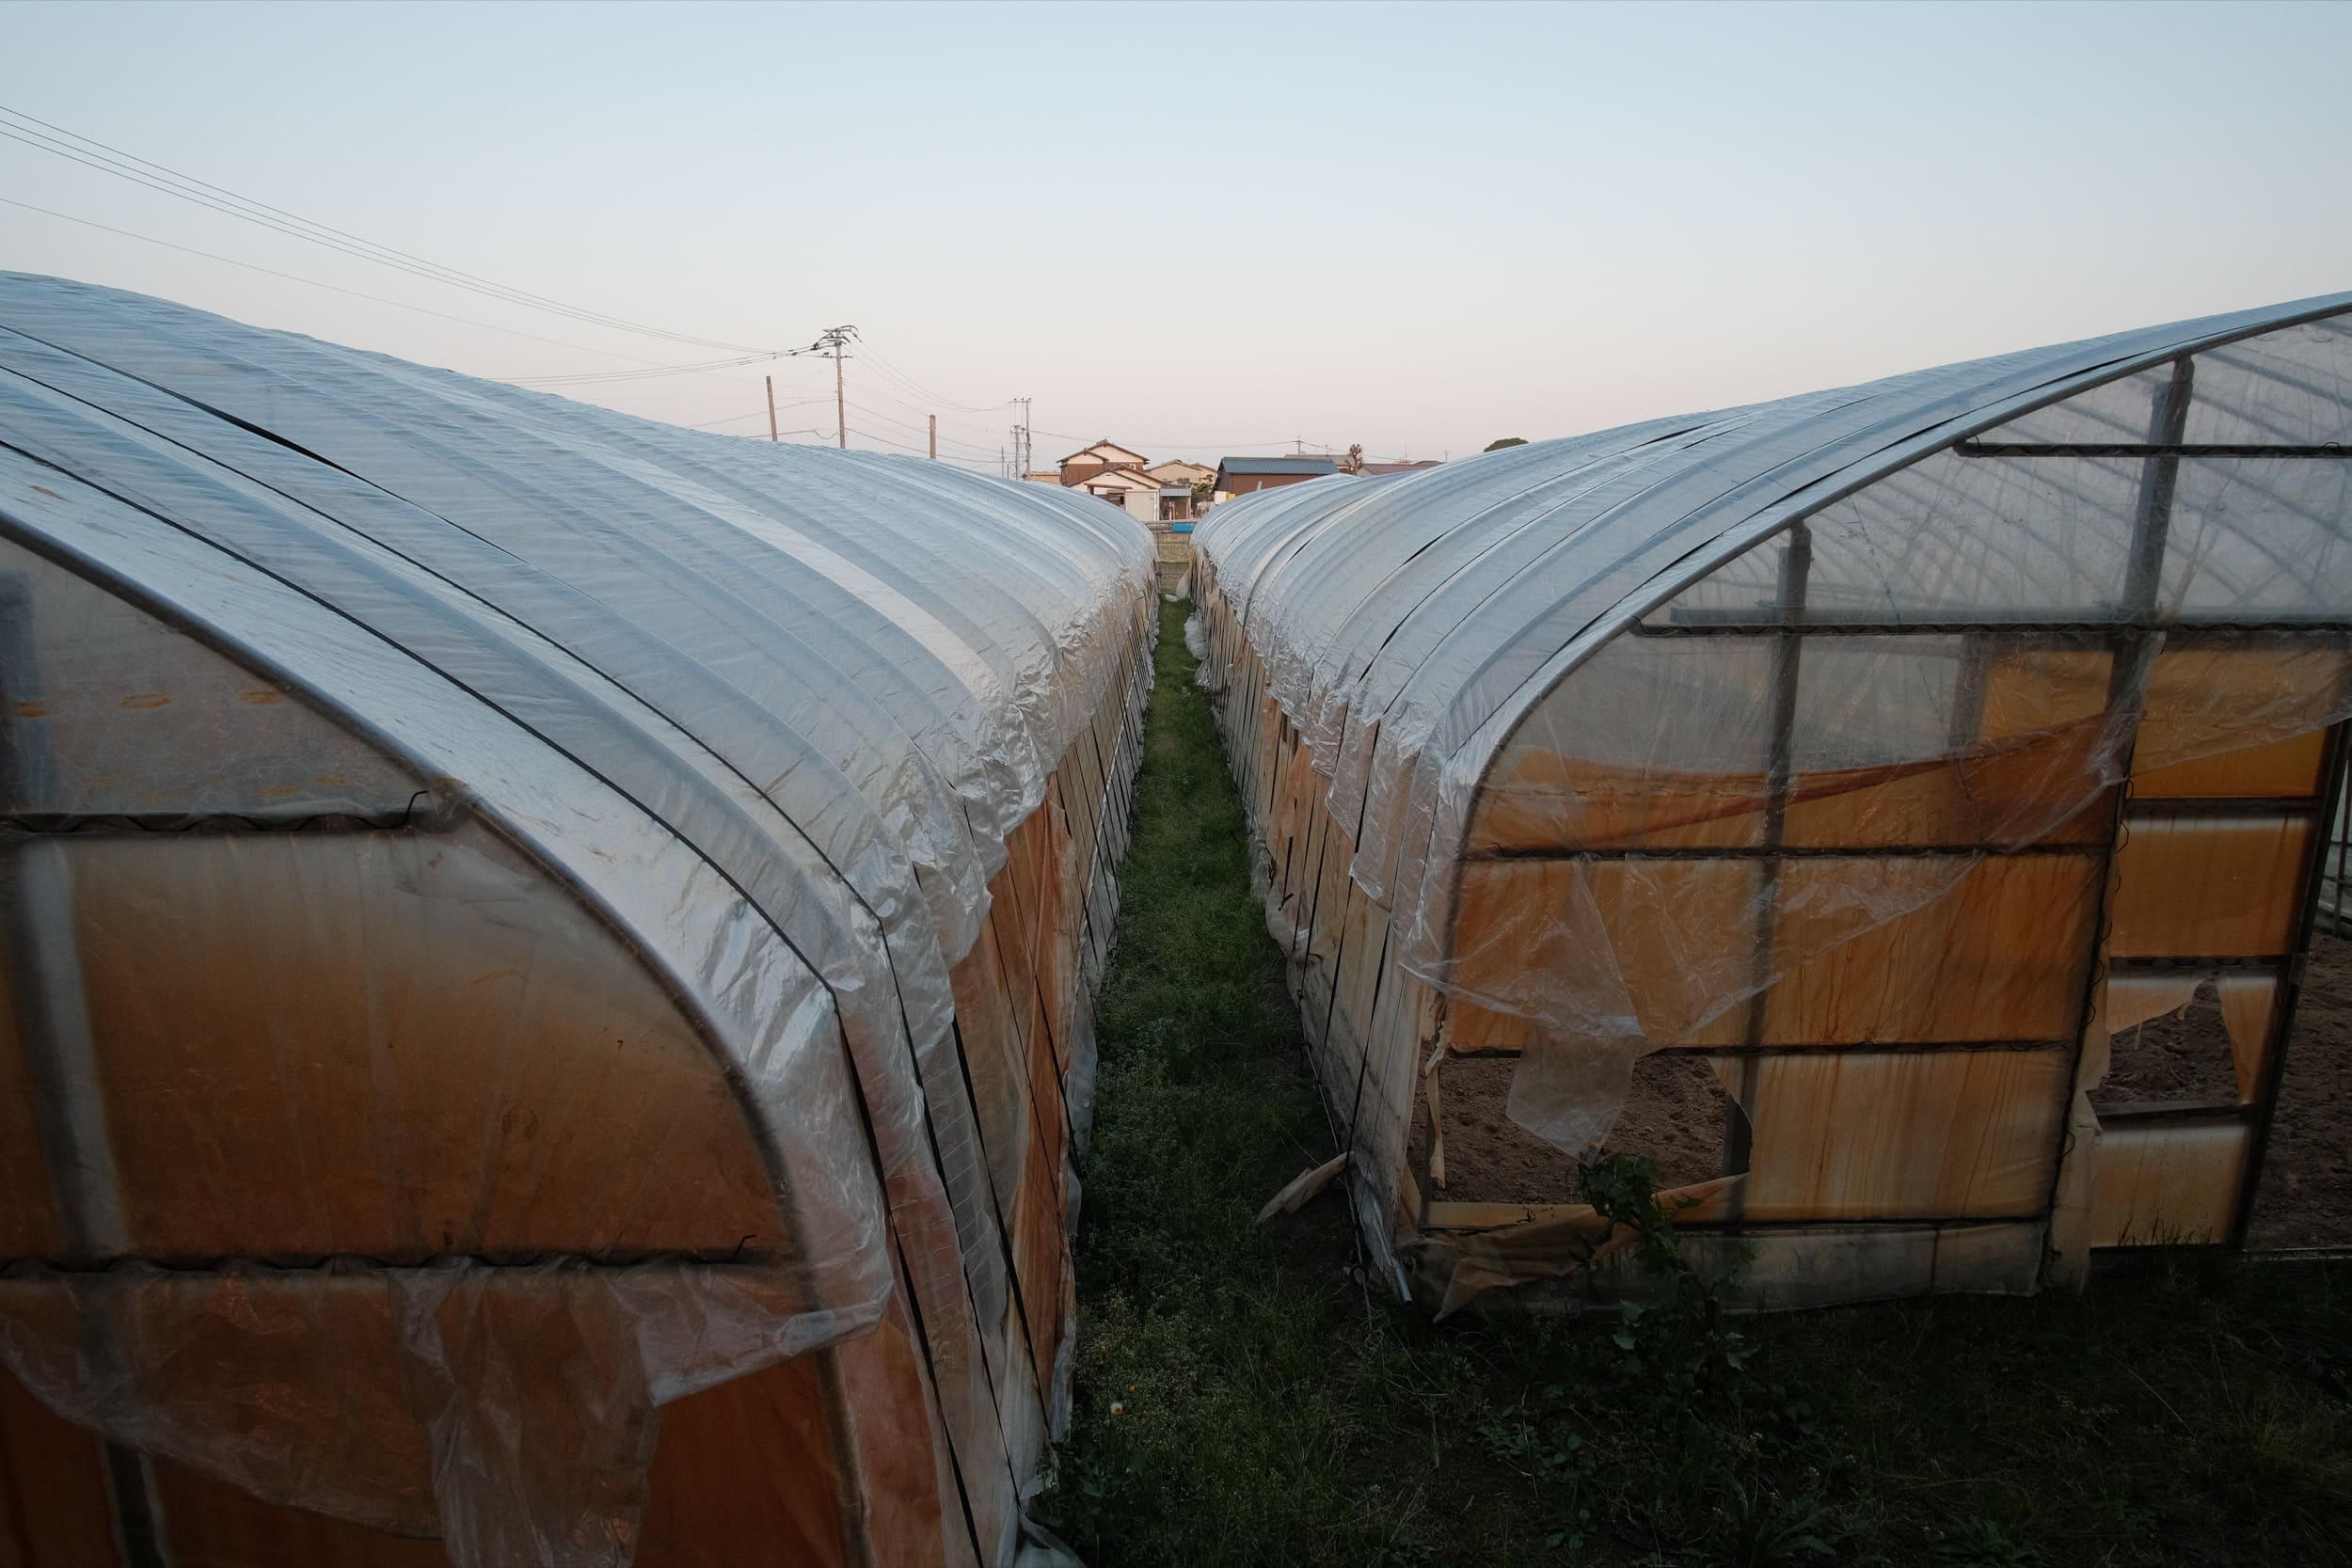
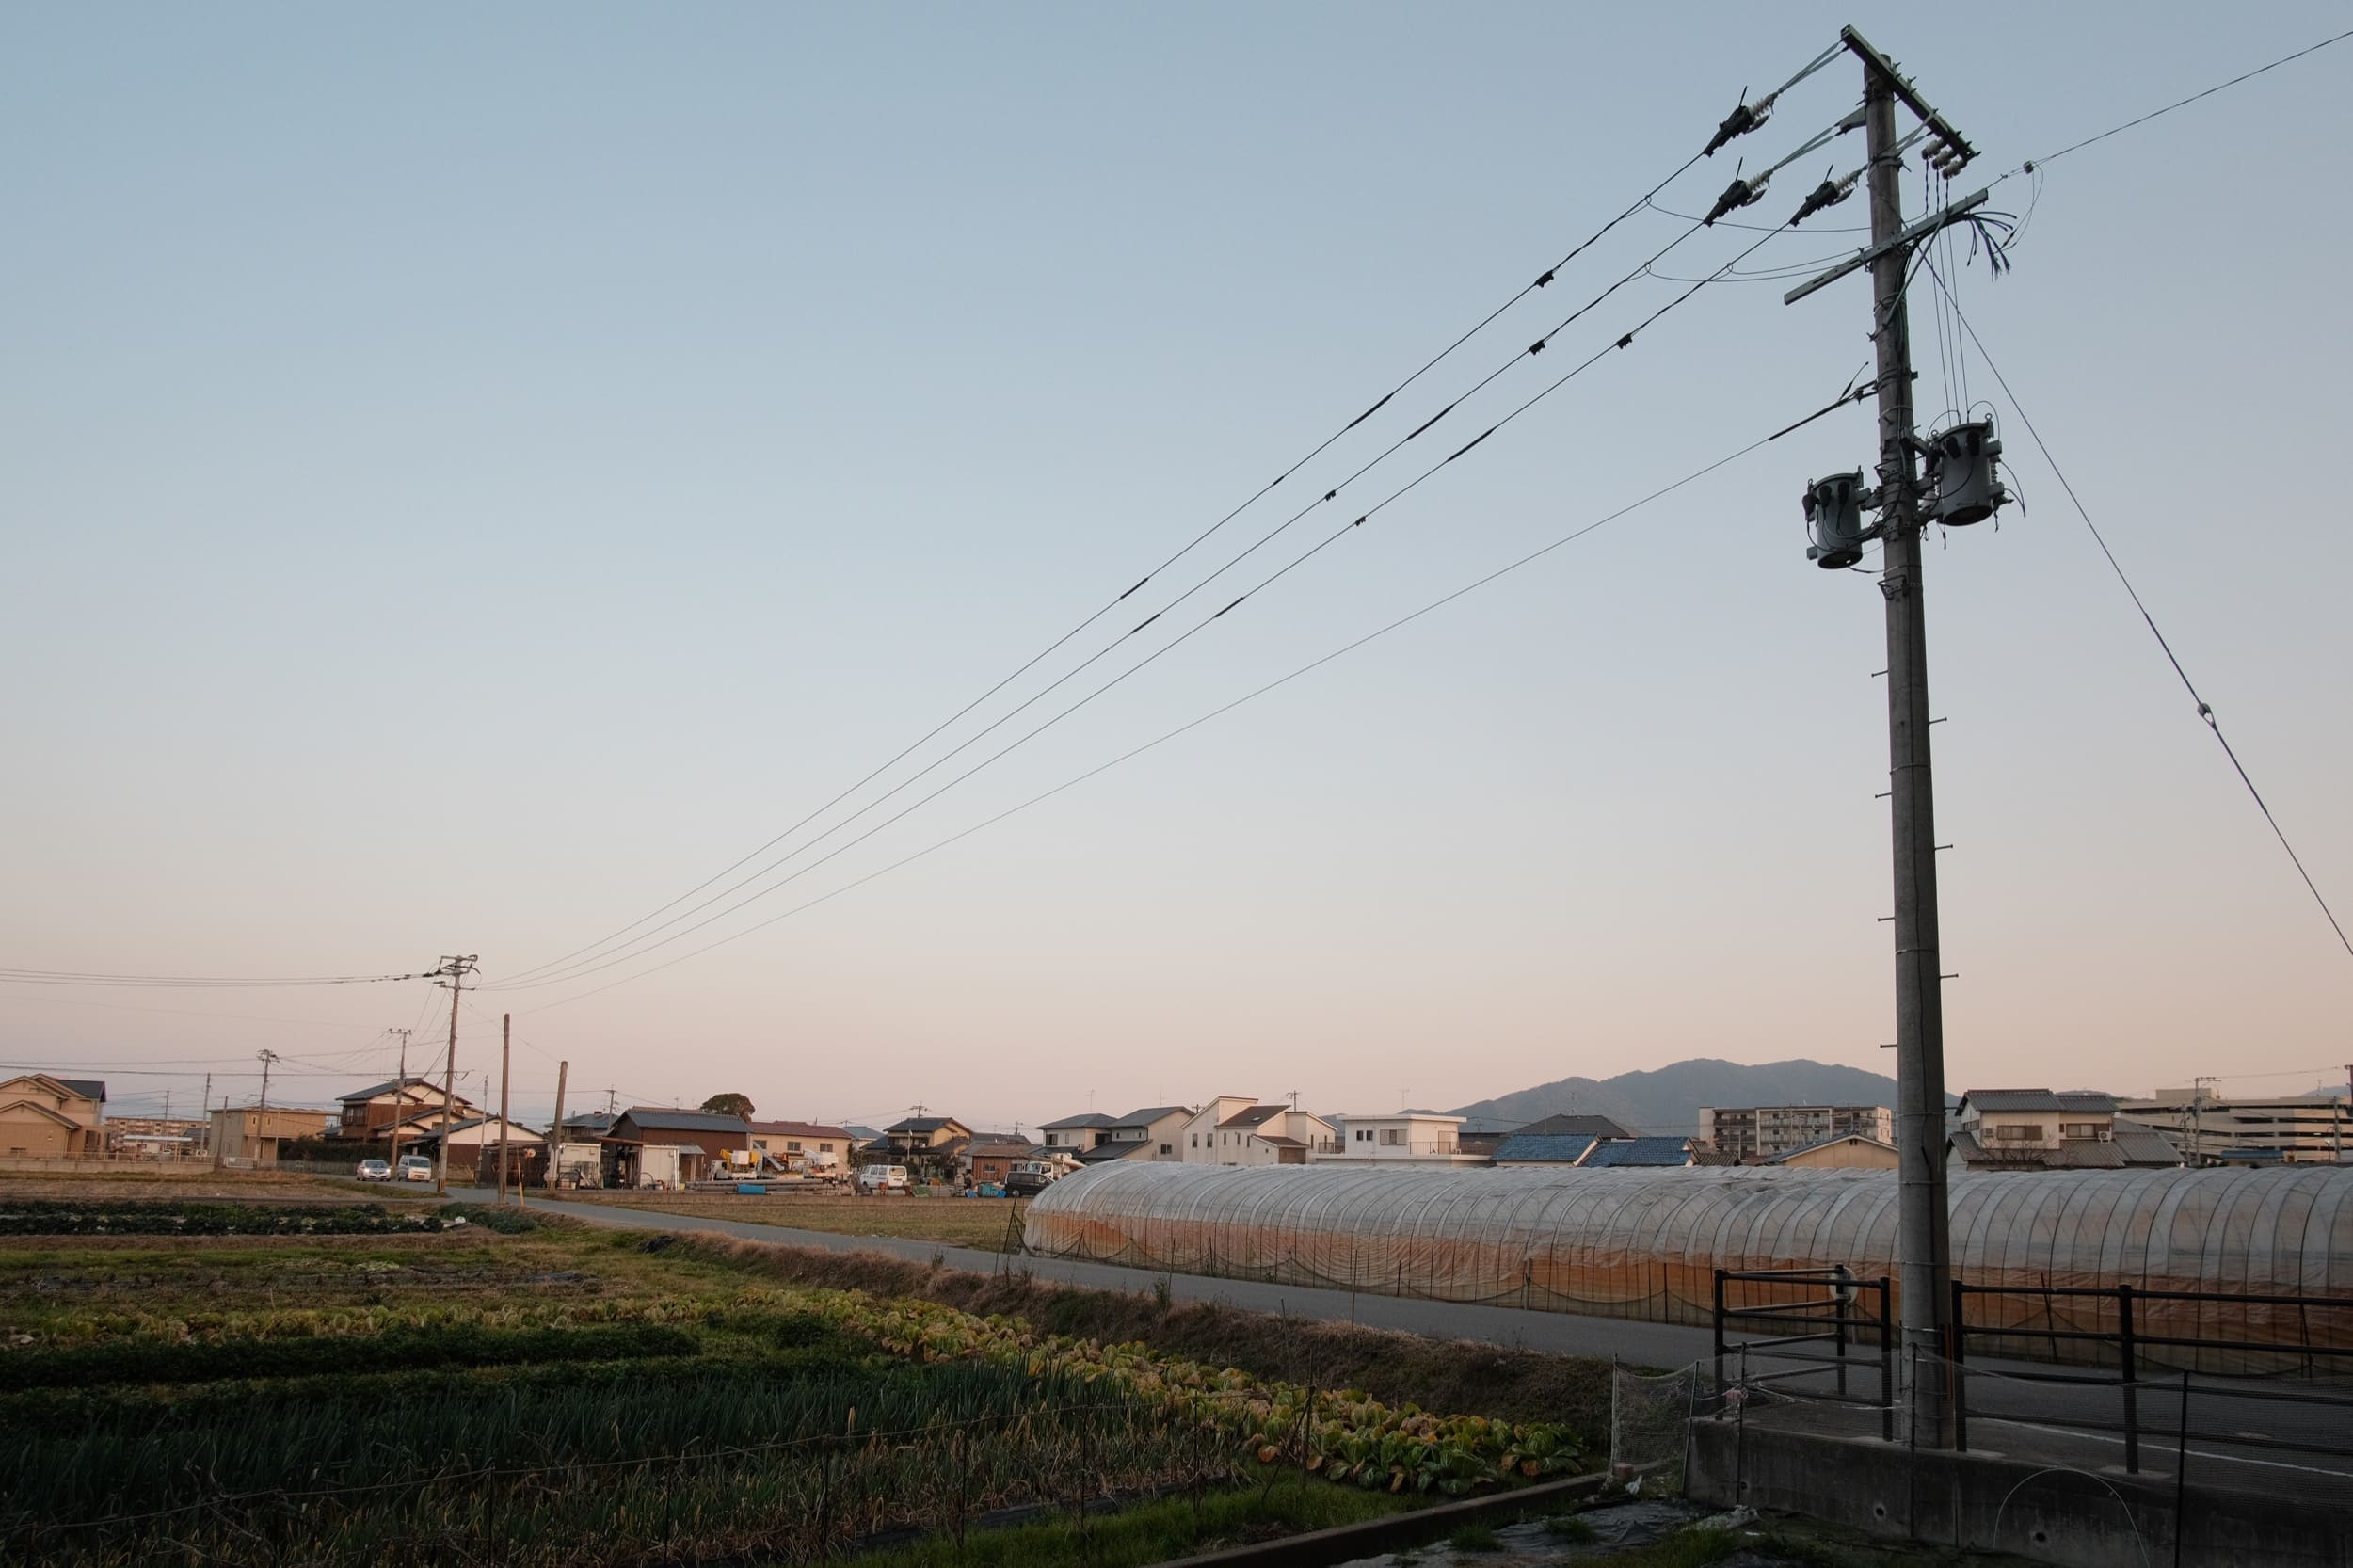
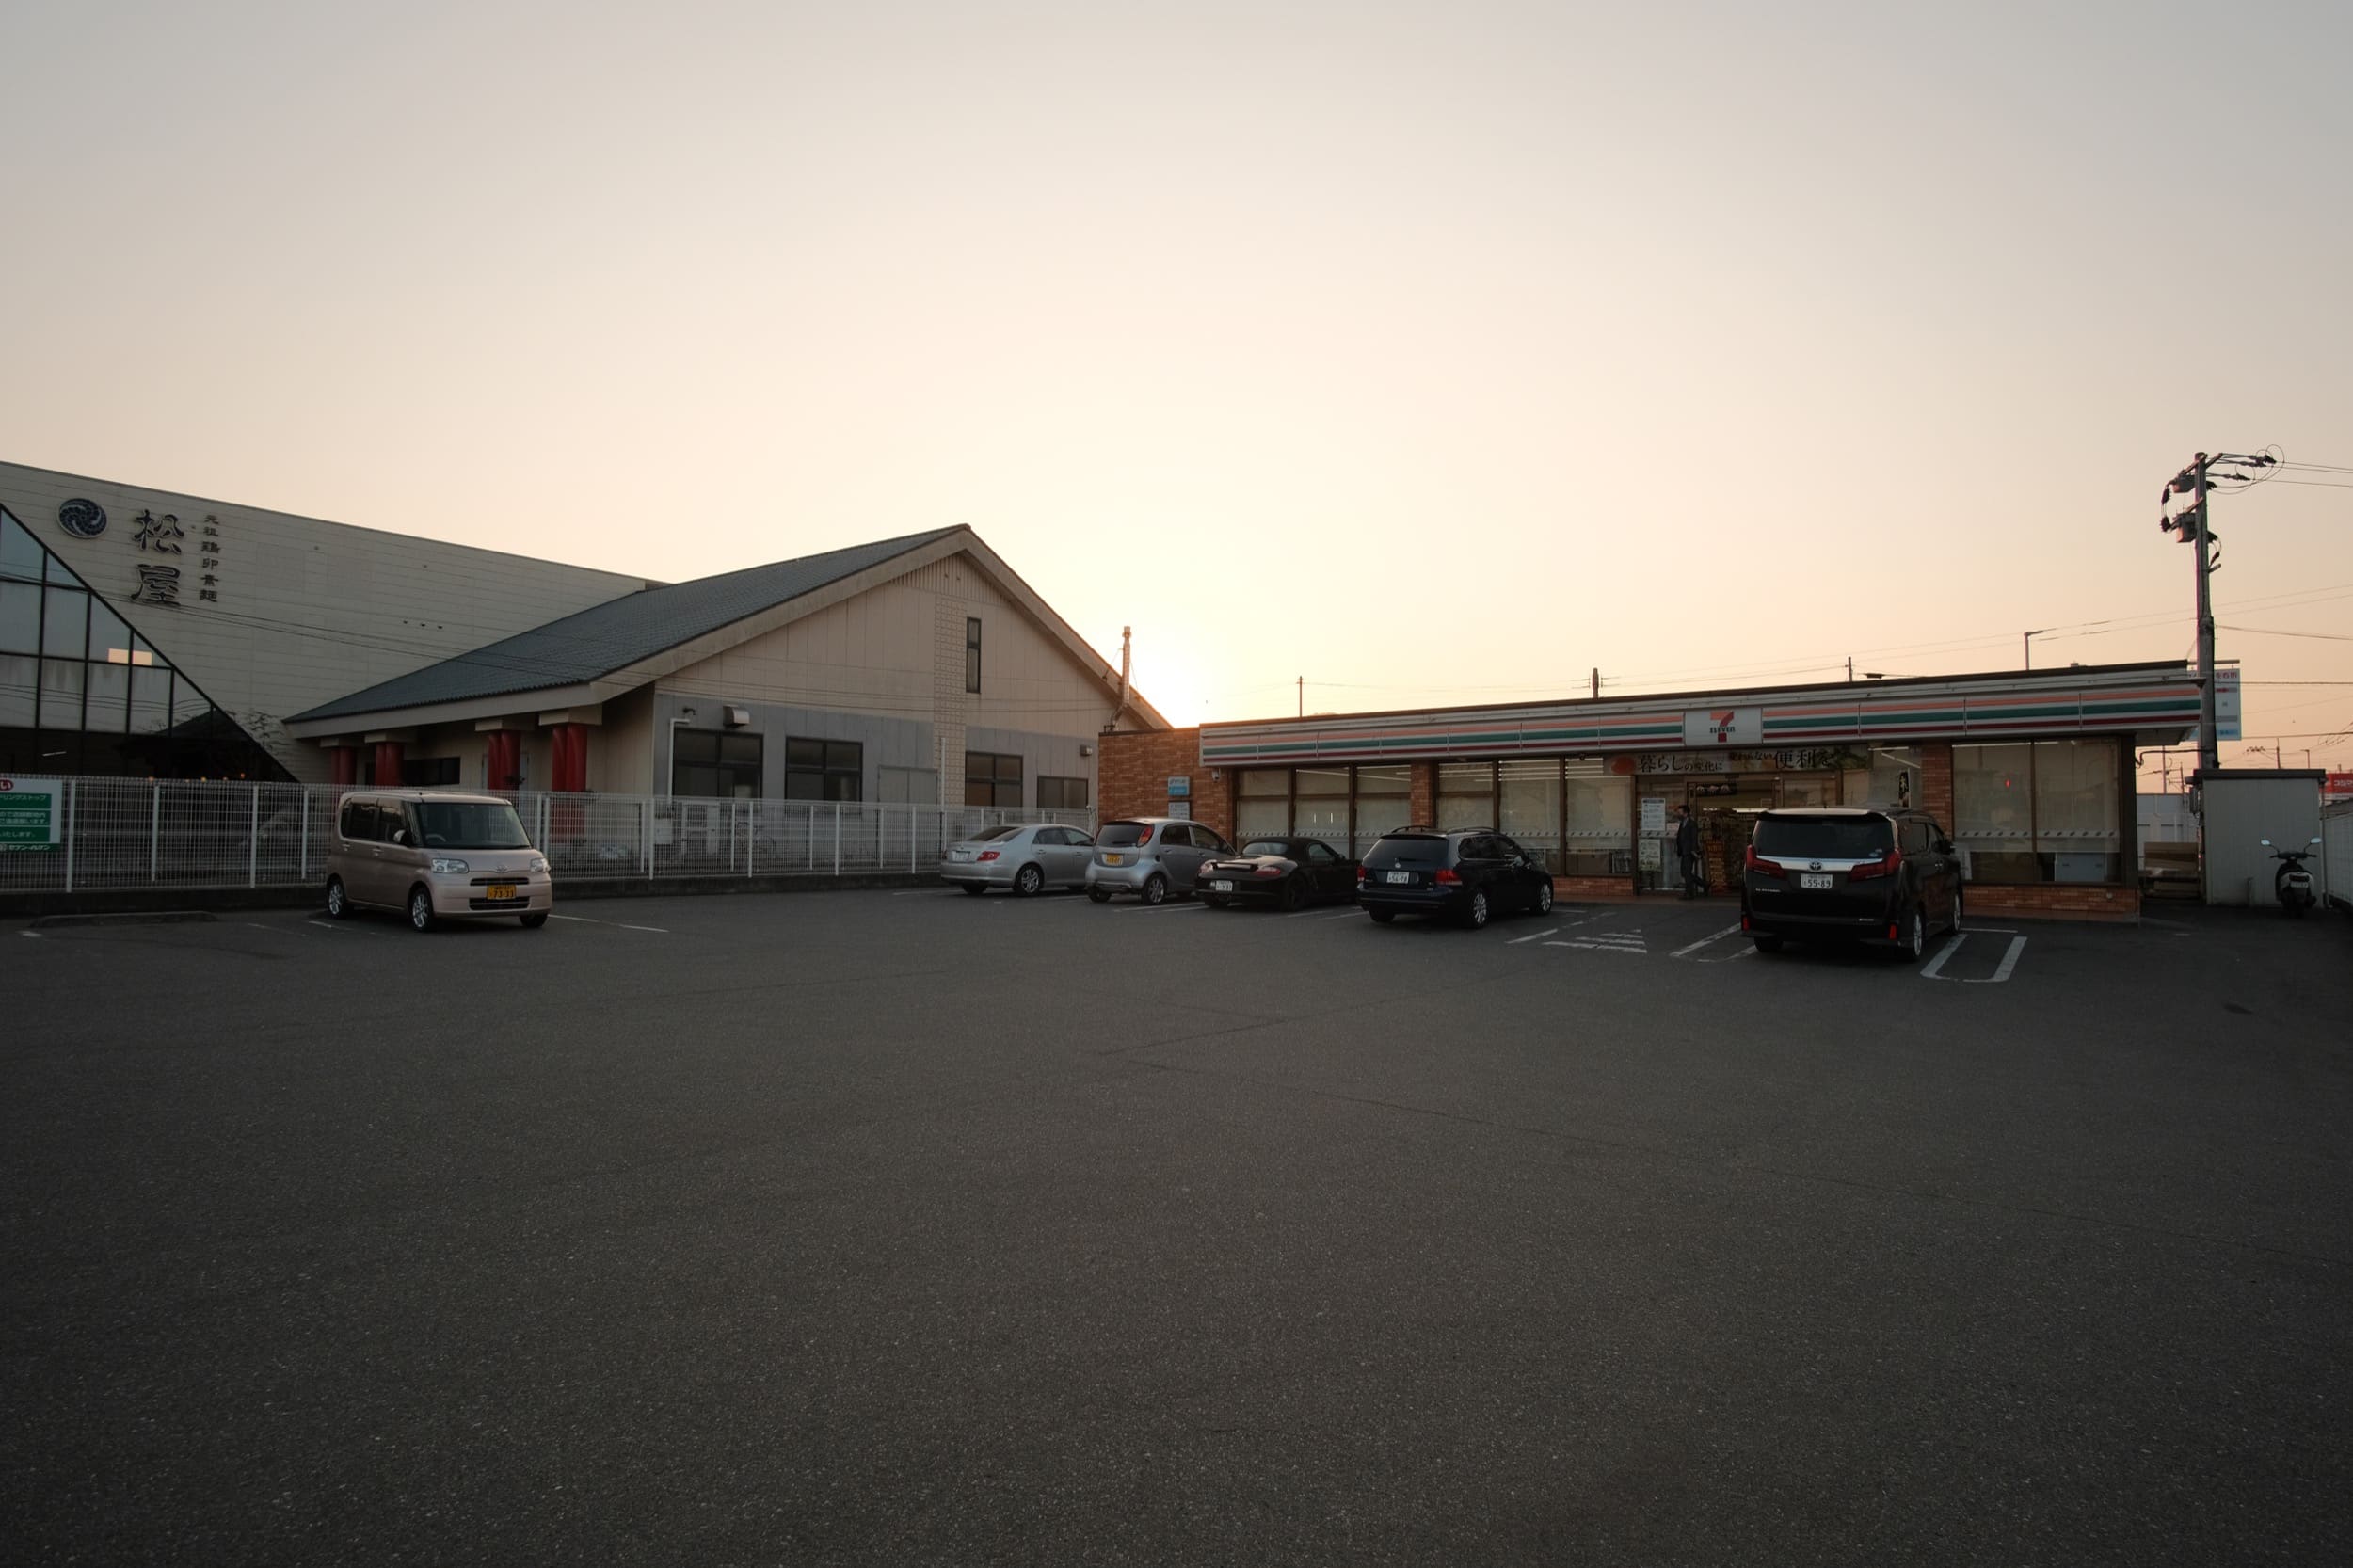
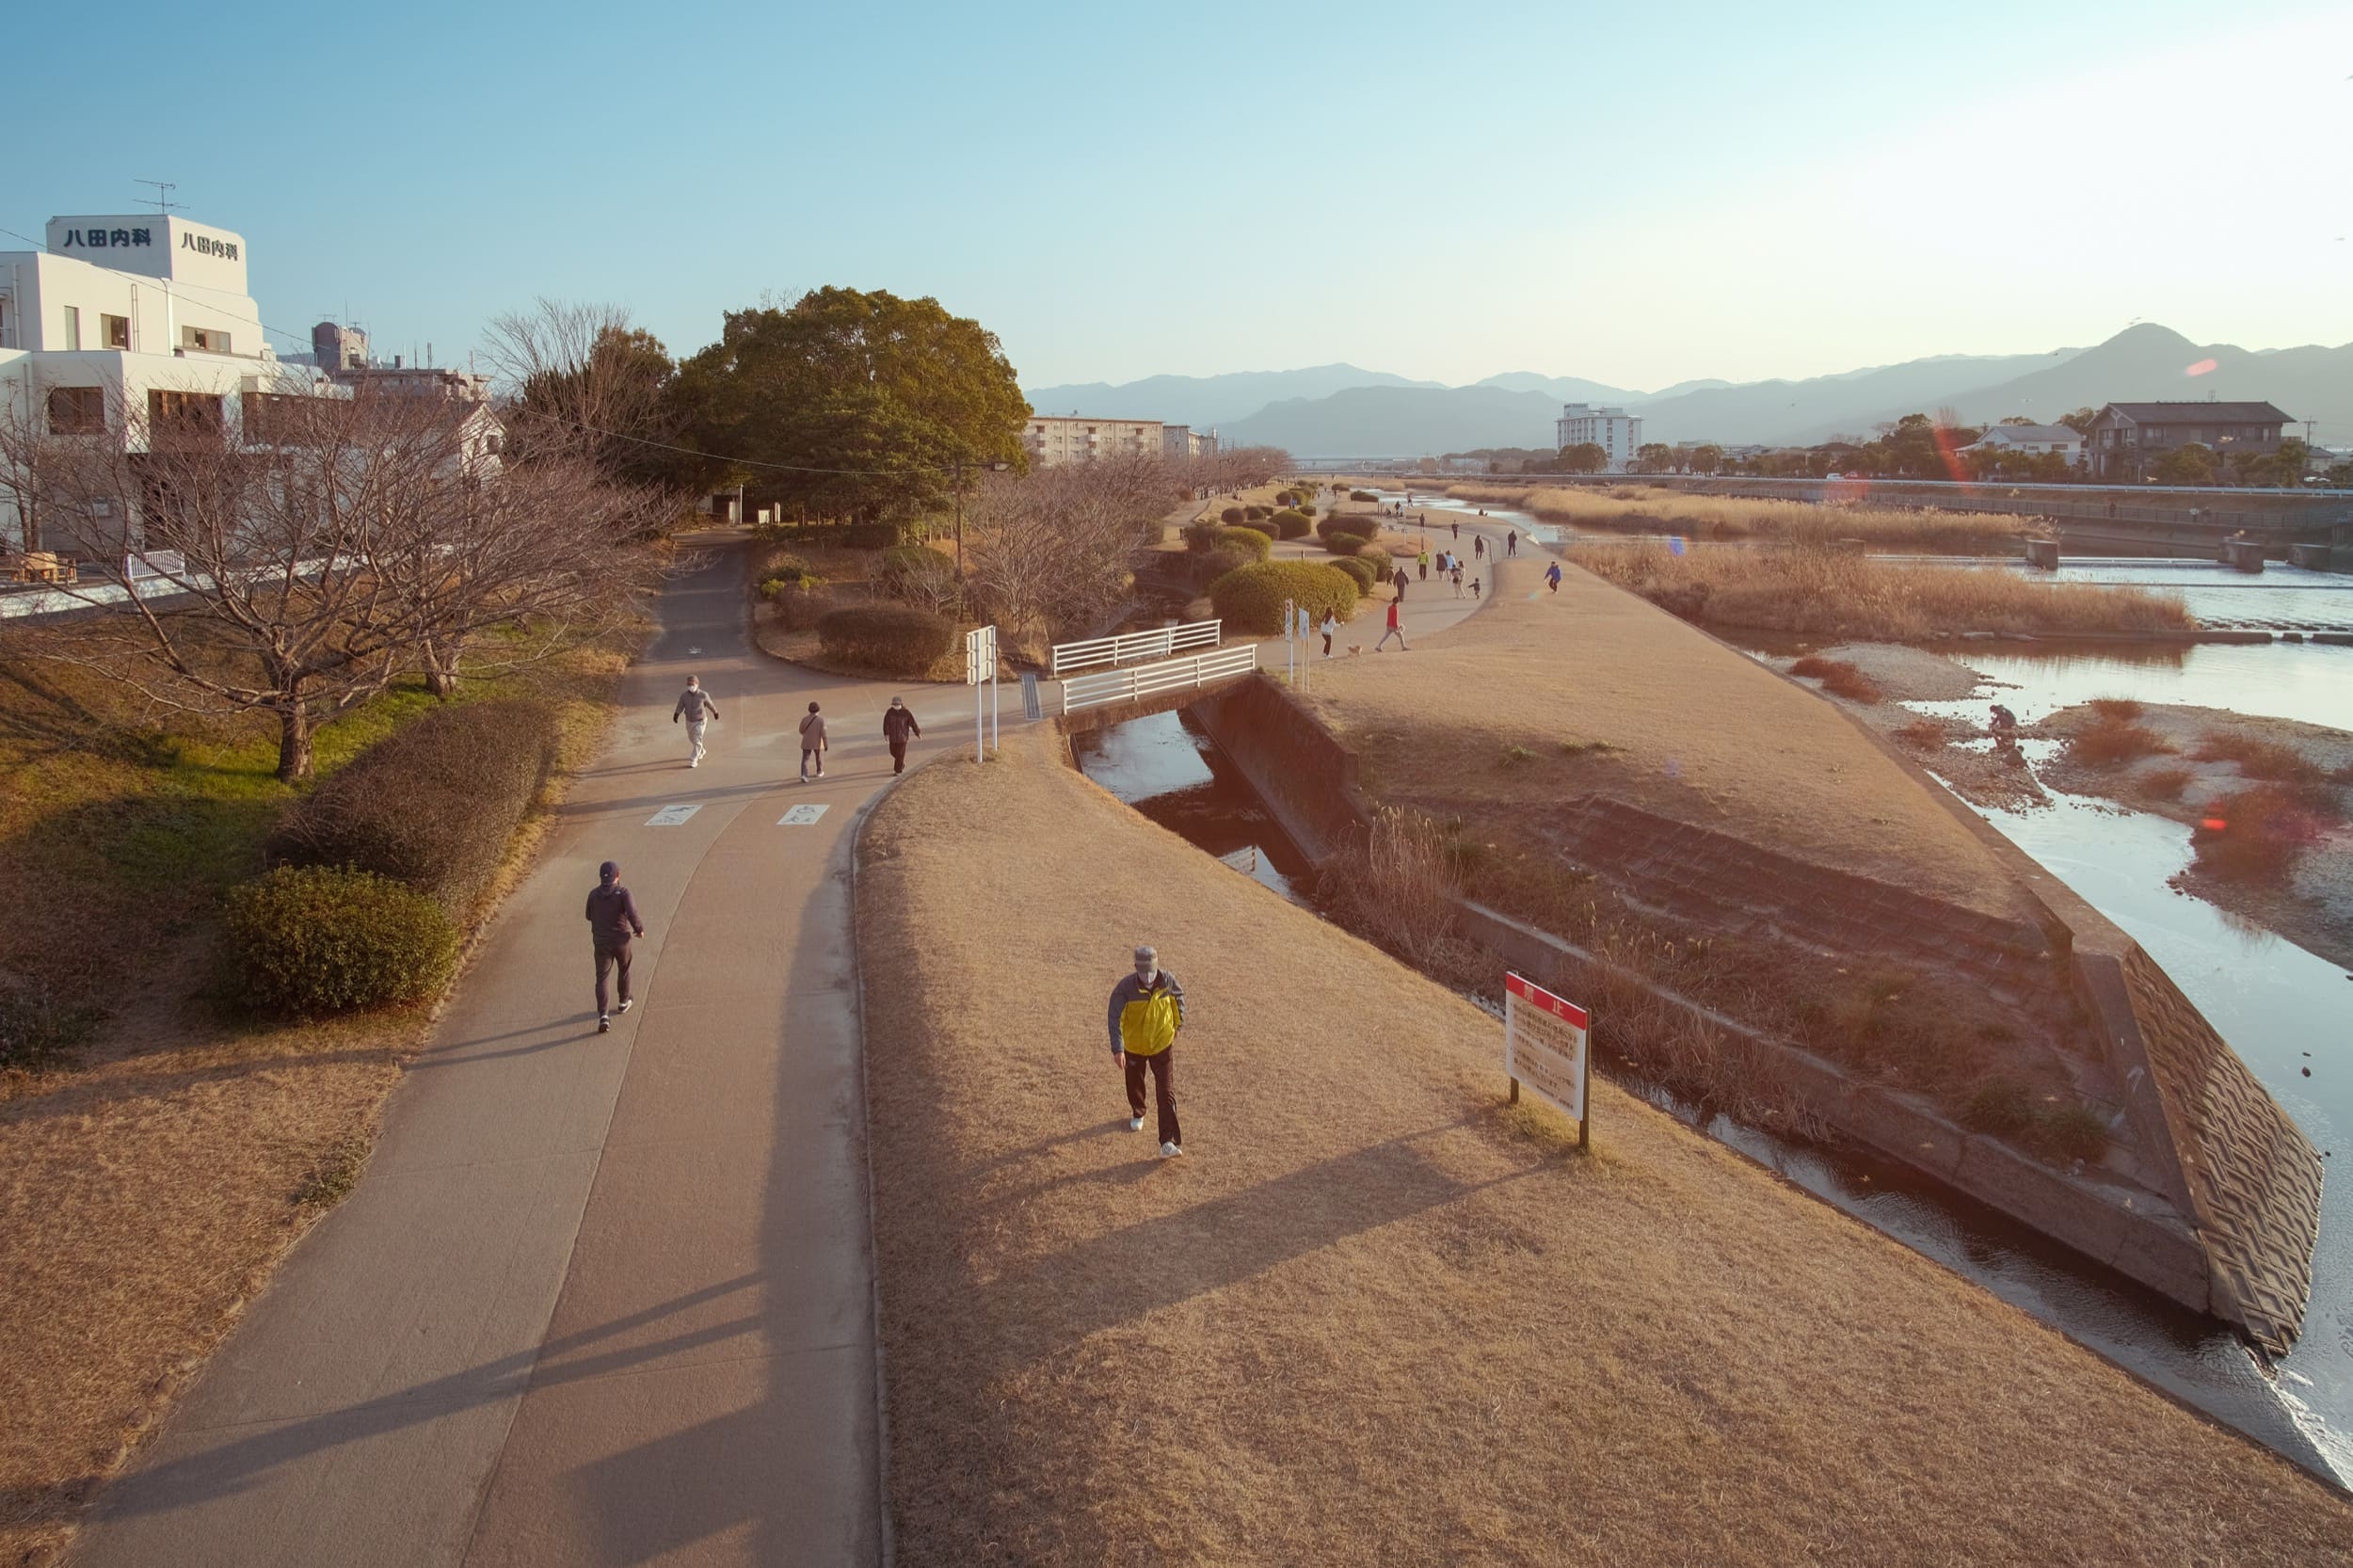
Samples in this article are all shot on the Fujifilm X-T3 with the Rokinon 12mm f2, shot JPG handheld. The jpg recipe is listed at the end of the article.
For those who wonder what the difference between the Samyang 12mm f2 and the Rokinon 12mm f2 are, there isn’t any that I am aware of. They are just branded differently for different regions. For some reason, B&H and Adorama sell both of them at different prices.
Also, sometimes Samyang lenses have big sales, and sometimes it’s the Rokinon lenses with the big sales. They’re basically the same lens and right now the Samyang versions are having huge sales at B&H and Adorama.
Samyang / Rokinon 12mm f2 – Amazon / Adorama / B&H
It’s pretty easy to say the Rokinon 12mm f2 is the better lens. It’s twice the price, and this shows. It’s obvious. It just holds onto contrast a little nicer, it resists flaring more, and corner-to-corner and edge-to-edge performance is just better, plus it has clickable apertures.
So this makes the Rokinon 12mm f2 a no-brainer for the more serious landscape shooter.
However, The Pergear 12mm f2 has a few nice things going for it. Sunstars are nicer for sure. The build and design is more compelling and it overall feels a bit more compact, plus it’s half the price.
The image quality on the Pergear 12mm f2 overall is not as good, but it’s not bad either. I was very impressed with it, its main flaws would be that its corners and edges are not quite as sharp and it does flare a bit more and overall causes some of that inner element light scattering which sometimes doesn’t allow for as clean and crisp of an image as you can get from better glass and coatings when shooting into the sun or bright lights.
So I would say, If you’re just looking for a fun ultra-wide walk-around lens then the Pergear 12mm f2 is a ton of fun. But for more than twice the money, the Samyang does offer a few more features and some nice advantages.
There is this common thread in the Photography community, especially with reviews where there is a constant hunt for “the best” of something. This is “the best lens” so you have that you never need to buy another.
But photography doesn’t work that way at all. The lens design is like building a character in an RPG game. There are always going to be different attributes and characteristics one lens can excel at over another. So while the perfect lens might excel in one situation, it could very well fail in another.
After reviewing and testing so many lenses over the years, I’ve come to like little things about each lens even though I have other lenses that outperform it with pure image quality.
The Pergear 12mm vs the Rokinon 12mm is a great example of this.
If I am going to just run out and shoot street photography 9 times out of 10, I now grab my Pergear. It’s just more fun to use, I like the way it flares, I like the way it physically looks, and it makes me excited to shoot, whereas the Rokinon is physically boring with its design. But when it comes to needing to maximize image quality, the Rokinon is what I’ll bring.
So I think if you shoot ultra-wide a lot, you could benefit from both lenses. Pergear has better sun stars, it’s a little more compact, and physically looks cooler. You can also lean into the cool glowing and flaring that it does for a more retro vibe.
Then when you need to shoot pure reproductive work, the Rokinon is the way to go.
I still want to do a few more rounds with the Pergear 12mm in my neighborhood, see what the various weather conditions do with the rendering and I’ll update as I go.

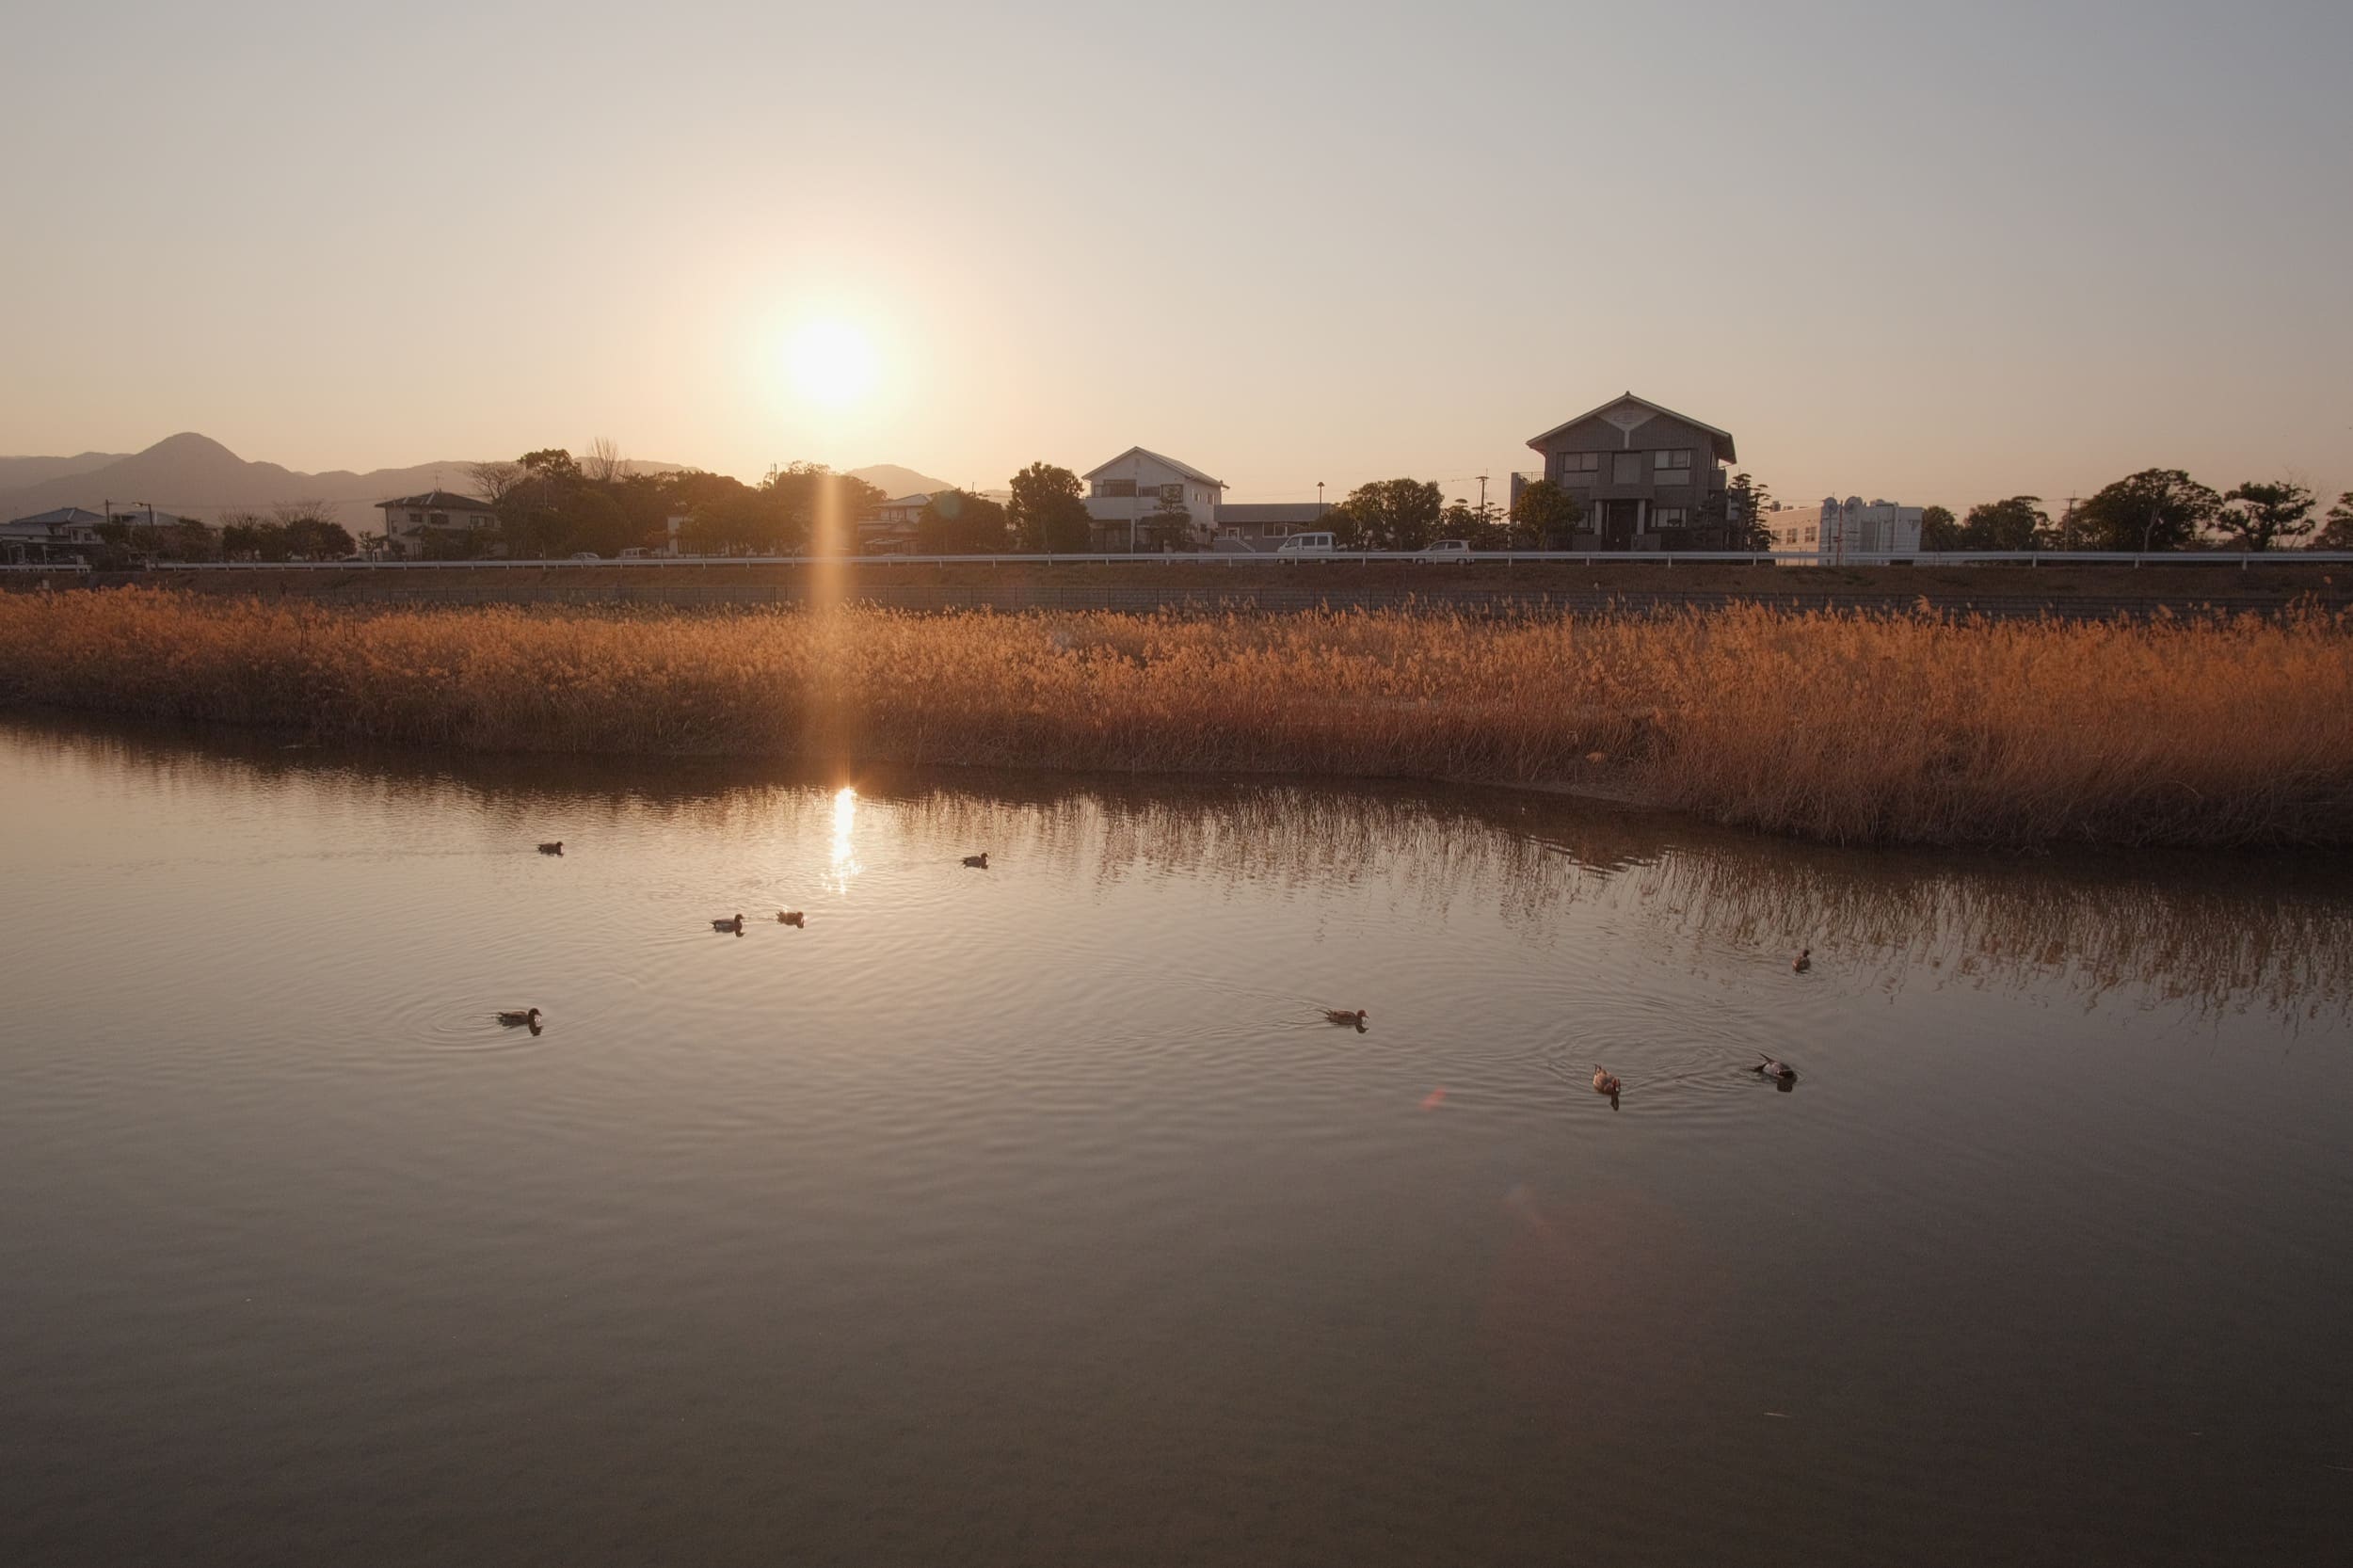
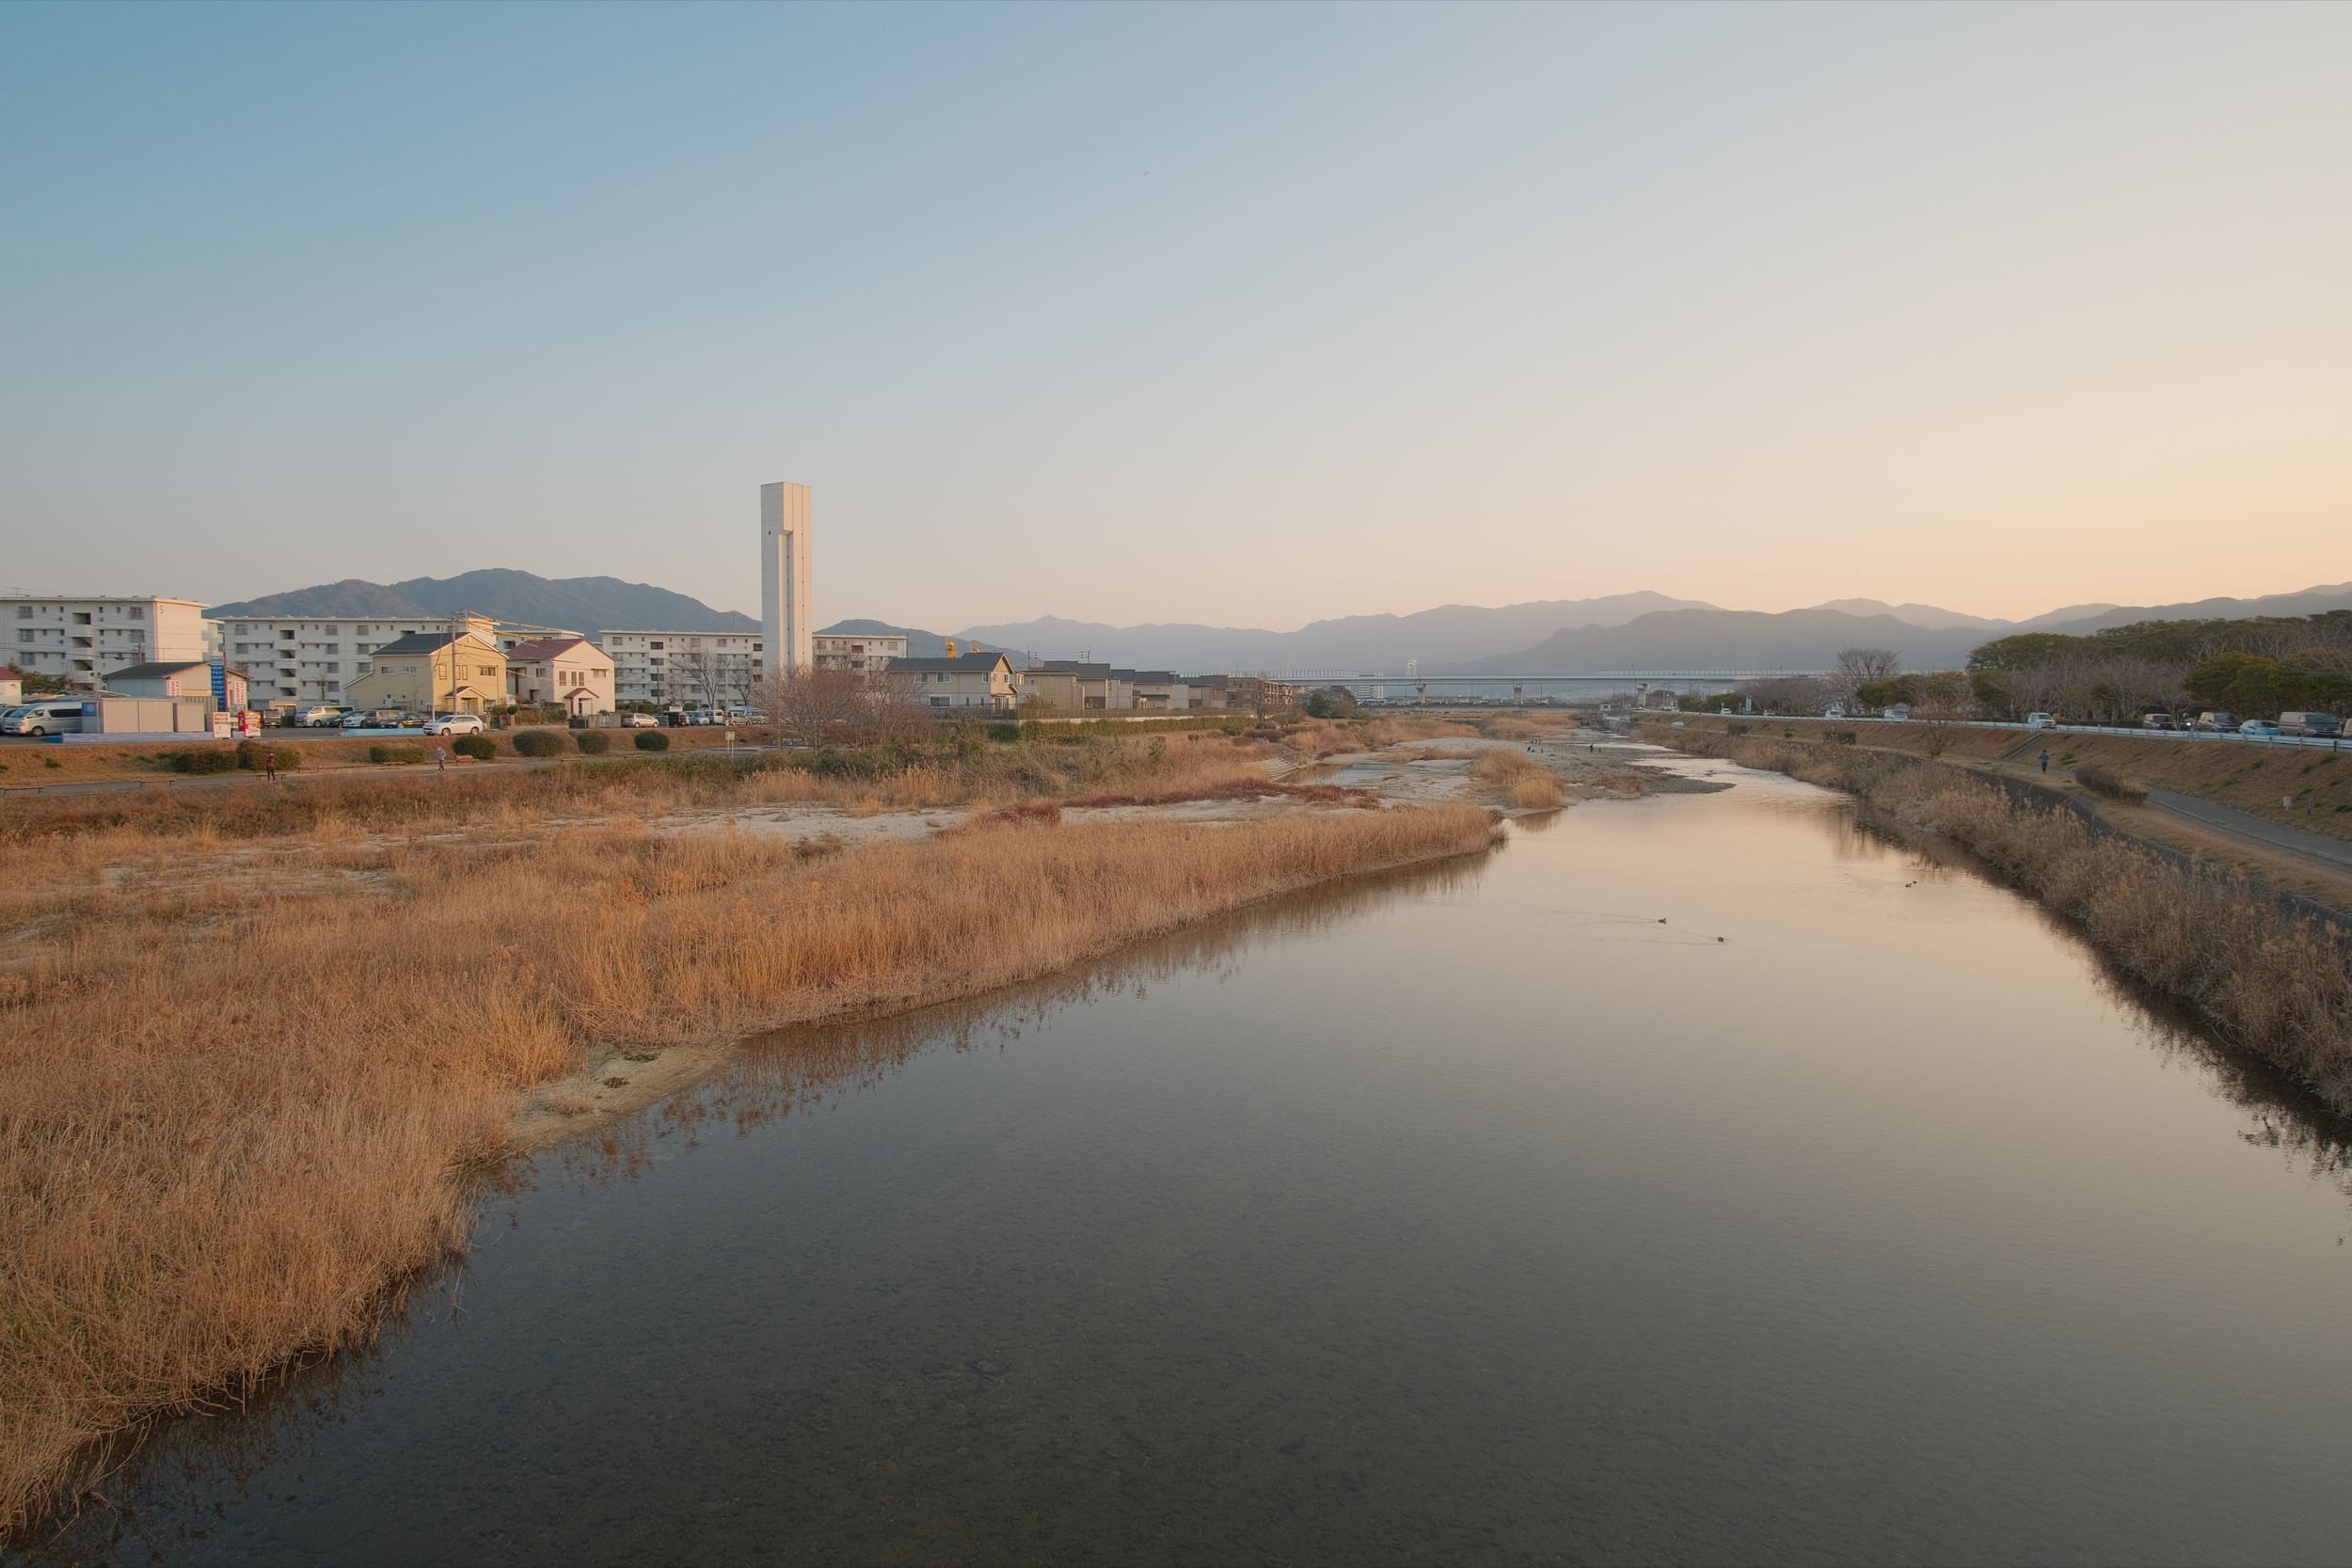
Samyang / Rokinon 12mm f2 Samples
These were shot RAW+JPG on the Fujifilm X-T3. I just went with the JPGs because the lighting was good enough and I didn’t need to do much work on the images. Just little tonal adjustments in Lightroom.
Here is the recipe I used to shoot these JPGs.
Classic Chrome
Grain: Off
Color Chrome Effect: Strong
WB: +2R -4B
D Range Priority: Strong
Color: +3
Noise Reduction: -4
Long Exposure NR: Off
If you want this same look with RAW, just load up Classic Chrome in Lightroom and do a WB shift manually to make things a bit warmer and still make sure you shoot with D Range Priority Strong so it shoots at a higher ISO which protectors you highlights and gives you that HDR look.
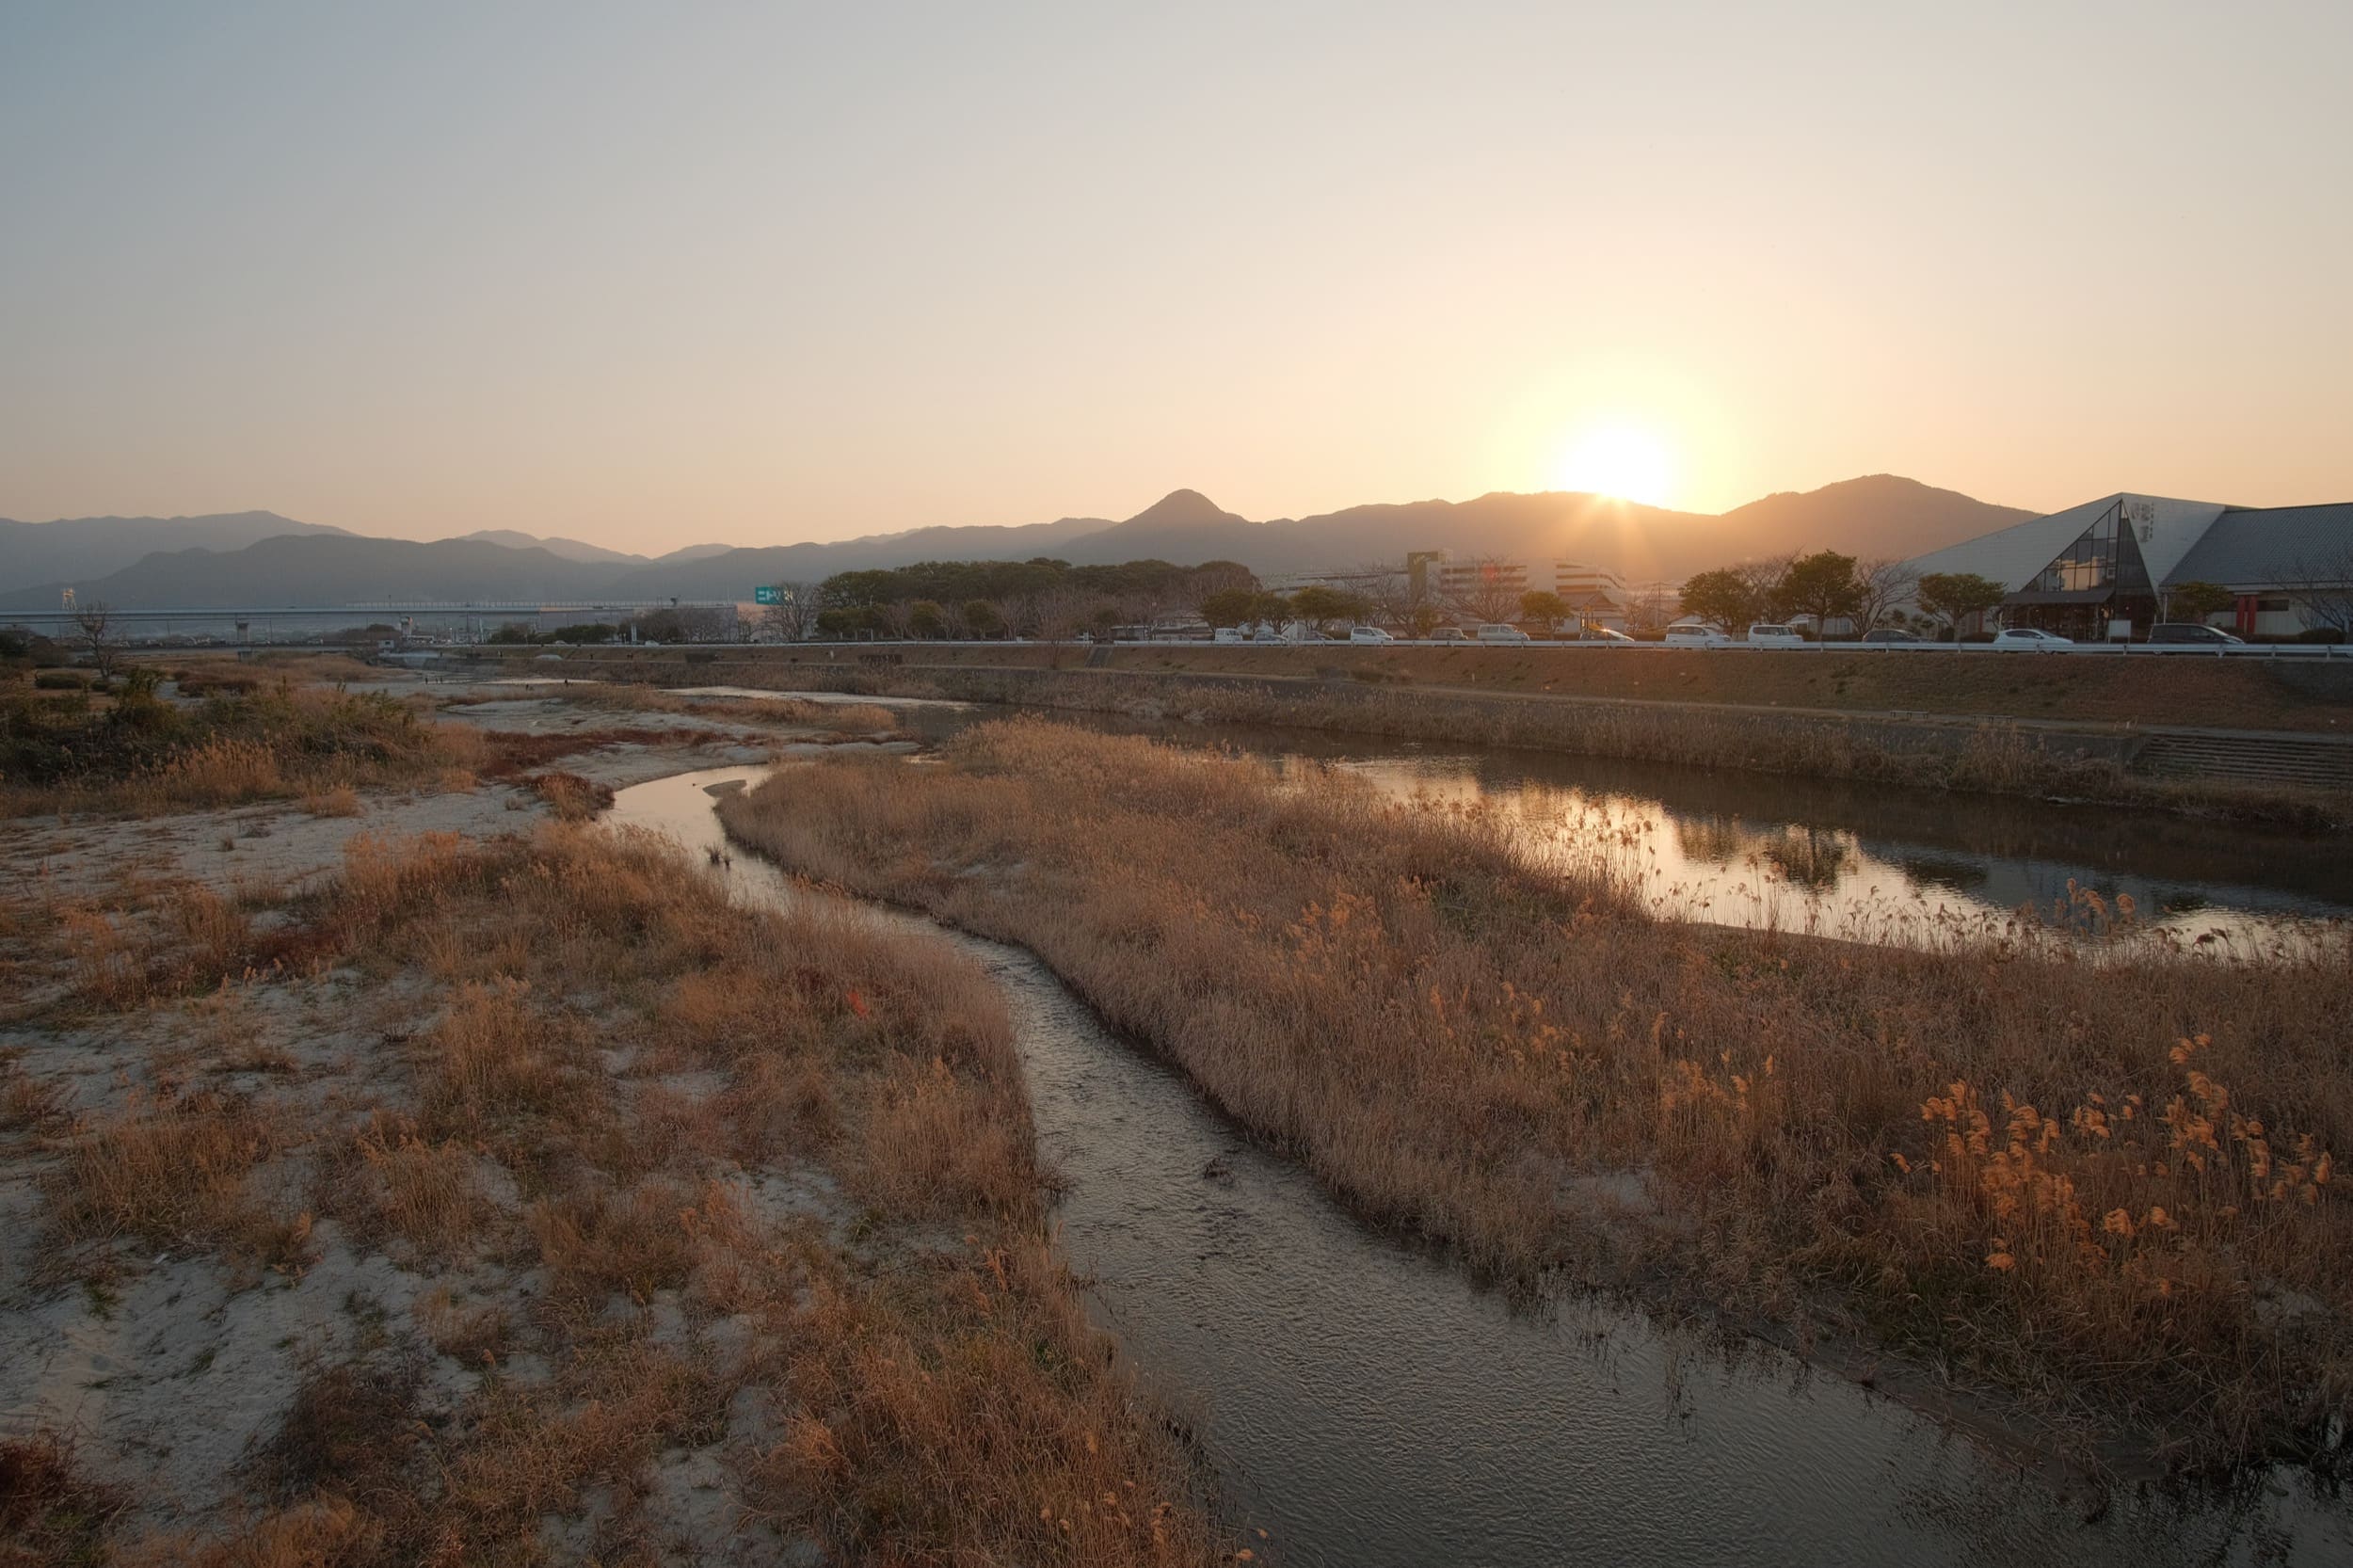
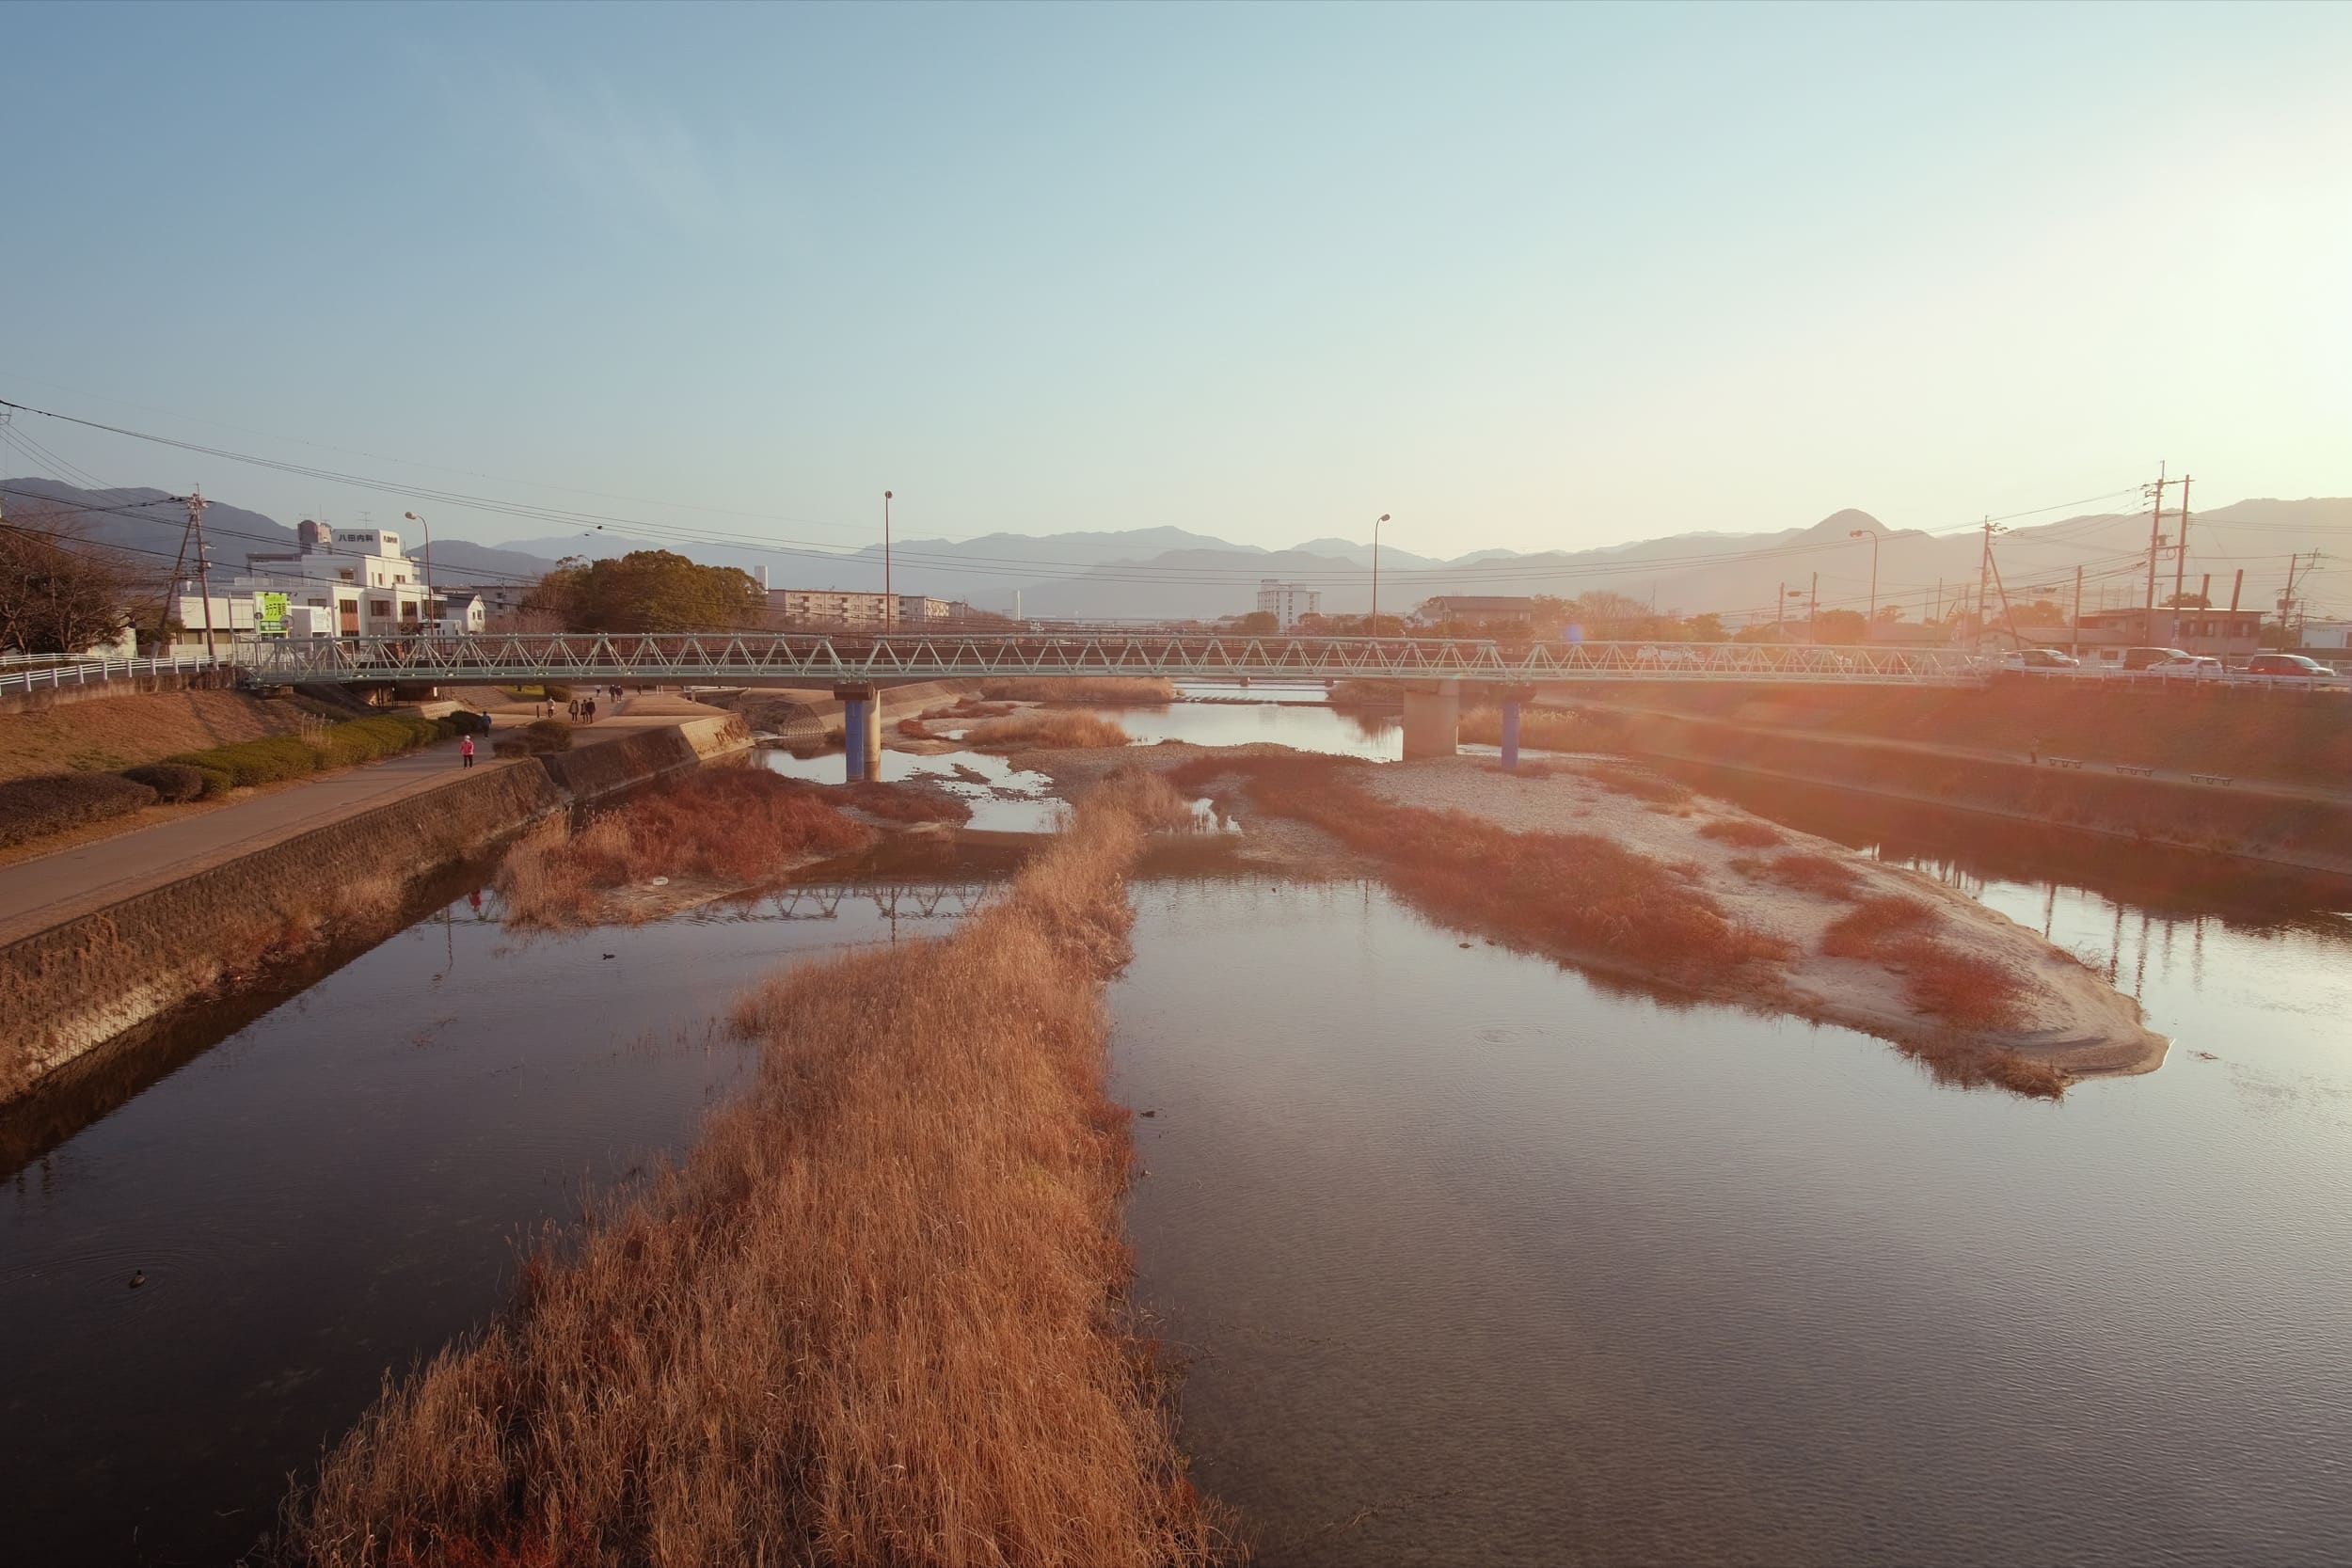
Then sometimes it’s fun to throw these types of images in Luminar and apply the Orton effect for that dreamy look. This is what I did with this shot below.
If you try messing with the Orton effect in Luminar when you’re doing landscape photos, if you can get it to look right, sometimes it helps to apply the layer mask
My general formula for the Orton effect in Luminar is –
Type1
Amount: probably somewhere from 20-40, depending on the image
Softness: usually high, 60-100%
Brightness: around 50
Contrast: -100
Then sometimes you have to apply a luminosity mask to the effect to pull it out of the highlights. So you have to invert it after applying it. I also added a little split toning to this shot as well.


Leave a Reply