I’m not a professional studio photographer, and I’ve come to find out that you don’t have to be to get some great shots. So ignore the ego of most photographers; this is pretty easy if you already understand photography and lighting. Photoshop is the hardest part.
So, for those without any idea how this works, I’ll share a little about what I do, my gear, and how I’ve set it up.

My Homemade Studio
My Lights
I’ve used the Paul C Buff Einsteins for all my product shots and studio lighting for the last two years. So far, I love them.
There are other great lights out there, depending on how much you’re willing to spend, and going with Paul C Buff wasn’t an easy decision. I was almost going to pull the trigger on some Elinchrom lights. Instead, I think they might have a little nicer construction and design. Still, I ultimately decided to go with Paul C Buff because they are here in America, and if something breaks, sending them in for repair is relatively pain-free. People seem to have a great experience with Paul C Buff in this regard.
So, I use two Paul C Buff lights for about $500 each. I use Einsteins instead of the Alien Bees or White lights because I wanted a consistent color balance, and you can also turn them way down, which is nice if you want to shoot at f1.2 or something without using an ND filter. Many other lights don’t have as good of a range from low power to high power as you get with the Einsteins.
To control the lights, I bought the Cybercommander. It’s okay. The menu system is pretty abysmal, but it works.
My Modifiers
This is more important than getting great lights. Most lights you buy will be fine, but the modifiers will make the difference.
I only have two modifiers for these lights right now. But I think I’ll get one more soon.
I have a huge Westcott 48″ Octabox – I typically use this as my key light or to fill the whole room on high power if I’m not shooting with a backdrop. If you put this light close to your subject, it produces some very even yet soft light.
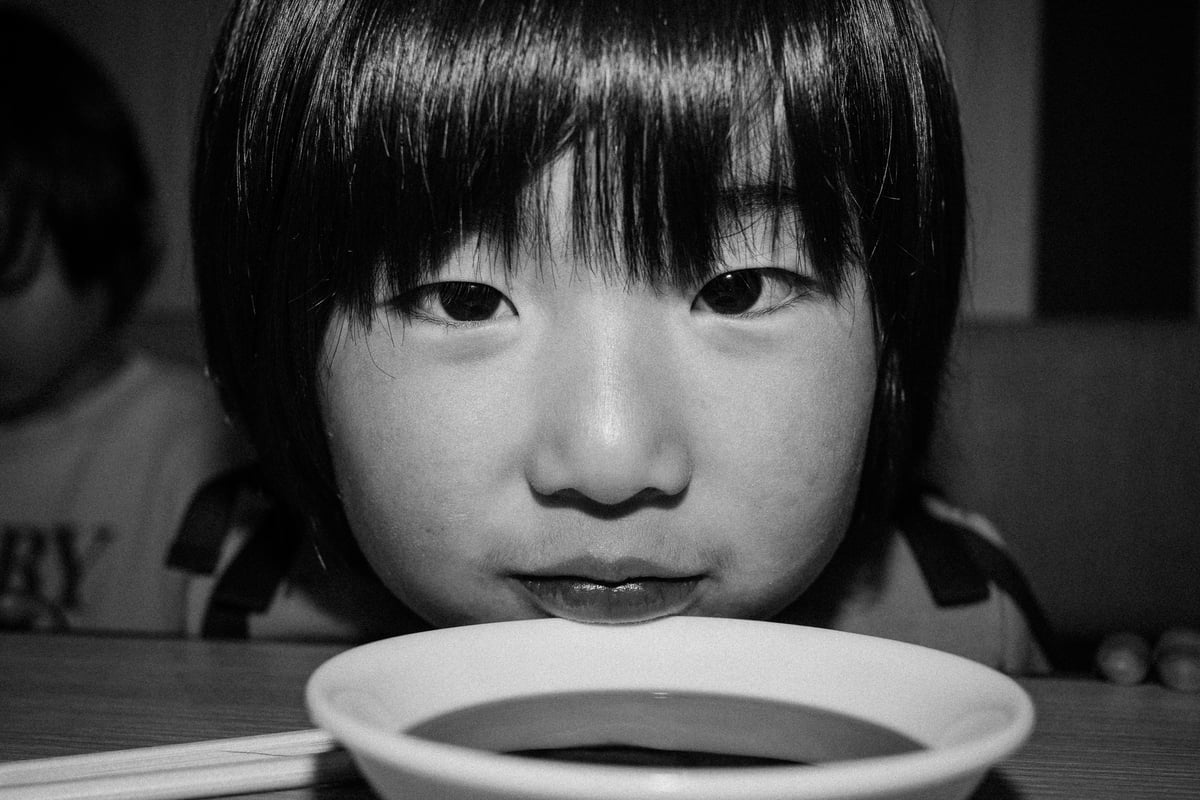
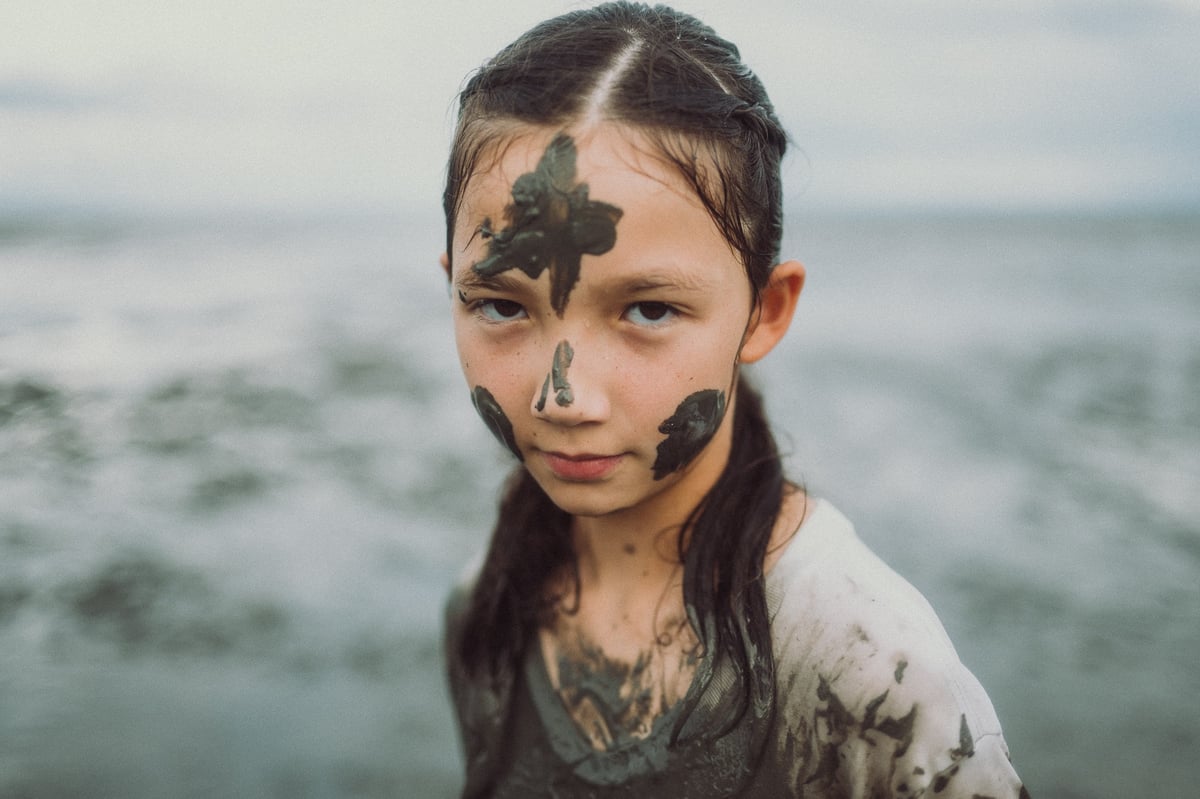
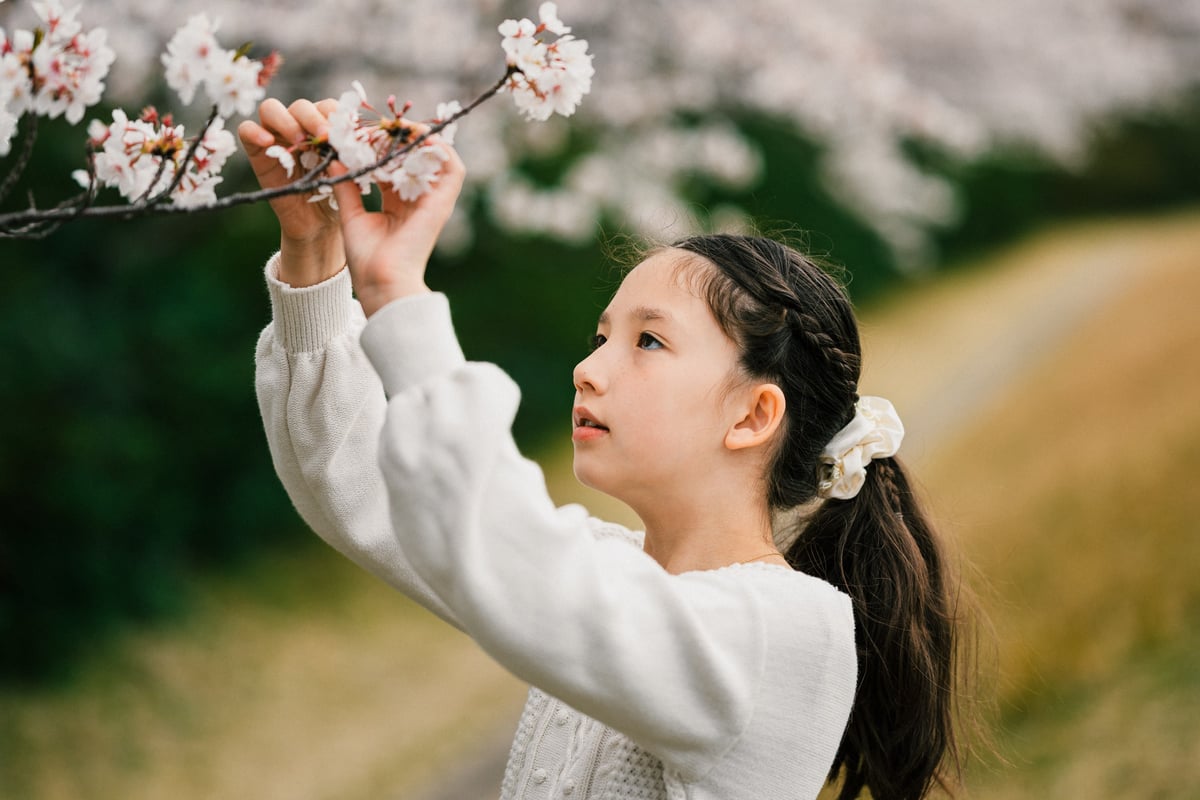
The Paul C Buff 10″ x 36″ Strip Box – I use this as sort of a fill light or rim light. This is also the only modifier I use for my product shots when I review cameras and gear. In the shot above, you can see how I use this modifier to create a nice edge on the left side of my daughter’s face while also bringing out the texture on her cheek and her hair. I could use a third light since the left side of her hair is relatively lost in the background.
My Stands
I’ve always hated C-Stands. They’re just a pain unless you’re hanging heavy-duty HMI lights or other big film production lighting. Although they are nice because they are very durable, you can sandbag them very easily, and they stack nicely against a wall; I love the Paul C Buff stands or even the Westcott stands. However, if I had more space, I would consider getting a C-Stand or two in case I need to hang a big light over a model or something.
My Backdrop & Stand
I bought the best backdrop stand I could find on Amazon, and it’s been great. It was this one. I also bought a roll of grey seamless background paper. I can’t remember where I got it, I think B&H.
That’s pretty much it. I think I spent under $2000 on all that, and I have a little mini studio in my living room with which to play. Pretty fun.
Here is the complete list of all the gear I use.
2 – Paul C Buff Einstiens – PaulCBuff
2 – Cyber Transceivers – PaulCBuff
1 – Cyber Commander – PaulCBuff
1 – 36″ Strip Box – PaulCBuff
1 – 48″ Westcott Octabox – Amazon
Backdrop – Amazon
Seamless Background Paper – I’m not sure where I got it.
I also have a few large reflectors I’ll use here and there and a few extra stands I’ve collected over the years.
Camera – Fujifilm X-T2
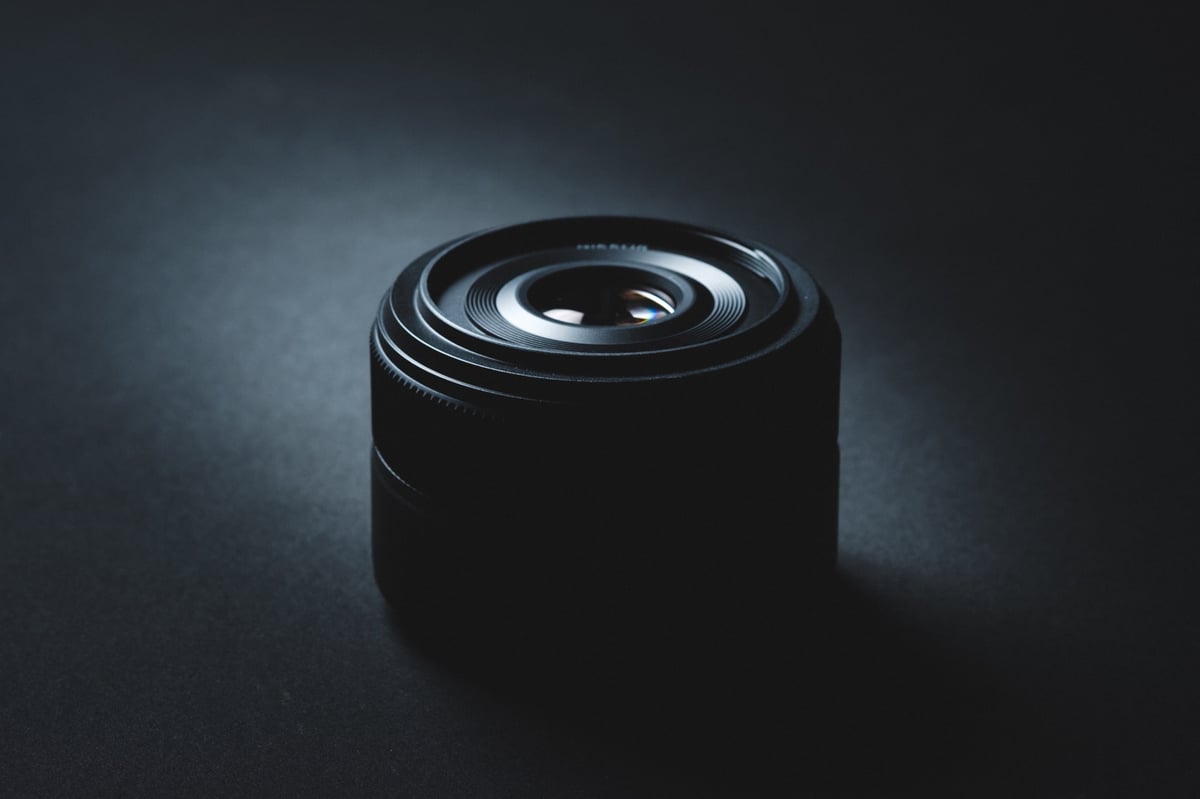
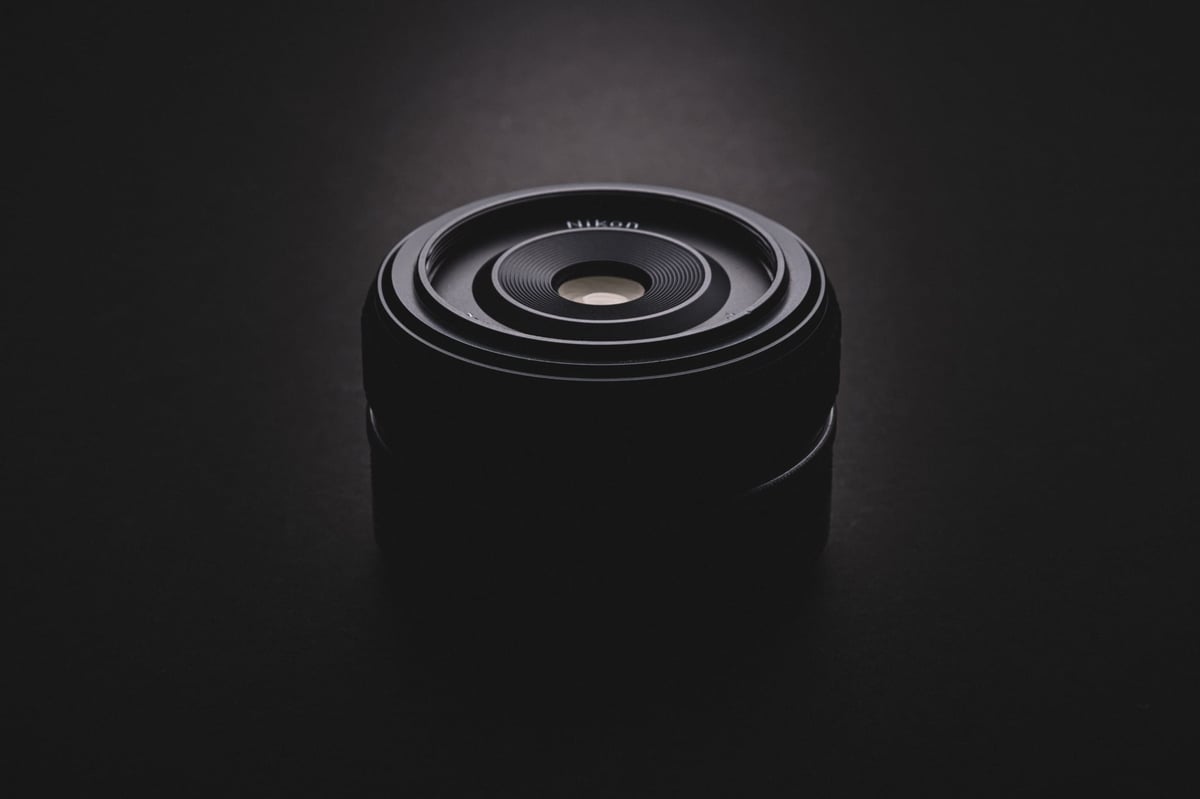
Lens – Fujifilm 56mm f1.2
The Photoshop
I didn’t do a ton of Photoshop on this above shot. The trick is to get as much of it done in camera as possible, but there is a definite look here, and I’ll share with you how I got that look. This is a pretty popular look.
The Raw Shot

Step 1 – Lightroom
I start all my photos in Lightroom—basic tonal corrections, white balance, etc. You could use Adobe Camera Raw in Photoshop for the same effect.
I shot this with the Fujifilm X-T2 and started by applying a Classic Chrome profile. I have a bunch of presets I’ve built that take the base Fujifilm profiles and add unique looks on top.
After that, I export it to Photoshop.
Step 2 – Frequency Separation
Since Kalina was sick a while ago, she had a crusty red and runny nose, so I wanted to eliminate some of that. I tried using tools like clone stamps and healing brushes for a while, but they weren’t working, so I did frequency separation. You’ll have to Google that. Phlearn put out a good tutorial on it a few years ago.
It works because this trick allows you to either change the color of the skin while keeping the textures or change the texture while preserving the color, depending on how you work with it.
Step 3 – Soften Skin More
After the skin was cleaned up with the frequency separation, I wanted to soften it further. There is a trick I used. I have no idea what it’s called, but it involves using the high pass filter, blurring and inverting it, and then applying a blending layer. Here is a pretty good tutorial on softening skin. You’ll have to play with the radius of the high pass and blur filters to get the right look.
Step 4 – Basic Photoshop
I used a lot of Dodge and Burn and contrast to enhance certain features and hide others. This includes adding more sparkle to the eyes and slightly shaping the lighting.
Step 5 – Nik’s Color Efex Pro
Man, I’ve been using this software forever. It was amazing back when I didn’t know all the Photoshop tricks. It still is amazing. The best part is it’s free now.
I only used a few filters here, which really helped enhance this look. The filters I used were the Detail Extractor, which just pulls out all the details and makes the image look super crisp; then I used their Cross Process filter, which does a nice job of adding some color harmony between the shadows and highlights.
Step 6 – Back To Lightroom For Final Touches
You could use Photoshop for final touches, but Lightroom is just so much quicker at adding sharpness, grain, gradient filters, etc.
I basically just added a bunch of grain, brushed in some sharpness and clarity to her eyes, and used some brushes and gradients to crush out the background. I also added a little fade to the image with the curves tool.
Conclusion

When I was first learning photography it was crazy, you had to read books and meet other photographers to learn their tricks.




Leave a Reply