Macphun has nailed it with their photo editing software. I started using Aurora HDR earlier this year, then adopted Luminar later into my workflow, and it made my life so much better.
I’ve spent years learning all the crazy tricks in Photoshop for Landscape photography, building actions, buying plugins, etc. Then Macphun comes around and simplifies all that complicated workflow with a couple of sliders and a handful of filters. Brilliant!

For those who know nothing about Luminar, it works as a complementary program to something like Lightroom. It doesn’t have a catalog or anything like that; instead, it’s a single piece of software loaded with powerful plugins or tools they call filters. These filters create powerful effects that give landscape, lifestyle, wedding, travel, you name it, photographers everything they could ever need.
Its interface looks like this.


There are some really nice built-in presets that work well to get you started, shown at the bottom of those sample images.

One thing that always hung me up in the online Photoshop tutorial community was the method for applying the Radiance, or Orton, effect. There were three different ways I found to do this, and they all give a similar look but are also slightly different. Machphun has caught onto that and added two methods to the Orton effect, and a filter just for Radiance – problem solved, brilliant, and insanely simple.
Plus, it all works with sliders – no more punching in some numbers, hitting apply, hoping it looks the way you want, if not, undo, then try again, like with Photoshop or other Photoshop action panels.
That’s all super cool, and only two filters have been mentioned so far.
I obviously can’t go into every type of filter, because there is more than I need, and it would take me days to explain what they all do. But what I will do is talk about the filters I use regularly and how I incorporate them into my workflow.
My Top 5 Favorite Luminar Filters

Have you ever caught yourself drooling? I just did the other day, and I just busted out laughing because it’s always funny. This software will make you do that. 🙂
These are my top 5 favorite and most-used filters that work for my style of photography, in no particular order.
Radiance / Orton Effect


I’ll bunch these two together because they are similar.
Radiance sort of enhanced the colors while softening the harshness of the images. The Orton effect adds a bit of Radiance while still preserving sharpness. Almost like giving it a misty glow. It’s kind of more like using negative Clarity in Lightroom, but with a lot more control.
This is great for Landscape photography. I don’t always use it on the whole image, usually, but on objects in the distance. Mainly, subject matter that isn’t the focus. Sometimes it’s also nice to use a luminosity mask so it’s applied only to shadows or highlights. Yep, this software has a luminosity mask.
Advanced Contrast

When I edit photos in Photoshop, I always break my image apart using luminosity masks to apply contrast and saturation separately to the shadows, highlights, and midtones. Since this is how light works in nature. Objects in shadow should have less contrast and less saturation, and Advance Contrast allows for these contrast adjustments to be applied to highlights, mid-tones, and shadows independently, with an added option to balance the contrast as well, so you can sort of shift around the effect within those tonal ranges.
Fog

There are two methods for applying fog: dark and light.
This essentially lifts the blacks and lightens up the shadows, kind of fading the image. It’s nice because it takes the harshness off the darker sections and is also a very popular look with Landscape Instagrammers – if you care about that sort of thing.
Color Contrast

Color Contrast is handy when you have one of those shots where the colors just feel flat or weird. Color Contrast has a Hue slider that shifts the colors of the image, and a contrast slider that boosts just those areas.
It’s really important not to globally add saturation or vibrance to your image unless you know what you’re doing. I usually don’t touch saturation or vibrancy and instead rely on contrast to enhance particular colors. When I adjust the contrast globally, I usually end up turning down the saturation and vibrancy.
The last thing you want is an image that looks oversaturated, and the way to get around this is to enhance the saturation only of targeted colors. That’s why Color Contrast is a very nice filter.
Detail Enhancer

Detail Enhancer is kind of like an advanced sharpening tool, focusing on the Small, Medium, and Large details. It’s sort of like using the High Pass sharpening technique in Photoshop, but on steroids.
If you’ve ever seen those super crisp landscape or HDR photos and wondered how they did it, this will get the job done.
Within this filter, there are Highlight Protection and Masking sliders to preserve areas where you don’t need detail, like clouds. Or to only apply the effect just to the edges with the Masking slider.
The few different techniques I used in Photoshop to sharpen my images were: finding edges with the unsharp mask filter, finding edges with the High Pass Filter, or more recently, I would usually just use the High Pass Filter and either brush it into areas where I wanted more detail, or I would use a luminosity mask to keep it out of the highlights.
But that wasn’t all I was doing; I would often use a few different layers of the High Pass filter with different apply methods and values. It got messy; the Detail Enhancer just makes this a lot easier.
Other Filters I Keep In My Favorites
There are a few other filters I’ve put in my favorites. I don’t use them as often, but do use them occasionally when the image calls for it.
Foliage Enhancer, Golden Hour, Micro Structure, Structure, Polarizing Filter, Soft Glow, and the Soft Focus filter.


There are other very important filters in this software, but I use it with Adobe Lightroom and usually apply what I can in Lightroom before sending my shots over to Luminar. Also, since Luminar bakes the applied image (btw, you can save your work), I’ll save some simple adjustments for after I’ve worked with Luminar, like grain, sharpness, and vignetting. That way, I can quickly re-adjust those settings depending on whether I print the shot or if it’s just for web.
Luminar Shortcomings
While Luminar can do a lot of really nice stuff, it still won’t be a complete replacement for Photoshop for some of the most advanced users. So for you guys and gals, you’ll still need to use both.
This is getting pretty nitpicky, but I want to share my opinion so this software can continue to evolve in the hopes that one day I won’t have to use Photoshop for landscape and HDR photography. That’s my dream anyway. I say this only because Macphun has an ecosystem of software that is so close to being all you’ll ever need.
Here are a few features I wish were improved.
Luminosity Masks – The good news is, there is a Luminosity mask. It works almost exactly the same as using “Apply Image” on a layer mask in Photoshop. The bad news is that it’s over. You can’t stack it multiple times like you can in Photoshop, which would increase its intensity, and there are no Luminosity mask adjustments like in Aurora HDR.
If they just brought over the luminosity masks from Aurora HDR, that would be perfect.
Personally, I like to use luminosity masks to keep effects out of the shadows or highlights. It’s nice to use filters like the Orton Effect, Soft Focus, and Photo Filter to add that extra glow to sunsets, and it’s even nice to use on some of the sharpness filters, though many of those already have built-in masks.
This one is fairly important for many landscape photographers.
Transform Tool – Currently, this tool allows you to adjust the image’s height and width. That’s it. If you’ve shot some building and want to adjust the tilt, or line up a landscape shot by warping some of the images to better align with the golden ratio, you can’t.
No Solid Color Brush – If you want to add a colored glow to your sunset or enhance some colors, you’re stuck using the Photo Filter, which always has some sort of layer effect applied, and you can’t use pure white or black.
This isn’t a bad way of going about it; it kind of works the same as painting on color in Lightroom, but with a few more options (except Lightroom has that nifty ‘auto mask’ feature). Most of the time, you can just use the Photo Filter with a Radial Mask, then apply a Blend Mode like Screen or something.
But when I paint on color, I often paint a solid color, then adjust the opacity and apply a luminosity mask to keep it out of the shadows. This creates a cool effect that’s hard to get any other way.
For myself and most landscape and HDR photographers (which is the same thing these days), using Photo Filter + Radial or Brush masks + Blending Modes works fine.
Skylum Luminar Review | Bottom Line
Bottom line – is Luminar worth it?
It is.
I mentioned in my AuroraHDR review that it’s more than just HDR software, thanks to its incredibly powerful toolset, including amazing detail extraction and tone-mapping capabilities. Well, Luminar has even more tools and even more power, and they complement each other very well.
If you’re a landscape and travel photographer looking to maximize your results, you need both. Then you can ditch Photoshop for all but the most serious photo reconstructive surgeries.
This software has changed the way I work and is now a very important part of my workflow. There isn’t anything else like it, except maybe the old Color Efex Pro, which was bought by Google years back and is no longer maintained. So today, Luminar is your best option.

Final Thoughts
When I first started using AuroraHDR, I knew Macphun was onto something really special, but I was still never really interested in picking up Luminar, mainly because Photoshop was working fine for me. It wasn’t until I sat down with some developers for coffee and they gave me a walk-through. So glad they did, because it’s awesome.
The thing I think always turned me off initially was that Luminar’s marketing was geared more towards beginner photographers, where they push their Accent AI filters. A filter that has interesting algorithms that automatically examine your image and apply the best tonal and color values. It’s cool and works well, but it was never for me. I guess their strategy is to get photographers like me to publish their interpretation of the program.
So here I am, telling you this program is more than just beginner AI color correction. It’s a legitimate professional tool that shouldn’t be overlooked, even by the most high-end professionals.
If you like my travel and landscape photography, then all you really need for similar results are AuroraHDR, Luminar, and Lightroom, all together, that’s less than the price of a crappy lens, but you’ll be getting so much more than what a crappy lens can offer you.
Luminar Review | Sample Photos
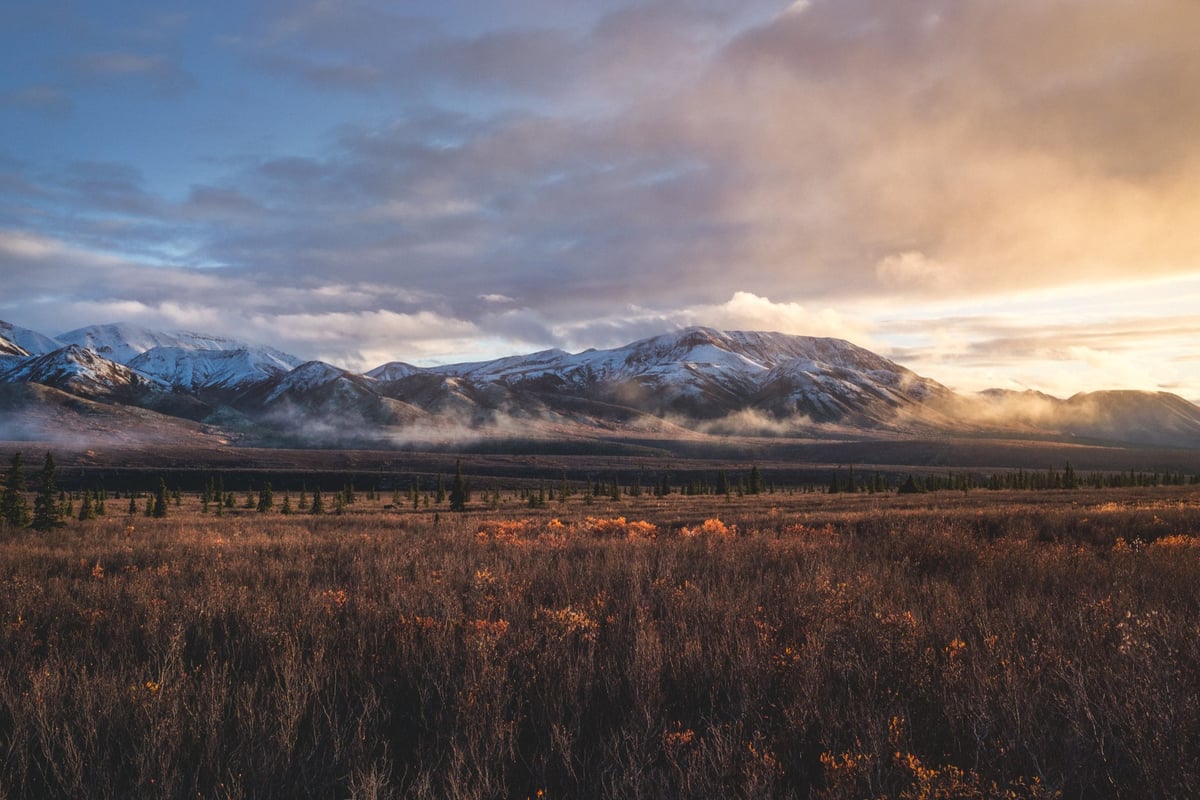
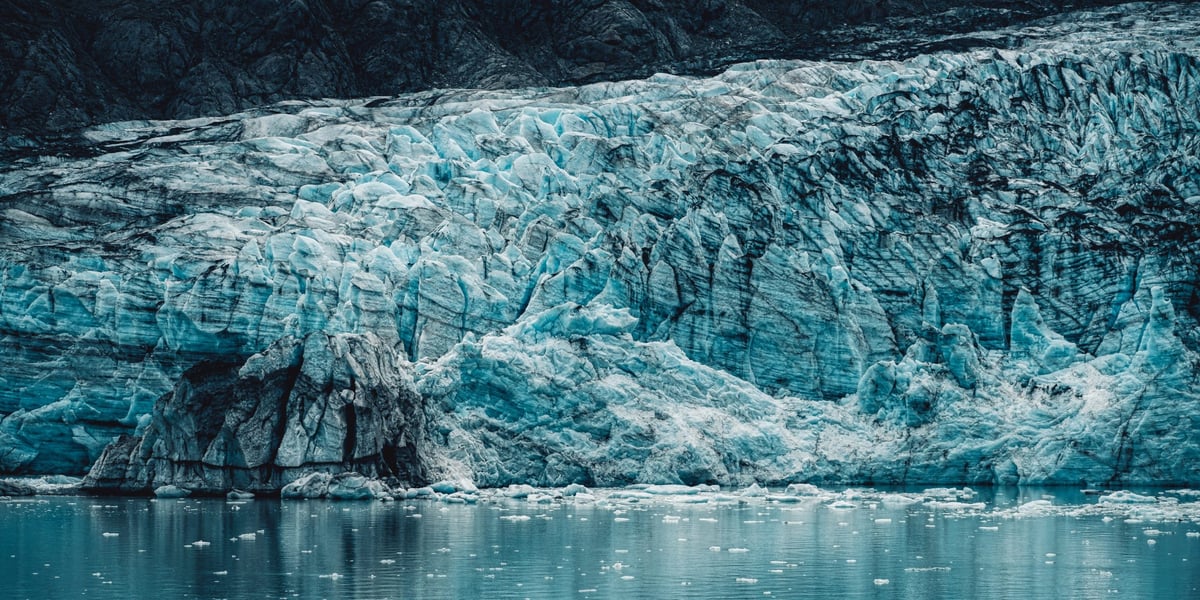
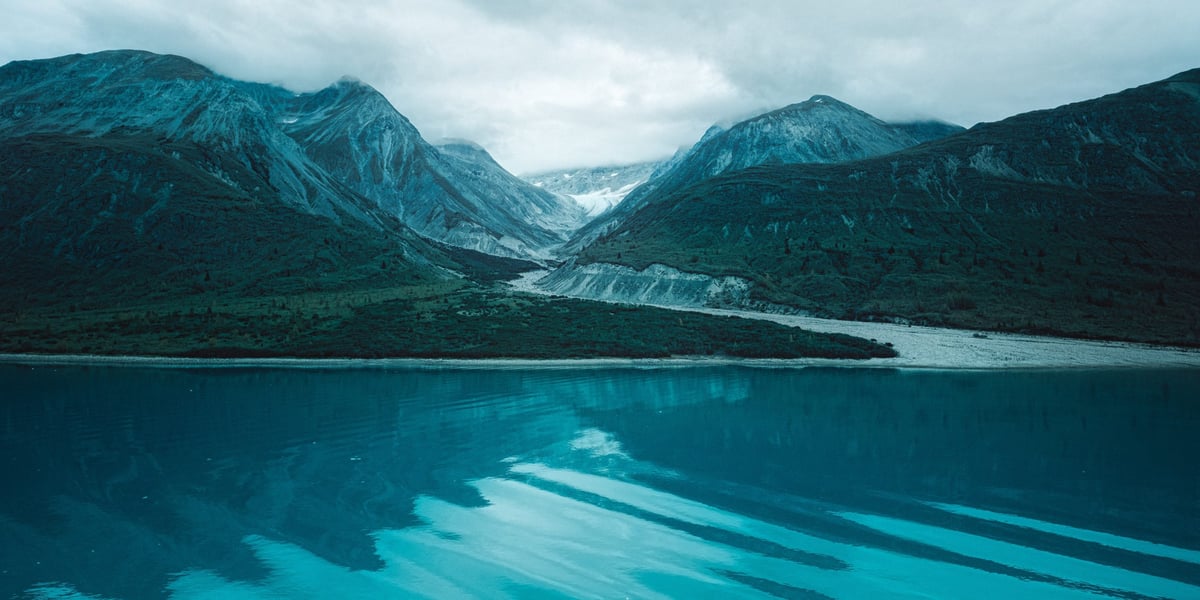
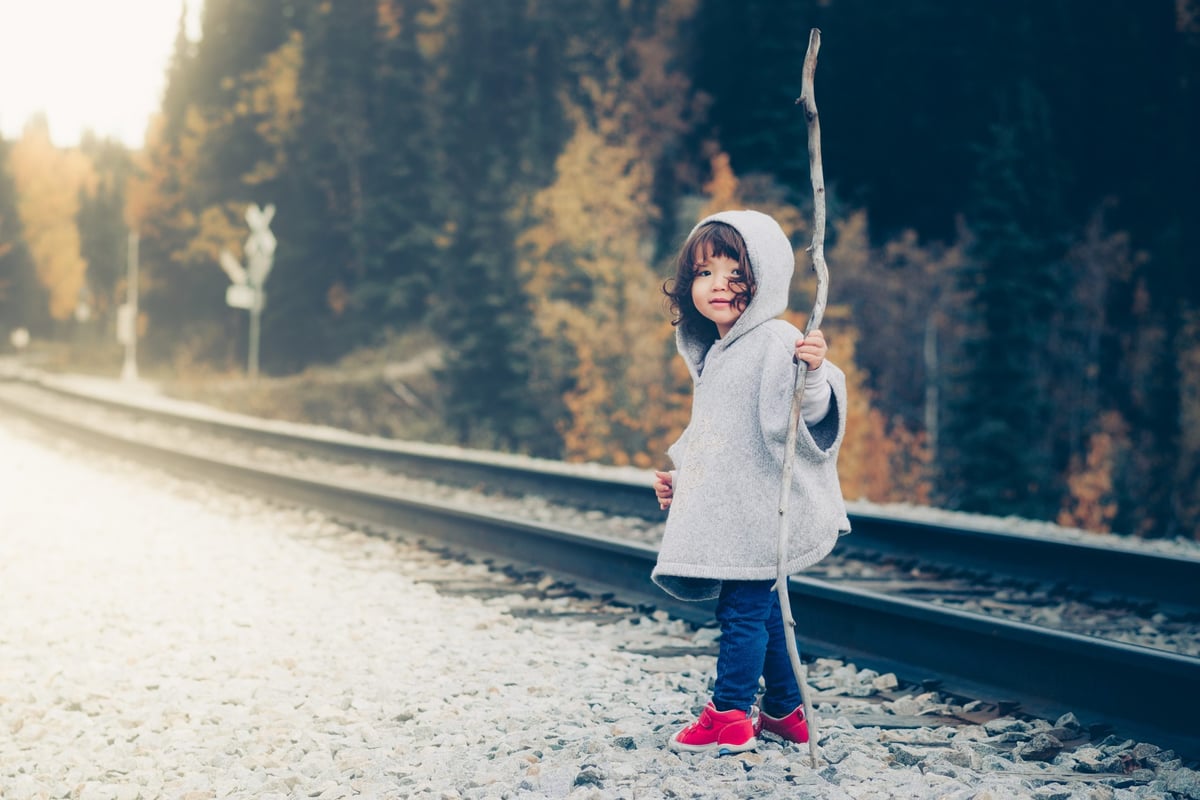
Most of the photos seen in this review are either from Glacier Bay or Denali, Alaska. Shot with either the Fujifilm XT2 or the Sony A7rII.


Leave a Reply