Achieving a good HDR photo can be challenging and take a lot of time and finessing. You really need to learn the post-processing software inside and out to get it right and to find your own style.
When HDR is done right, they don’t have the particular look of any other photo (i.e., the HDR look). Rather, they should have their own look, the photographer’s style. The look of HDR actually comes from the overuse of Tonemapping. Where an image’s range of highlights and shadows are compressed together. Software like Photomatix compresses the image’s tones, lifting the shadows and pulling down the highlights, then outlining areas that should be dark with a highlighted halo to create an illusion that the area is darker than its surroundings.
Here are a few HDR images I’ve done as a sample of HDR images that do not have that overused tone mapped look. I try to use HDR to capture the range of the scene to create an exaggerated expression of how the scene made me feel when I was there.
Currently, I’ve been using a Lightroom 4, Photomatix, and Color Efex Pro workflow. And I’ve recently made some tutorials you can find on my HDR Photography Tutorial Page
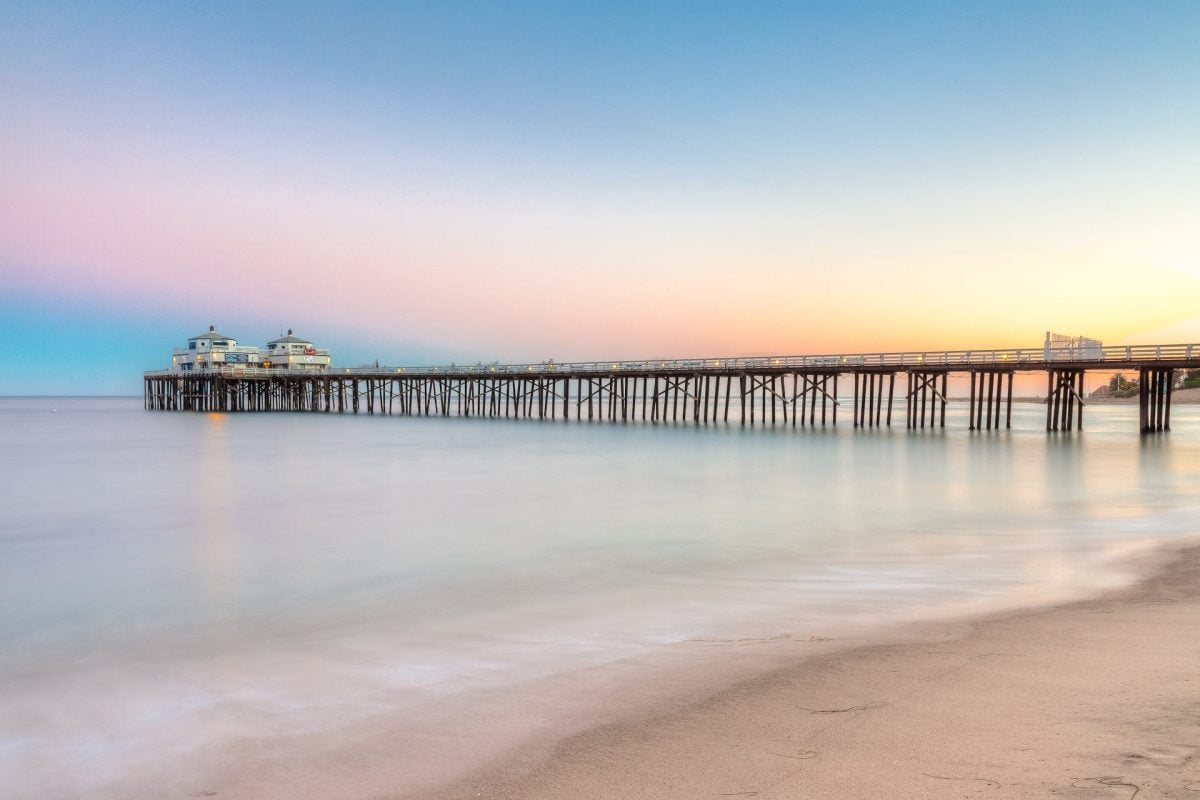
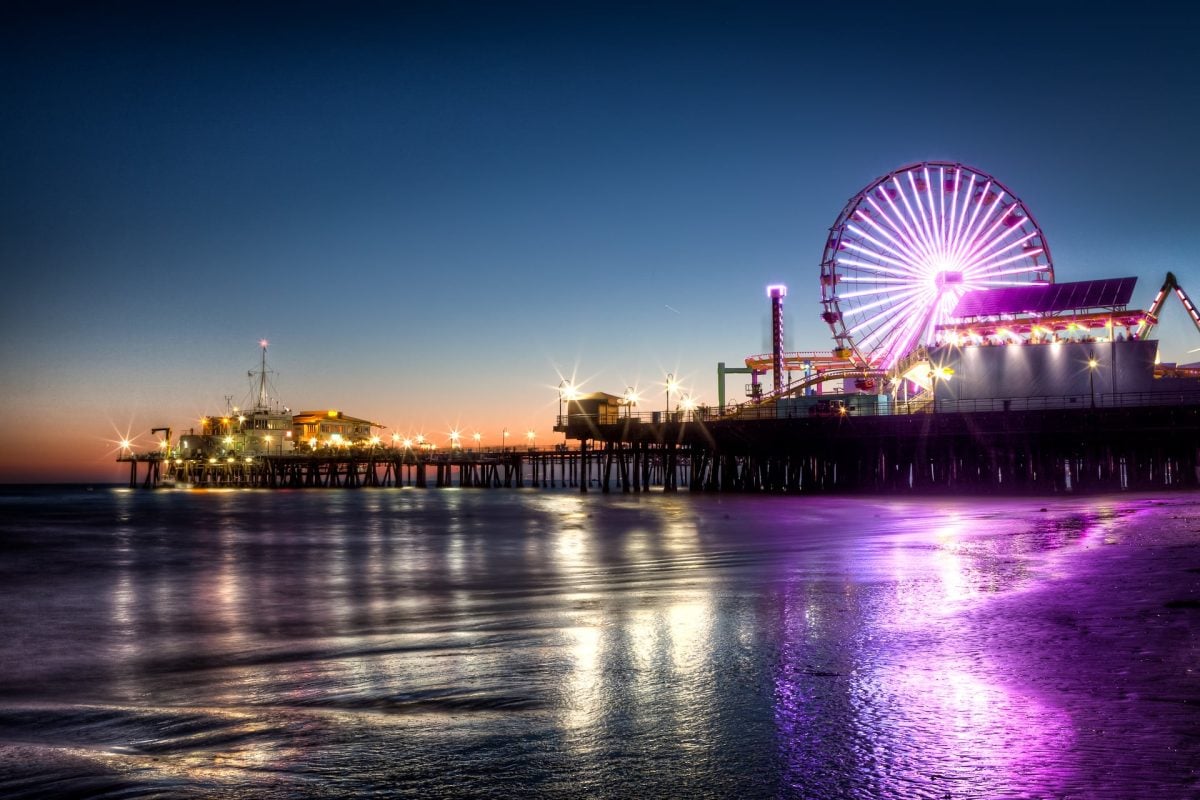
Since I started photography, I’ve developed my own way of doing HDR. Out of curiosity, I set it to see how others were doing it and went looking for tutorials, as did you, which is why you are here.
It was actually really hard finding great HDR video tutorials. So far, these are the best videos I’ve found on YouTube. I’ll post more as I discover them. If you know of any, email me or post in the comments, and I can update.
HDR Tutorials with Photomatix
1. HDR tips with Alik Griffin (that’s me)
I walk you through Photomatix as well as some great workflow tips for the more advanced photographer really looking to get some higher quality HDR images.
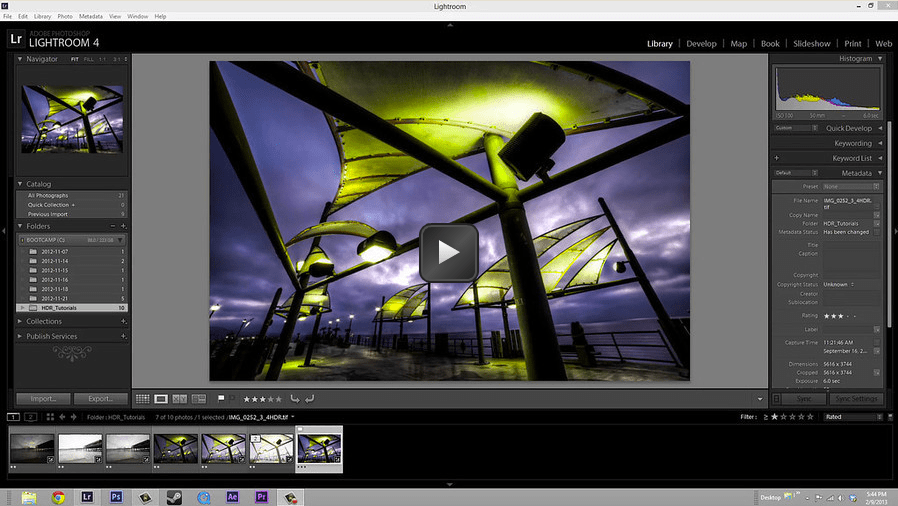
2. HDR Tutorial with Trey Ratcliff.
Trey Ratcliff is probably the Internet’s most well-known HDR photographer. His tutorial here covers the basics. He uses the software called Photomatix. He’s a nice and helpful dude who will usually help you with things if you ping him directly on Google+.
A more detailed tutorial can be found on his site: http://www.stuckincustoms.com/hdr-tutorial/ He has a longer tutorial that goes over everything there.
3. HDR tutorial with digitalBlind
It’s a pretty good tutorial. He goes through it all, from taking the photos to explaining what HDR is. He also uses Photomatix.
4. HDR tutorial with Photomatix and Photoshop Elements and Topaz Labs.
He uses HDR and Exposure Fusion. Makes two images, then blends them together. Then does some touching-ups with Topaz Labs.
It’s a must watch.
HDR Tutorials with Photoshop
5. Here is a tutorial using Adobe Lightroom 4.1 and Photoshop with ModifiedPhoto.
This is nice for photographers that want to play around with some HDR without going out and buying new software. It’s a really nice tutorial. Check it out even if you already have Photomatix.
6. High Dynamic Range with Lynda
Of course, Lynda always makes good tutorials. A lot of times, they are too simple, but for this, they really get into it. Really into it.
HDR Tips with Lightroom 3 and HDR EFEX Pro
7. HDR with Nik Software HDR Efex Pro and Photoshop Lightroom, by the hot formula.
HDR Efex Pro is nice because it works as a plugin with Lightroom. I haven’t seen many tutorials with this software in English. But this guy nails it.
One thing to note when doing HDR with newer cameras, you don’t always need to shoot RAW for HDR like a lot of these guys say. Especially if you do 5 shot brackets. You’ll know why after you do a couple. It takes longer to process the images and the sizes are huge. With a large bracket range, you should be able to cover your dynamic range just fine with JPG.
Also, some of the images in these tutorials didn’t even need to use bracketing. Some of the newer cameras, like the 5Dmkiii and the new Nikon D800, already have sensors that have a huge dynamic range. The colors and saturation really hold up at their higher ISO making HDR in many situations not even necessary. You can simply use a single raw and go straight into something like Photomatix, and just tone map the image to achieve the same effect. Bracketing photos will likely be a thing of the past as cameras continue to improve their dynamic ranges. . . At least I hope.
Have fun shooting.
| **This website contains affiliate links. We will earn a small commission on purchases made through these links. Some of the links used in these articles will direct you to Amazon. As an Amazon Associate, I earn from qualifying purchases. |


