Photomatix Pro is software designed to create stunning HDR images by combining multiple photos captured at different exposures into a single image.
Update: This is an old review. I do all my HDR in Lightroom now, which has great built-in features. I was also using Aurora HDR for a while.
Photomatix Pro Review

This program took me a while to understand. It’s not that it was hard to use; it’s not. The hard part is the technical learning curve of wanting a photo to look a particular way and having no idea how to get there.
I started by ignoring the default presets and creating my own. Whenever I got a photo the way I liked, I’d save it as a preset. Over time, it became much easier and quicker to go through my 20 or 30 presets to find a unique style or look.
Photomatix Pro is a major part of my HDR photography workflow.
The Preset
The presets are great, and you should always create your own.
This will help you quickly find looks that may or may not work for the scene. Every scene is different, so not having presets is very hard. I wish the program came with some better ones that created more natural-looking scenes.
I like the natural-looking HDR photography vs the crazy surreal-looking images.
My Workflow Using Photomatix Pro
This is important. I went through a lot of trial and error to get it right, and I see a lot of other HDR photographers struggle with this.
Remove Noise First
I’ve concluded that you need to remove noise from your HDR photos before sending them to Photomatix. Otherwise, the software’s algorithms will enhance the grain into super-HDR grain, which can get messy. The software I’ve found works best is Topaz Denoise, though Lightroom works fine as well.
Cycle Through The Presets
I usually cycle through a few presets until I find one close to what I’m going for. Then, you almost always have to make a few adjustments to get your shot right. Once you’re done, save it and reload it in Lightroom.
Back In Lightroom
Once the photo is back in Lightroom, I usually make a few more color tweaks and contrast adjustments before sending it to Photoshop.
What I do In Photoshop
Once the photo is in Photoshop, I often sharpen it here. I like the high-pass filter. Some photographers think Smart Sharpen is the way to go. Sometimes, I use both.
Photoshop is also important for touch-ups and clean-ups, such as removing excess grain from the sky. Sometimes, you’ll have to bring back one of the original photos.
I have also been using Nik’s Collection, which gives me access to more filters and presets.
Photomatix HDR Process
Photomatix offers two ways to create HDR images. Tone mapping and Exposure Fusion.
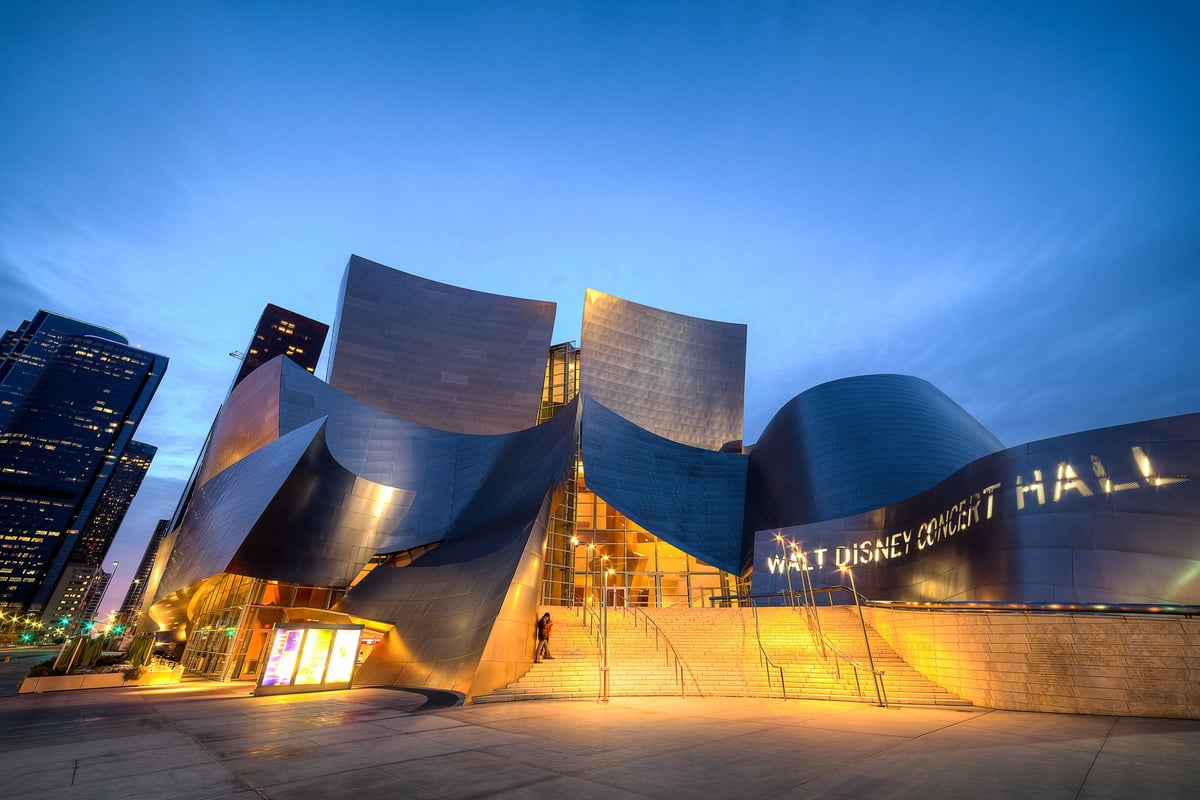
Tone mapping Review, which manipulates the various tones of the images. Meaning, you can shift the highlights and shadows around so everything looks properly exposed, or shift all the tones closer together so everything is a Midtone. Then the software will create halos around each tone, causing a separation. This gives that surreal look that HDR is so famous for.
You don’t always need multiple photos to create an image. The photo above was a single image tone-mapped with Photomatix. Shot with the Sony A7r.
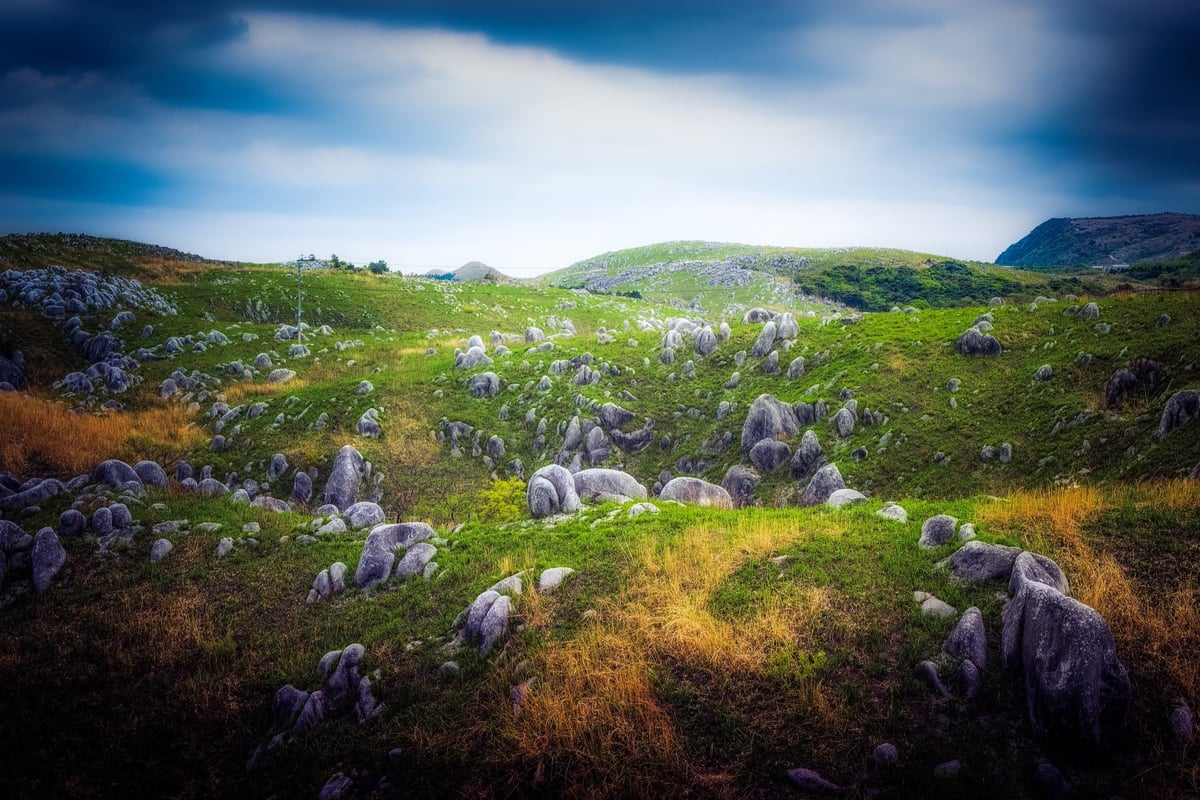
Exposure Fusion Review works similarly to Tonemapping, shifting the exposures slightly. But this doesn’t try to lift the shadows to a mid-tone or pull the highlights. It seems to use more of what’s there, without creating the halo effect that gives you that famous HDR look. I use this method on 25% of my HDR photos. It often looks more natural but has fewer controls.

The photo above used the Exposure Fusion process, which is a great way to create a different high-dynamic-range photo without having that tone-mapped look.
What I Don’t Love
I’ve added a few things I don’t like to this Photomatix Review so your expectations aren’t too high, and you know what you’re getting into.
Weak Sharpening And Denoise Tools
I wish Photomatix had better sharpening and denoise tools, but it just doesn’t, and it forces you to use all these other applications around it.
Maybe it makes more sense for you to do everything in Photoshop and stay in Photoshop. But I don’t mind bouncing around from program to program. Once you have your intermediate tiff file, you can do as many tweaks as you wish.
The Loupe Is Not Accurate
The loupe isn’t accurate, so it’s almost completely worthless for inspecting detail.
Auto Ghosting Is Only 50% Awesome
. I let Photomatix handle ghosting in most of my HDR photos. But it doesn’t always work, forcing me to reprocess the image and mask by hand. It’s not a huge deal, but it could be better.
Photomatix Pro Sample Images


Leave a Reply