
This is a quick little tutorial on how you can improve your grain in Lightroom.
There are limited grain controls in Lightroom but if you use them correctly you can do some pretty cool things with the grain.
How To Get Better Looking ‘Film’ Grain in Lightroom
First – Why To Use Grain?
I talk about it a little in this video but there are a few great reasons to use grain and it’s a very common practice to throw a little grain on images especially if you’re printing.
I find that a little bit of grain can often hide little flaws or fringes that come from over-sharpening, they can also reduce the noticeability of small flaws and lens aberrations like chromatic aberrations.
But also, a lot of people like the look of grain as it solves many problems. For example. If skin tones come out a little waxy after applying a noise reduction, grain can help simulate more detail and texture in the skin.
Low micro-contrast lenses, as well as ghosting from motion blur, can look much nicer with a little grain.
Or, if you shoot Fujifilm you also know that Fujifilms grain can be complete bananas because of those X-Trans sensors. “Well I use Capture One, it fixes it.” Yes, but it turns skin tones a bit waxier. So to fix both of these problems, a little soft grain is nice to add a bit of detail.
2 Types Of Grain Looks In Lightroom – Technically There Are 3
There are a few looks of grain you can get out of Lightroom. A nice crisp grain, or a nice smooth grain. The third would be the alien disease-looking grain.
The smooth grain often will make an image look a little softer, which can be nice at times, especially if you’re going for a more authentic film look.
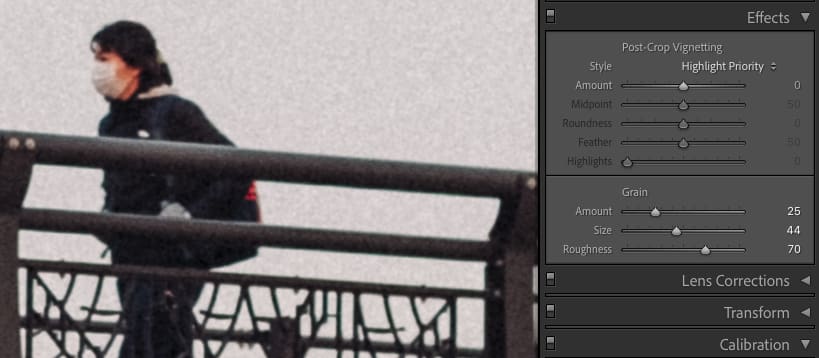
How To Make Soft Grain In Lightroom
To make the grain softer you’ll want to play with the roughness and size sliders. Whenever those sliders get close to each other the grain typically gets softer. Find the right balance then adjust the amount for the right feel.
Remember the Amount slide won’t always make more grain, it will just enhance it. Sometimes the size slider with the roughness slider moved up can also make it feel like there is more grain.
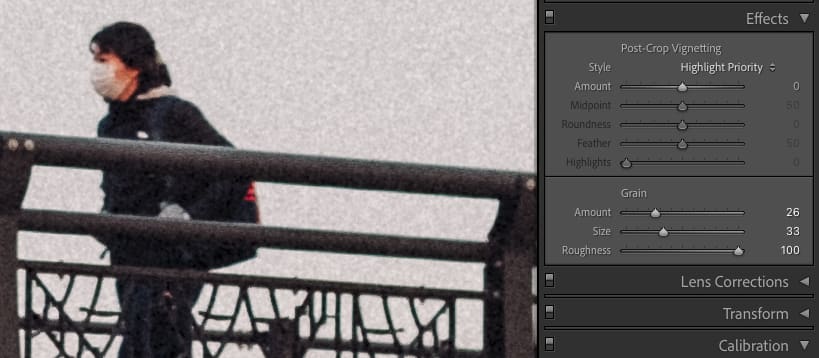
How To Make Crispy Grain in Lightroom
To make grain crispy, you guessed it – you do the opposite of what made the grain soft. Move the size and roughness sliders further away from each other.
Again play with the amount to get the right feel.
What To Avoid When Working With Grain – Alien Grain
Anytime you move the roughness slider to a value less than the Size slider, the grain can often look strange and it never looks good to my eyes.
So always make sure the roughness is at least at the same level as the Size slider or higher.
Conclusions
This is a quick tip but I feel like an important one and it’s not really something you can just figure out unless you spend way too much time messing around with Lightroom breaking things and unbreaking things.
I like to build a different grain for web viewing like Instagram, which is maybe a little more aggressive, then build a softer grain for printing, or just to take a little edge off. For a broader film editing workflow that ties grain into tone, color, and contrast, see the guide to editing photos to look like film.
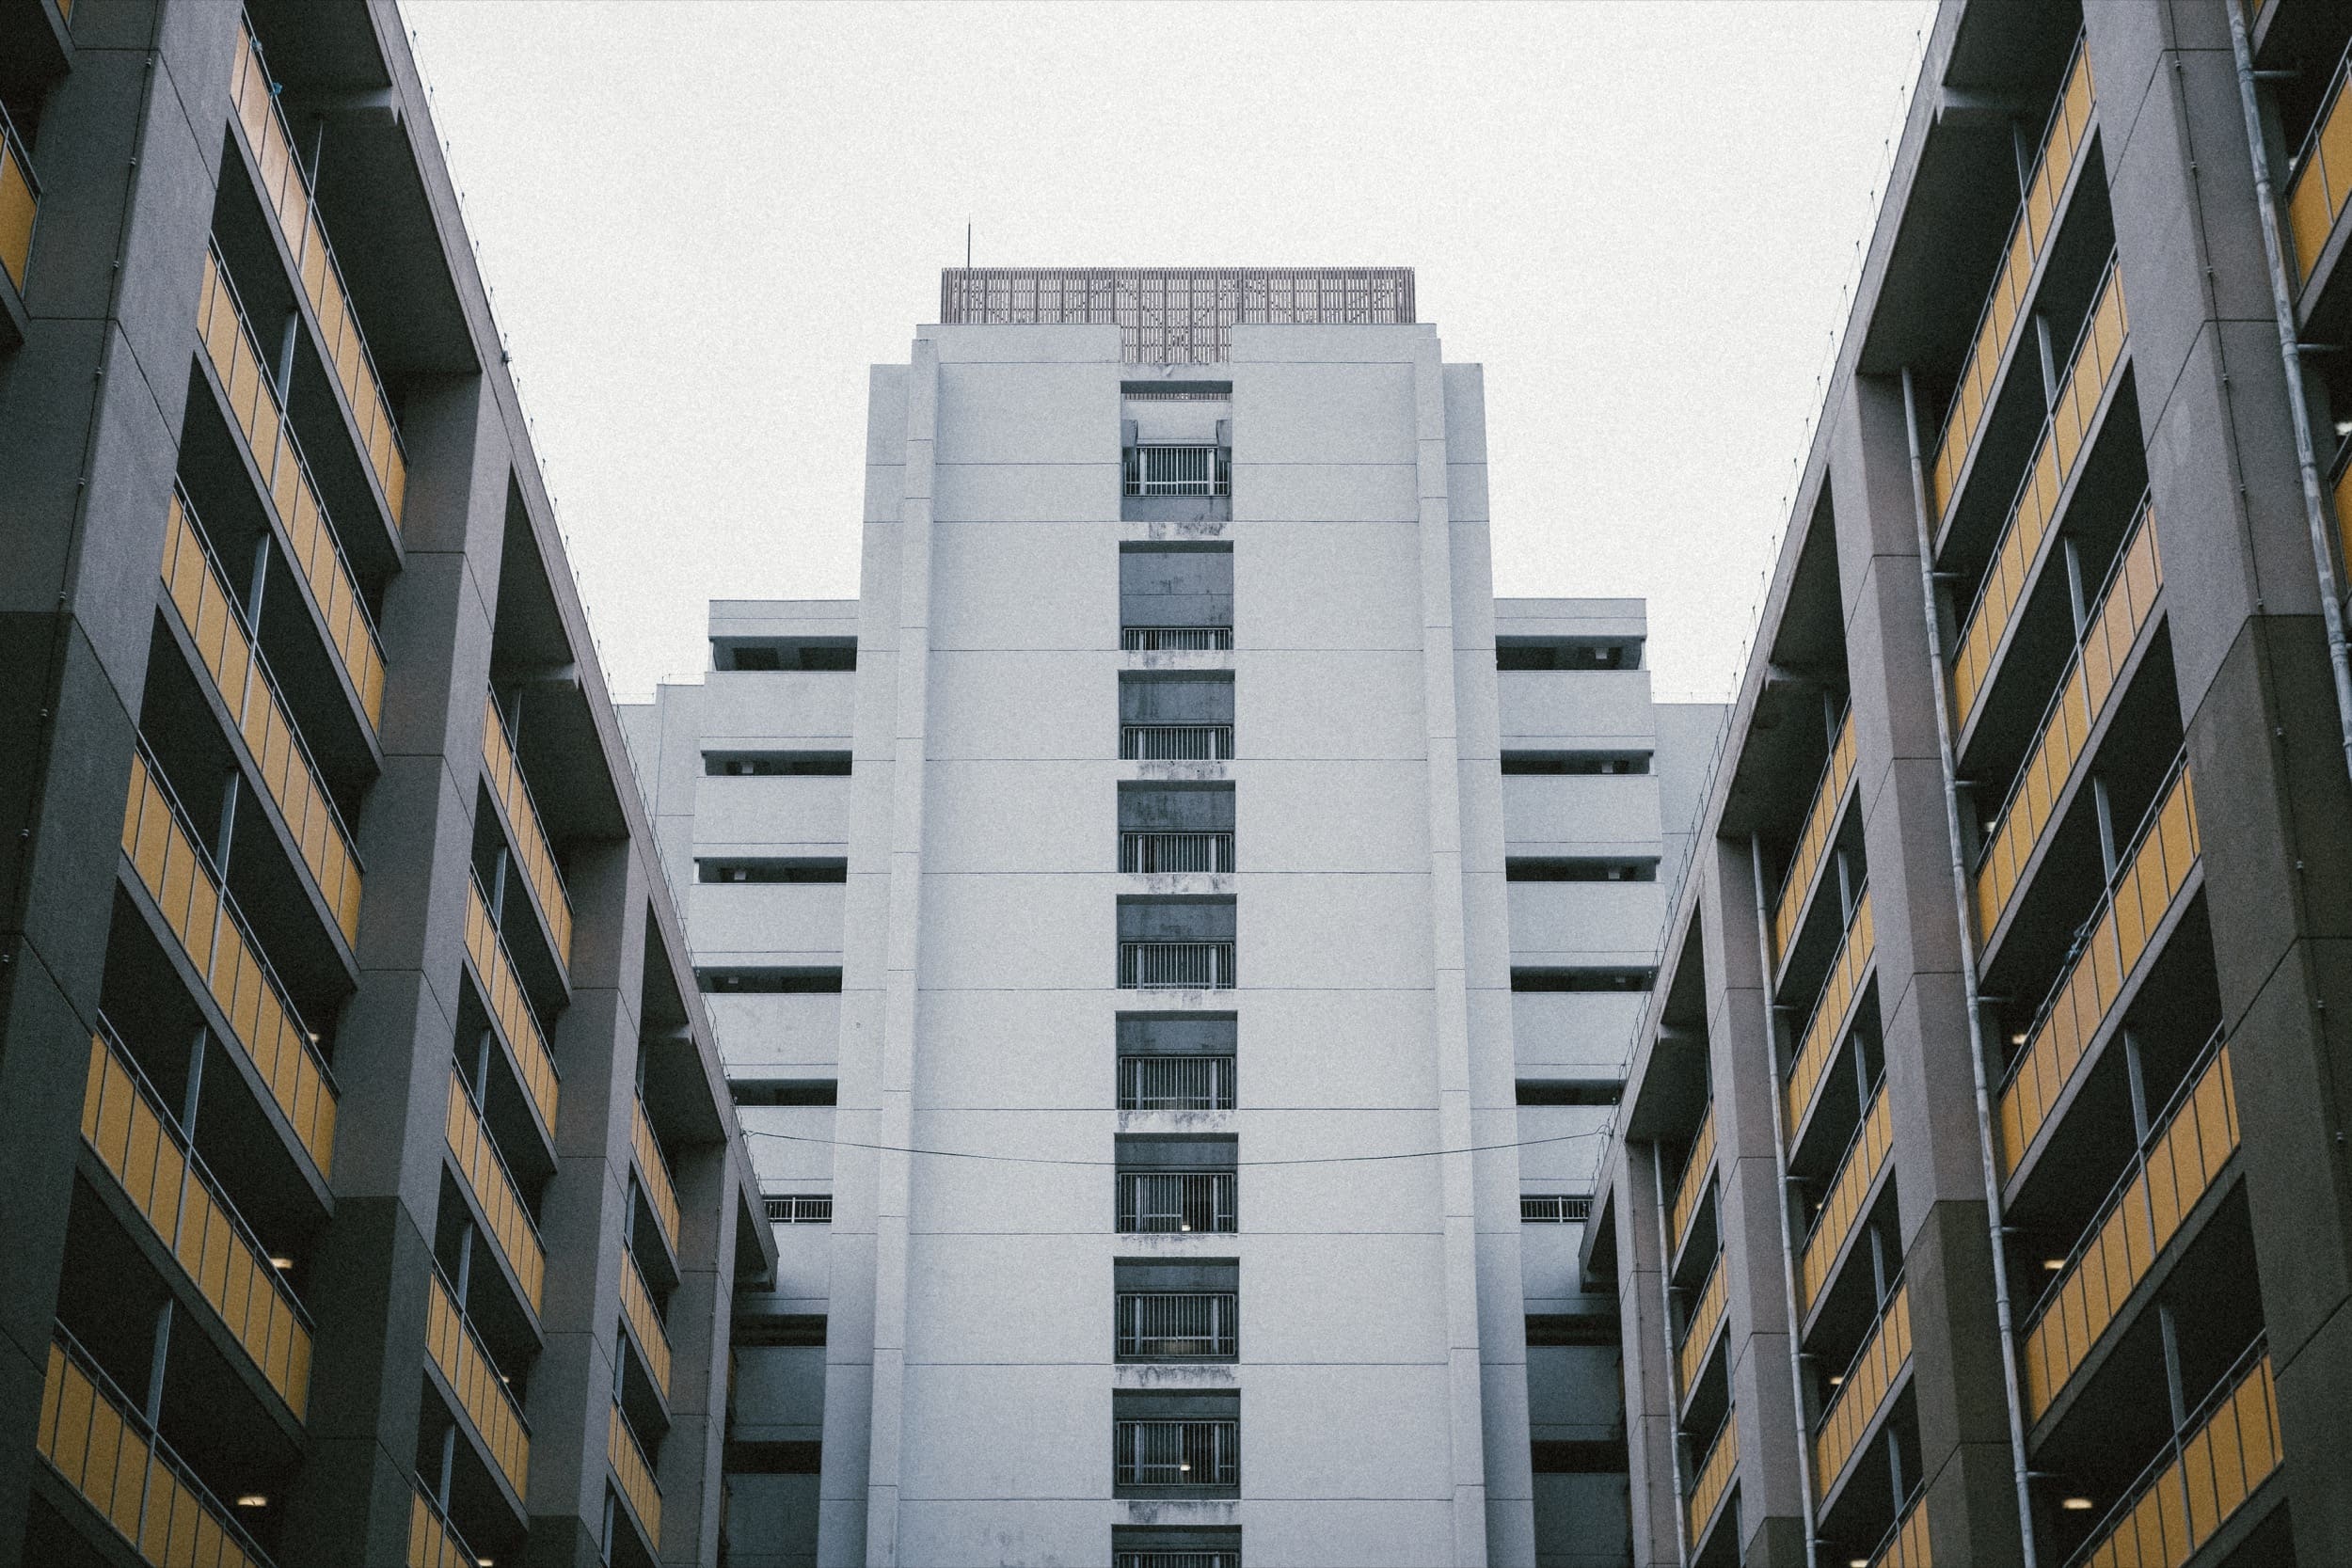
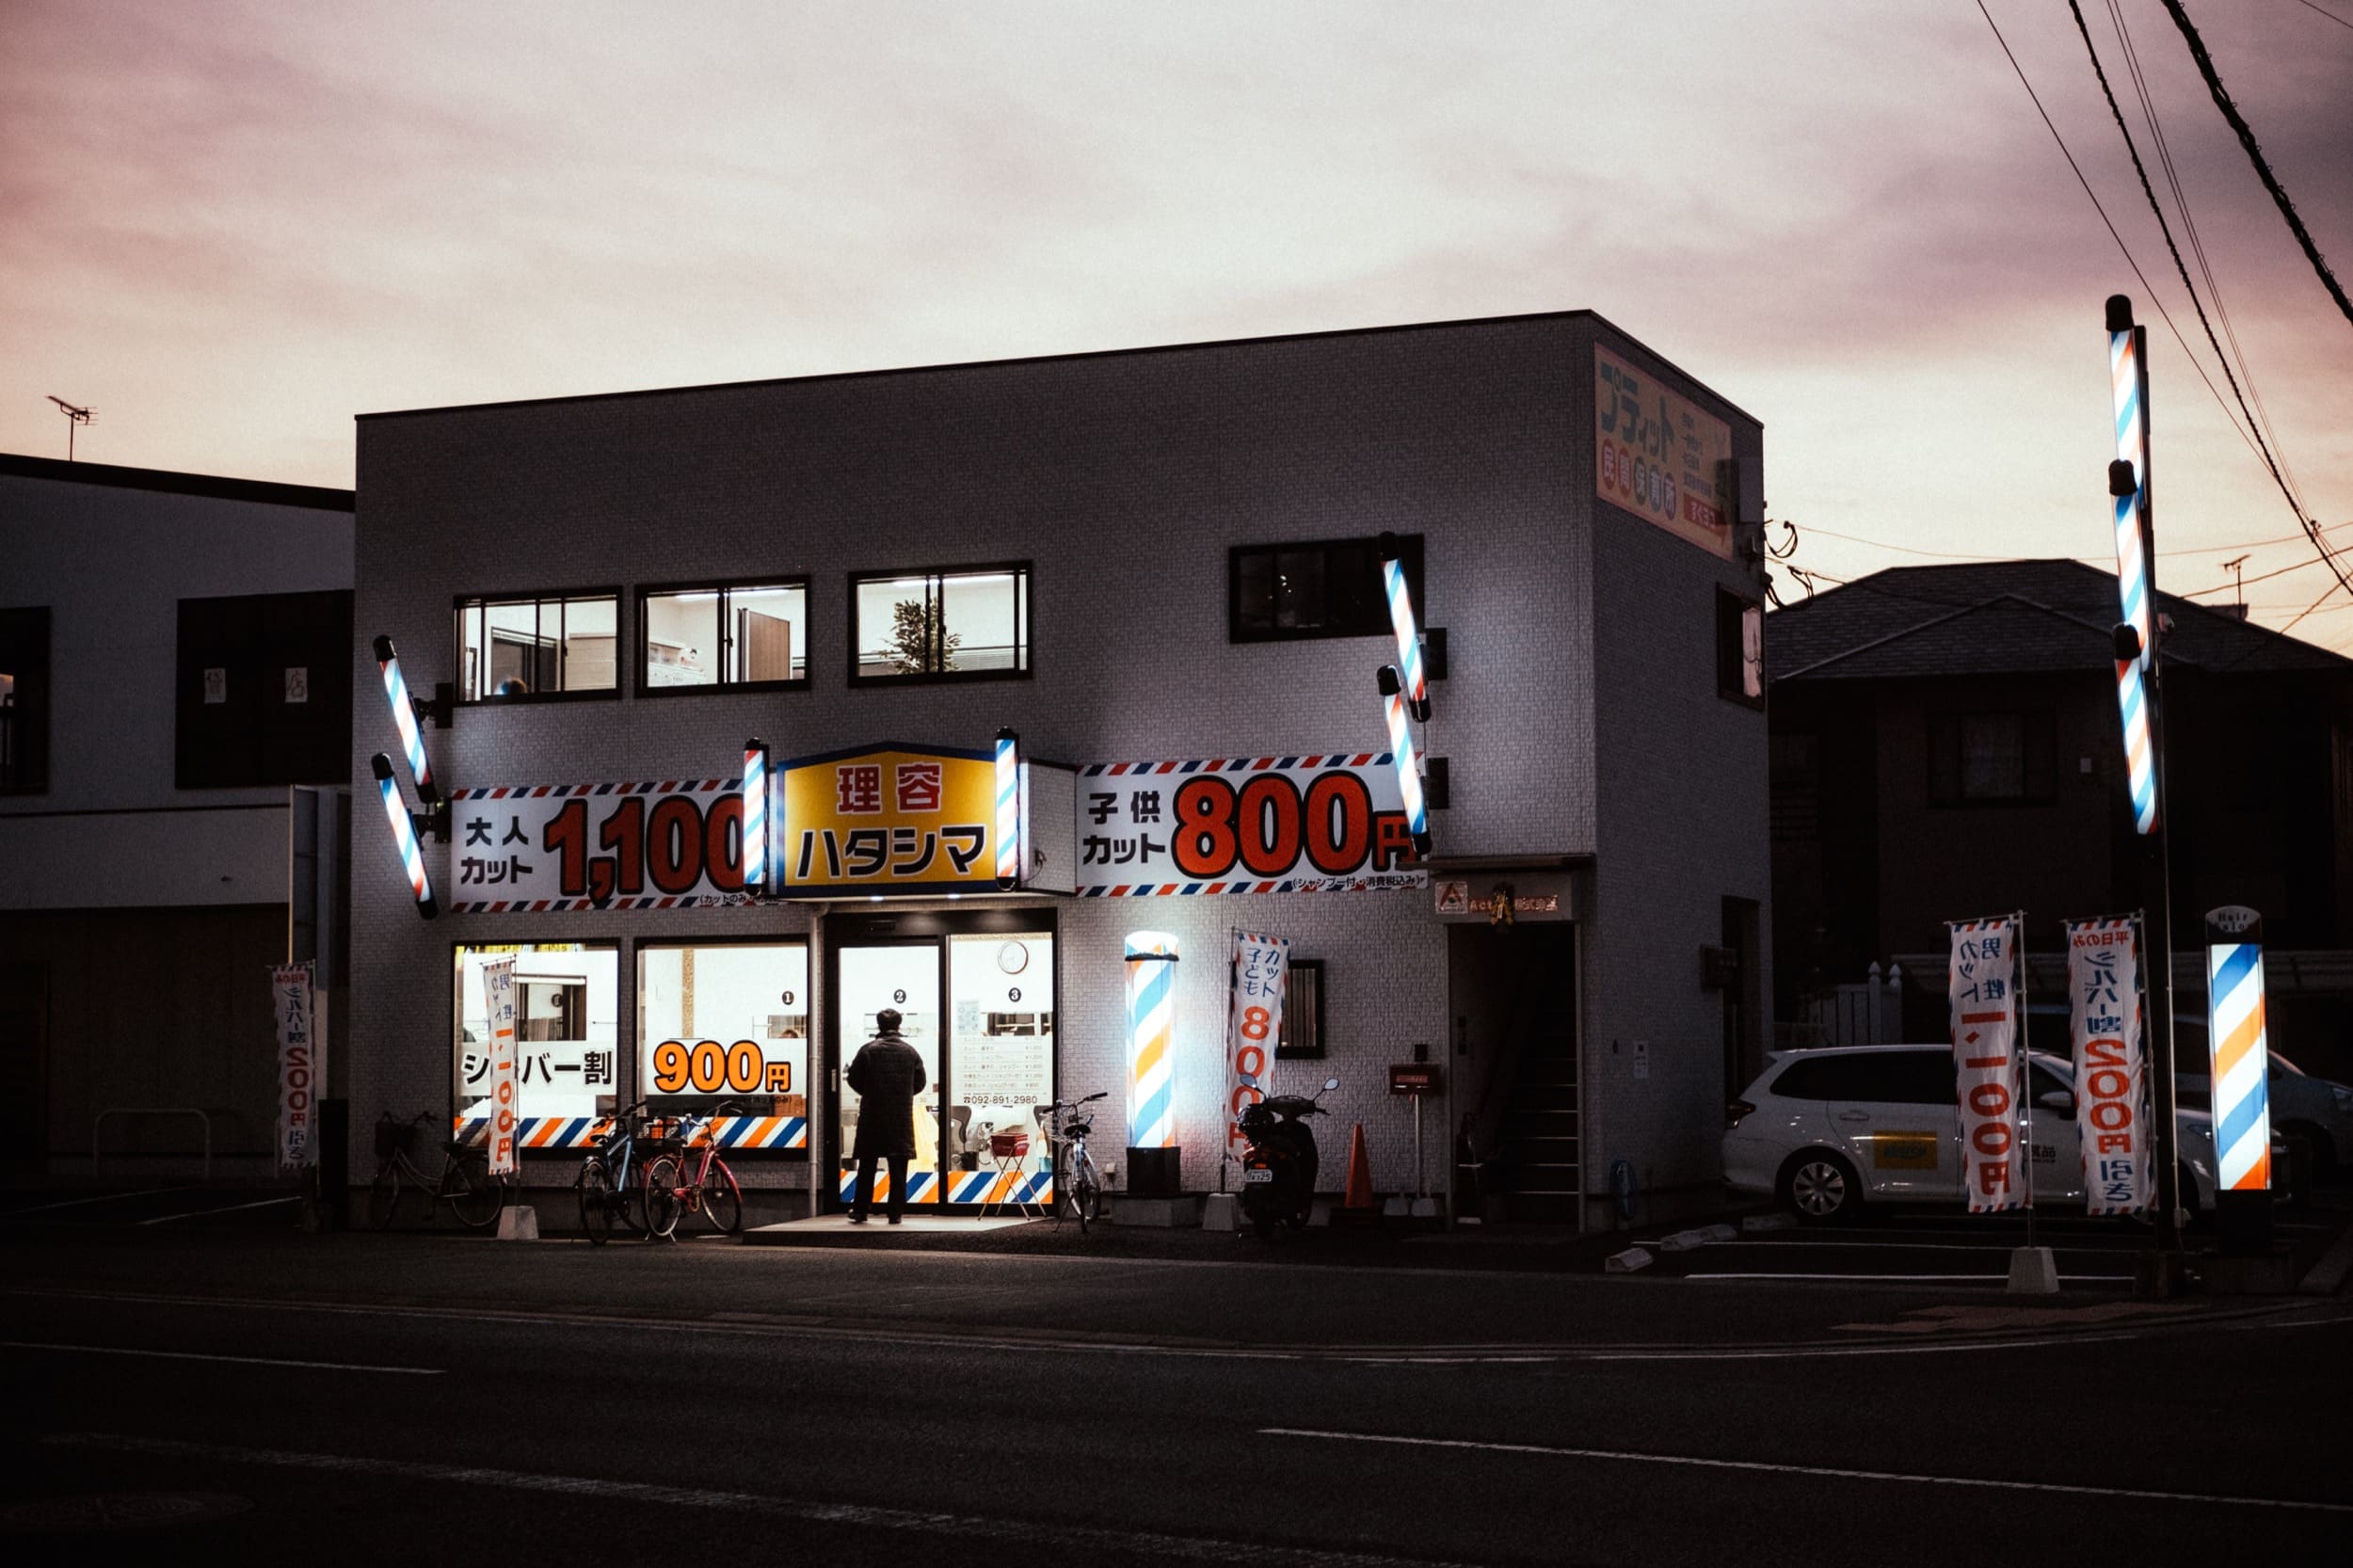
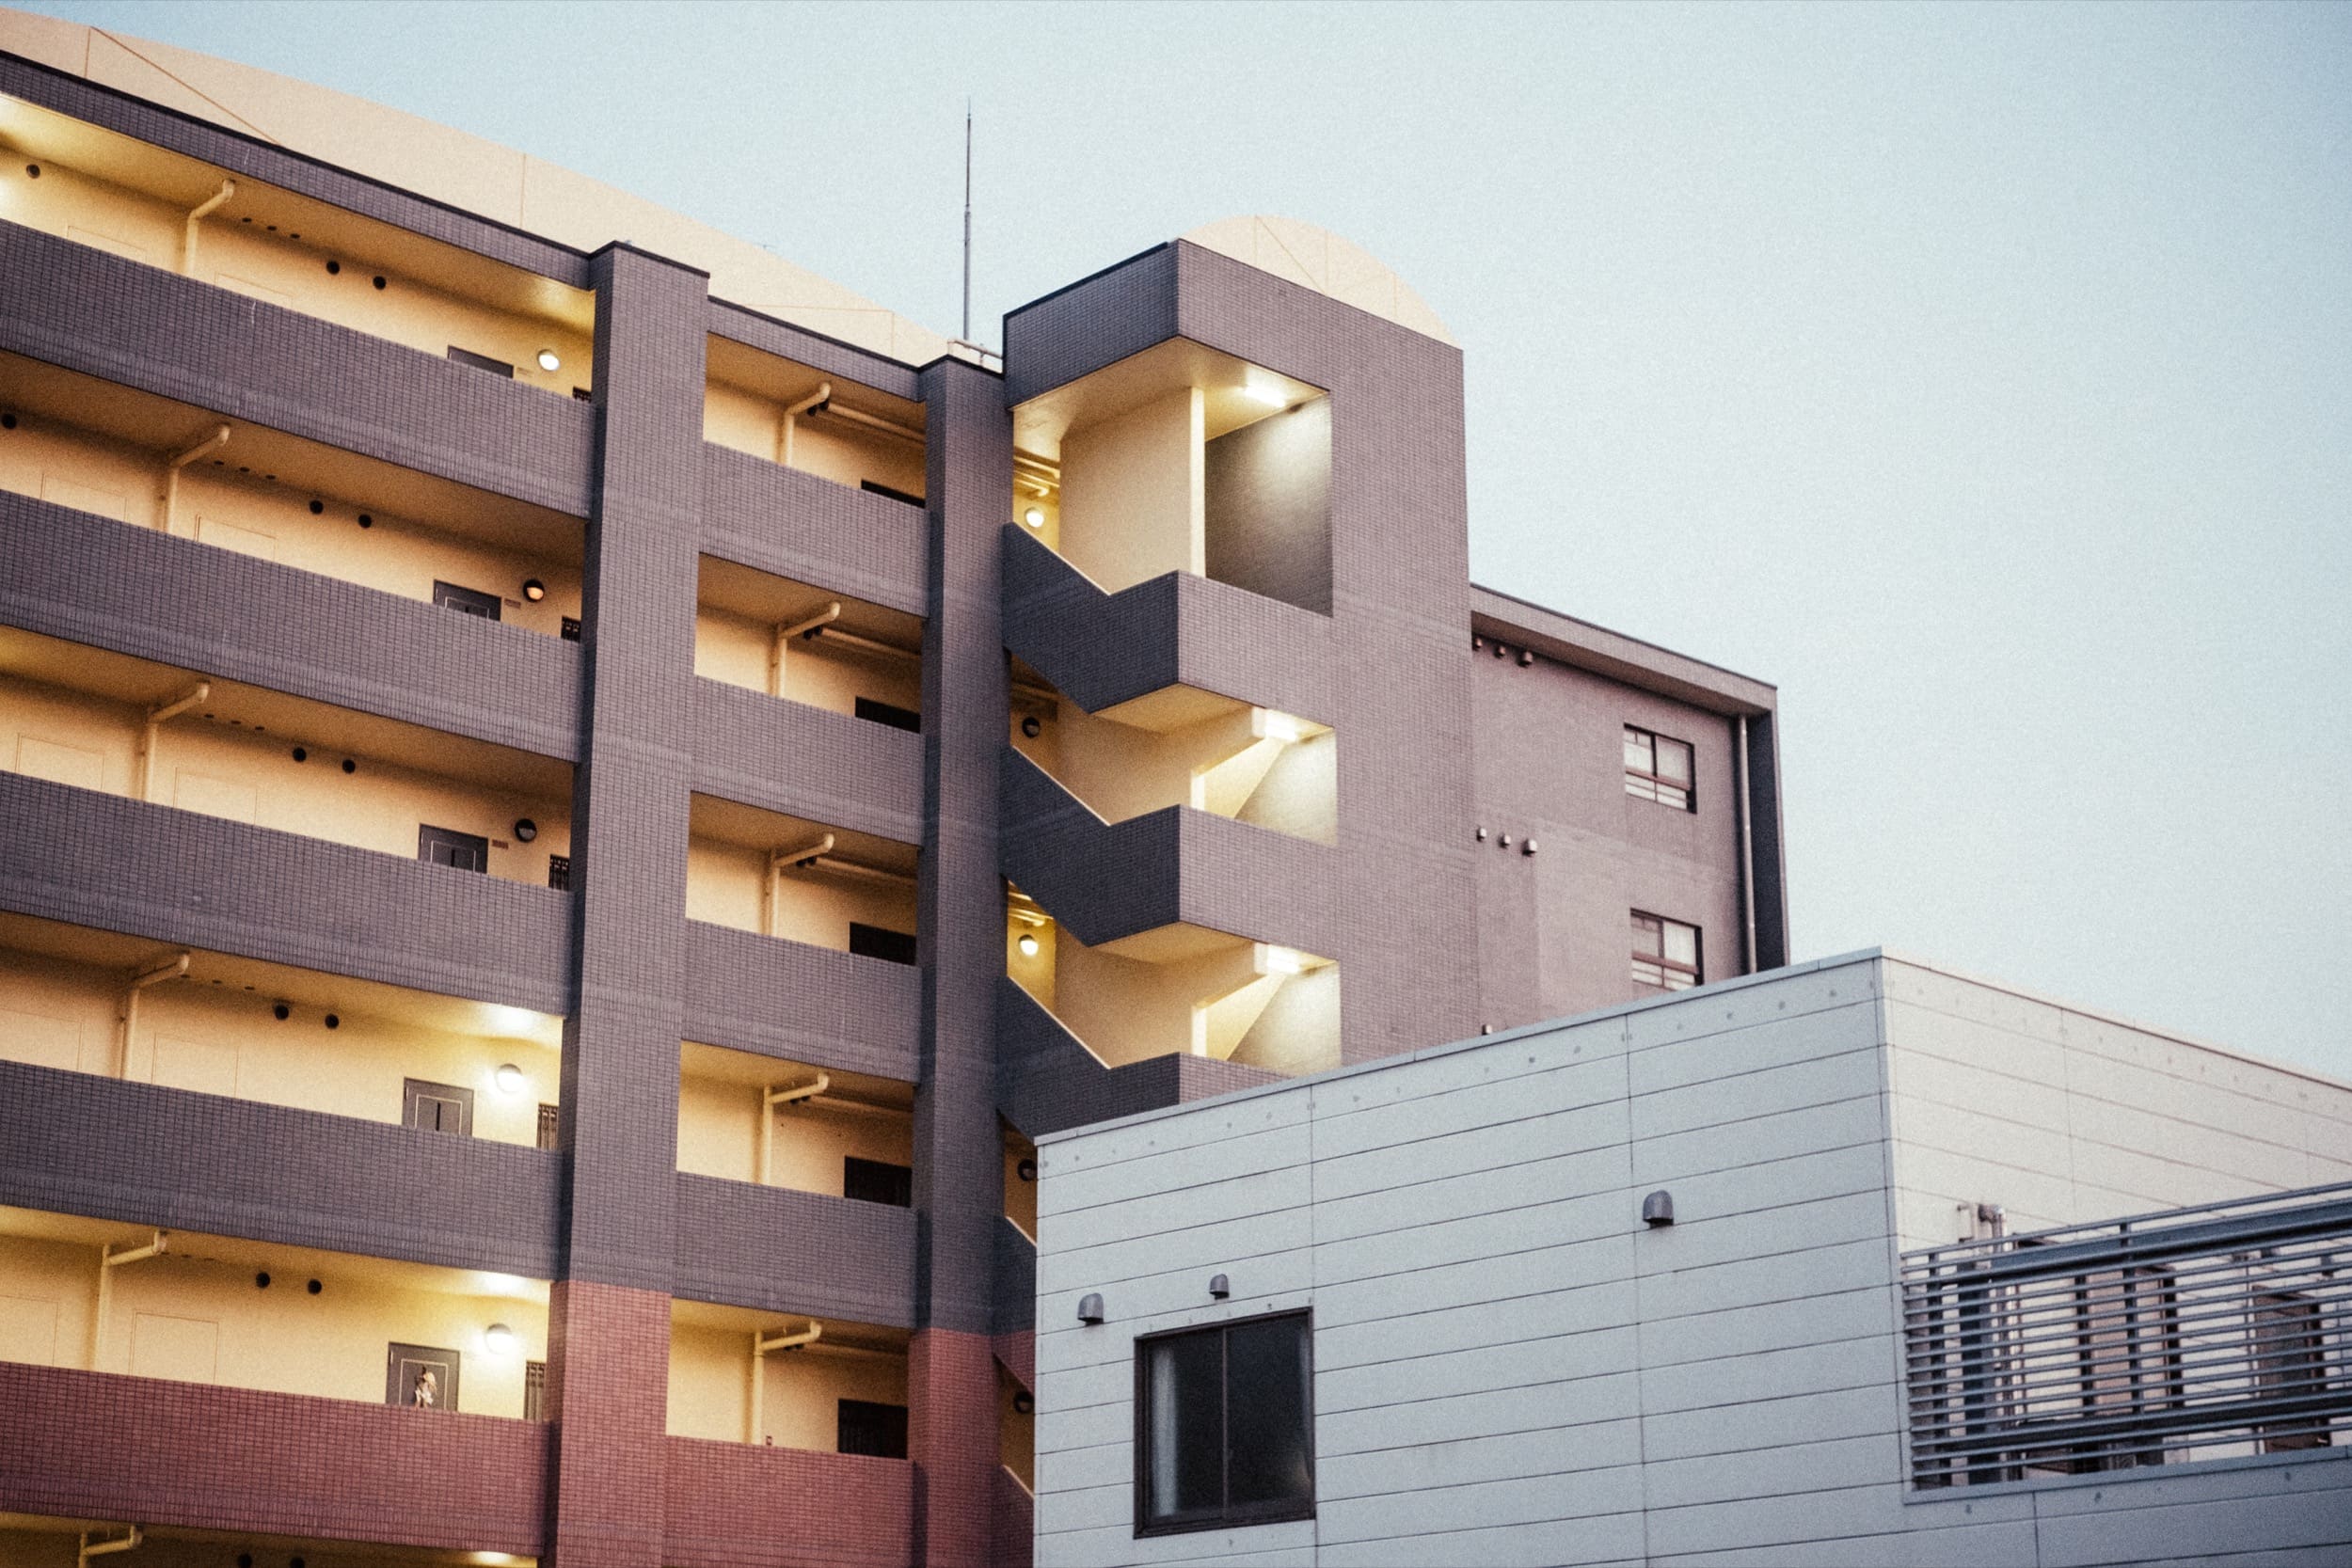
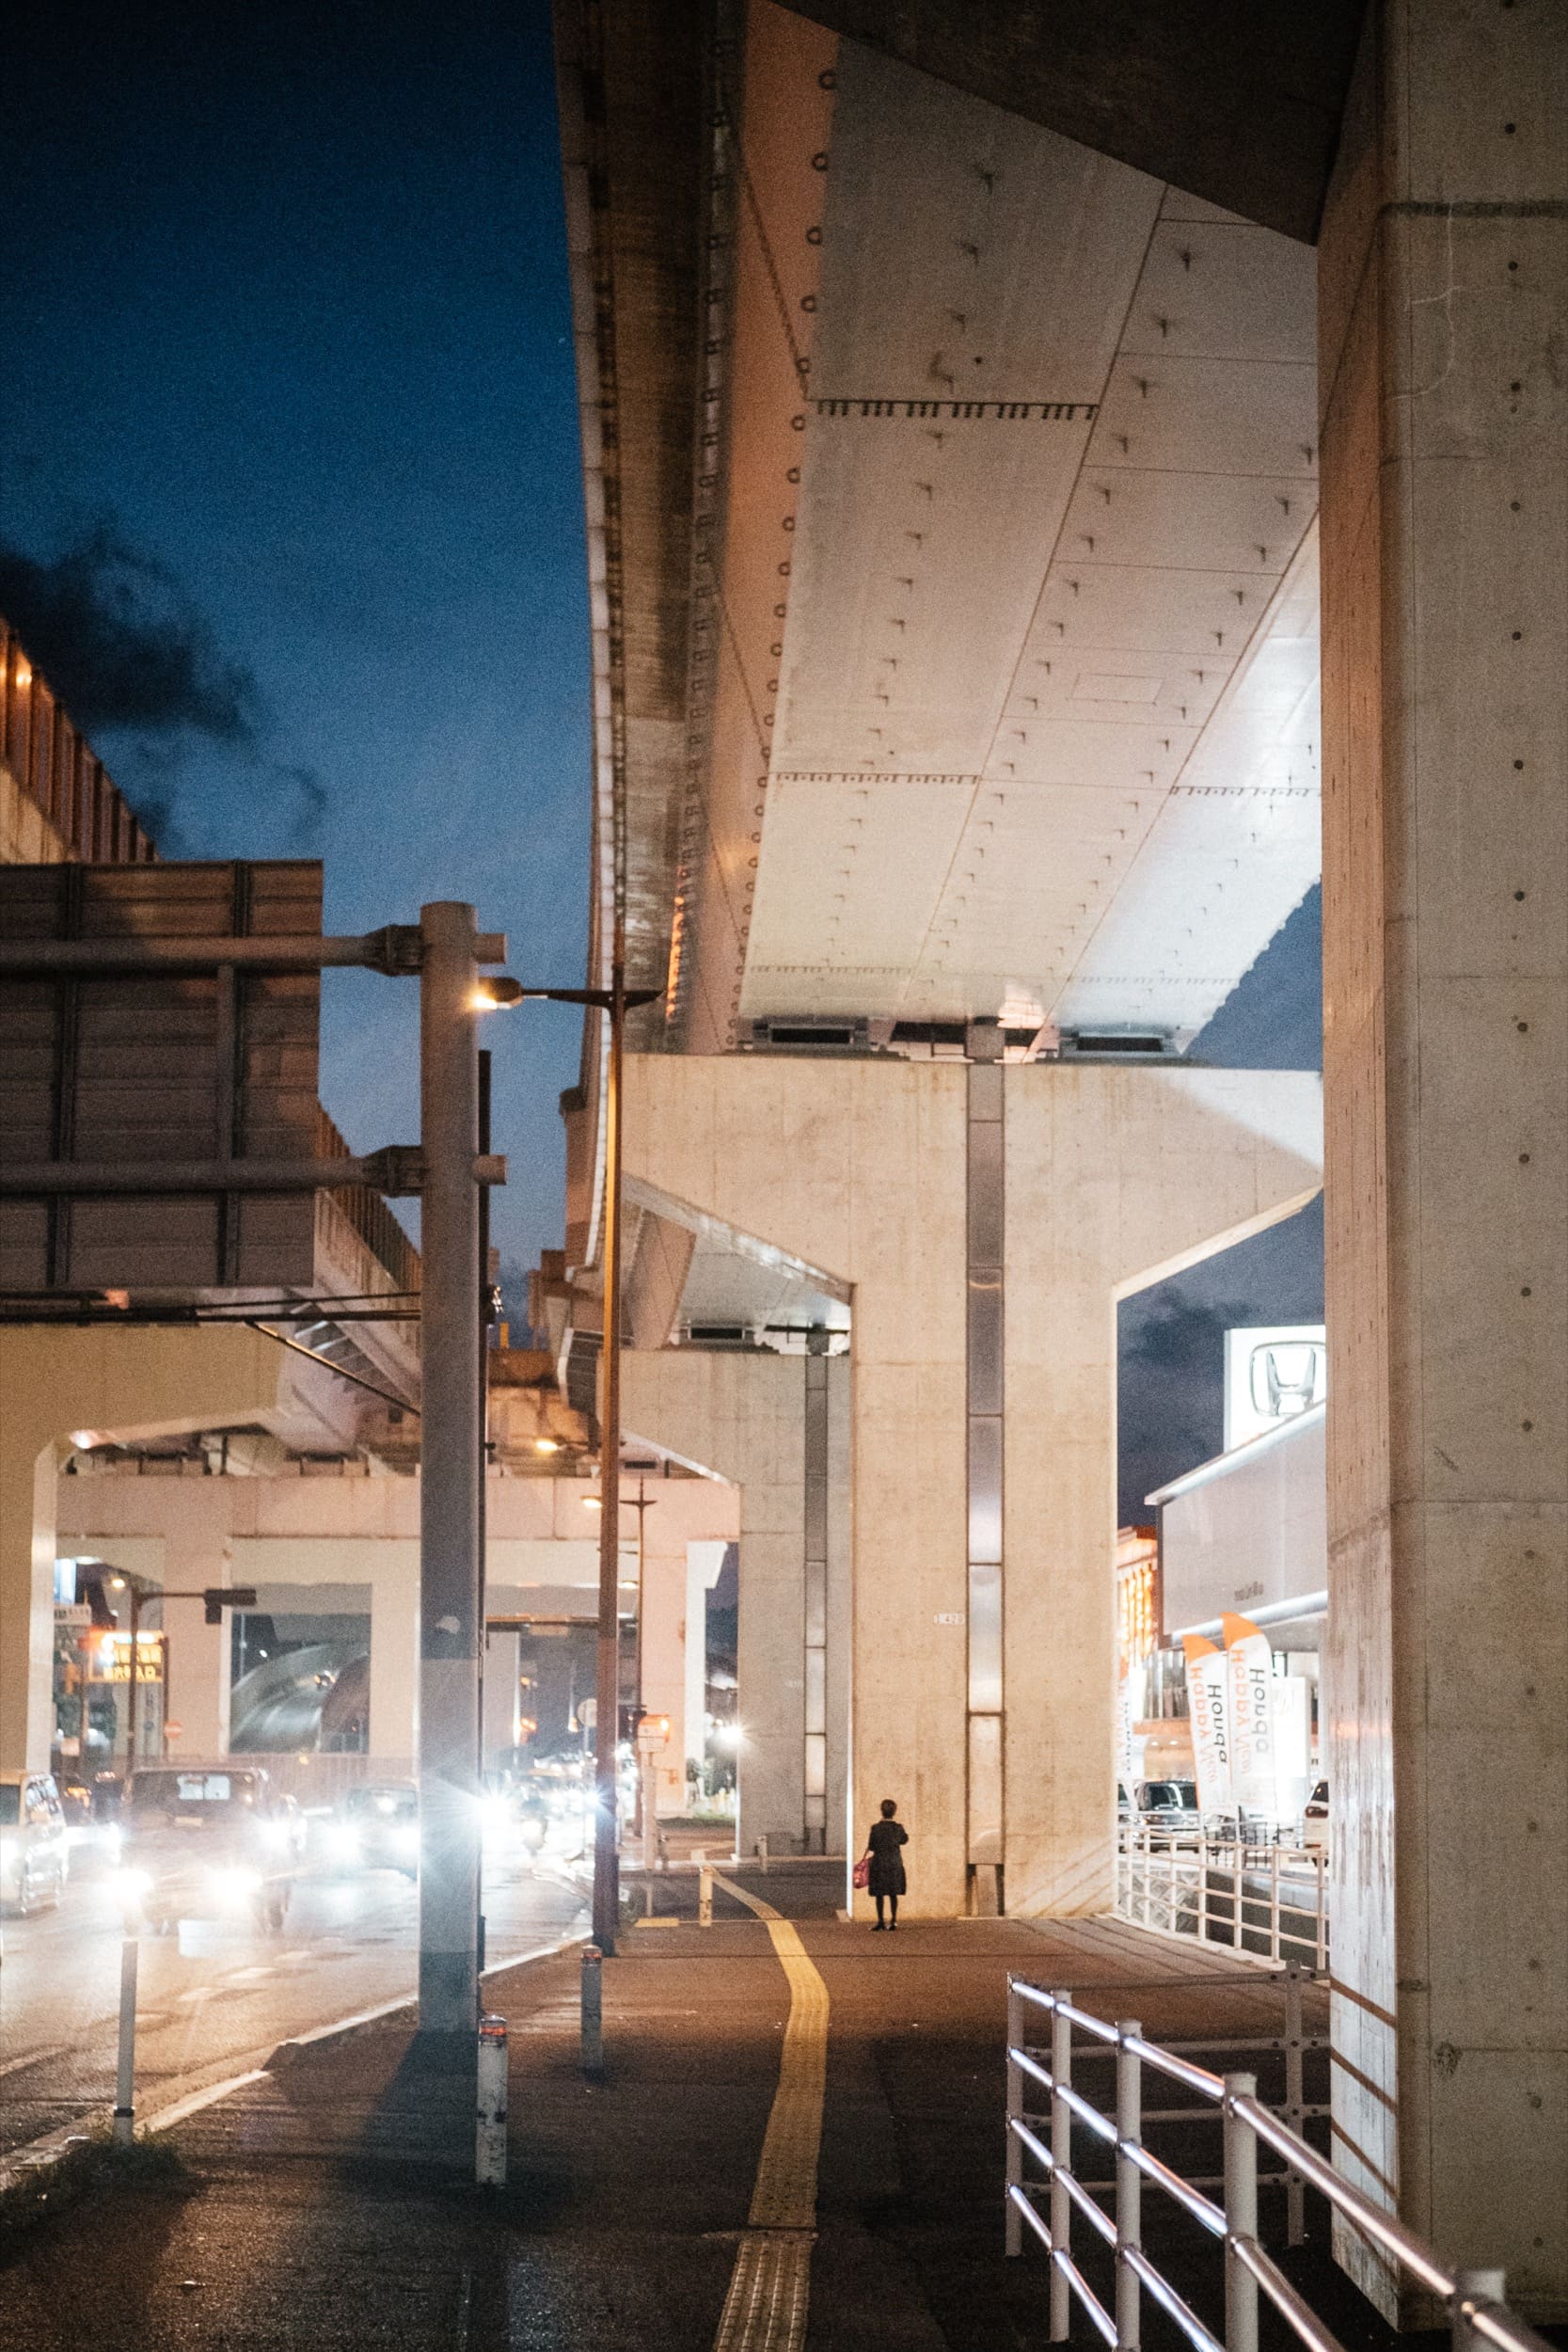
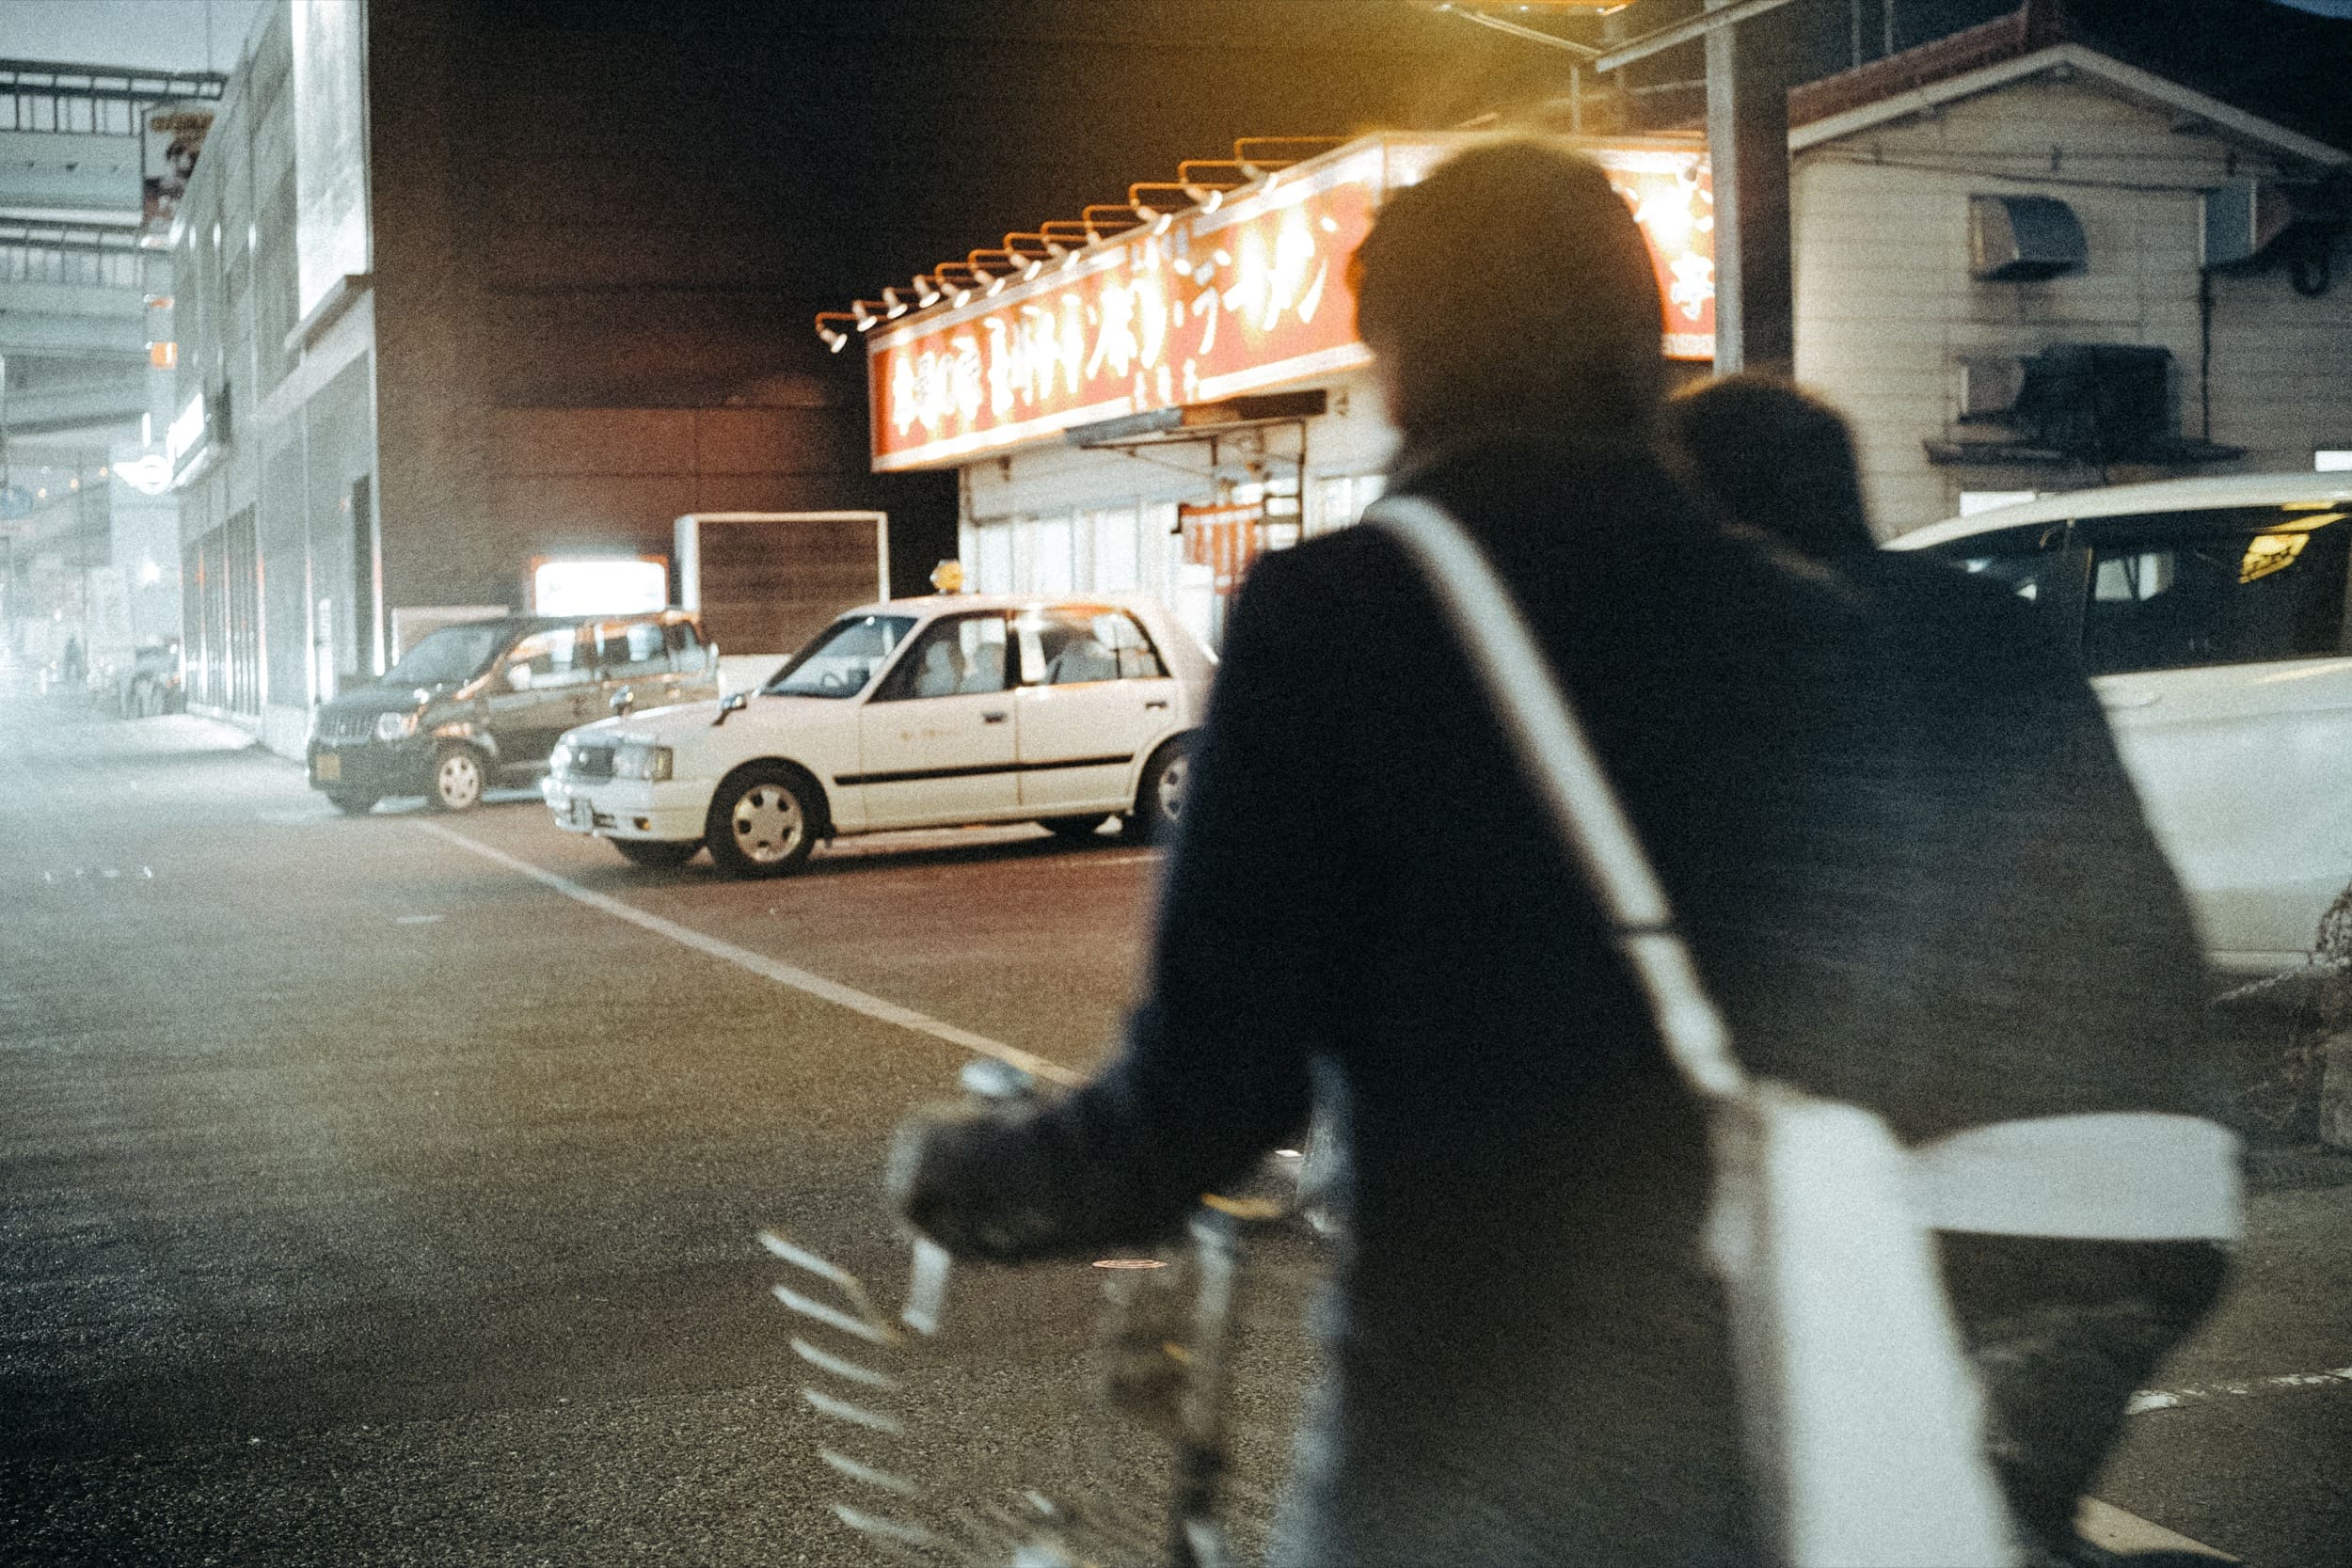
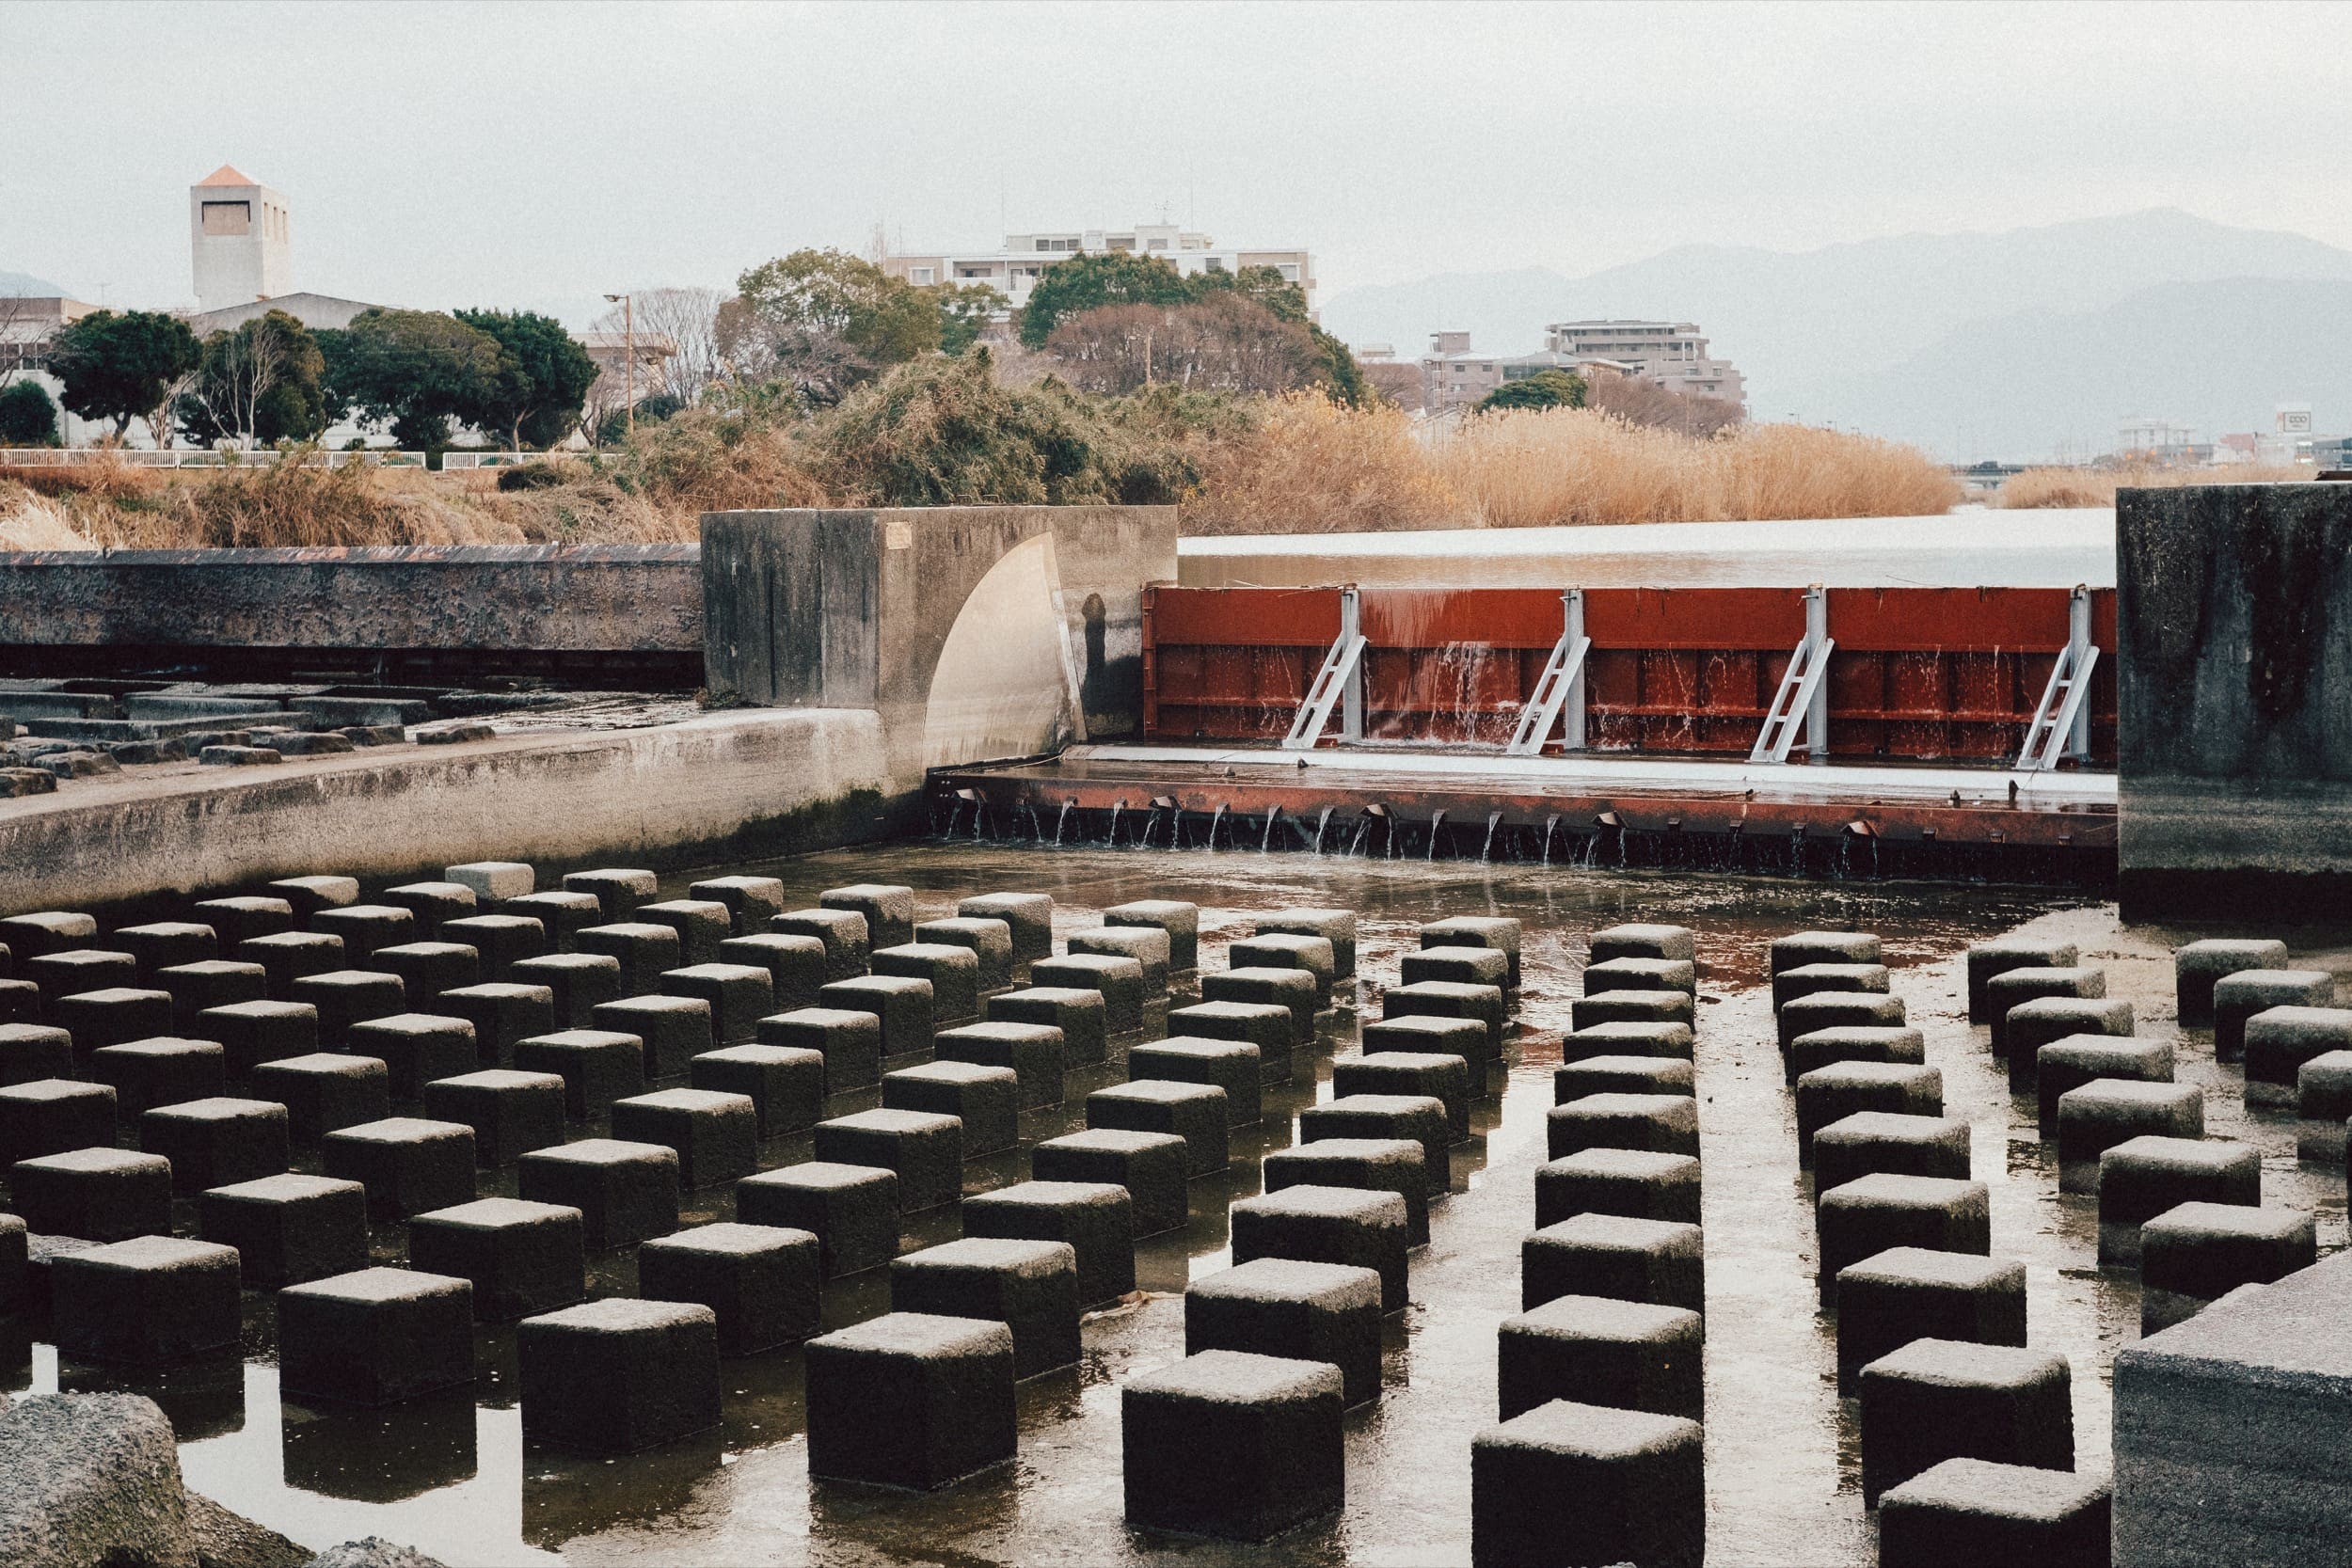
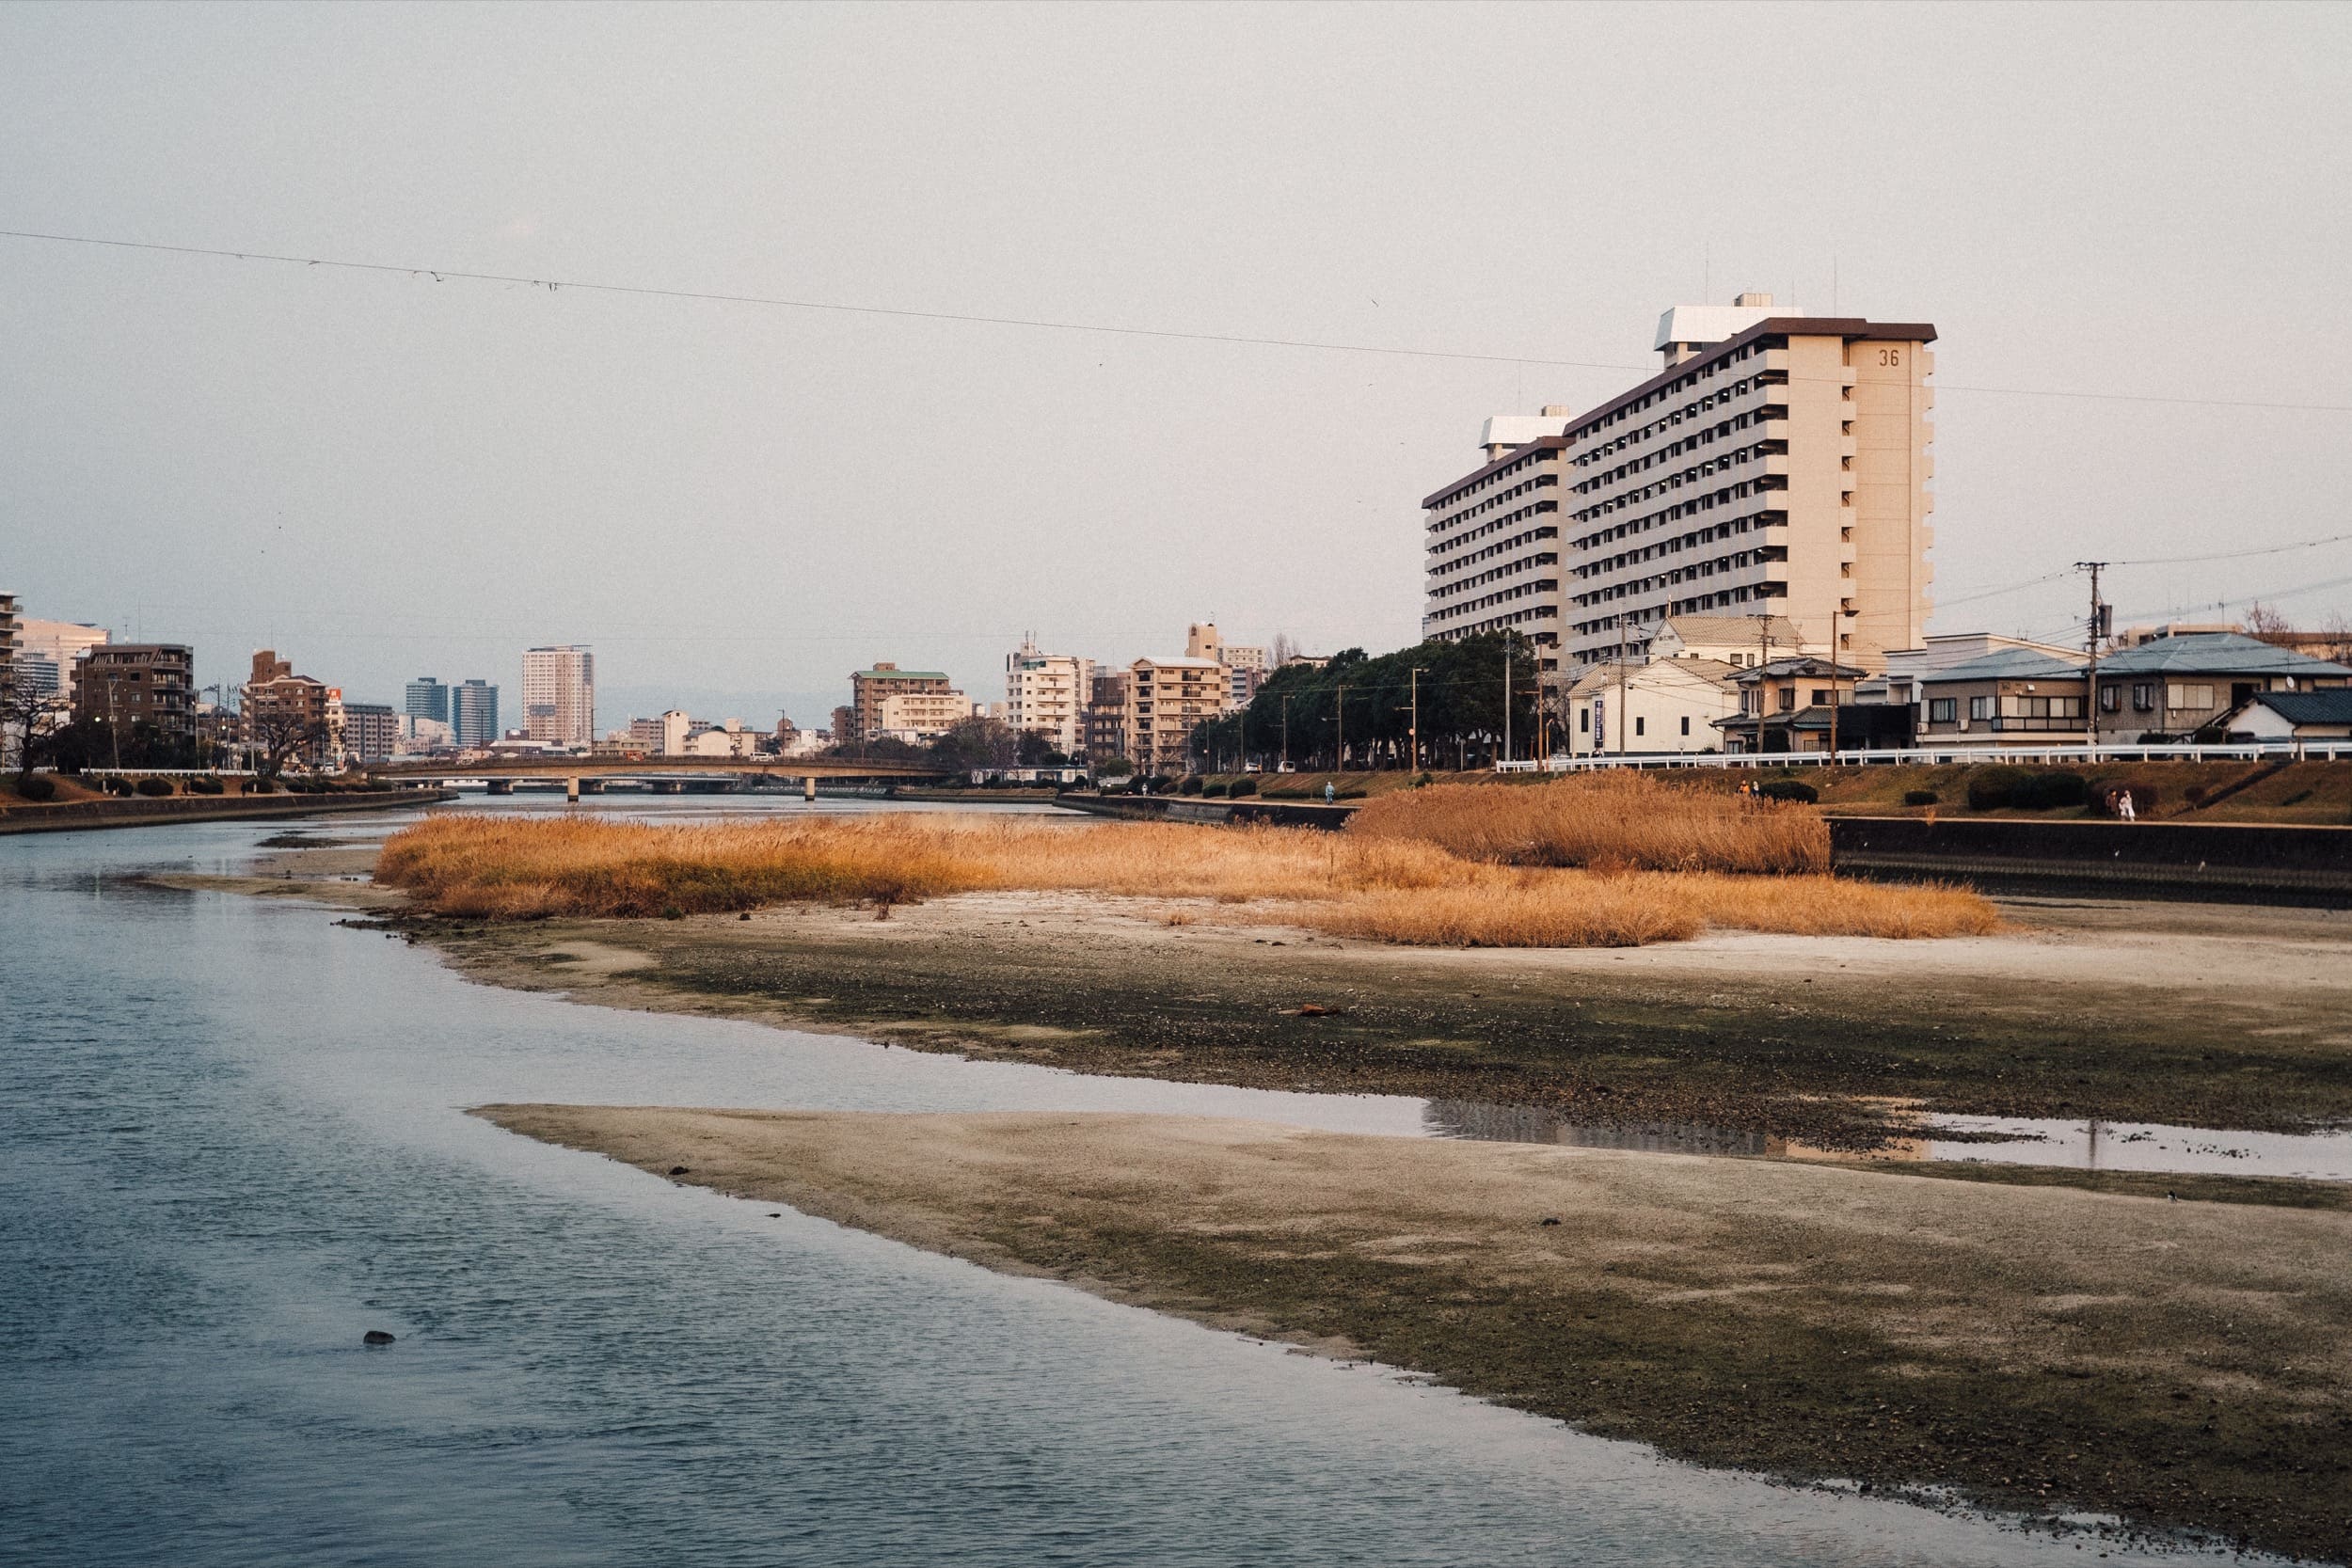
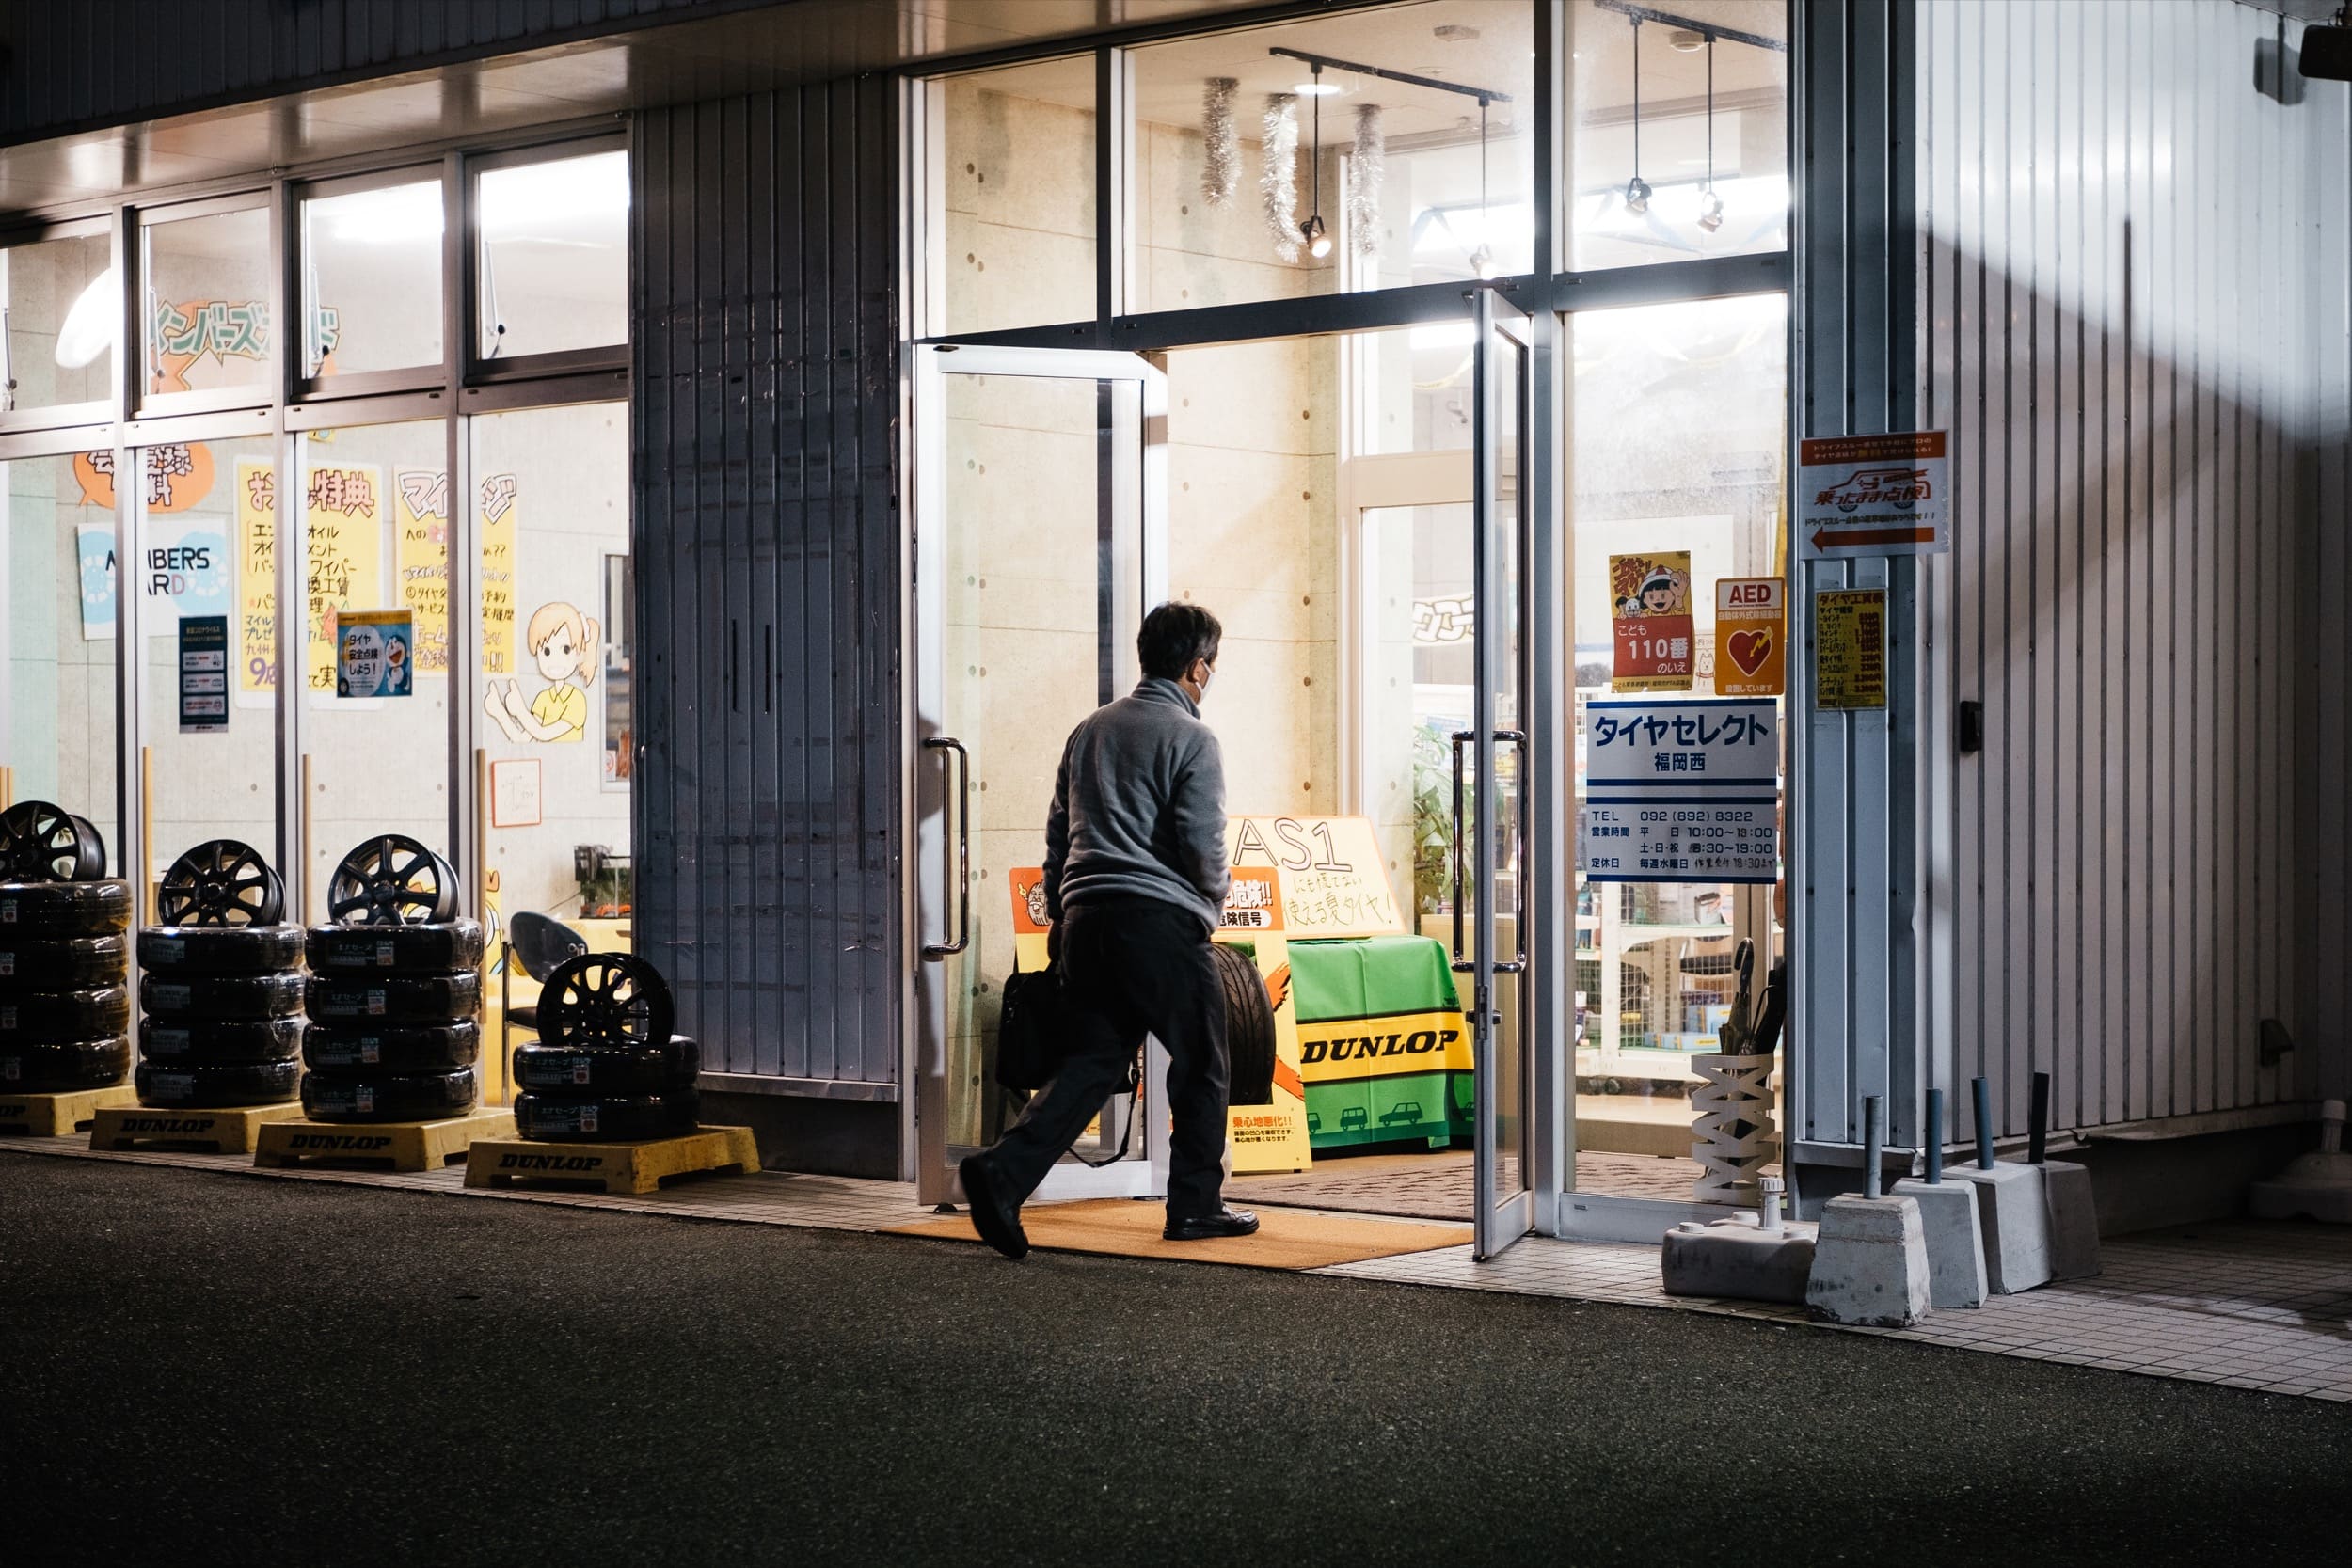
Samples of some images I shot the other day that needed a lot of grain work. Many of these were low light high ISO shot on the X-T3. I hate the look of doing noise reduction, but I like the look of the grain. So I threw some grain on top of the digital noise that was already there from shooting at a High ISO to make the grain feel more organic, more like film grain.


Leave a Reply