Shooting handheld photography has many benefits. You can get more angles quickly; it’s lighter and more compact, and you can experiment more with various creative angles. The downside is that you can’t shoot HDR, long exposures, or night photography.
When I first started out I insisted on always staying handheld as I thought all those other forms of photography were just gimmicks. I wanted to be more of a walk-around photographer, with exceptions of course. Like night photography. There is really no way around this one unless you have super fast lenses and an amazing sensor.
For several years, I shot all handheld, and I got some amazing photos. Many of my best images were even done this way, and I learned a lot of great photography techniques because of the freedom you have shooting handheld.
I always thought tripods were more for lazy people or those who couldn’t hold their cameras still, since many people have very shaky hands.
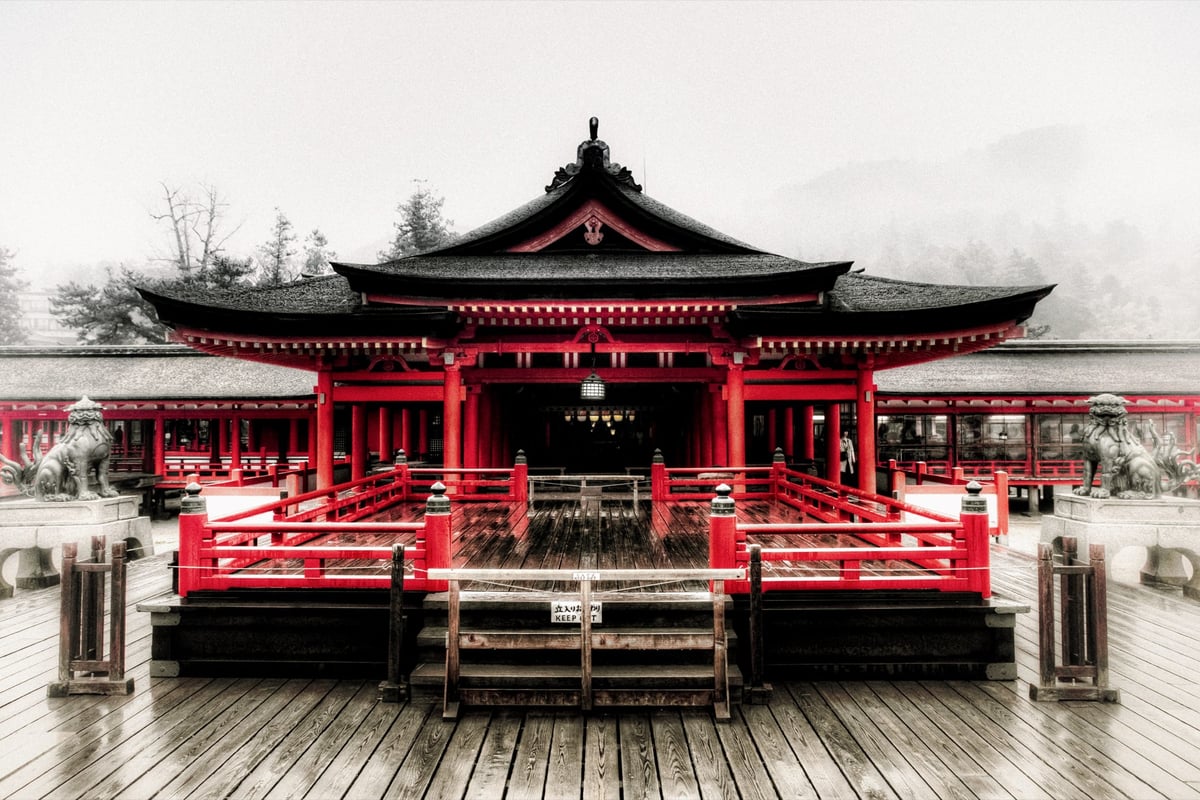
Here are some samples of my handheld photography


Shooting handheld can yield great results. It allows you to get in and close and quickly capture unique angles.
I wanted to learn more advanced techniques for photography. I wanted my photos to be more like the fine art landscape prints I’ve seen in galleries, and a lot of times, I just couldn’t get their handheld.
Although handheld had been great, I noticed many of my landscape photographs were always a bit soft and didn’t have that clarity as seen in high-end fine art prints. I always followed the cardinal rule of shooting a minimum of 1/60sec shutter speed for handheld to avoid motion blur. But I noticed, on my big old Canon EF 24-70mm f2.8, that the front piece of glass was heavy and caused more movement. So, when scaled into a 100% crop, my photos were often softer than they should have been. So then I began trying to shoot at a 1/100sec shutter minimum. I tried to close down my aperture when shallow depth was not needed. This helped.
5 Photography Tips for Shooting Handheld
- Shoot a minimum shutter speed of 1/60 sec. I usually shoot 1/200sec to play it safe.
- Use faster lenses to keep your ISO low while still keeping a minimum shutter of 1/60sec.
- Experiment with angles. Get in close; shoot from below or from above. Try to take advantage of shots you could never get with a tripod.
- Stabilize your body. Keep your elbows tucked in and braced against your torso to help minimize camera shake. You can also stabilize your body against a stable object such as a tree or building.


Leave a Reply