This guide covers how you could upgrade an old Mac Pro graphics card to something more modern. Today, you would have to find an older version of OSX that still works on INTEL chips for this to be functional.
Upgrading Your Graphics Card On An Old Mac Pro
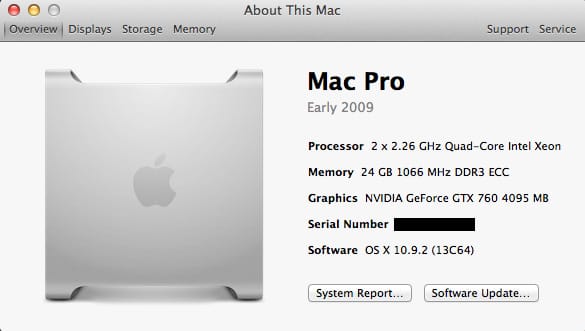
I once switched to Premiere CC on my home Mac Pro, but my old 2009 tower didn’t cut it. To use its Mercury Playback Engine, you need an Nvidia GPU with at least 1GB of video RAM. So, to get more life out of my old Mac Pro, I upgraded its graphics card.
Not only will a new graphics card give you support for the Mercury Playback Engine and CUDA, but it will also enhance many tools in Photoshop.
You couldn’t upgrade your graphics card on a Mac many years ago. You could only use very specific cards that were supported by the OS that sometimes used custom drivers. Or you had to buy the way overpriced Mac-specific EFI cards.
Apple and Nvidia have added support for most modern 3D cards with the new OS. You can get just about any card you want, considering that you have to power it.
Powering The Cards – What You Need To Know
A Mac Pro doesn’t have a traditional power supply unit like a PC does.
However, the motherboard has two 6-pin mini PCIe power plugs. As long as you get a graphics card with one or two six-pin PCIe power ports, you should be fine.
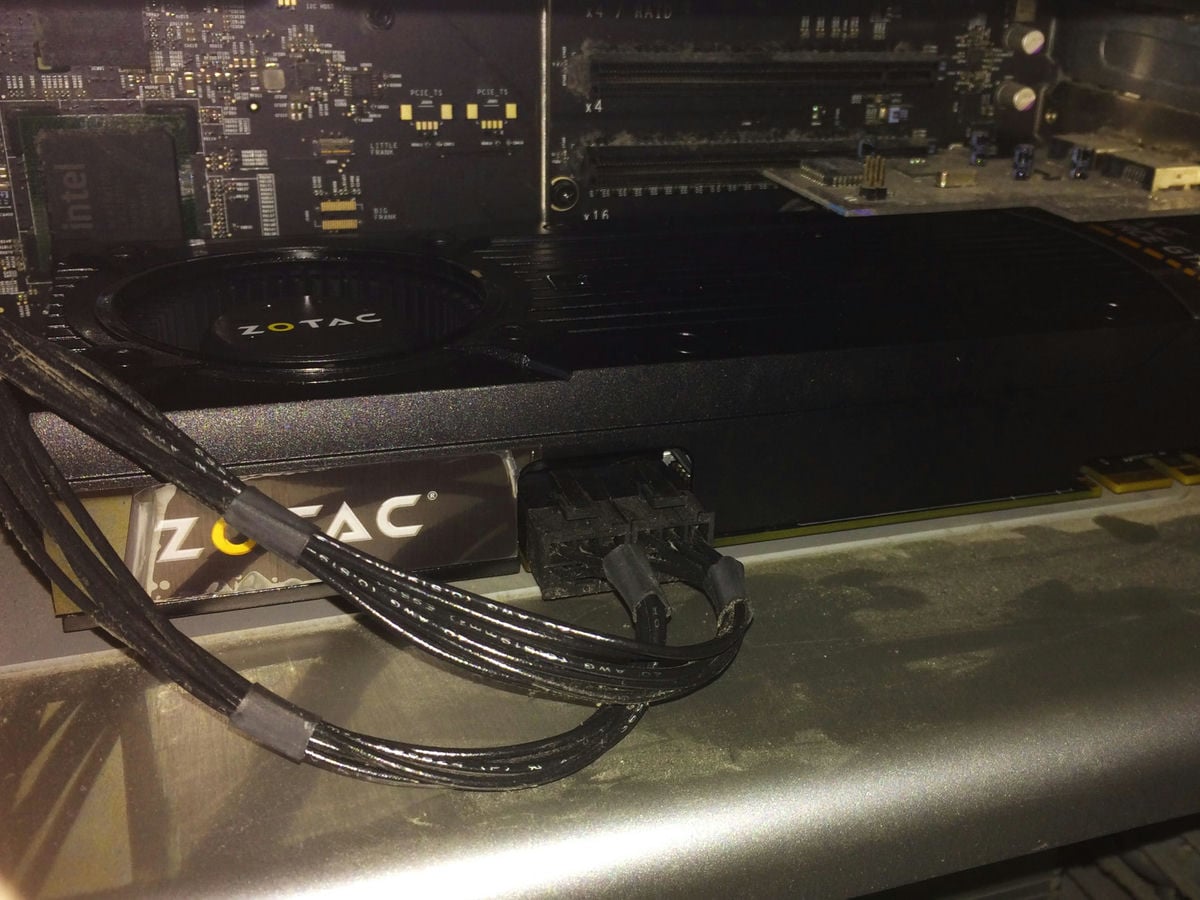
This only poses a problem if you want a faster Overclocked card. Many of them now have at least one 8-pin power port. I’ve seen many people get the 8-to-6-pin adapter, but that’s risky. You may pull too much power from your motherboard, resulting in damage to your Macpro or an underpowered graphics card.
Using 8pin PCIe Power

There are a few solutions if you still want a more powerful card or one that is overclocked. You can order a Sata Power to Molex – Amazon,
Or PCIe adapter, and use one of the ports designed to power your internal hard drives or your second SuperDrive. You can run one of these into your 6-pin and run your 8-pin into a two 6-pin mini split. (which should come with your card)
Or, if you want to play with fire, get an 8-pin to 6-pin adapter. I’ve seen people do this without problems, but I wouldn’t.
Your card should come with a 6-pin Molex adapter.
The External PSU Method – The Feddy Way
I’ve also seen people buy external Power Supply Units or use an old one from an old PC (we all have one in storage somewhere). This works as well, and you’ll have to sit it outside your box and rig a few plugs to keep the power supply constantly on. Just make sure you get one with enough power.
In the comments, Freddy shared some information with us about how he did it this way.
Here is what he used.
PSU: BitFenix Power Supply ATX 750 Power Supply BFP-FUR-750G-KSXK-RP
GPU: XFX Black Edition Double D RADEON R9 290 980MHz 4GB DDR5 DP HDMI 2XDVI Graphics Cards R9290AEDBD
But you’ll need to bridge 2 wires from the main connector to get the PSU to work.
The Simple Method – What I Did
I personally just bought a card with two six-pins to save myself from trouble. I needed my SuperDrive sata power for my external USB 3.0 card but was out of hard drive ports.
I would recommend just getting a card with one or two 6-pin ports on it; save yourself a headache. Each 6-pin port will give you 75w, and the PCI slot is 225w.
How To Install
Installing it is simple: power your computer off and unplug it.
Then, you plug your 6-pin to 6-pin mini into the motherboard and card and install the card. That’s it.
Enable CUDA GPU in Premiere CS6 or CC
There are a couple of ways of doing this; you can check out the forum on Adobe here.
You can download a text file that has links to Adobe CS6 Files. If you’re on CC, replace the type “CS6” with “CC.”
With the new Adobe CC, you no longer need to do this, and you no longer need to use CUDA. Open CL works fine.
Only Draw Backs
The only drawback is you won’t get a boot screen. The machine won’t read the card until it loads Mavericks with the drivers since it’s a non-EFI card. (Extensible Firmware Interface) Mac-specific cards have special EFI firmware to talk directly to the hardware. Intel developed a firmware that was designed to replace Legacy Bios. Apple uses this technology, but Nvidia currently does not.
Using Bootcamp
This presents a problem if you’re using Bootcamp. You can no longer boot to different systems with the on-screen interface. You must go into your system settings and change your targeted boot drive whenever you want to boot into a different system. It’s not a huge deal, but it requires a little more work. And you must have the Bootcamp software installed on the PC side.
Additional Downloads You’ll Need
You’ll need nVidea drivers, which you’ll have to search for.
And the CUDA drivers found here. Only if you want to run CUDA over Open CL. I haven’t noticed a difference.
| **This website contains affiliate links. We will earn a small commission on purchases made through these links. Some of the links used in these articles will direct you to Amazon. As an Amazon Associate, I earn from qualifying purchases. |


