Manually adjusting your color balance in Photoshop is never fun. There are several tricks, some dating back to almost centuries ago. Some more modern.
You ever notice 90% of photography tutorials on the internet are continue to share these tricks dating back from Photoshop 4, not realizing there are new one-click solutions to them? Well, I do. 😉
Adjusting Your Color Cast With The Flick Of Your Wrist
Here is your one-click solution, (actually 3) for almost instantly adjusting clearing up that color cast and finding your correct white, grey, and black point in Photoshop.
-Load Your Levels Adjustment Tool.
-With levels selected click the top right tab.
-Select Auto Options.
-Now select Find Dark & Light Colors + Snap Neutral Midtones.
That’s it. There are some other great options in that menu to play with as well. Enjoy!
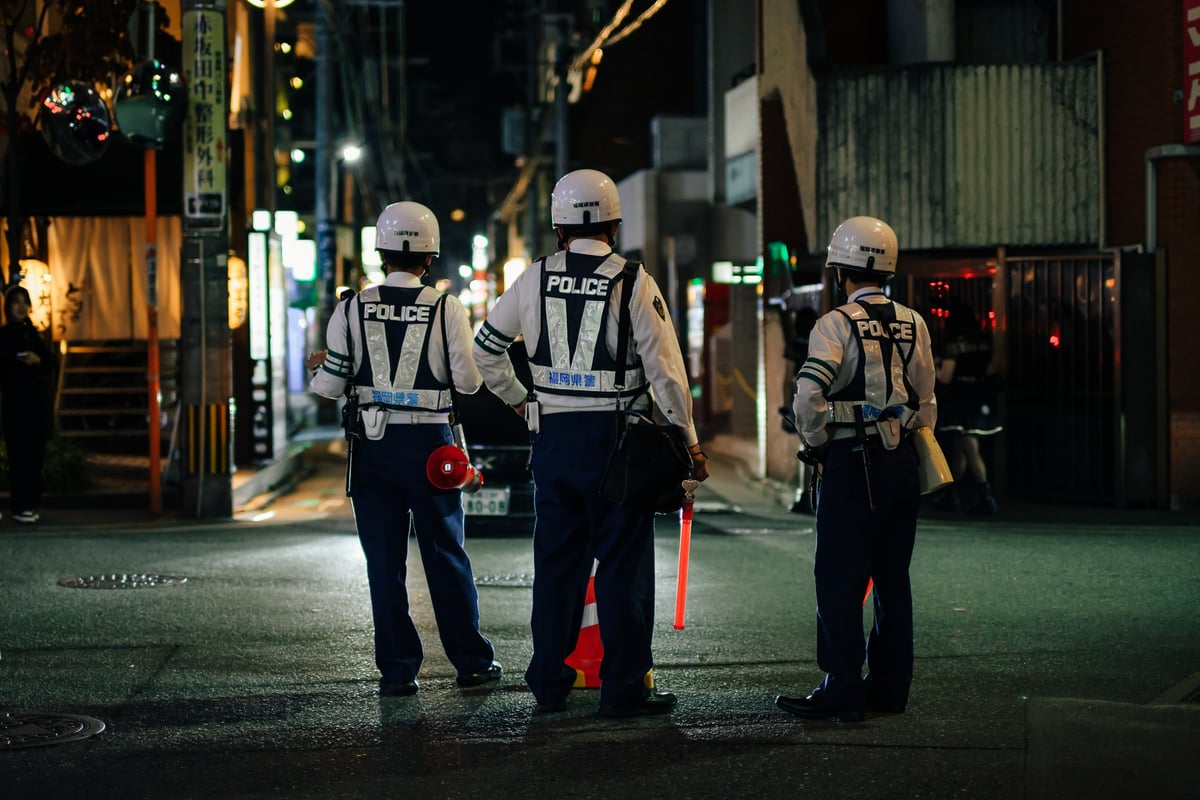
Before And After
I personally like the before image better in this case. But this at least lets you know what true blacks, whites, and midtones should look like. But in reality, there is no such thing. Light is always reflecting color, it’s all perspective.
This technique will give you just a preview to use along with your processing, to paint into the sky or elsewhere, or to use with layer masks, opacity, etc.
I do really like this trick because it doesn’t force your whites into clipped whites and blacks into clipped blacks. I’m a believer in only having 1 pixel be white or black on my entire image if I can help it.
Please Share or Tweet. Thank you!
And there is a newsletter that I’m sure popped up at some point to annoy you. Join it if you will. 🙂


Leave a Reply