Shutter speed is often one of those settings on a camera that photographers overlook. Most photographers these days just put their camera in aperture priority mode and let the camera decide the shutter speed for them.
While doing this is fine for most people and most situations, you might be ignoring some artistic potential, some mood, or some vibe by not taking just a little control of that shutter speed.
In this article, we will look at how the roll shutter speed plays on an image’s mood and how just a few basic adjustments can have a big impact.
How IBIS Changes What We Can Do With Shutter Speeds
Now that most of the new mirrorless cameras have IBIS, using slower shutter speeds has become a new reality, or I should say capability. Yes, you could do this with IS, or VR lenses, but prime lenses typically don’t have image stabilization, and VR lenses, don’t correct for tilt shake.
So today using our shutter speed isn’t just about freezing the action and eliminating motion blur, we can actually get some cool effects from shutter with slower shutter speeds since our IBIS system will reduce most of the camera shake. This means the subject matter will retain most of the motion blur without introducing extra blur from the camera shake.
Often times when you see the big reviewers “pitch you IBIS,” they immediately go to “I can shoot 3-second exposures without a tripod.” While that’s fine, this isn’t useful to most people nor is it really a valuable feature.
IBIS is truly useful and eliminates our camera shake at higher shutter speeds. 1/60, 1/100, 1/120. This is even more important with high-resolution cameras like the Nikon Z7 or the Sony A7rIV where it becomes nearly impossible to gain the full resolution of the camera at even high shutter speeds without some extra stabilization.
A quick note for IBIS shooters
Native lenses have 5-axis stabilization. Third-party lenses, or even if you adapt something like a Nikon F lens to a Z camera, only have 3-axis stabilization. I want to bring this up because I keep seeing Youtubers trying and comparing different lenses on different IBIS bodies without any consistency of using a brand-made lens. Mixing and matching lenses on bodies between Panasonic and Olympus or using Venis Optic lenses on Sony cameras, will not give you the best results in terms of IBIS and image stabilization which will affect your slow shutter speed performance.
If you’re ever wondering why your Samyang, or Laowa lens isn’t very stable on an IBIS body, this is why. What I’m not sure about is if Sigma or Tamron lenses for Sony cameras have 5 or 3-axis stabilization. Considering you don’t have to install new firmware on your Sony camera when a new Tamron lens comes out, I would think not, I would think it’s just 3-axis, like F lenses on Nikon Z bodies.
Again this obviously will affect your ability to use slower shutter speeds.
How Different Shutter Speeds Can Change The Mood
Using different shutter speeds to enhance or reduce a certain mood is something I’ve really tried to practice this year. It’s tricky at first, but as you do it more and more, you quickly learn that there is a totally different world that renders when you shoot at 1/15 shutter vs 1/125 shutter, and you should not let the camera decide this for you if you can help it.
Of course, if you’re shooting midday with no ND filters, then you’ll likely be stuck at a 1/8000 shutter with an f1.8 lens and there’s nothing you can do about it. But let’s say you’re indoors or shooting at night or in dark environments and you have your ISO you can ride a few stops for some different looks.
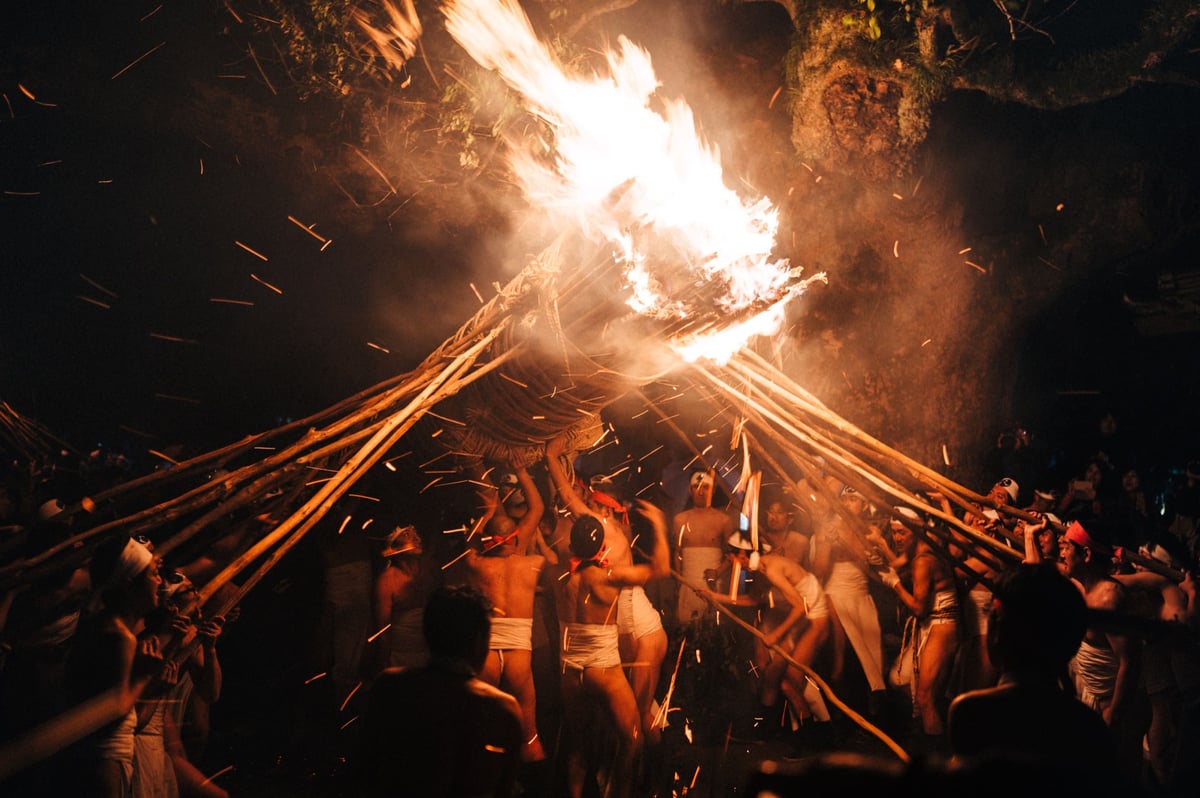
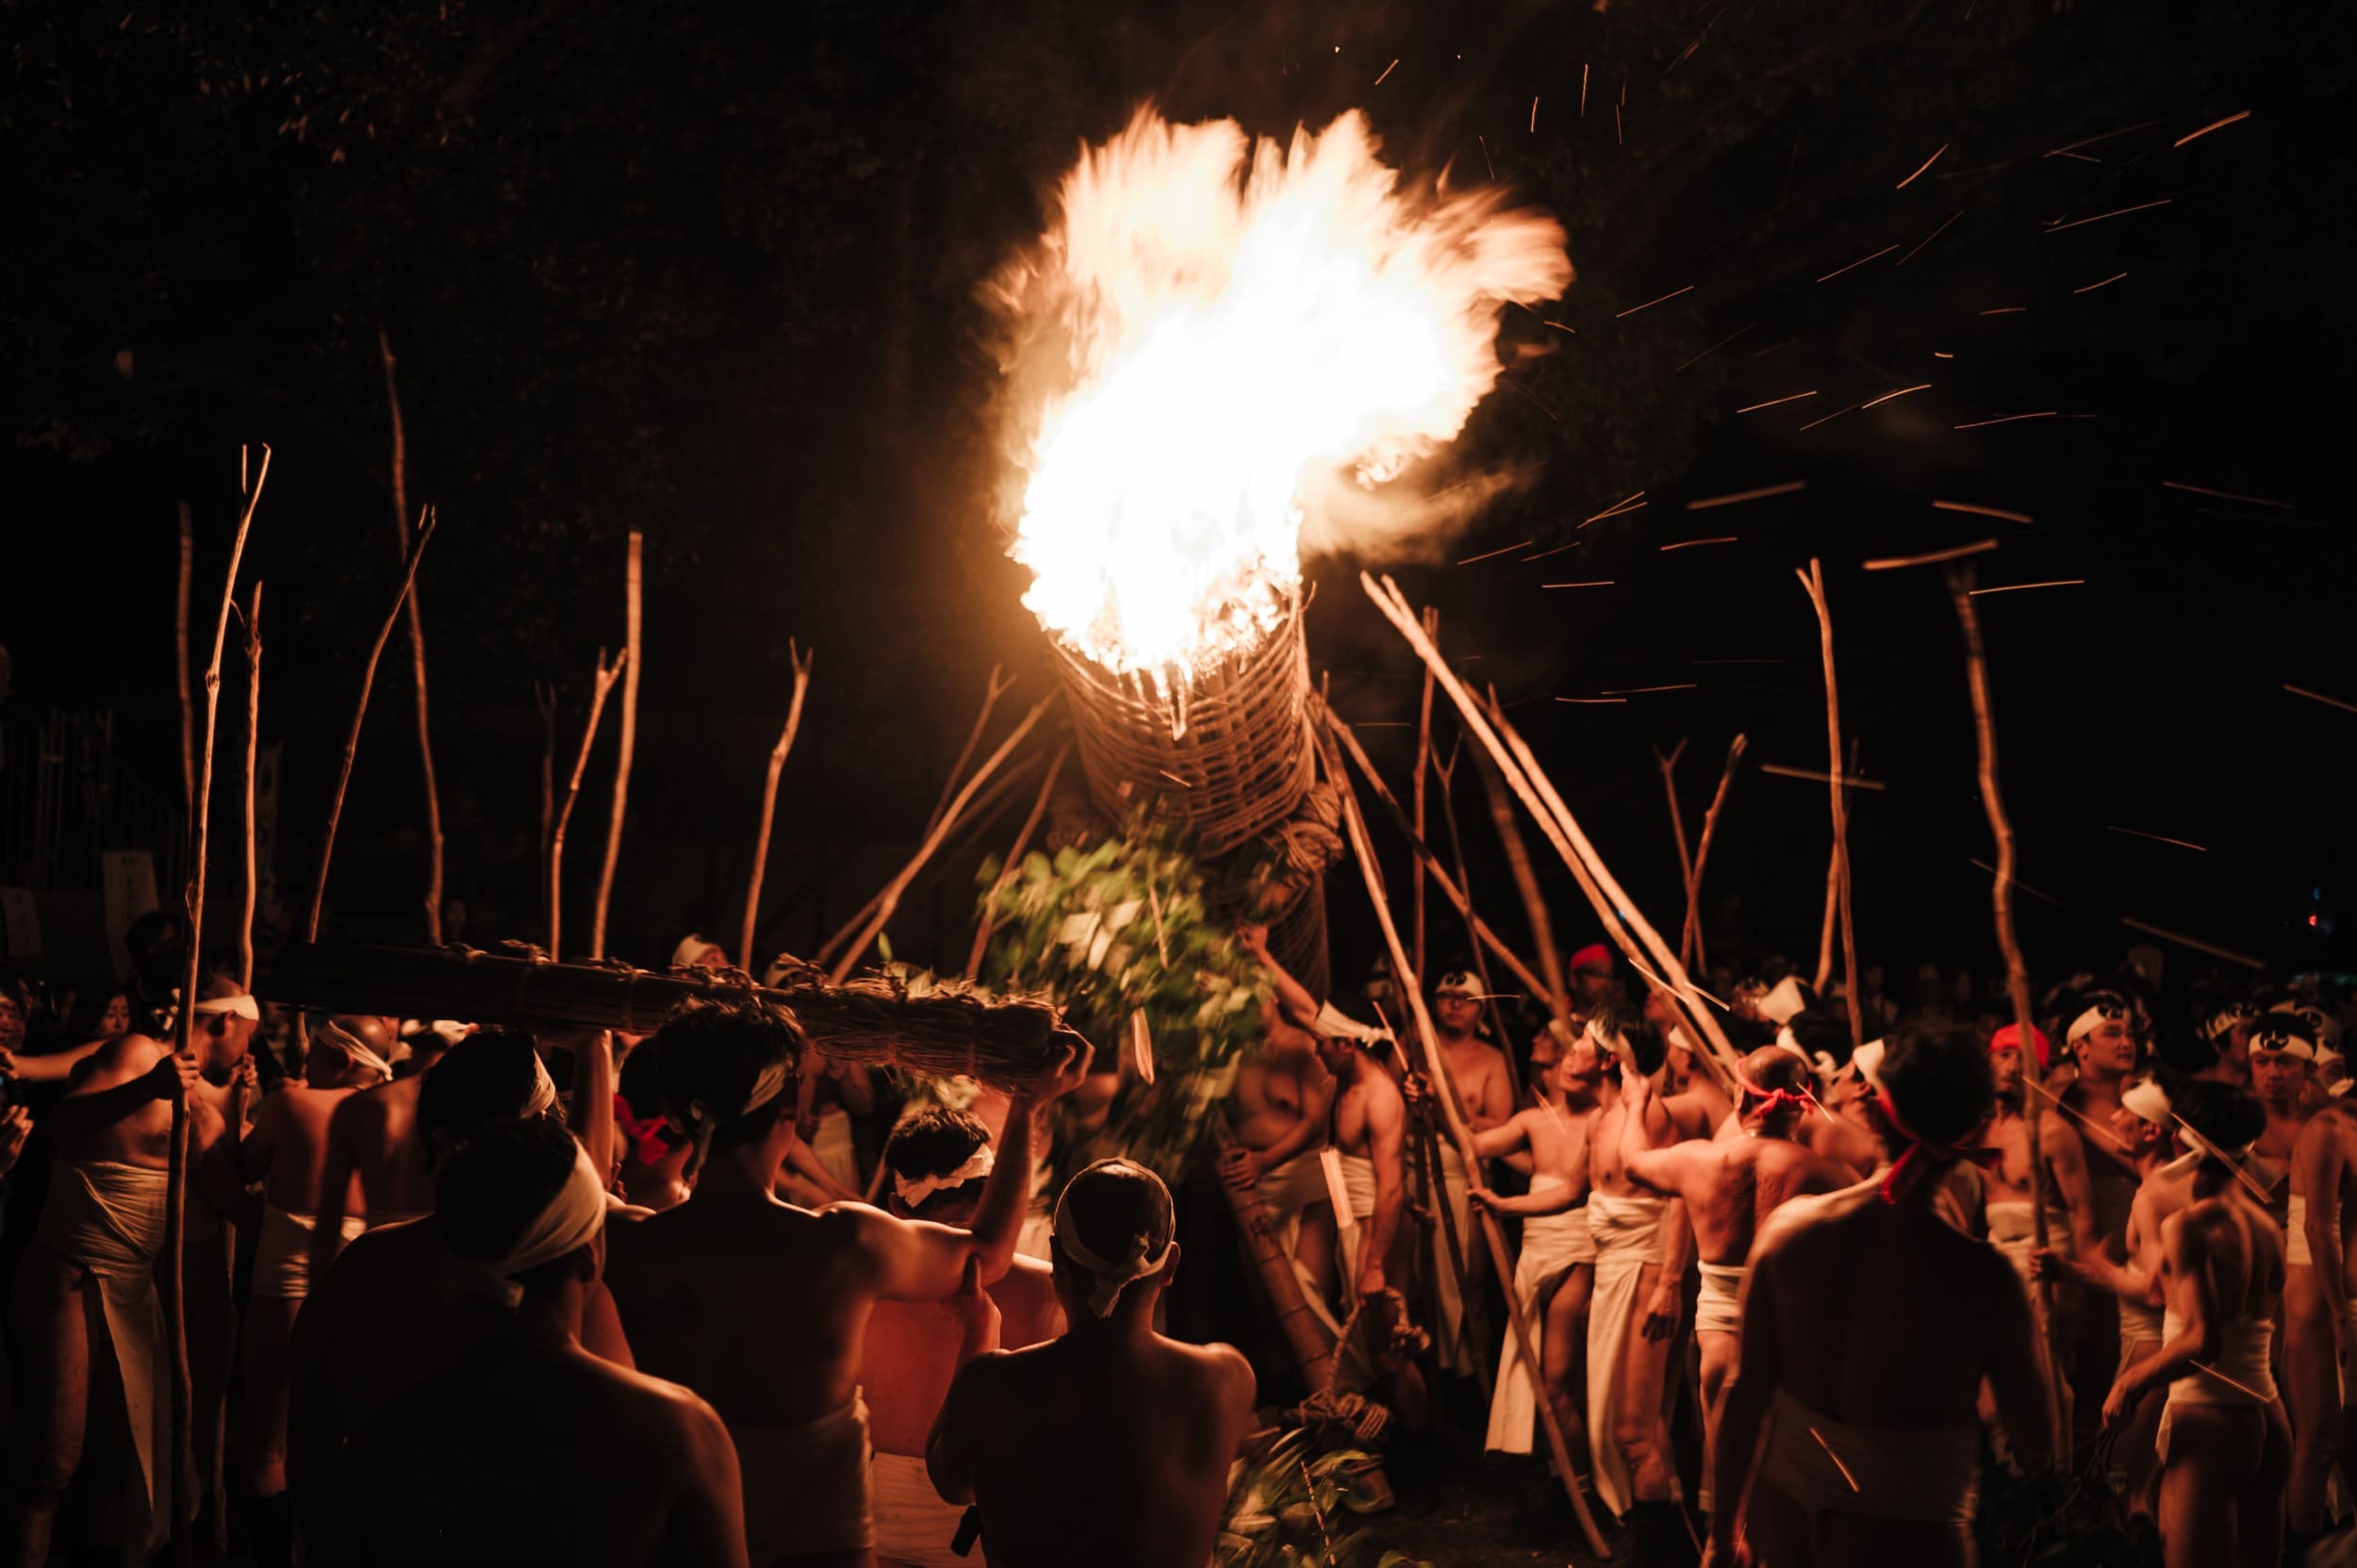
The Oniyo fire festival is a great demonstration of this as it allowed me to use my ISO to gain access to different shutter speeds.
And finally, I figured out how to put these photos to use without just throwing them in a lens review. 🙂
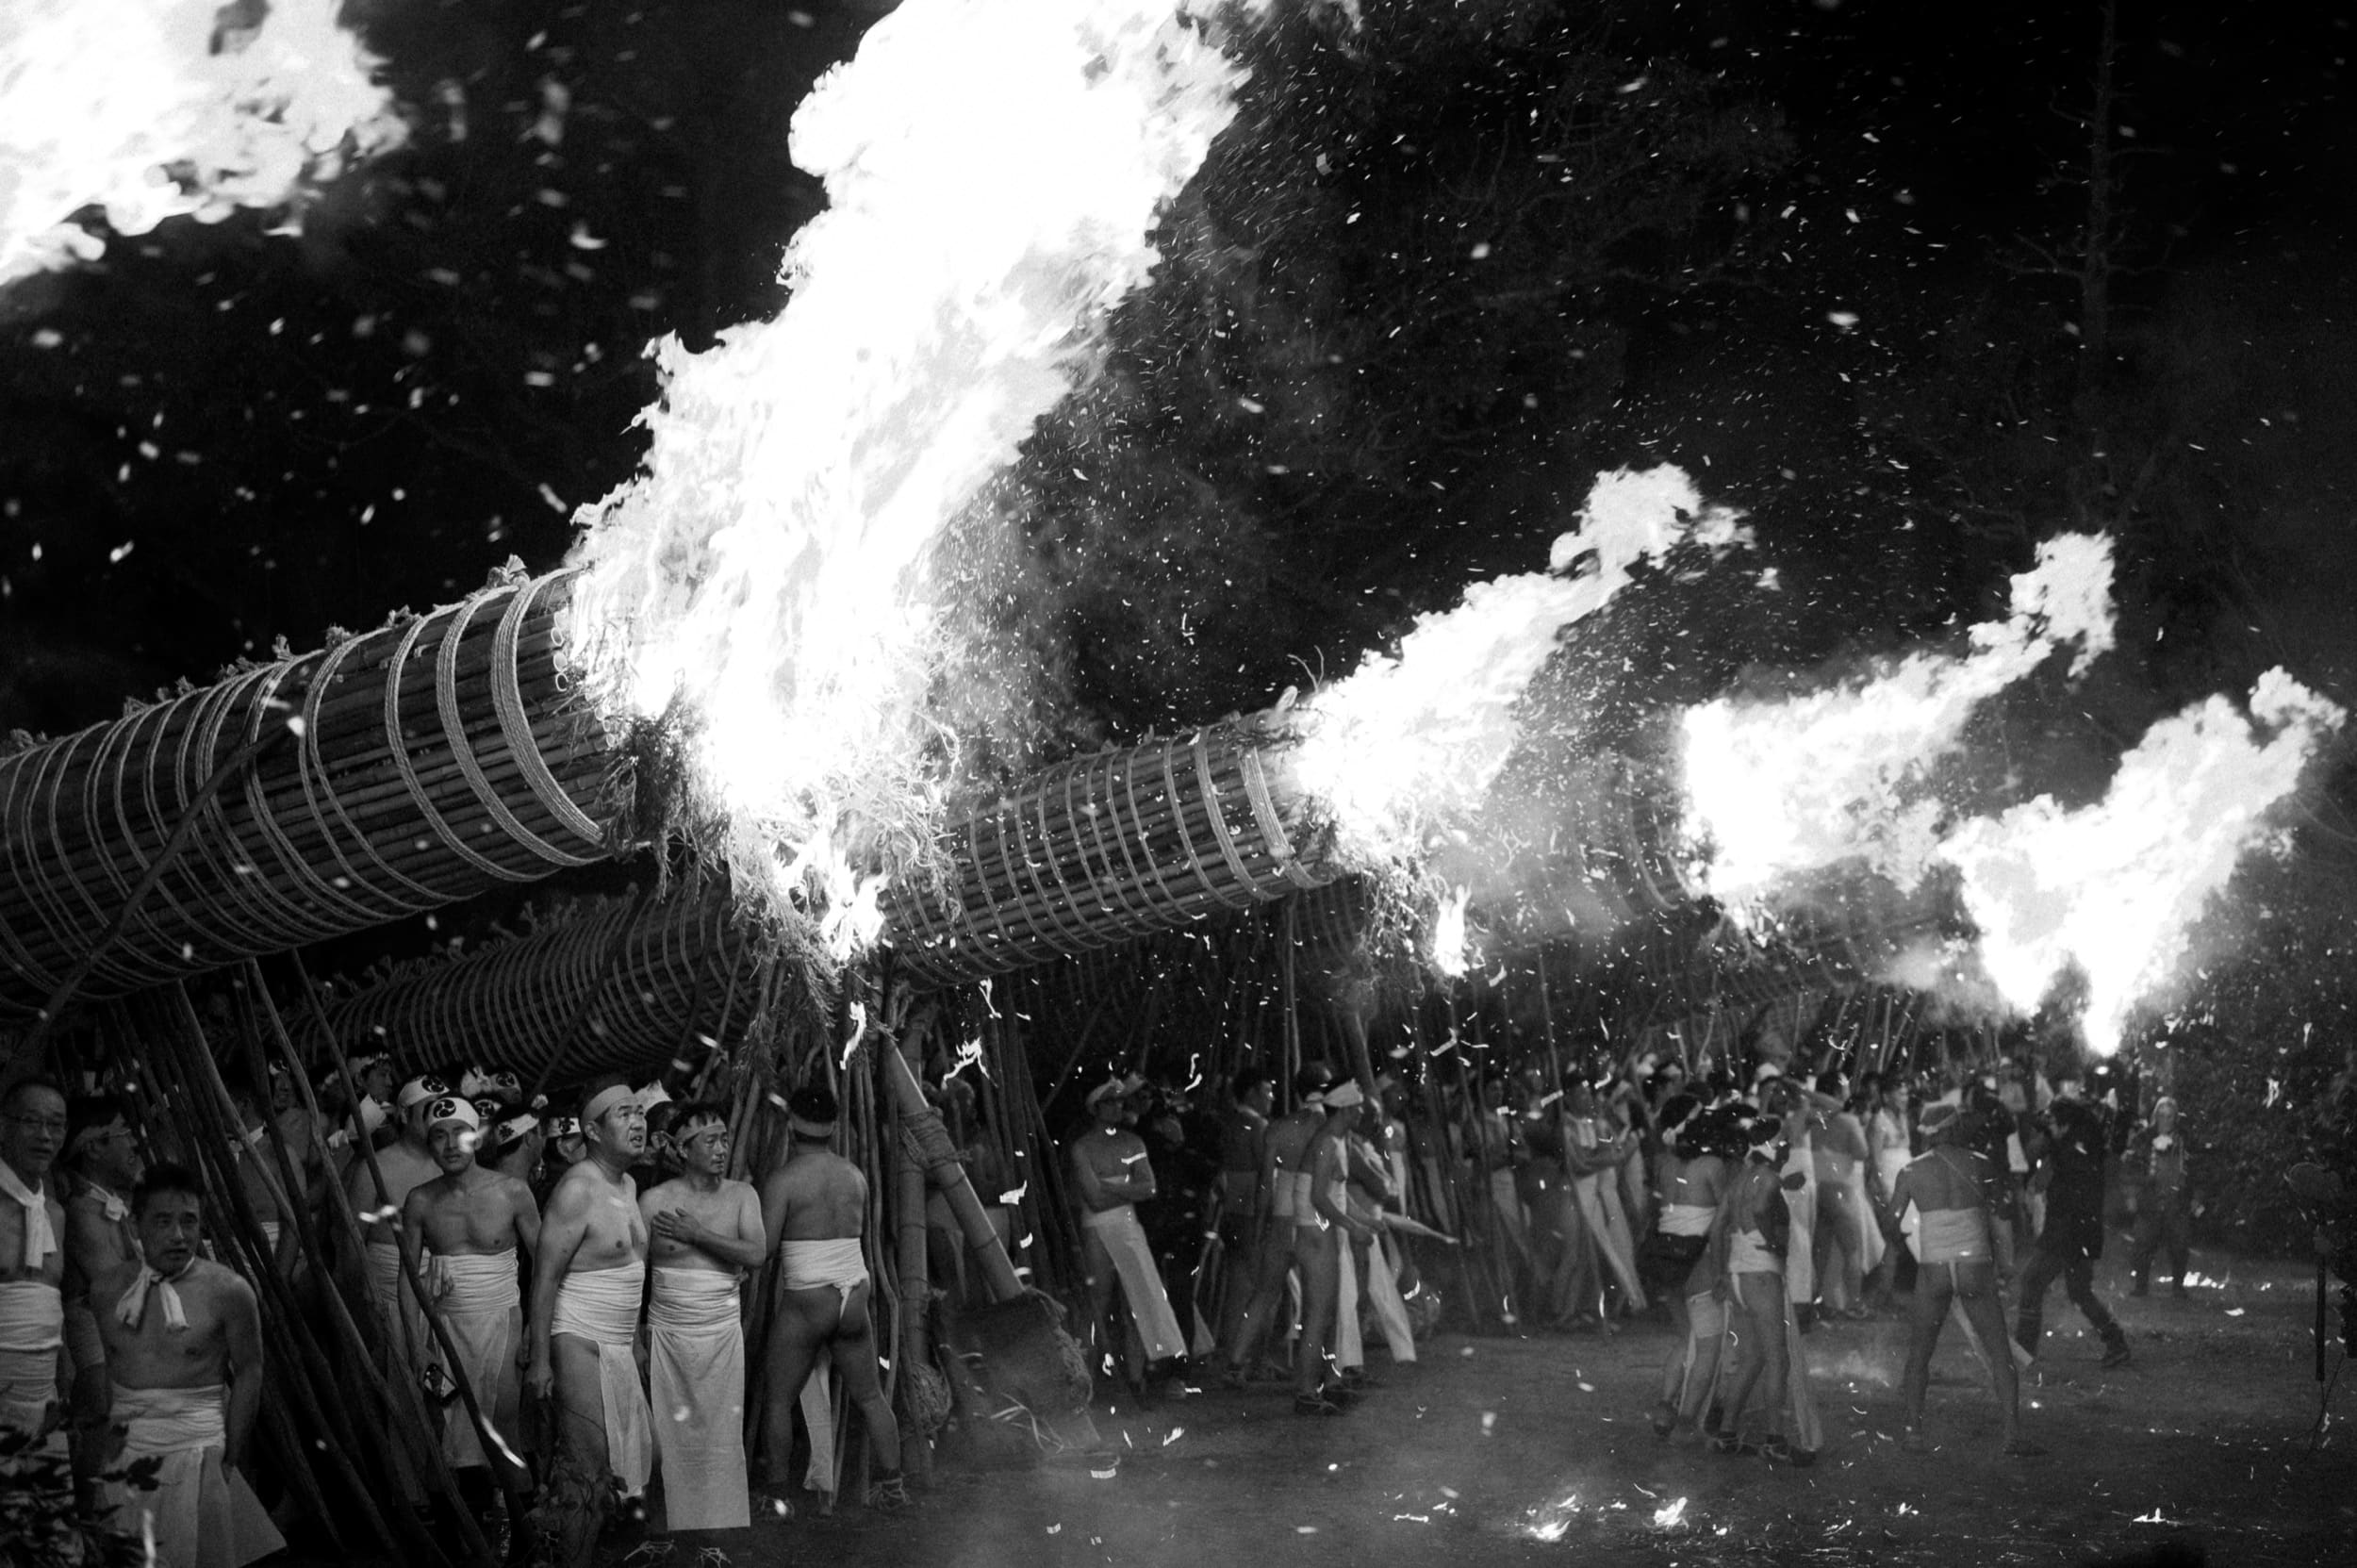
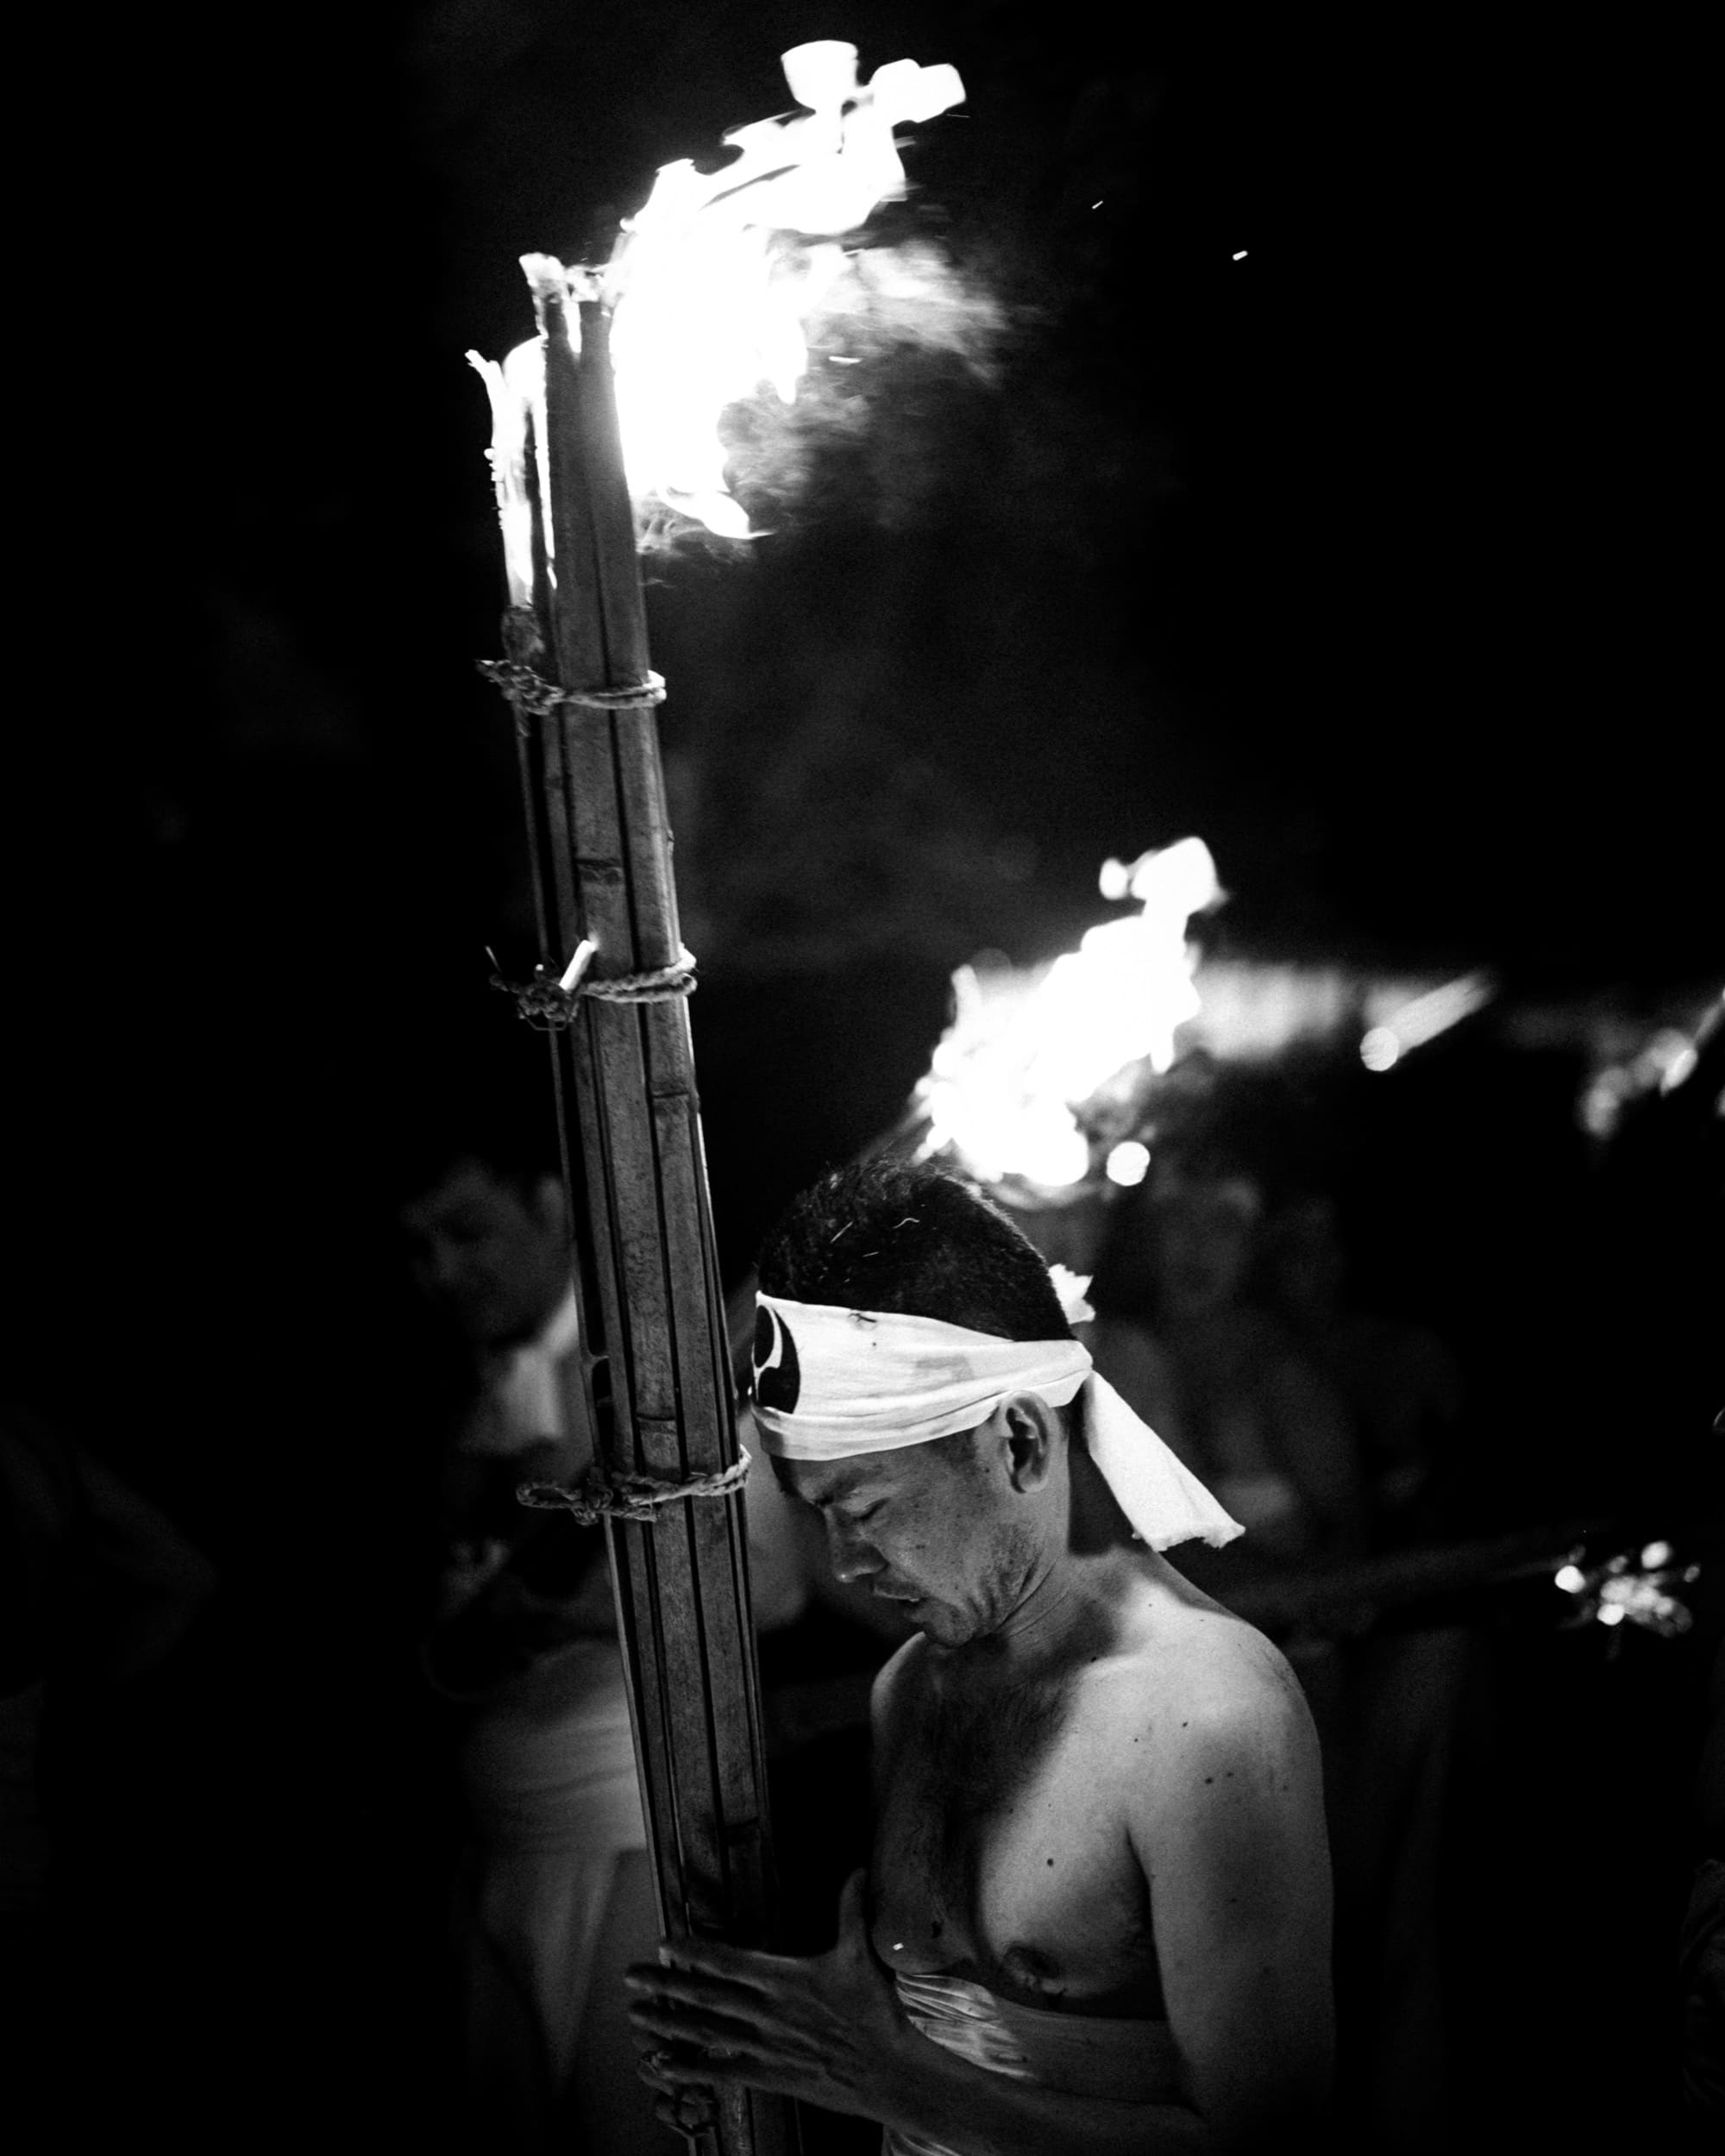
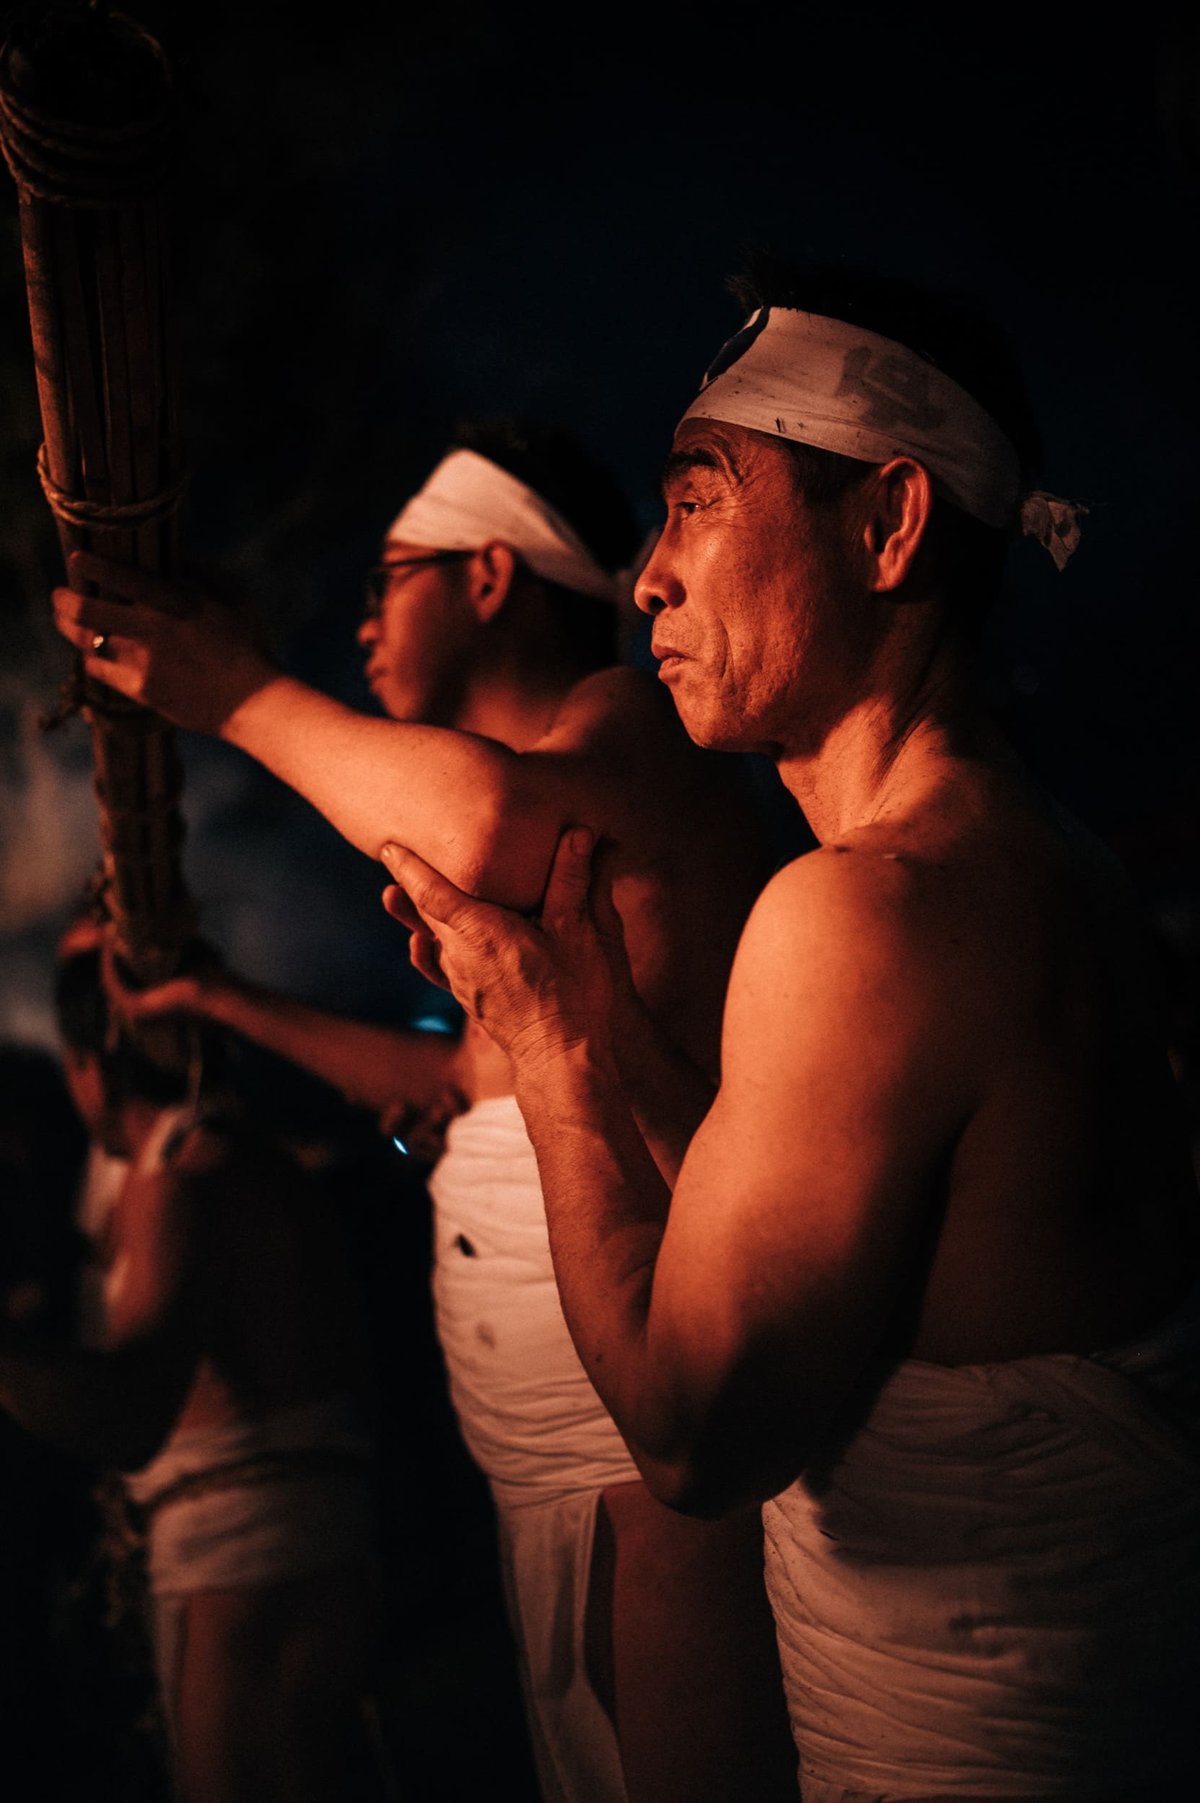
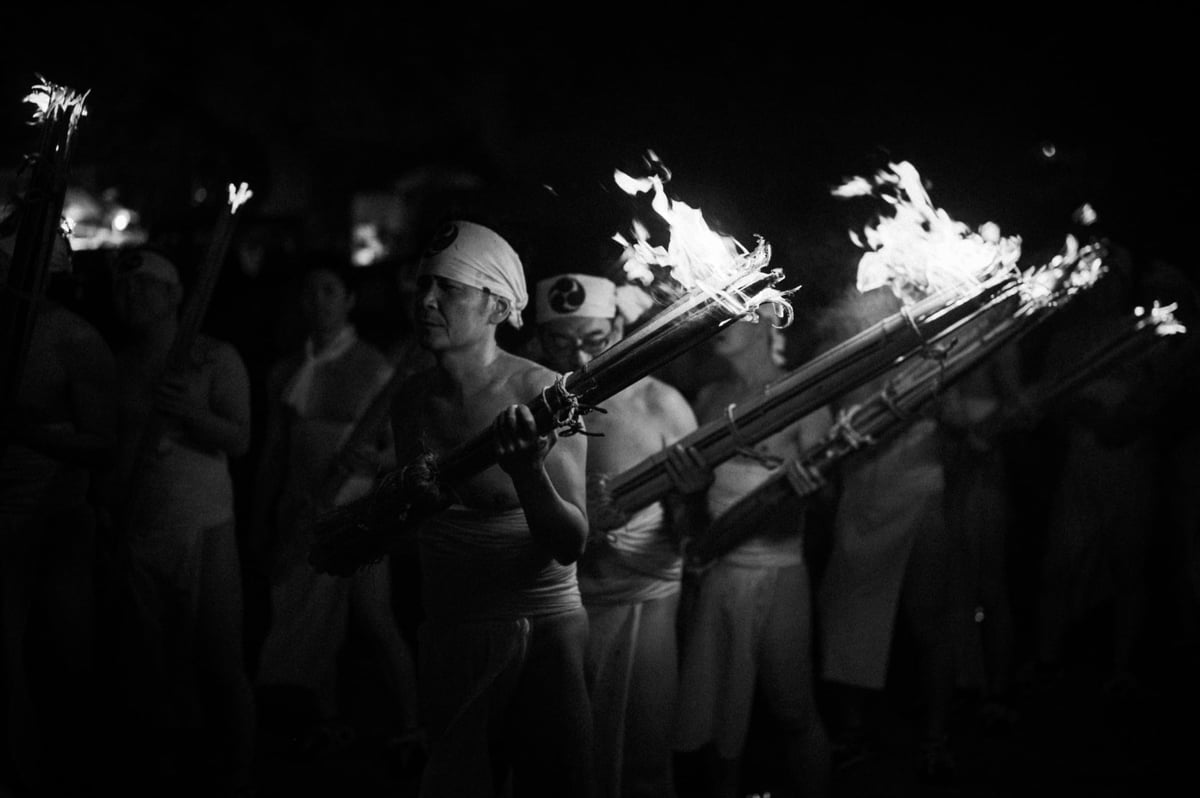
1/125 Shutter
I typically limit my shutter speed to 1/125 when I’m shooting handheld and don’t want to pay attention to anything. Just turn my brain off and shoot. 1/125 shutter on most lenses will give you a bit of motion blur, the longer the lens, the more the motion blur. But typically 1/125 will do a decent job of freezing your camera shake if you’re careful while allowing for a little bit of subject motion blur. And 1/125 is a pretty safe shutter speed to use on most lenses of standard focal lengths.
I shot all these photos with the Nikon Z6 with the Wide Area AF to focus on the embers. They have a little bit of motion blur to capture the effect, but not too much so that it feels unnatural or distracting. 1/125 is always a safe shutter speed to limit your camera for this reason. The motion feels natural.
While we are looking at these photos, this is also a great example of why you shouldn’t always depend on eye autofocus. Cameras have many different focusing modes, besides eye autofocus ( believe it or not ), from point boxes, and tracking to wide-area AF. It’s important to use the best focus mode for the situation, which means not leaving the camera permanently in the eye AF mode. I typically like to use wide-area af in situations where I’m outside of the depth of field limit or where there isn’t a discernible difference between an eye or face being in focus.
Quickly changing your focus modes to be able to quickly grab shots like this at a moment’s notice is invaluable muscle memory to develop and unfortunately, most cameras don’t let you do this without having to access a menu. Canon and Nikon I think are the only two brands right now where you can fly between focus modes with the flip of a dial without a menu selector interfering with the screen.
On my Sony, I set it to one of the custom buttons on top C1, and on my Fujifilm, I set it to the button on the front of the camera. On my Nikon, I set it to Fn1 where the front control wheel cycles the boxes and the rear wheel cycles the modes. Canon you can’t really customize here, so you just push one of those focus buttons on the back and cycle the wheel on the top. If you miss the button on the back you’ll start toggling other camera modes. So you have to be more careful with Canon.
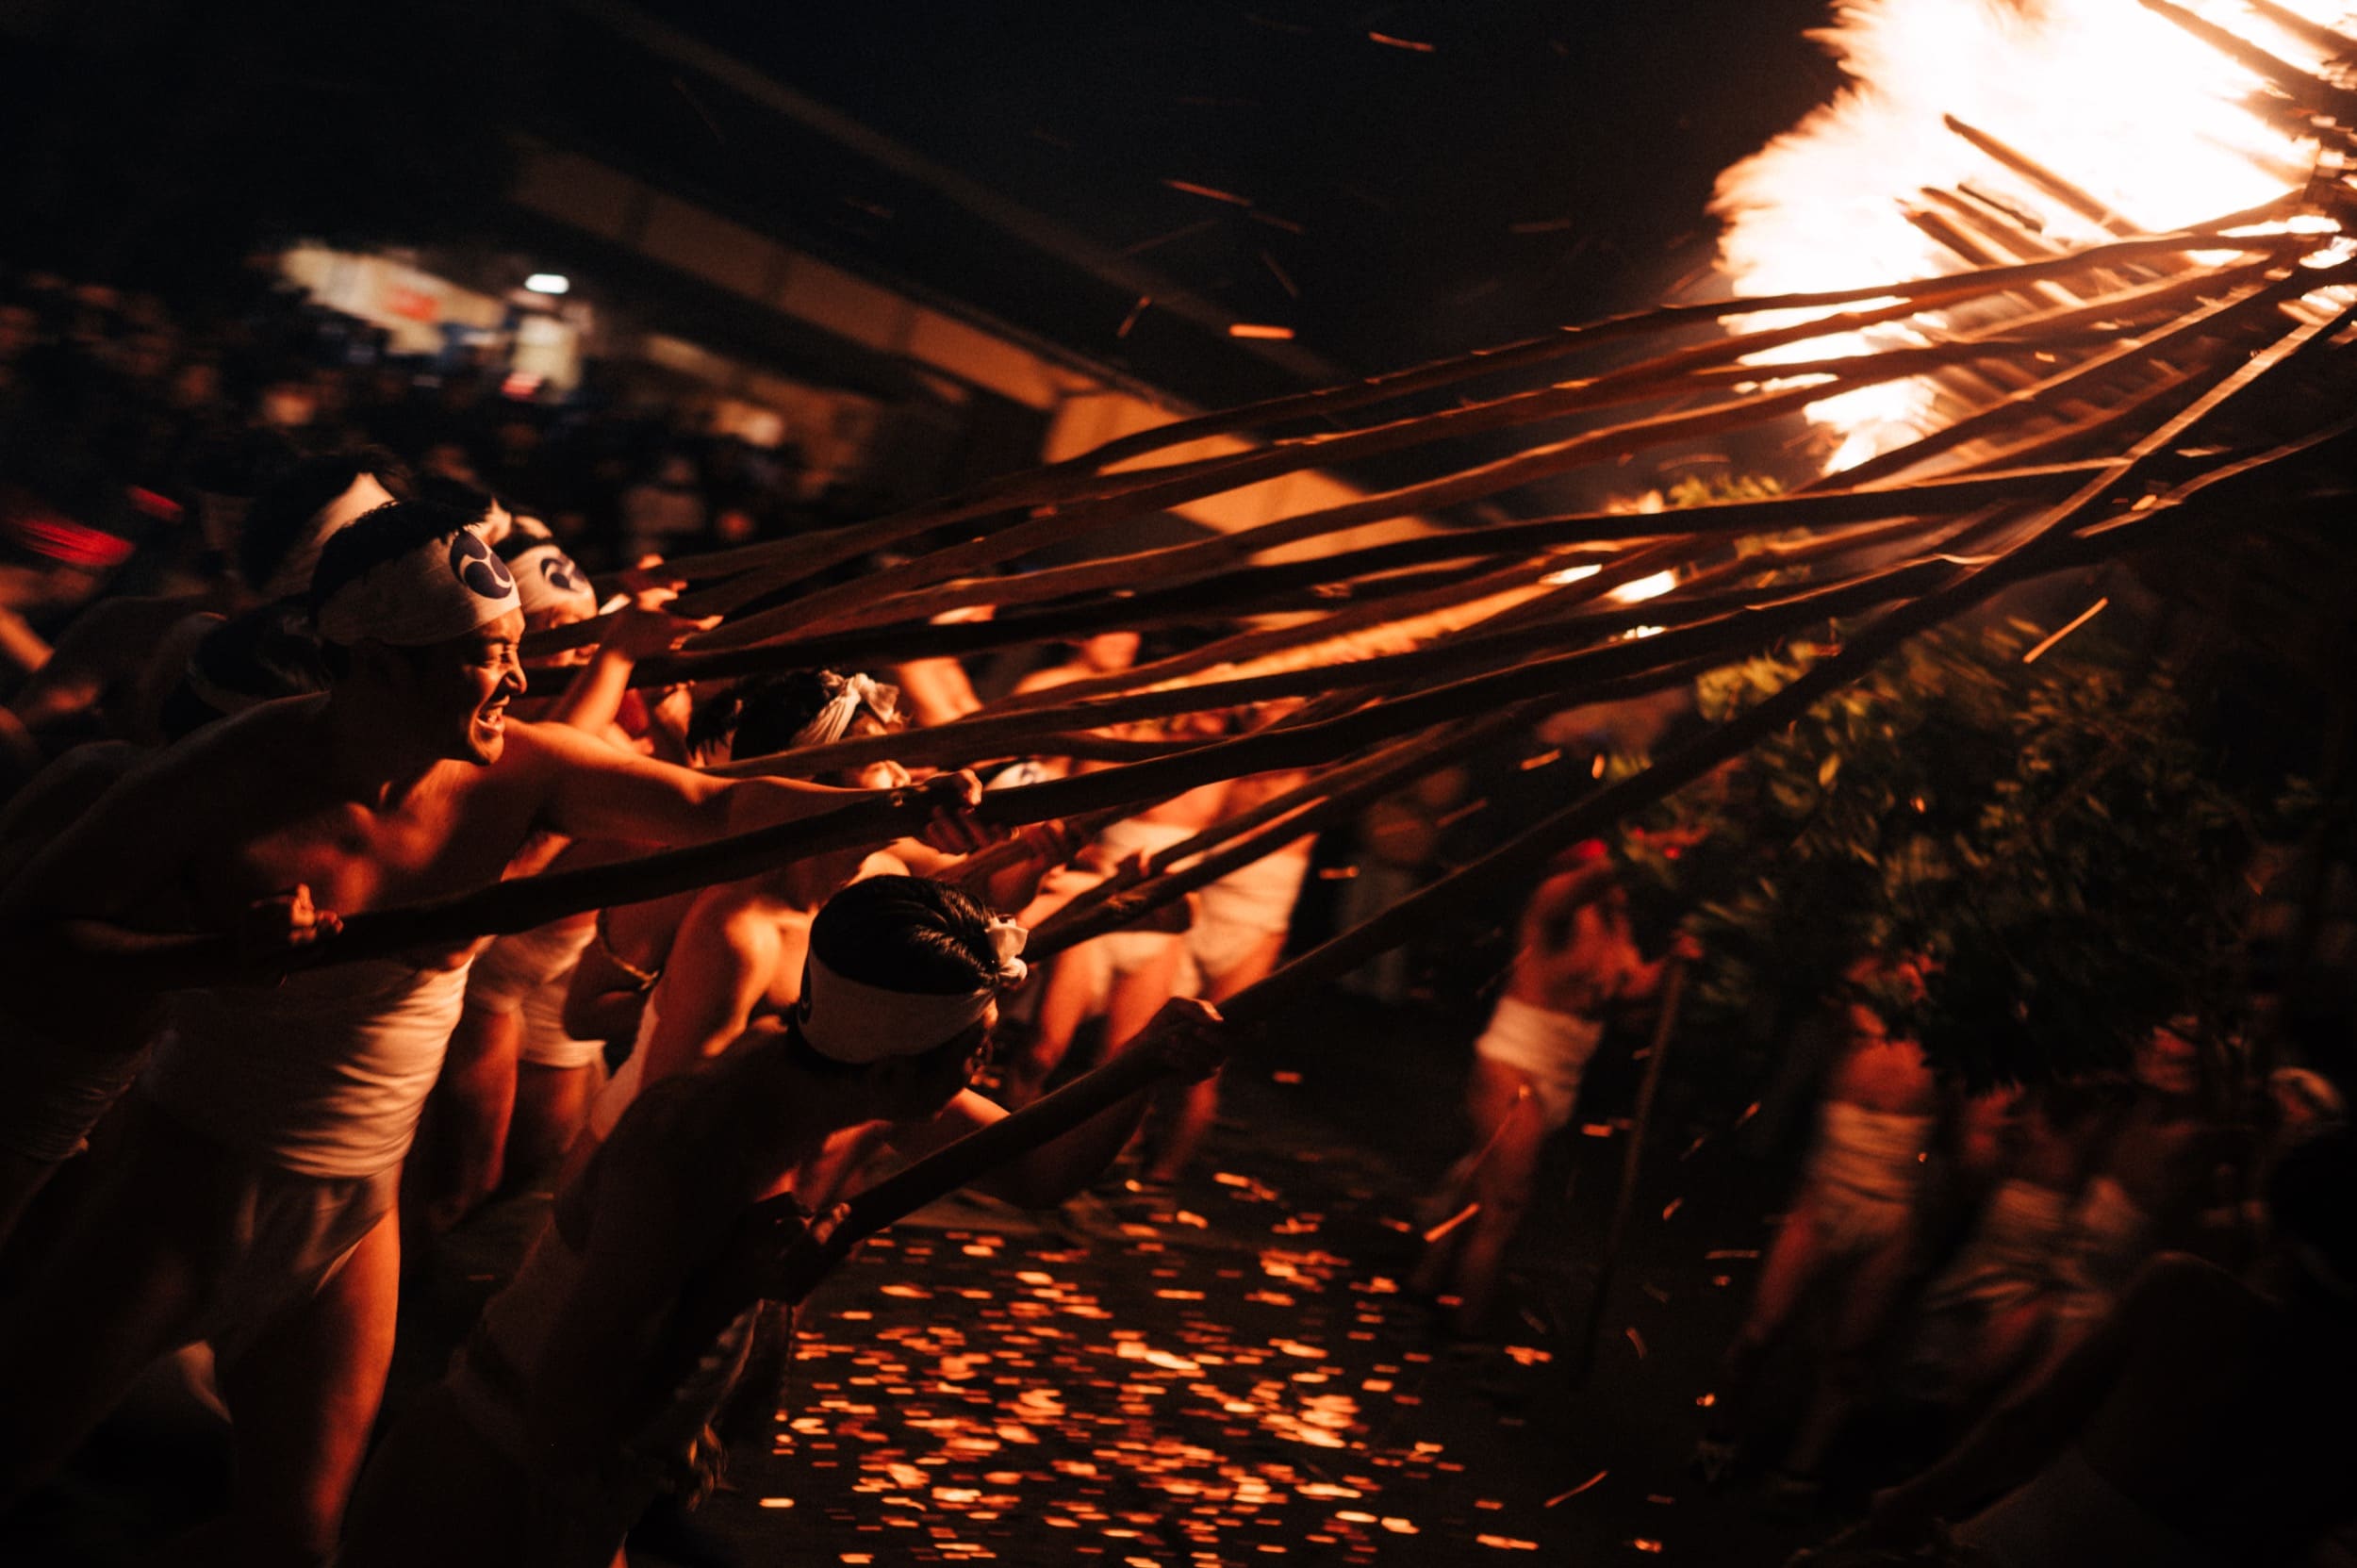
On wider lenses like a 35mm, it’s safe to go down to about 1/80, and you’ll get a pretty similar effect. A good rule of thumb is to limit your shutter by doubling your focal length ( or the full-frame equivalent ) for a natural-feeling motion blur. And if you are shooting on cameras without IBIS, this is about as slow as you can really go without introducing motion blur from camera shake. I often go a little higher. 1/80 on 35mm, 1/125 on 50mm, 1/160 to 1/180 on 80mm. Especially with street photography where I want tighter motion.
Here is a shot with the Nikon Z 35mm f1.8 at 1/80 shutters. You can see, like with the 1/125 on the 50mm, the motion blur again feels very natural.
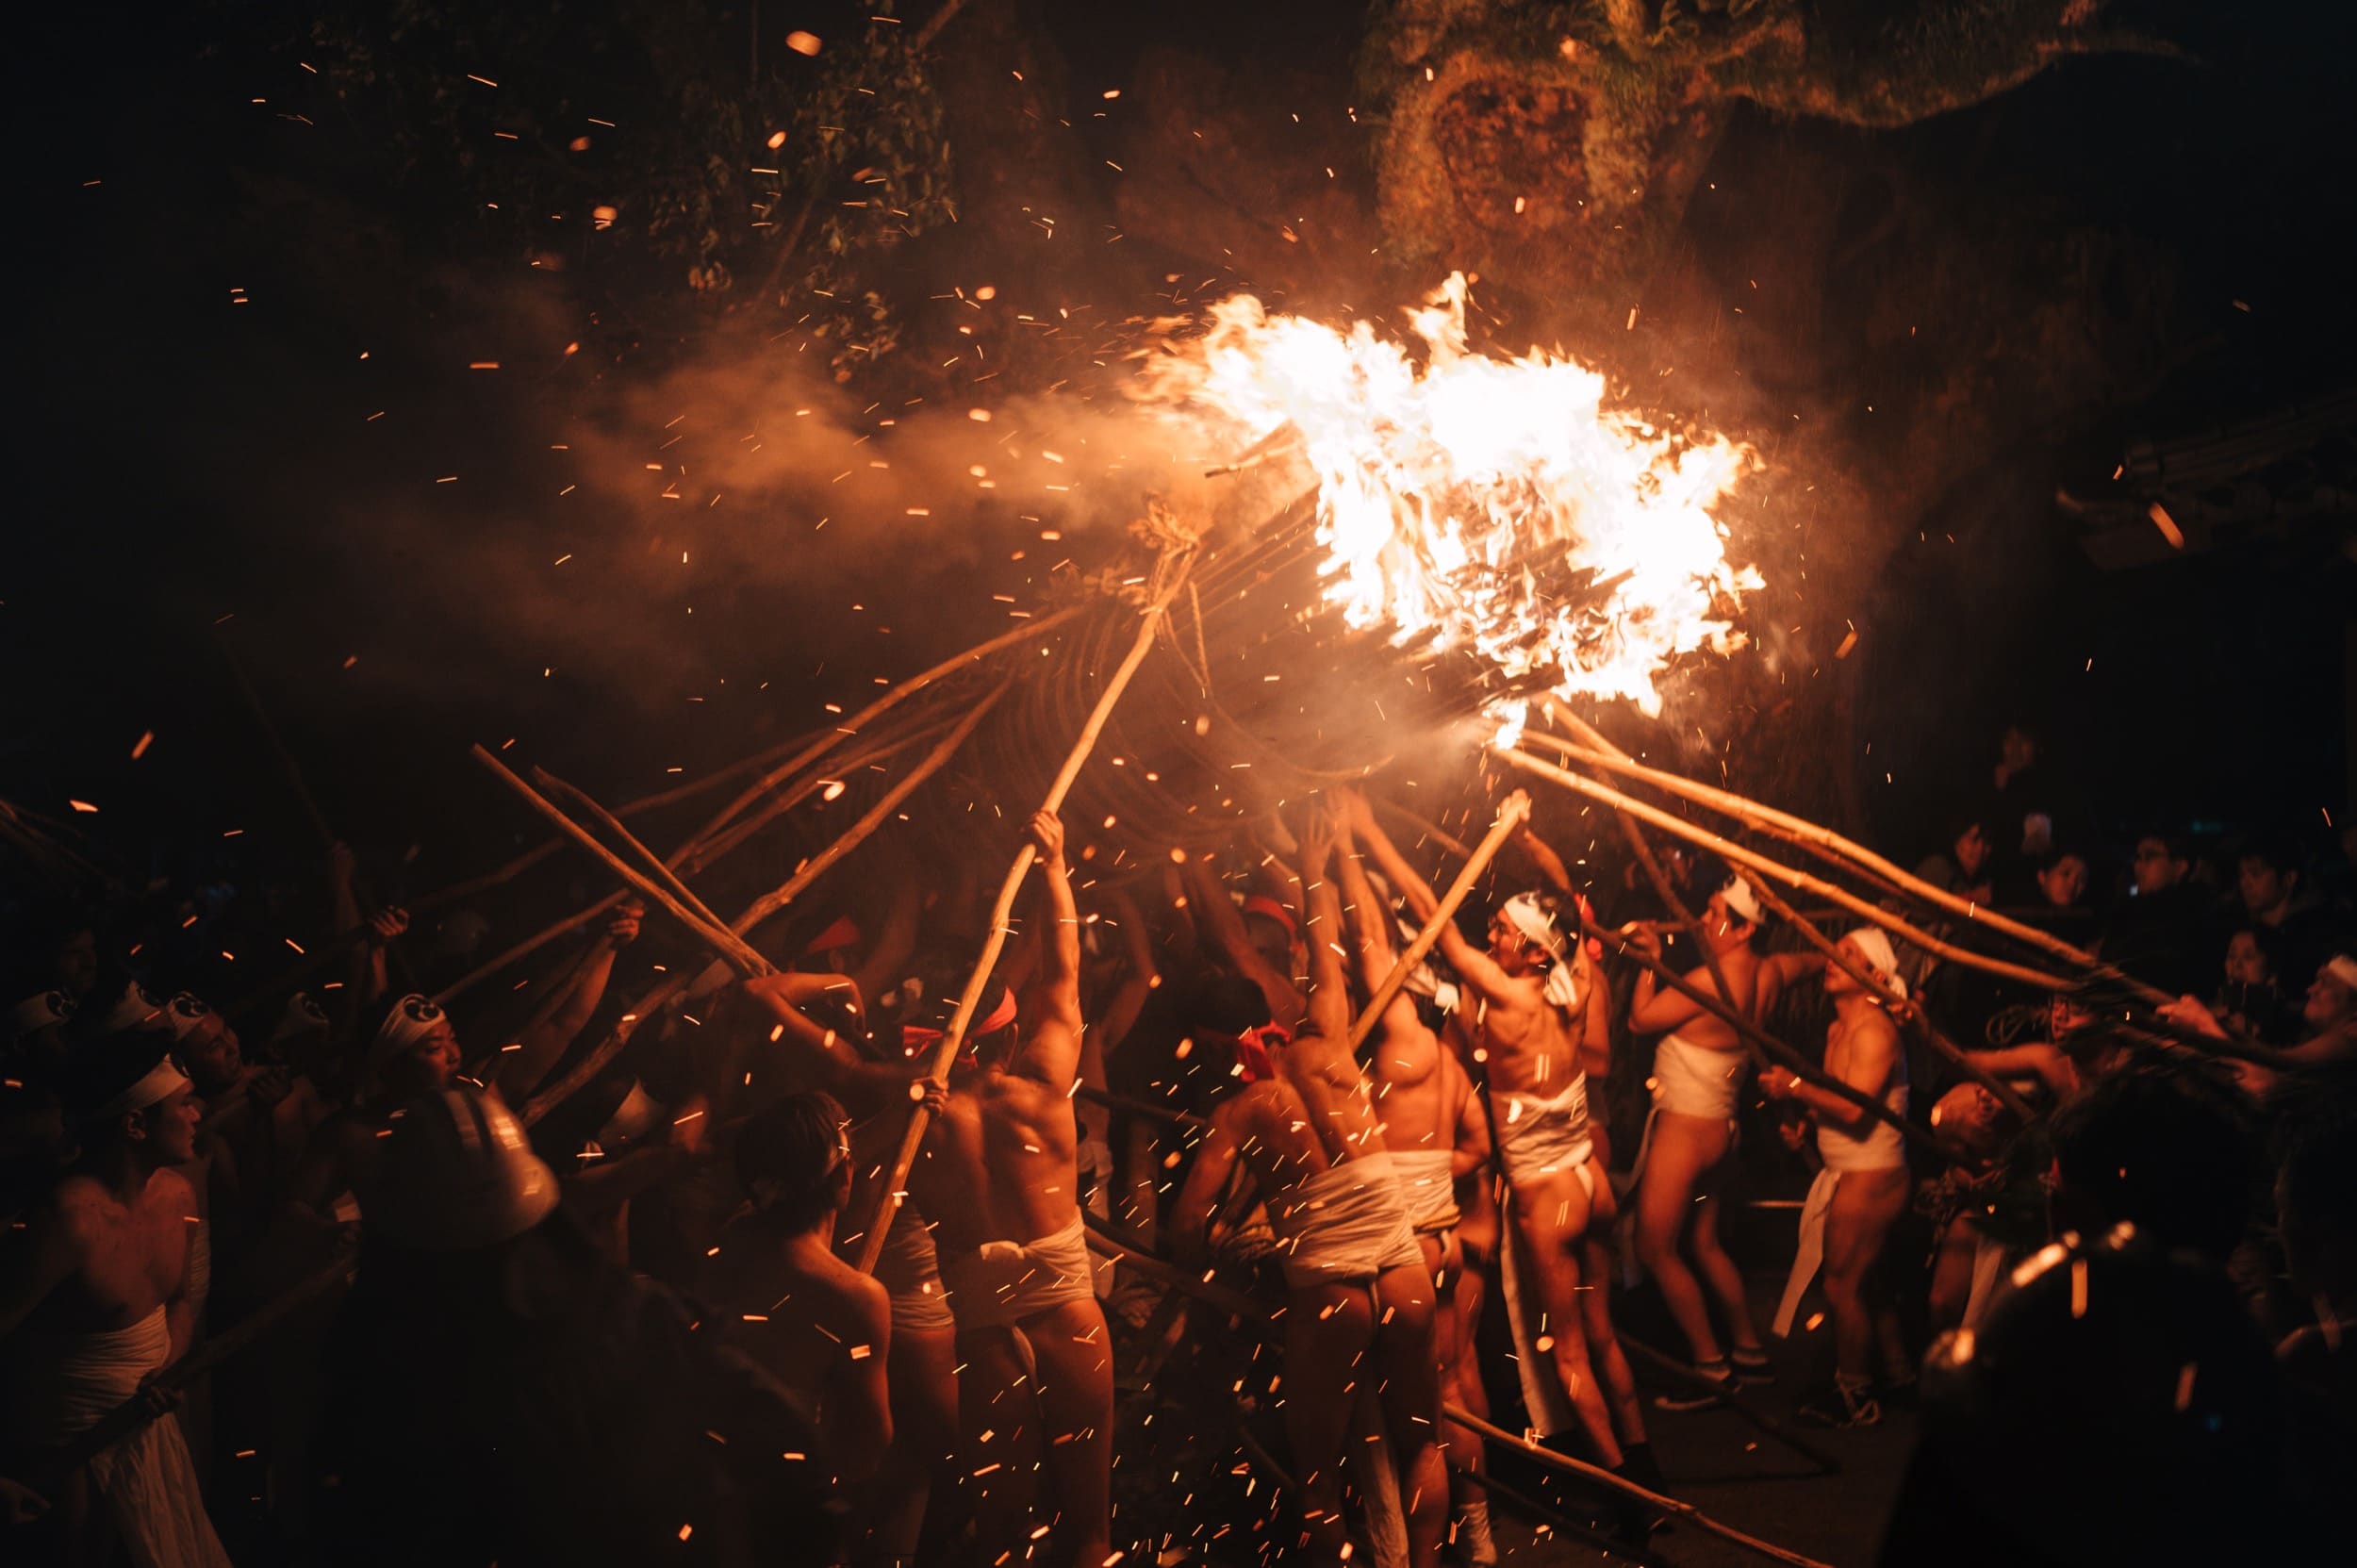
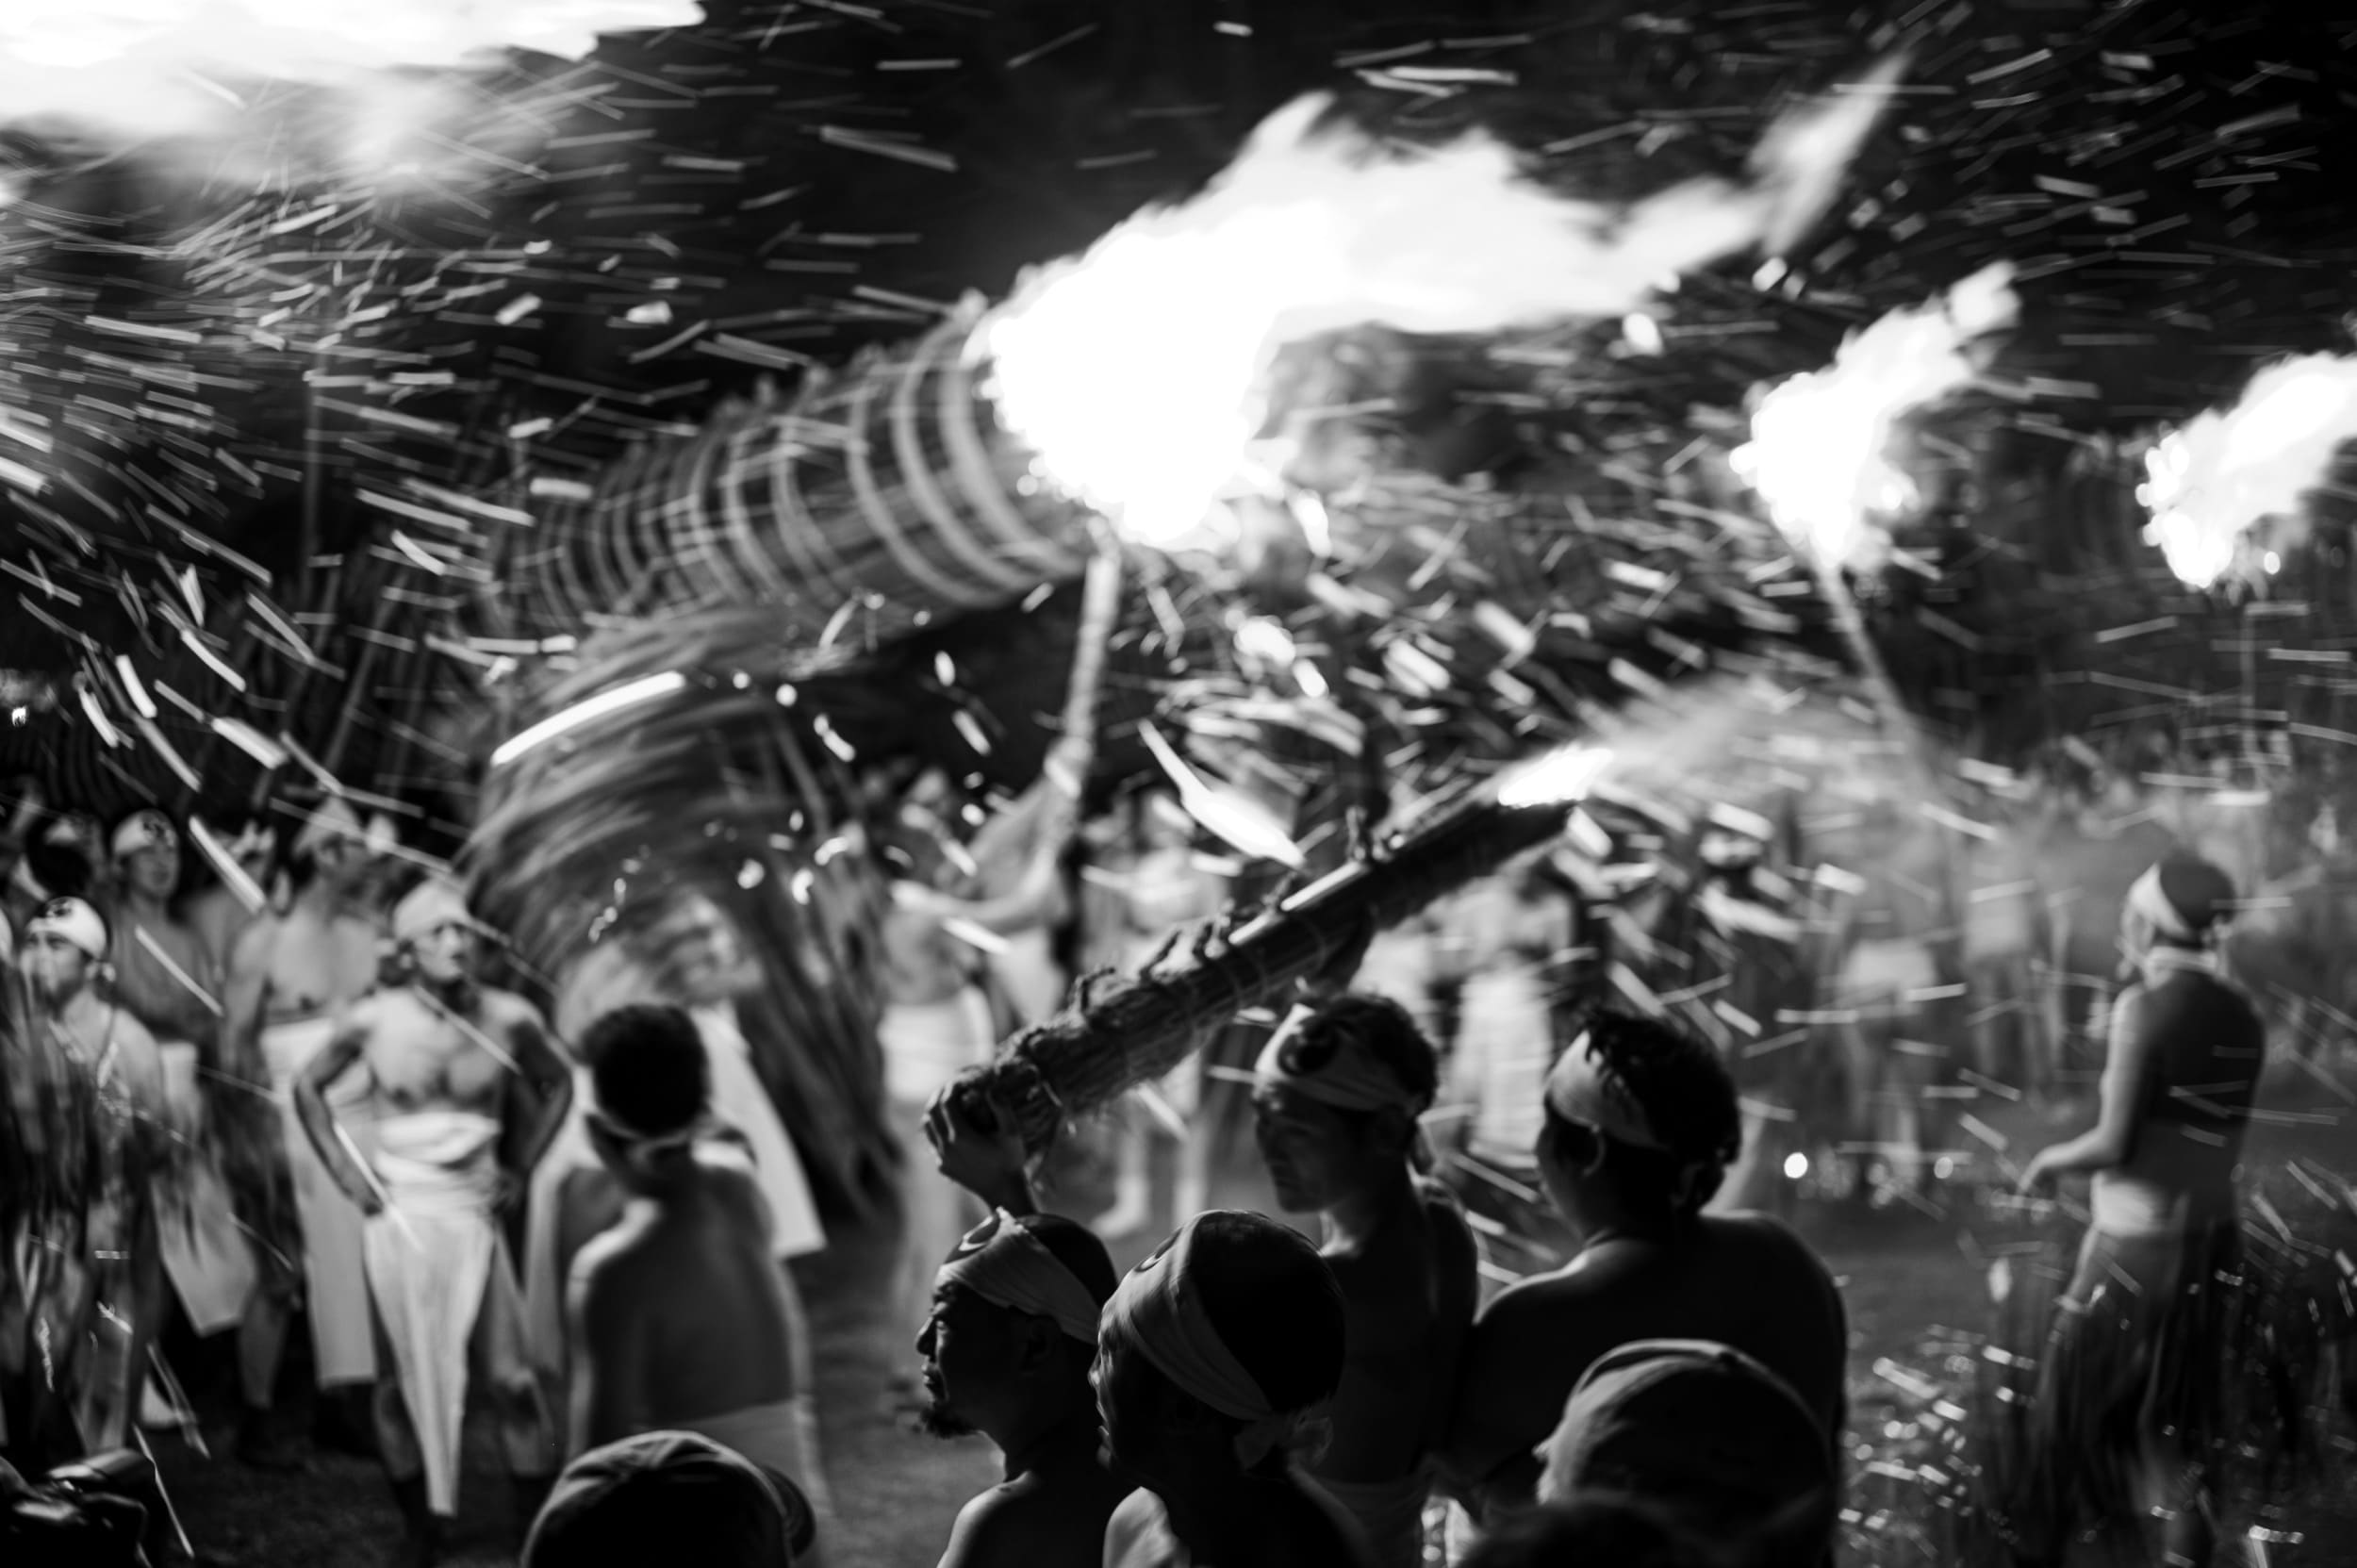
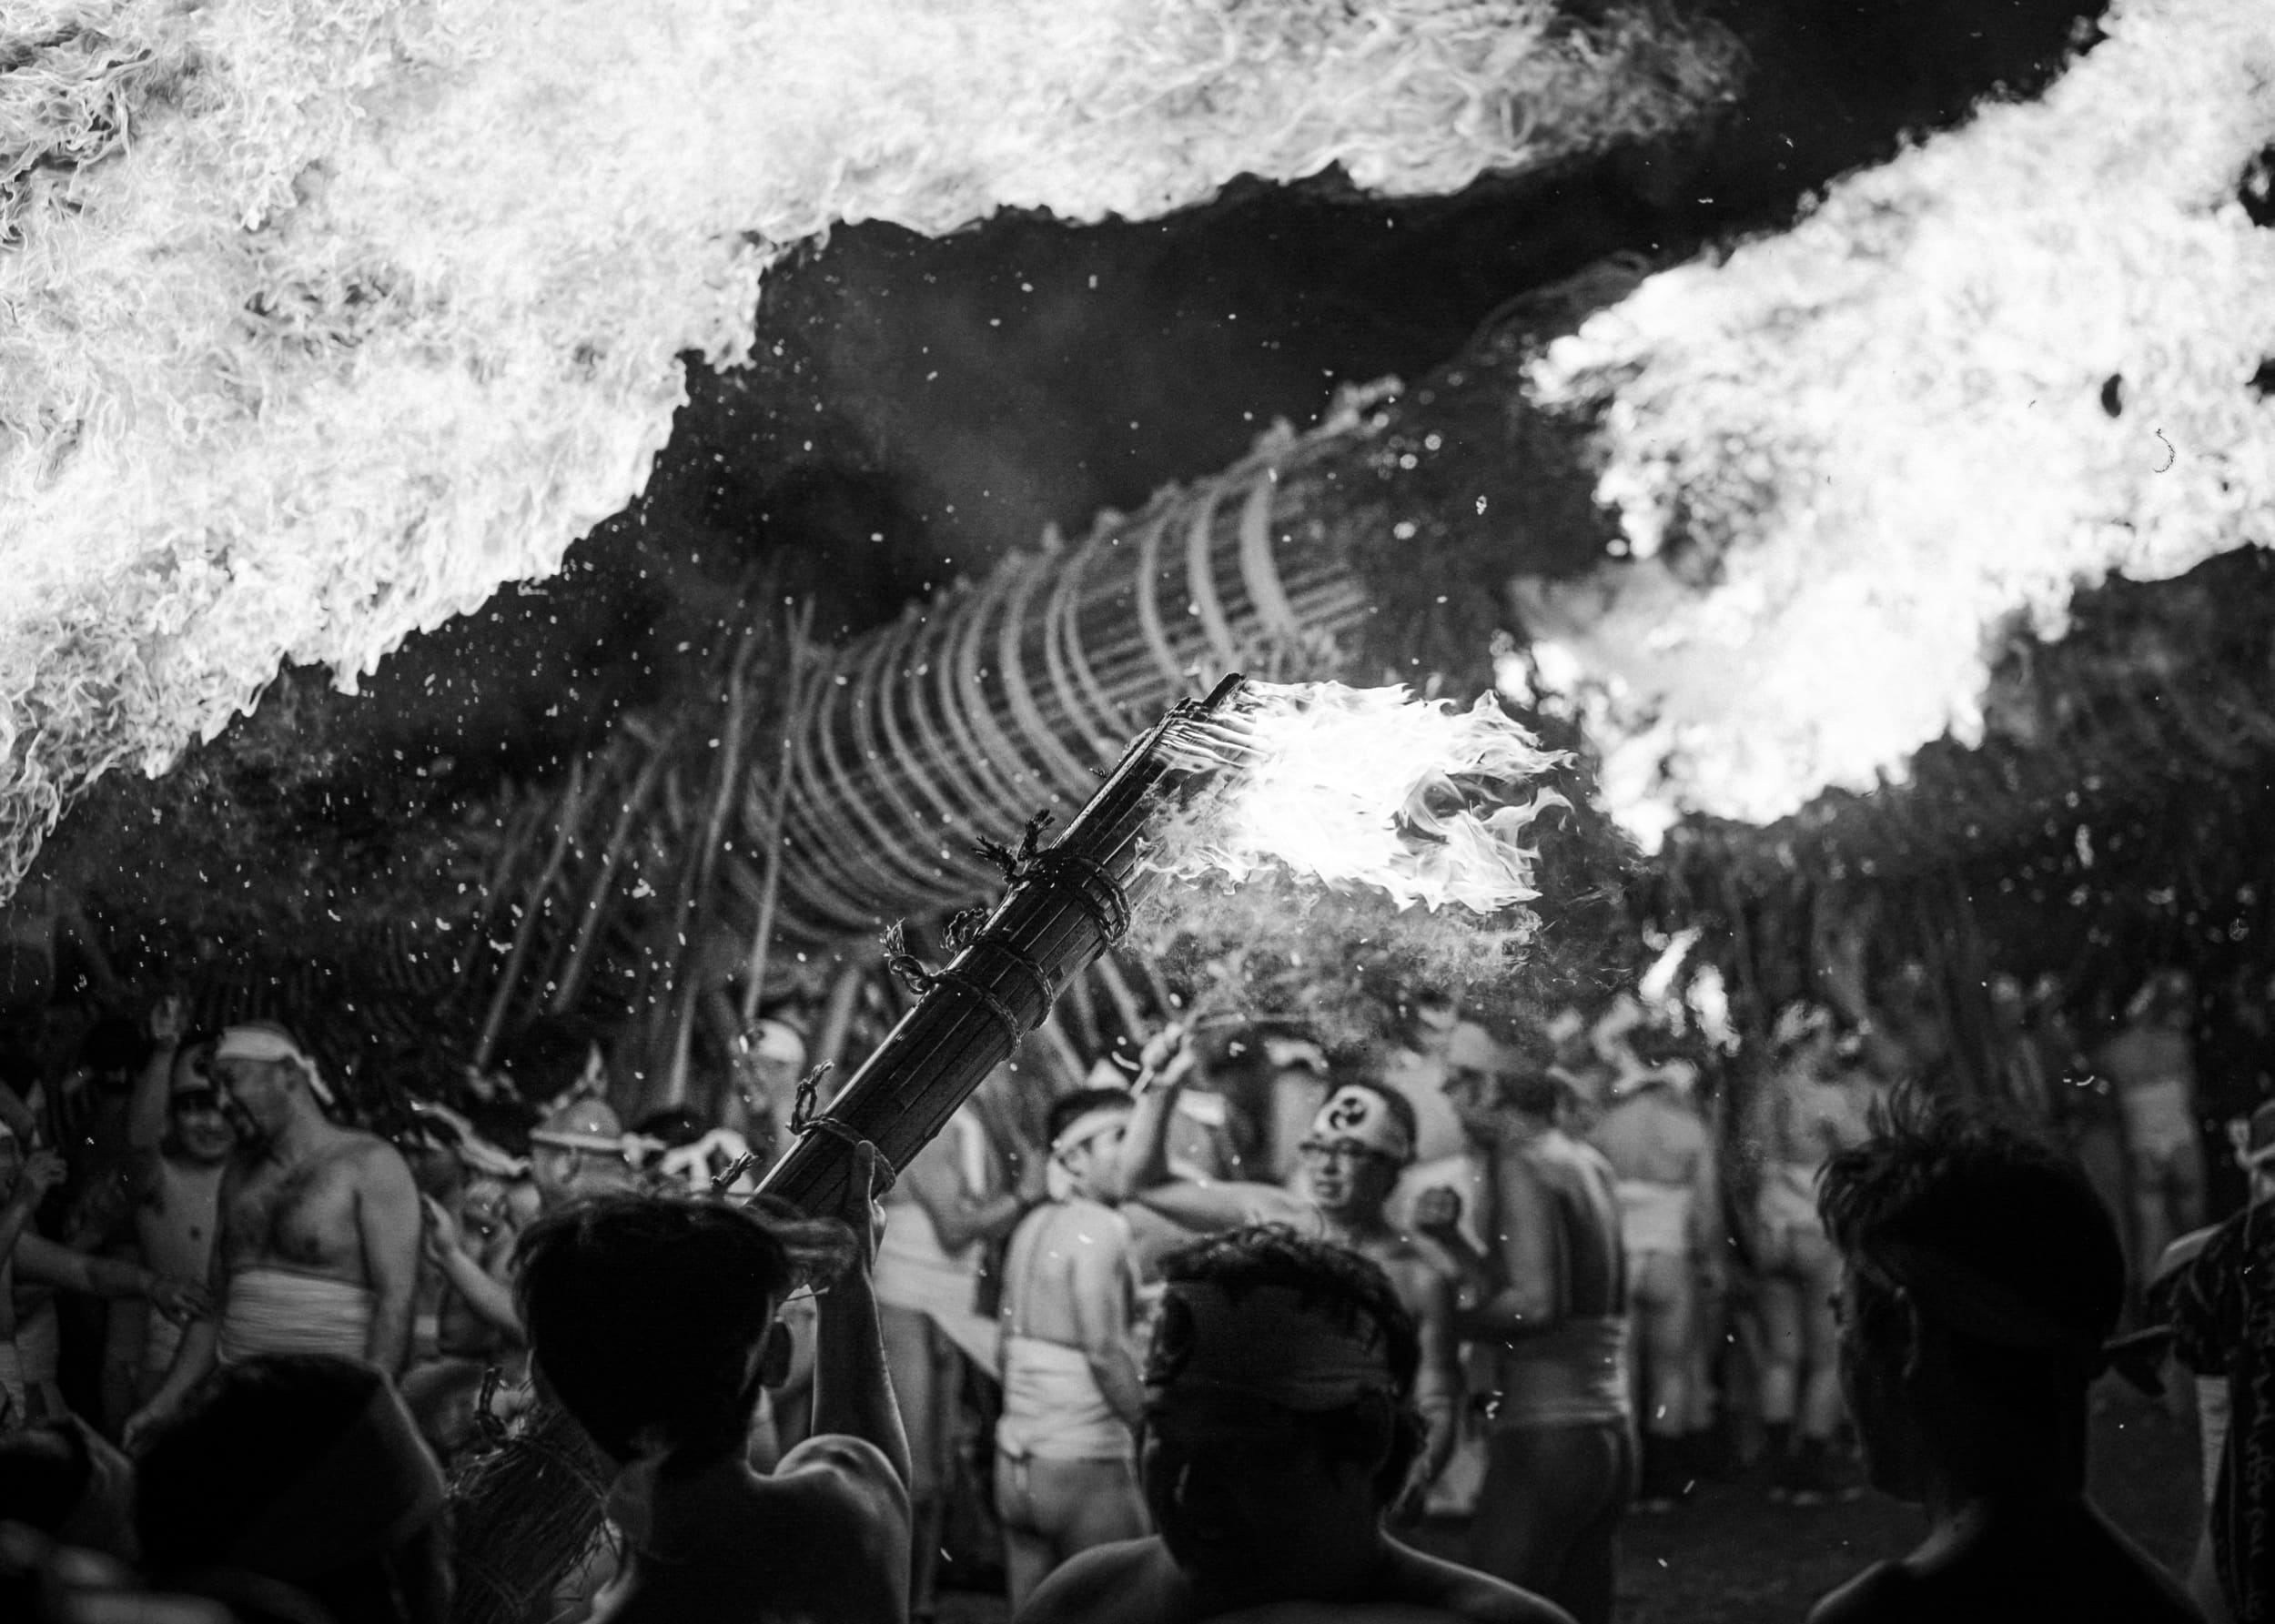
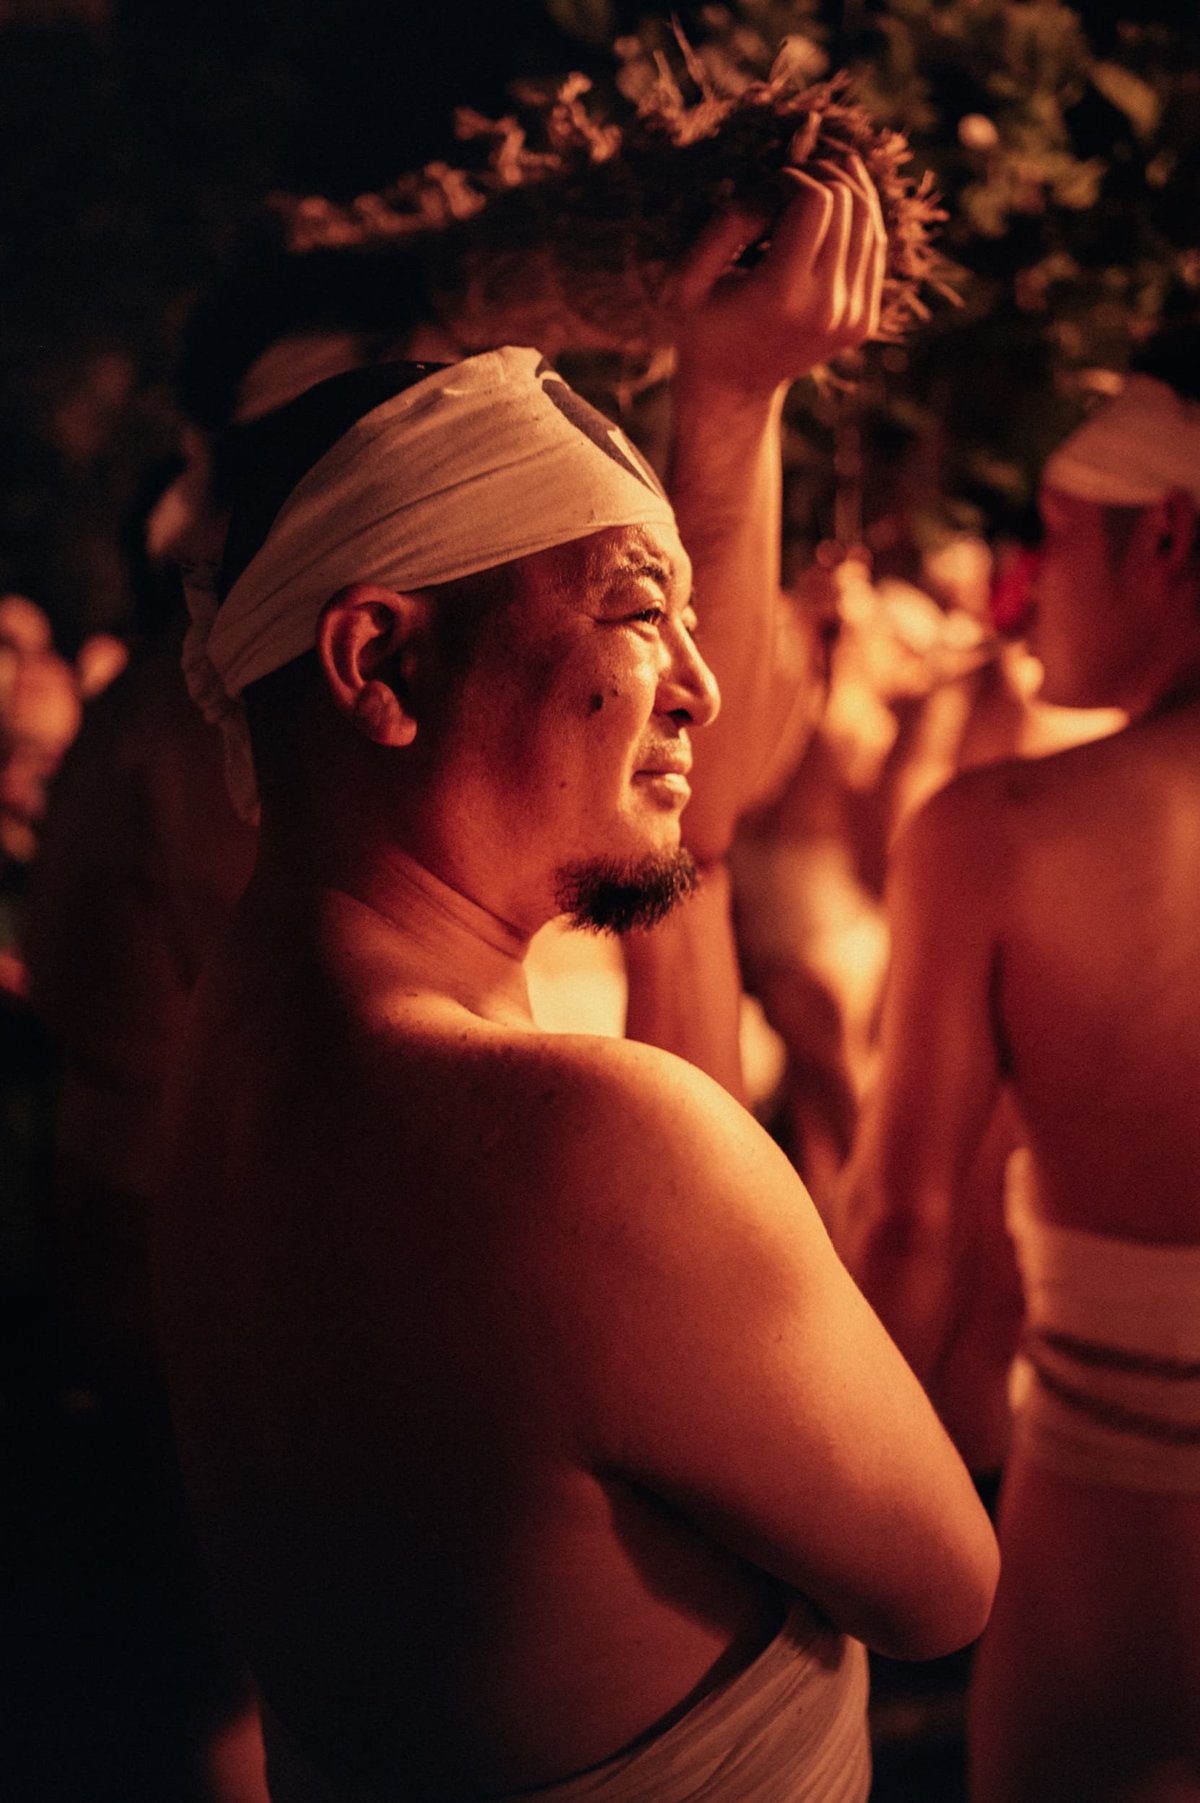
Slower Shutter Speeds 1/15 or 1/25
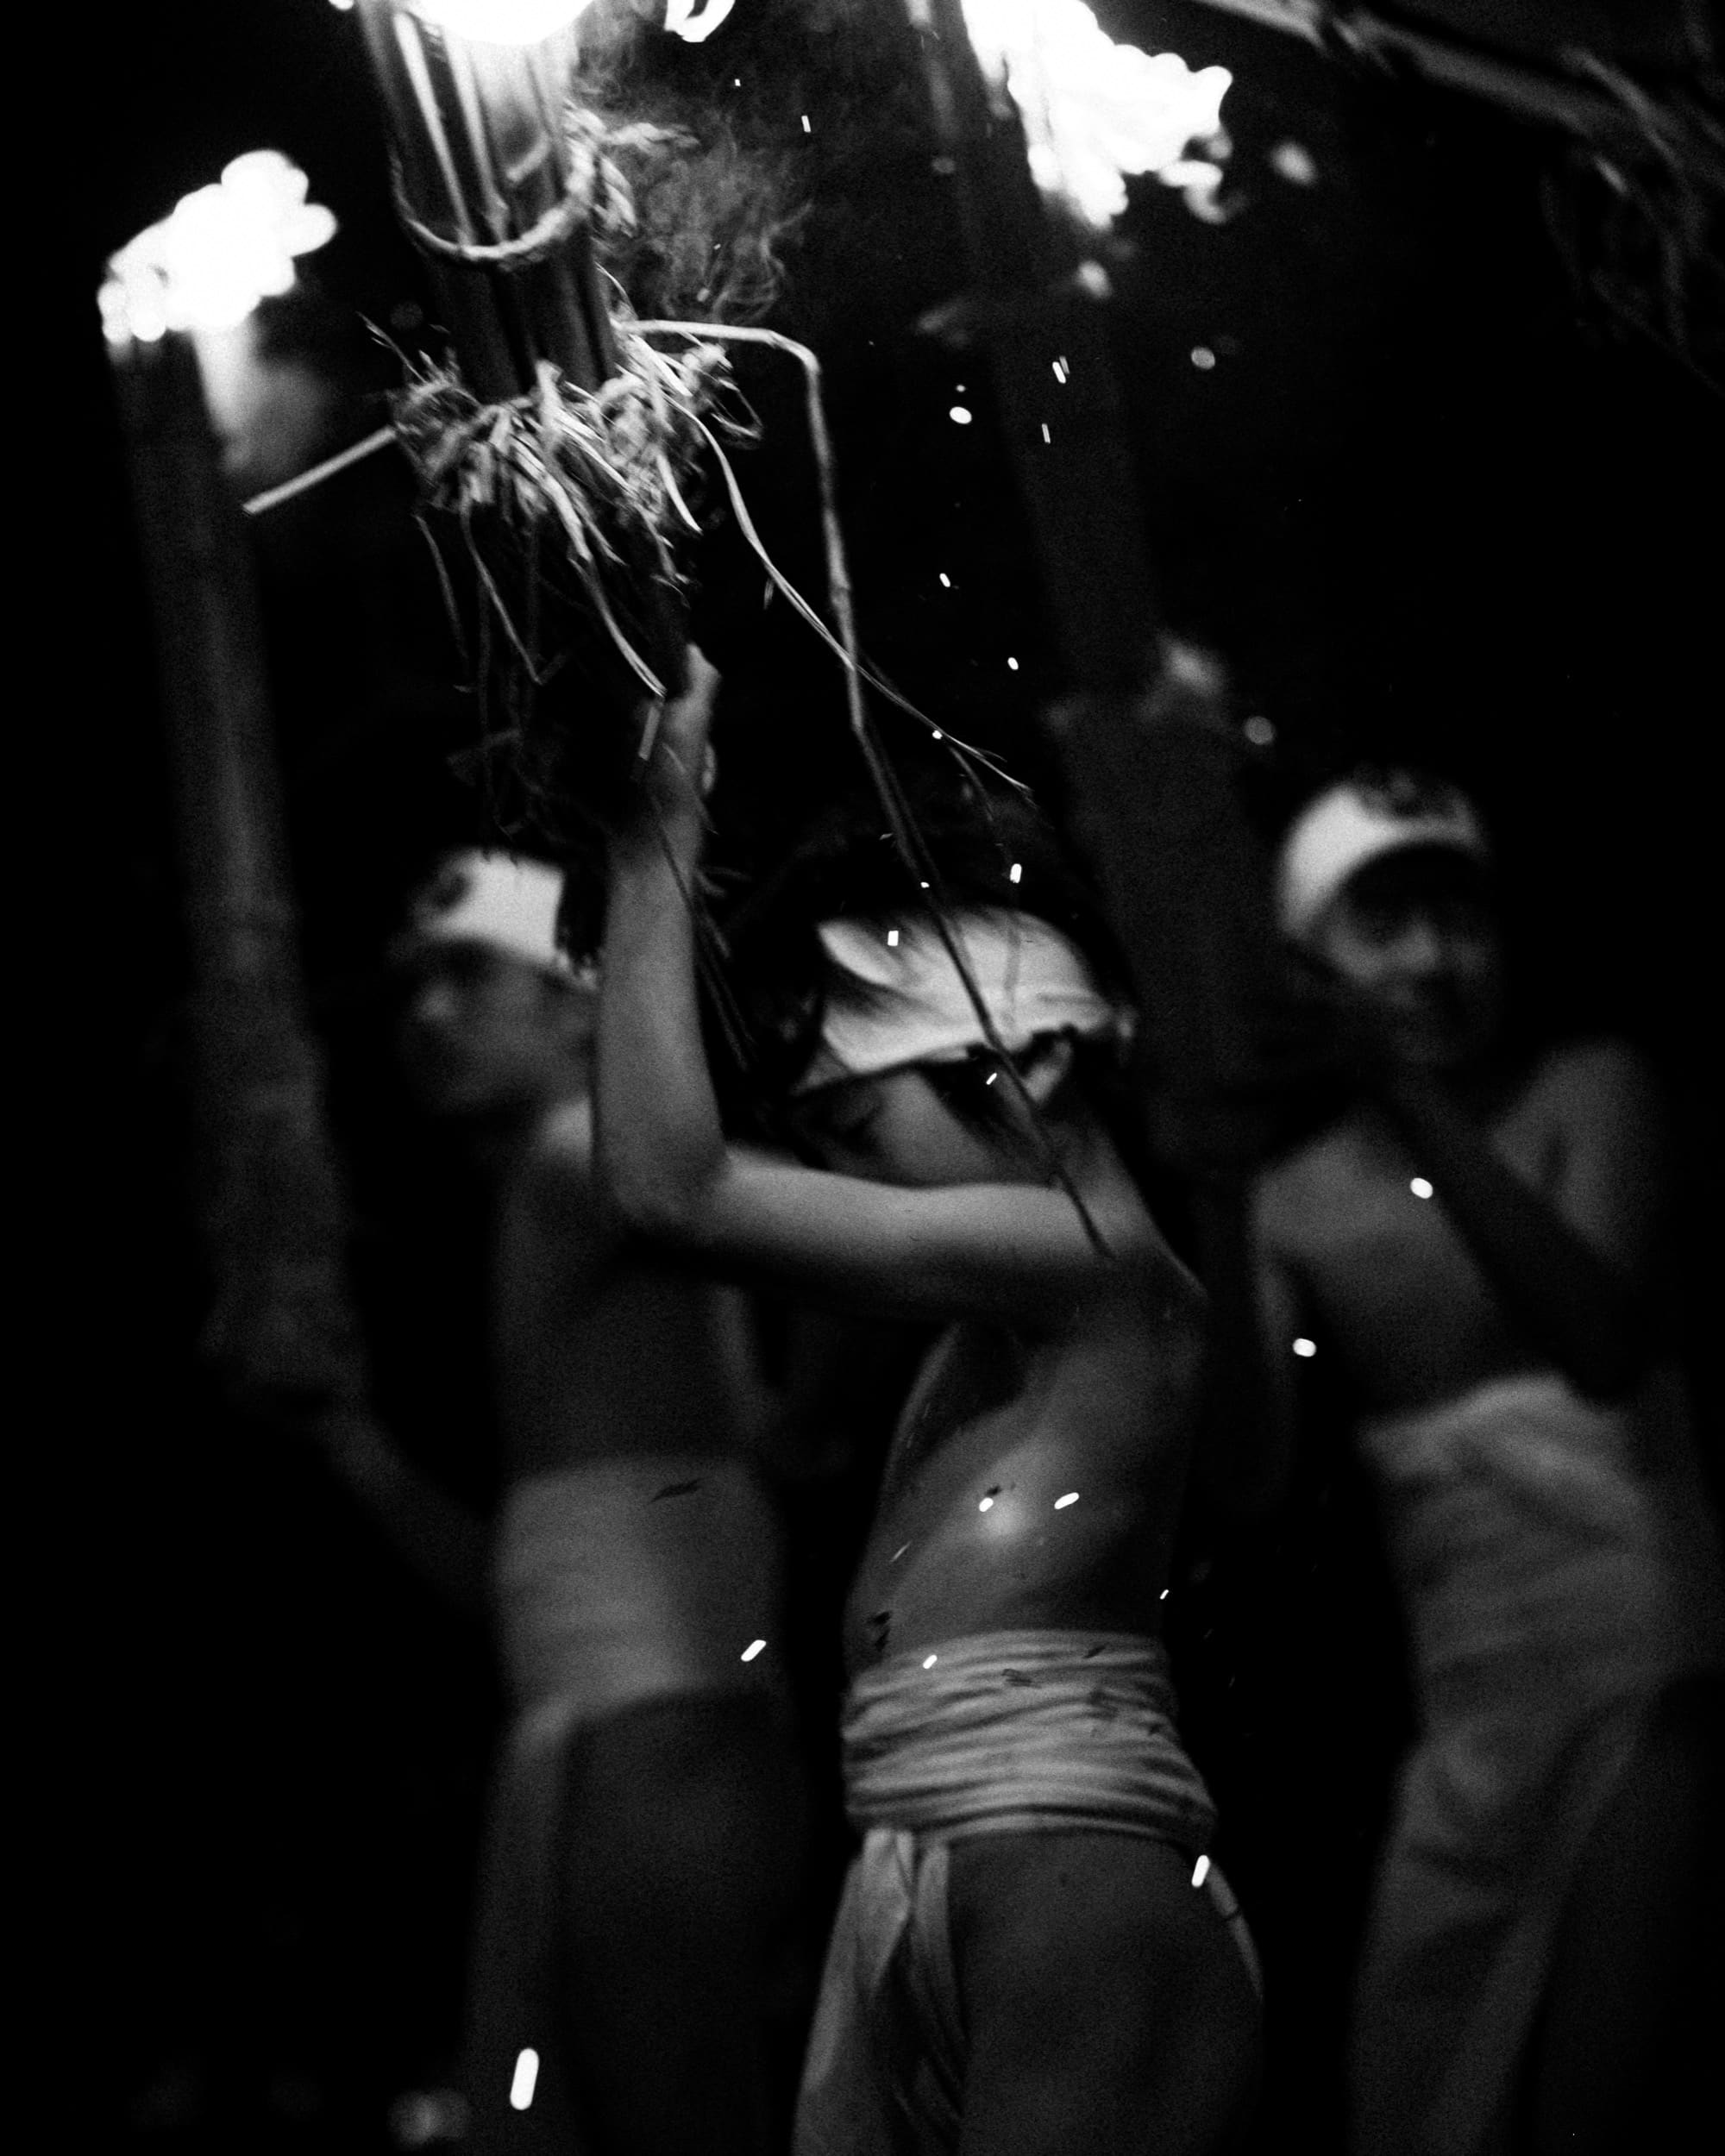
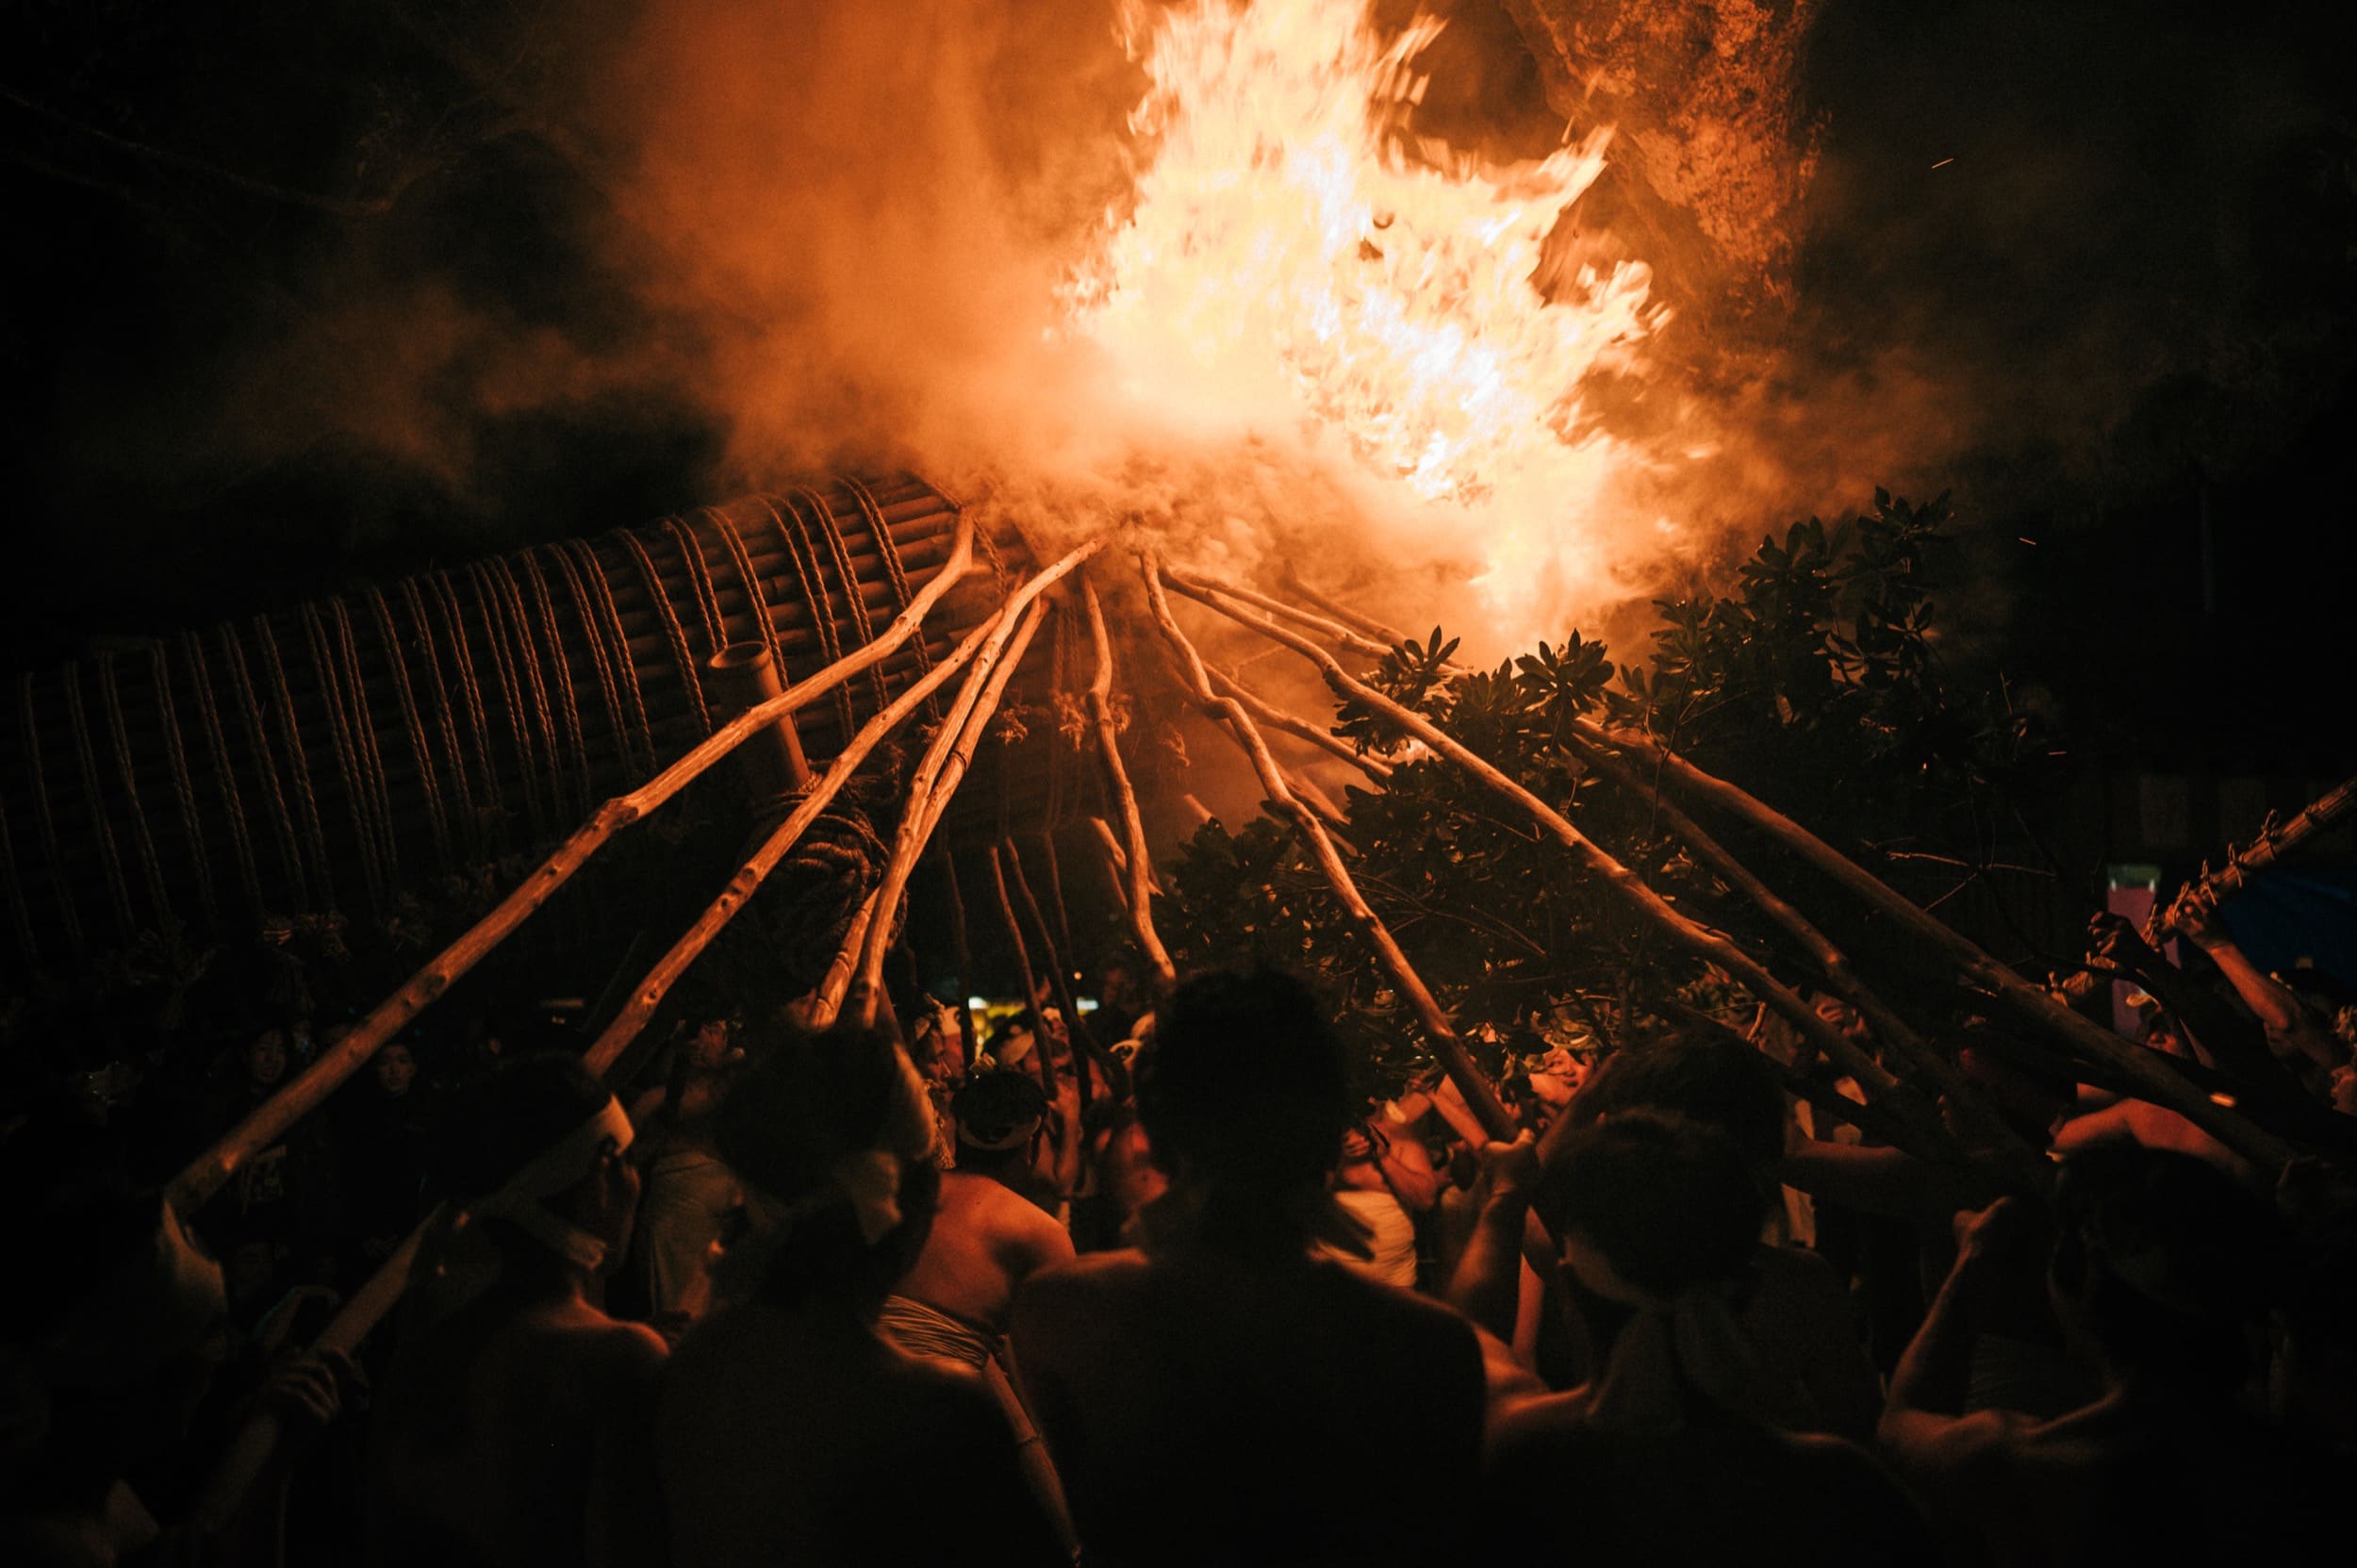
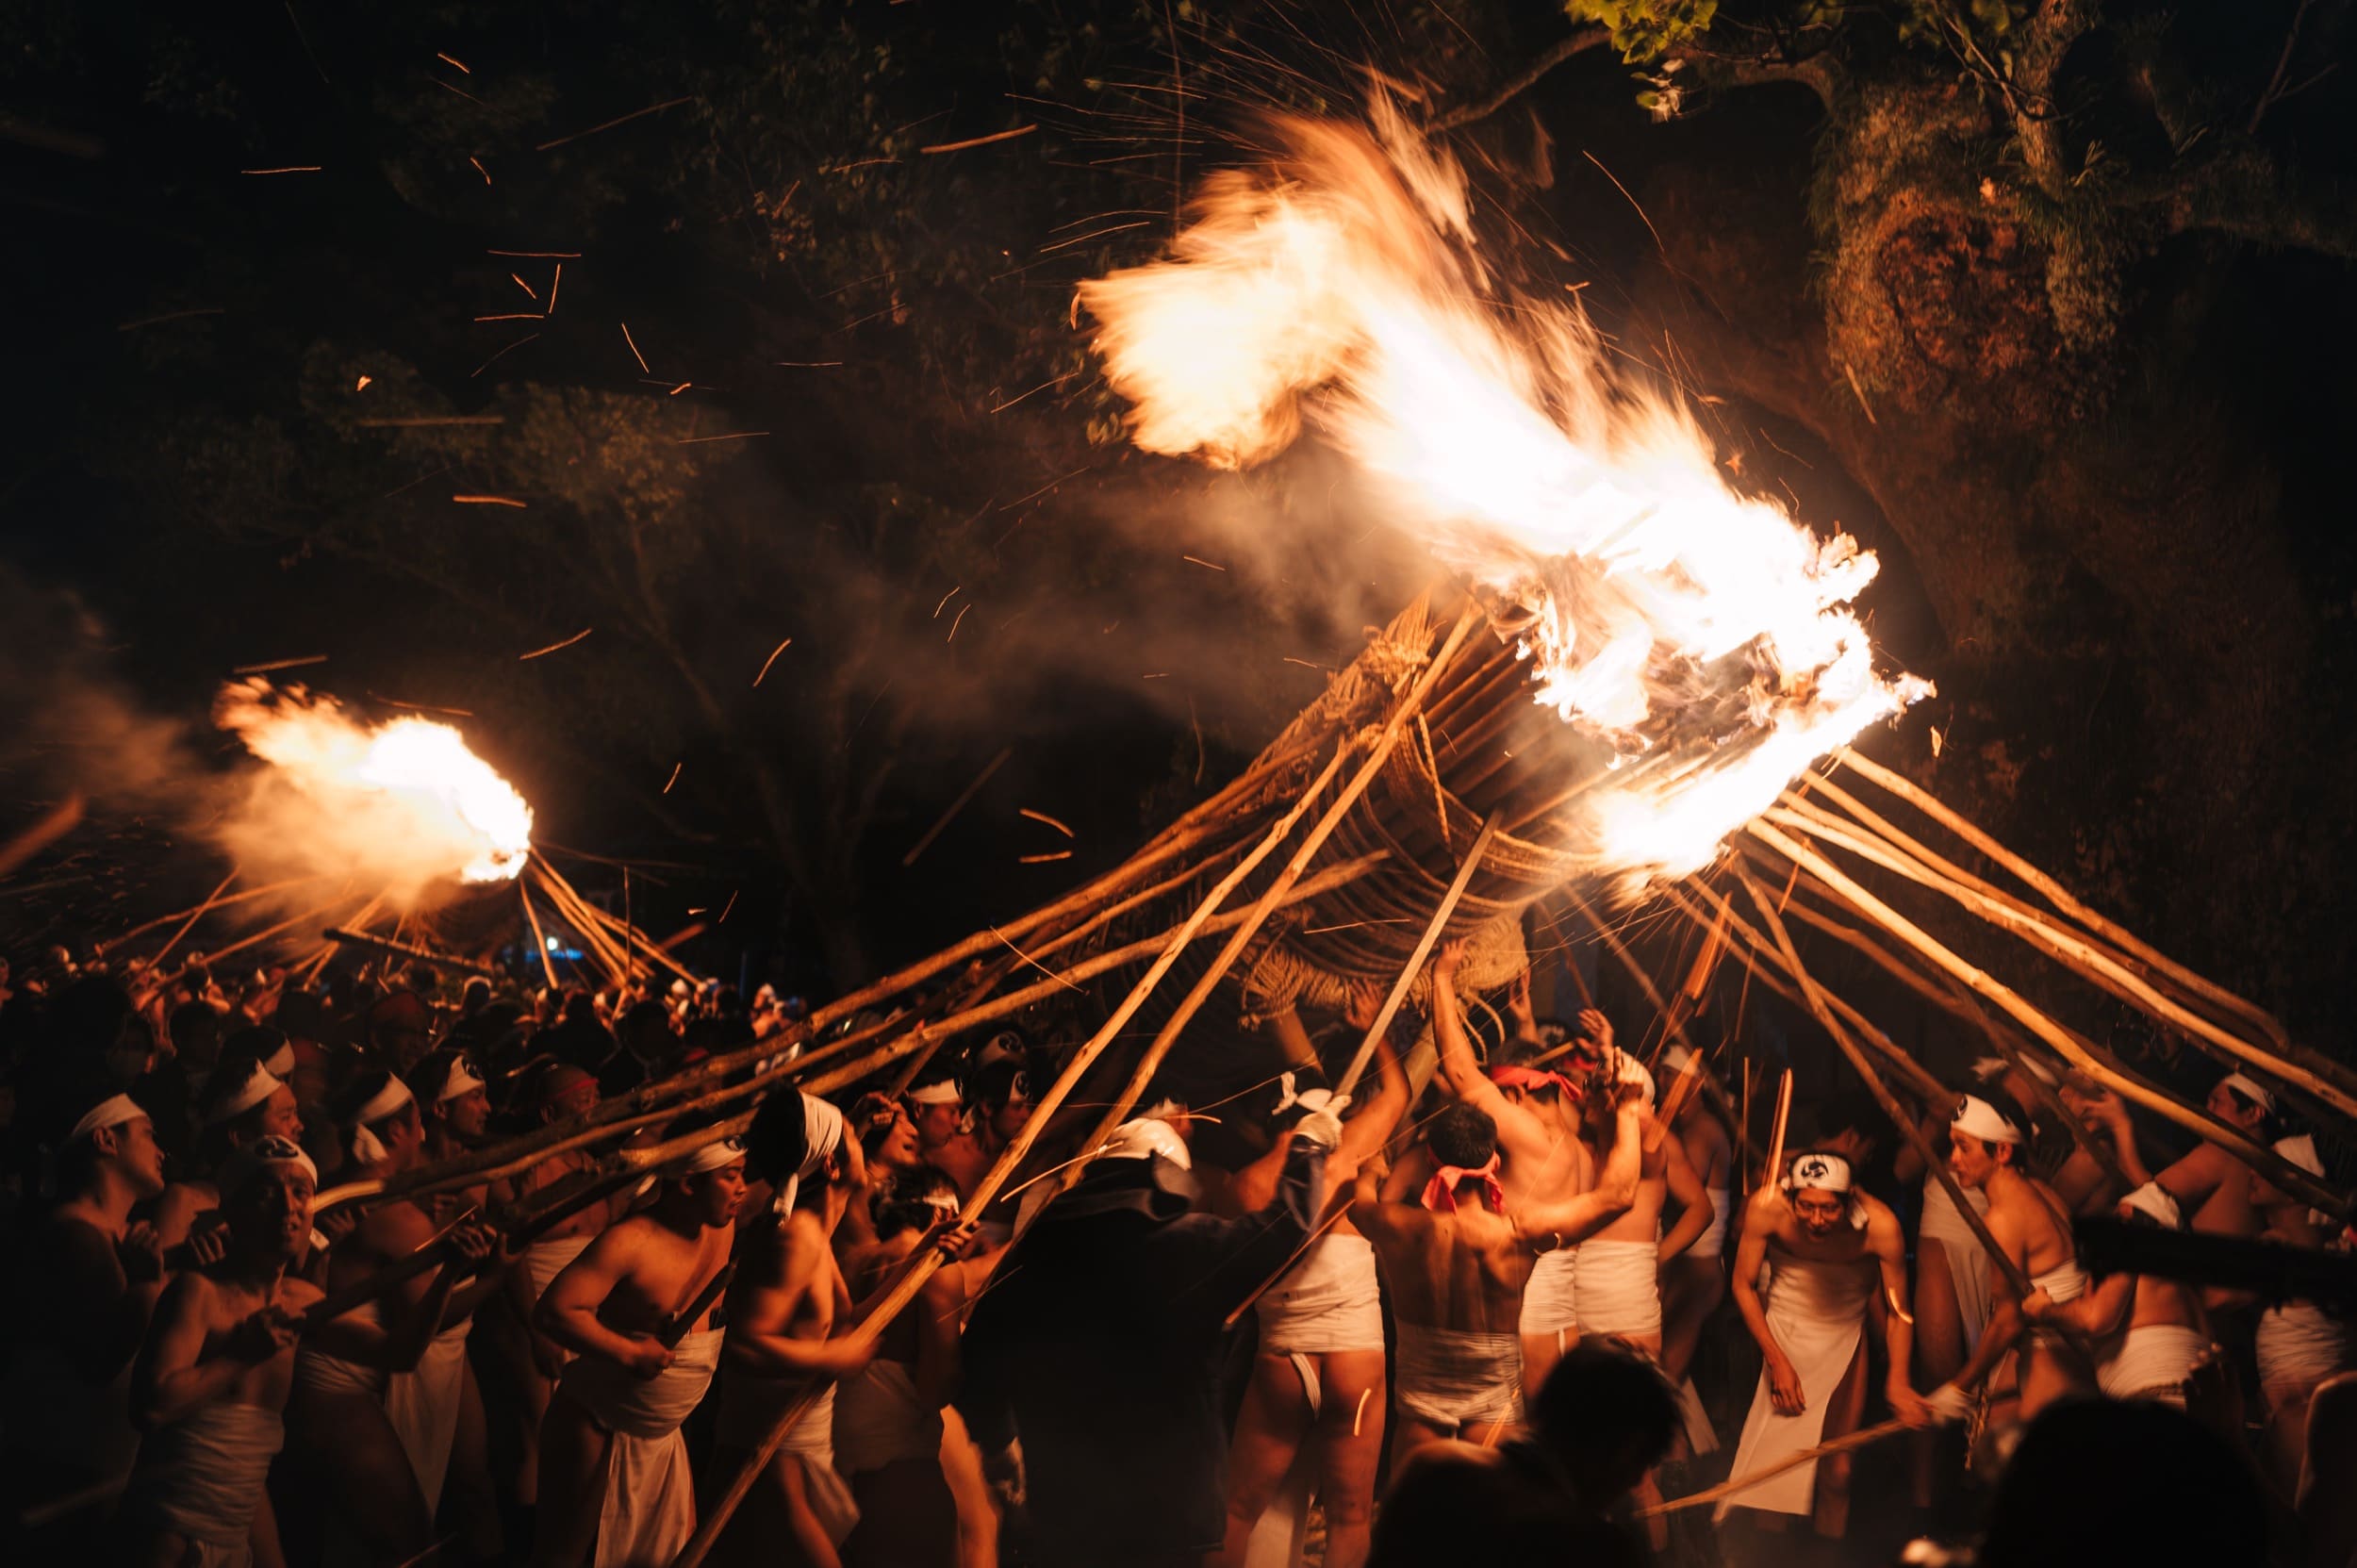
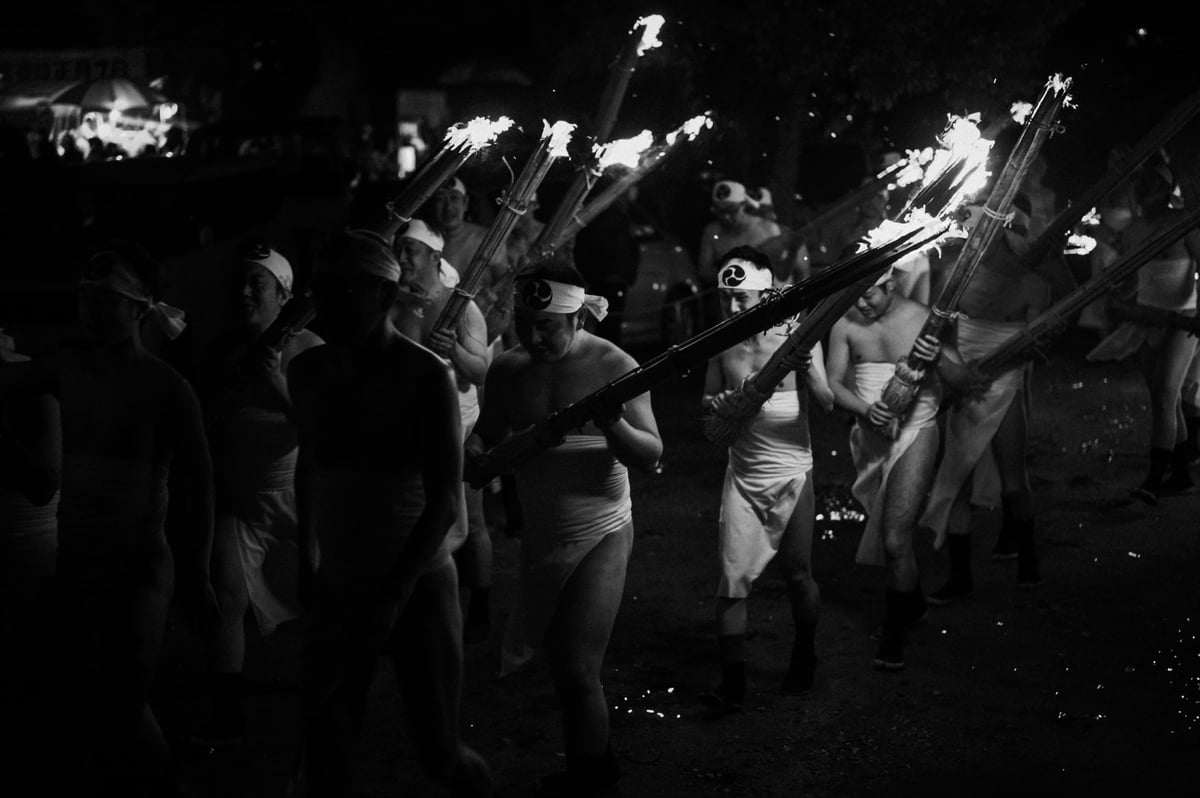
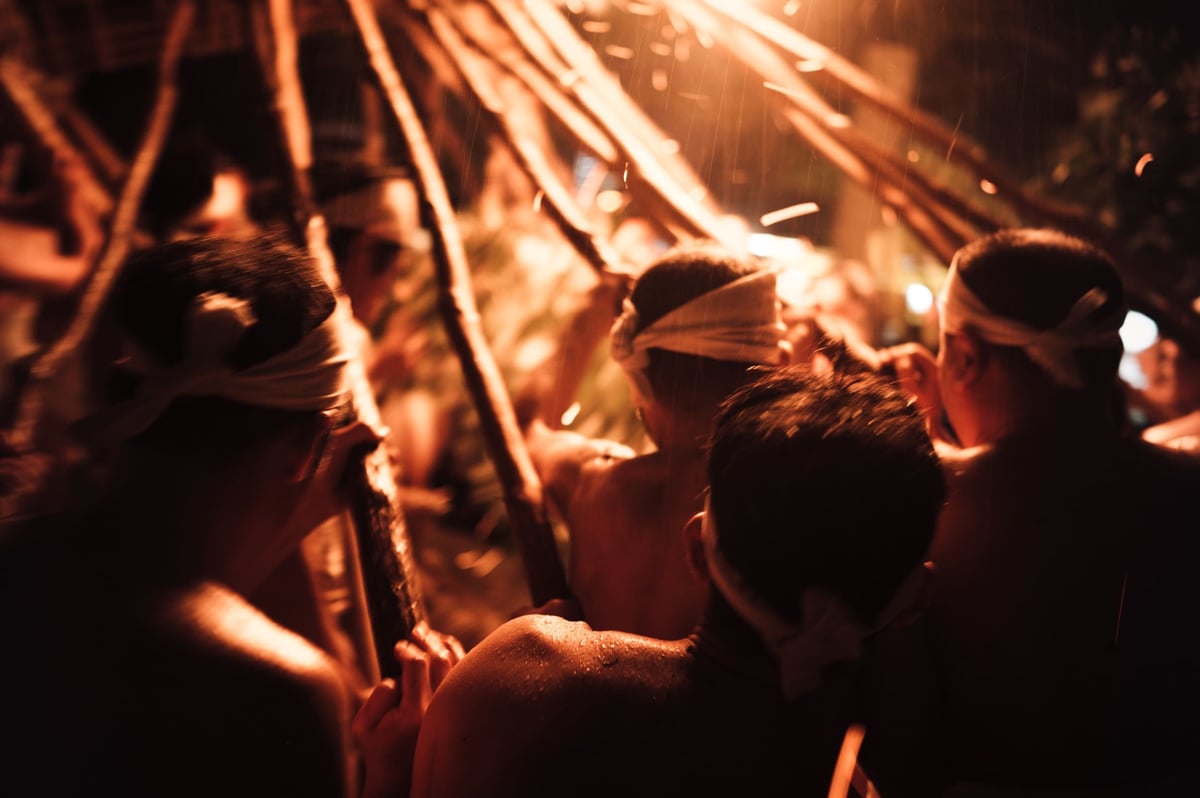
Slower shutter speeds can really enhance the energy of the image. When I’m shooting events like this fire festival where there is a ton of motion, action, and energy everywhere, the only way to really capture this feeling is with a slower shutter speed because this is what it feels like being there. Embers were everywhere, and a burst of wind would come through creating chaos.
When you shoot at slower shutter speeds like this you do have to accept that your subject won’t be tack sharp. Which is fine for me. With this kind of photography, it’s all about the story and the mood, nobody is looking to see how sharp someone’s eyelashes are.
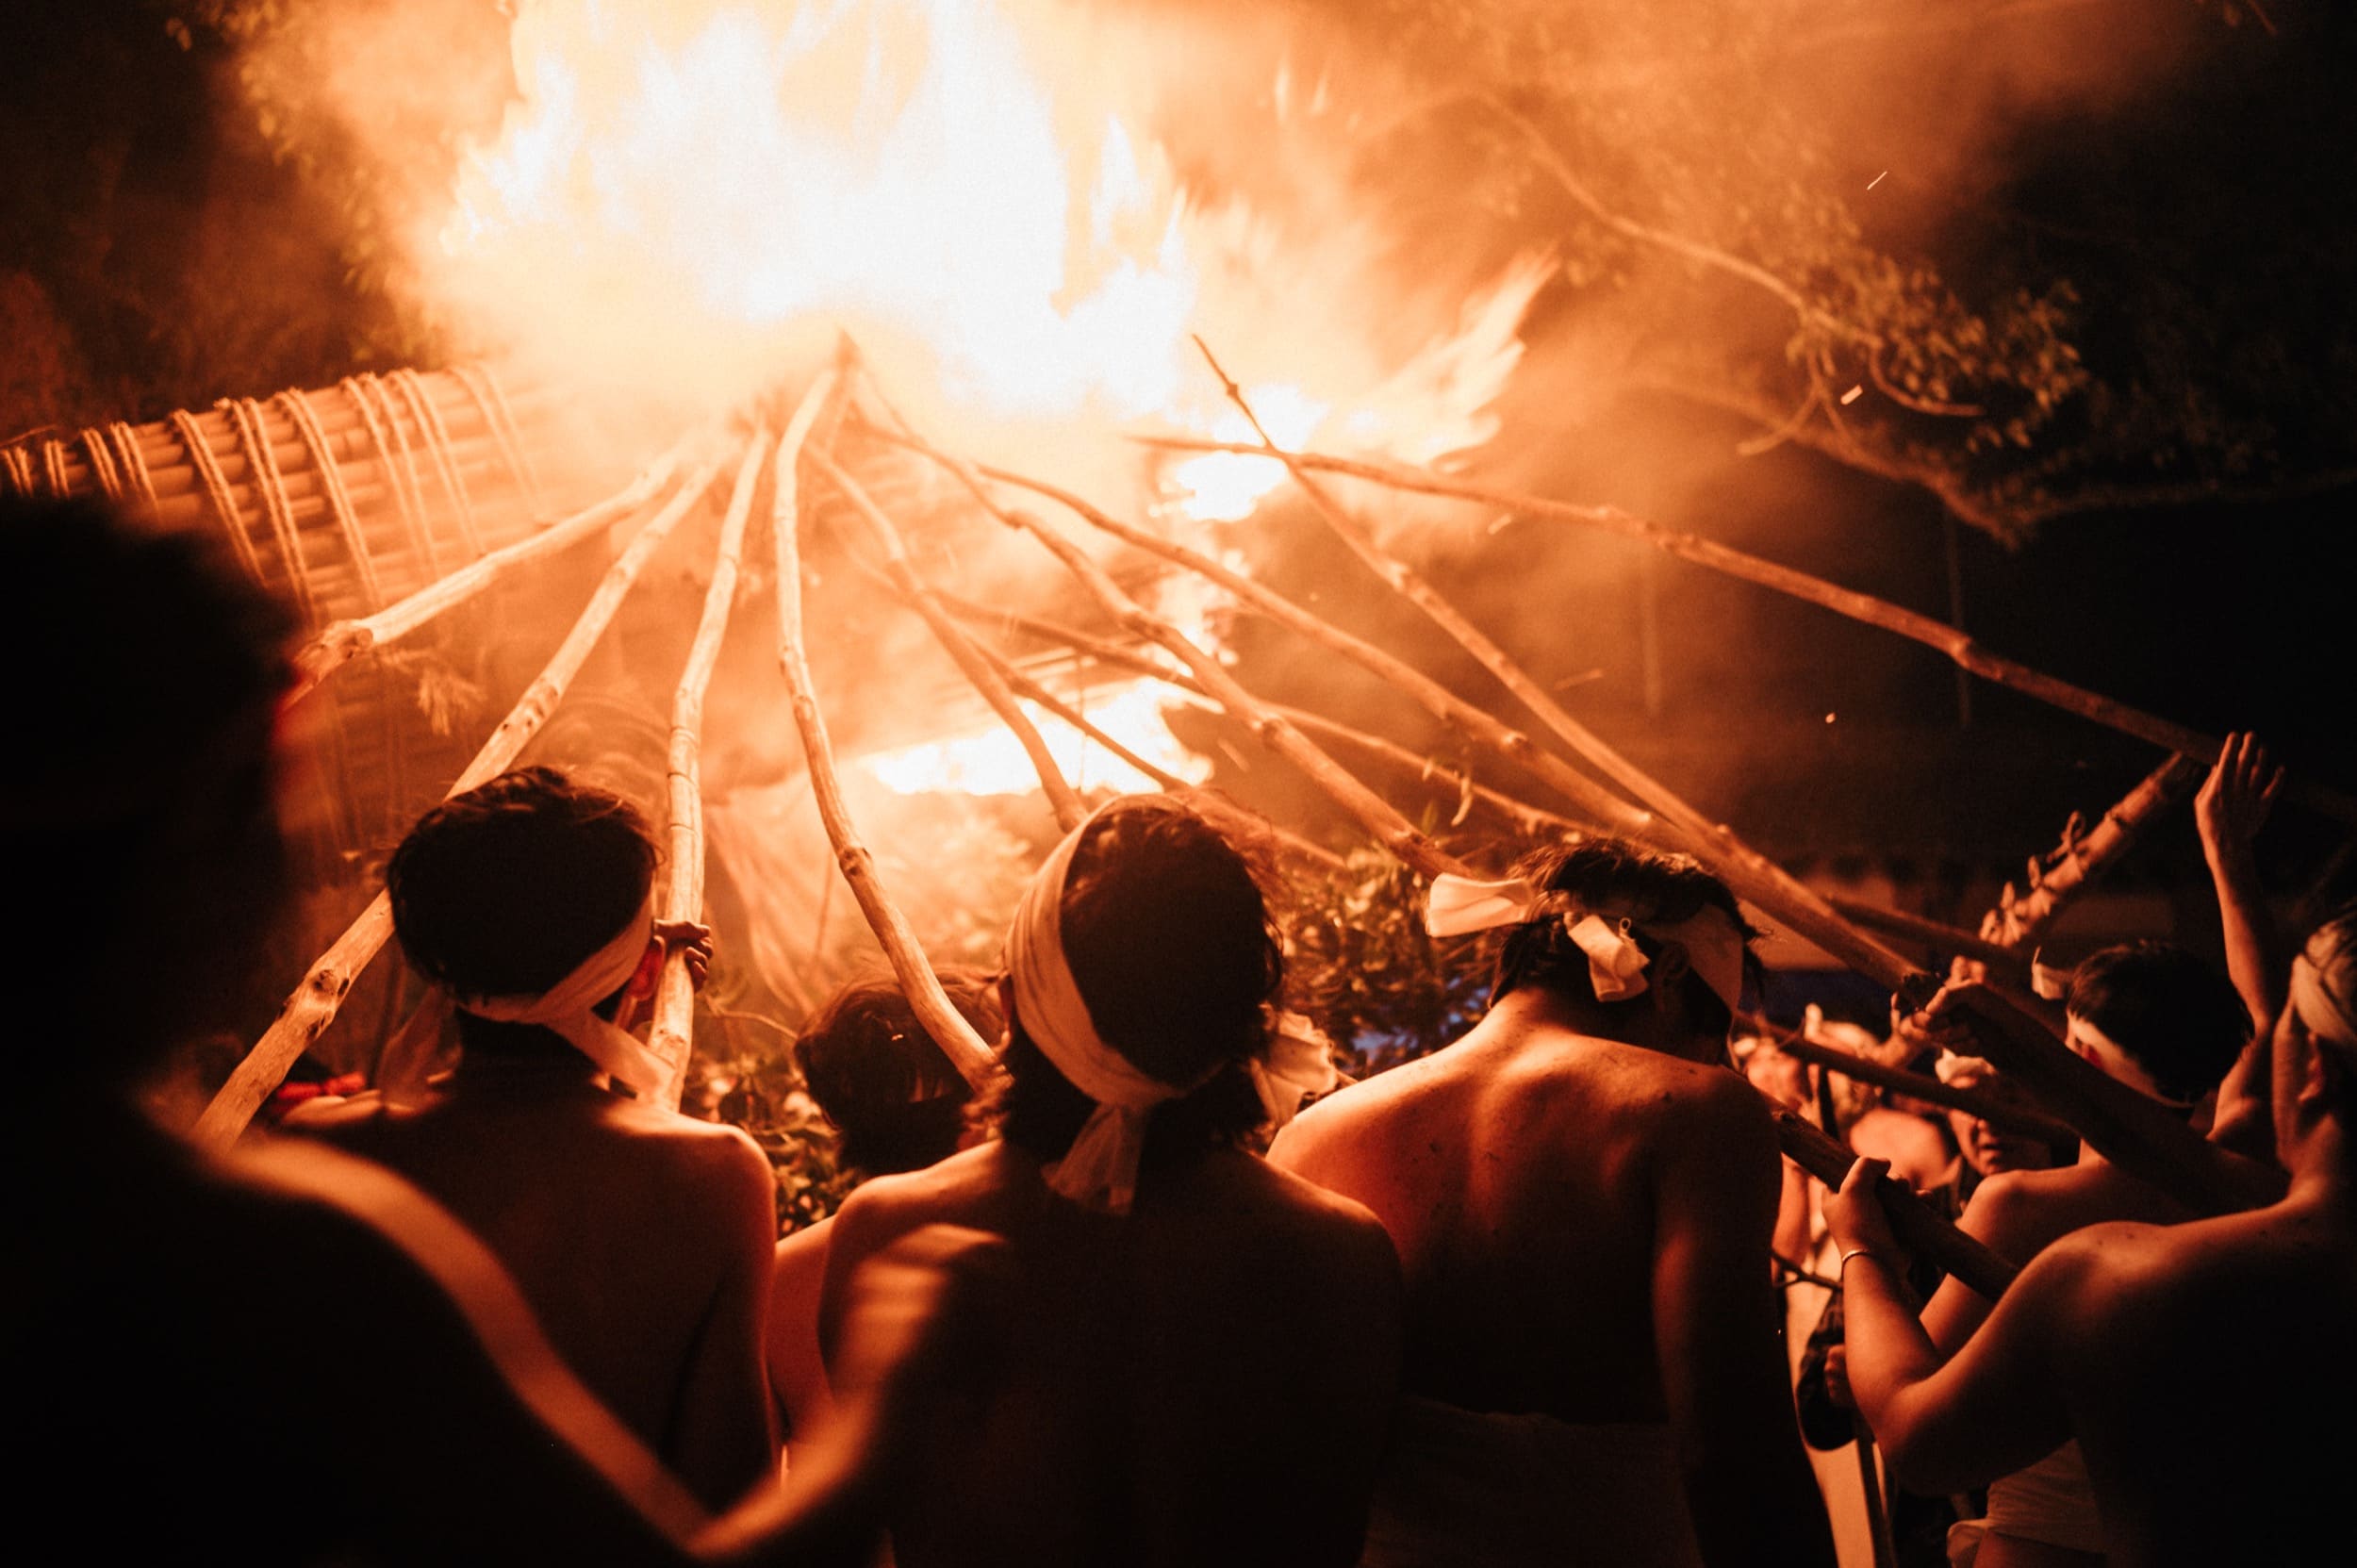
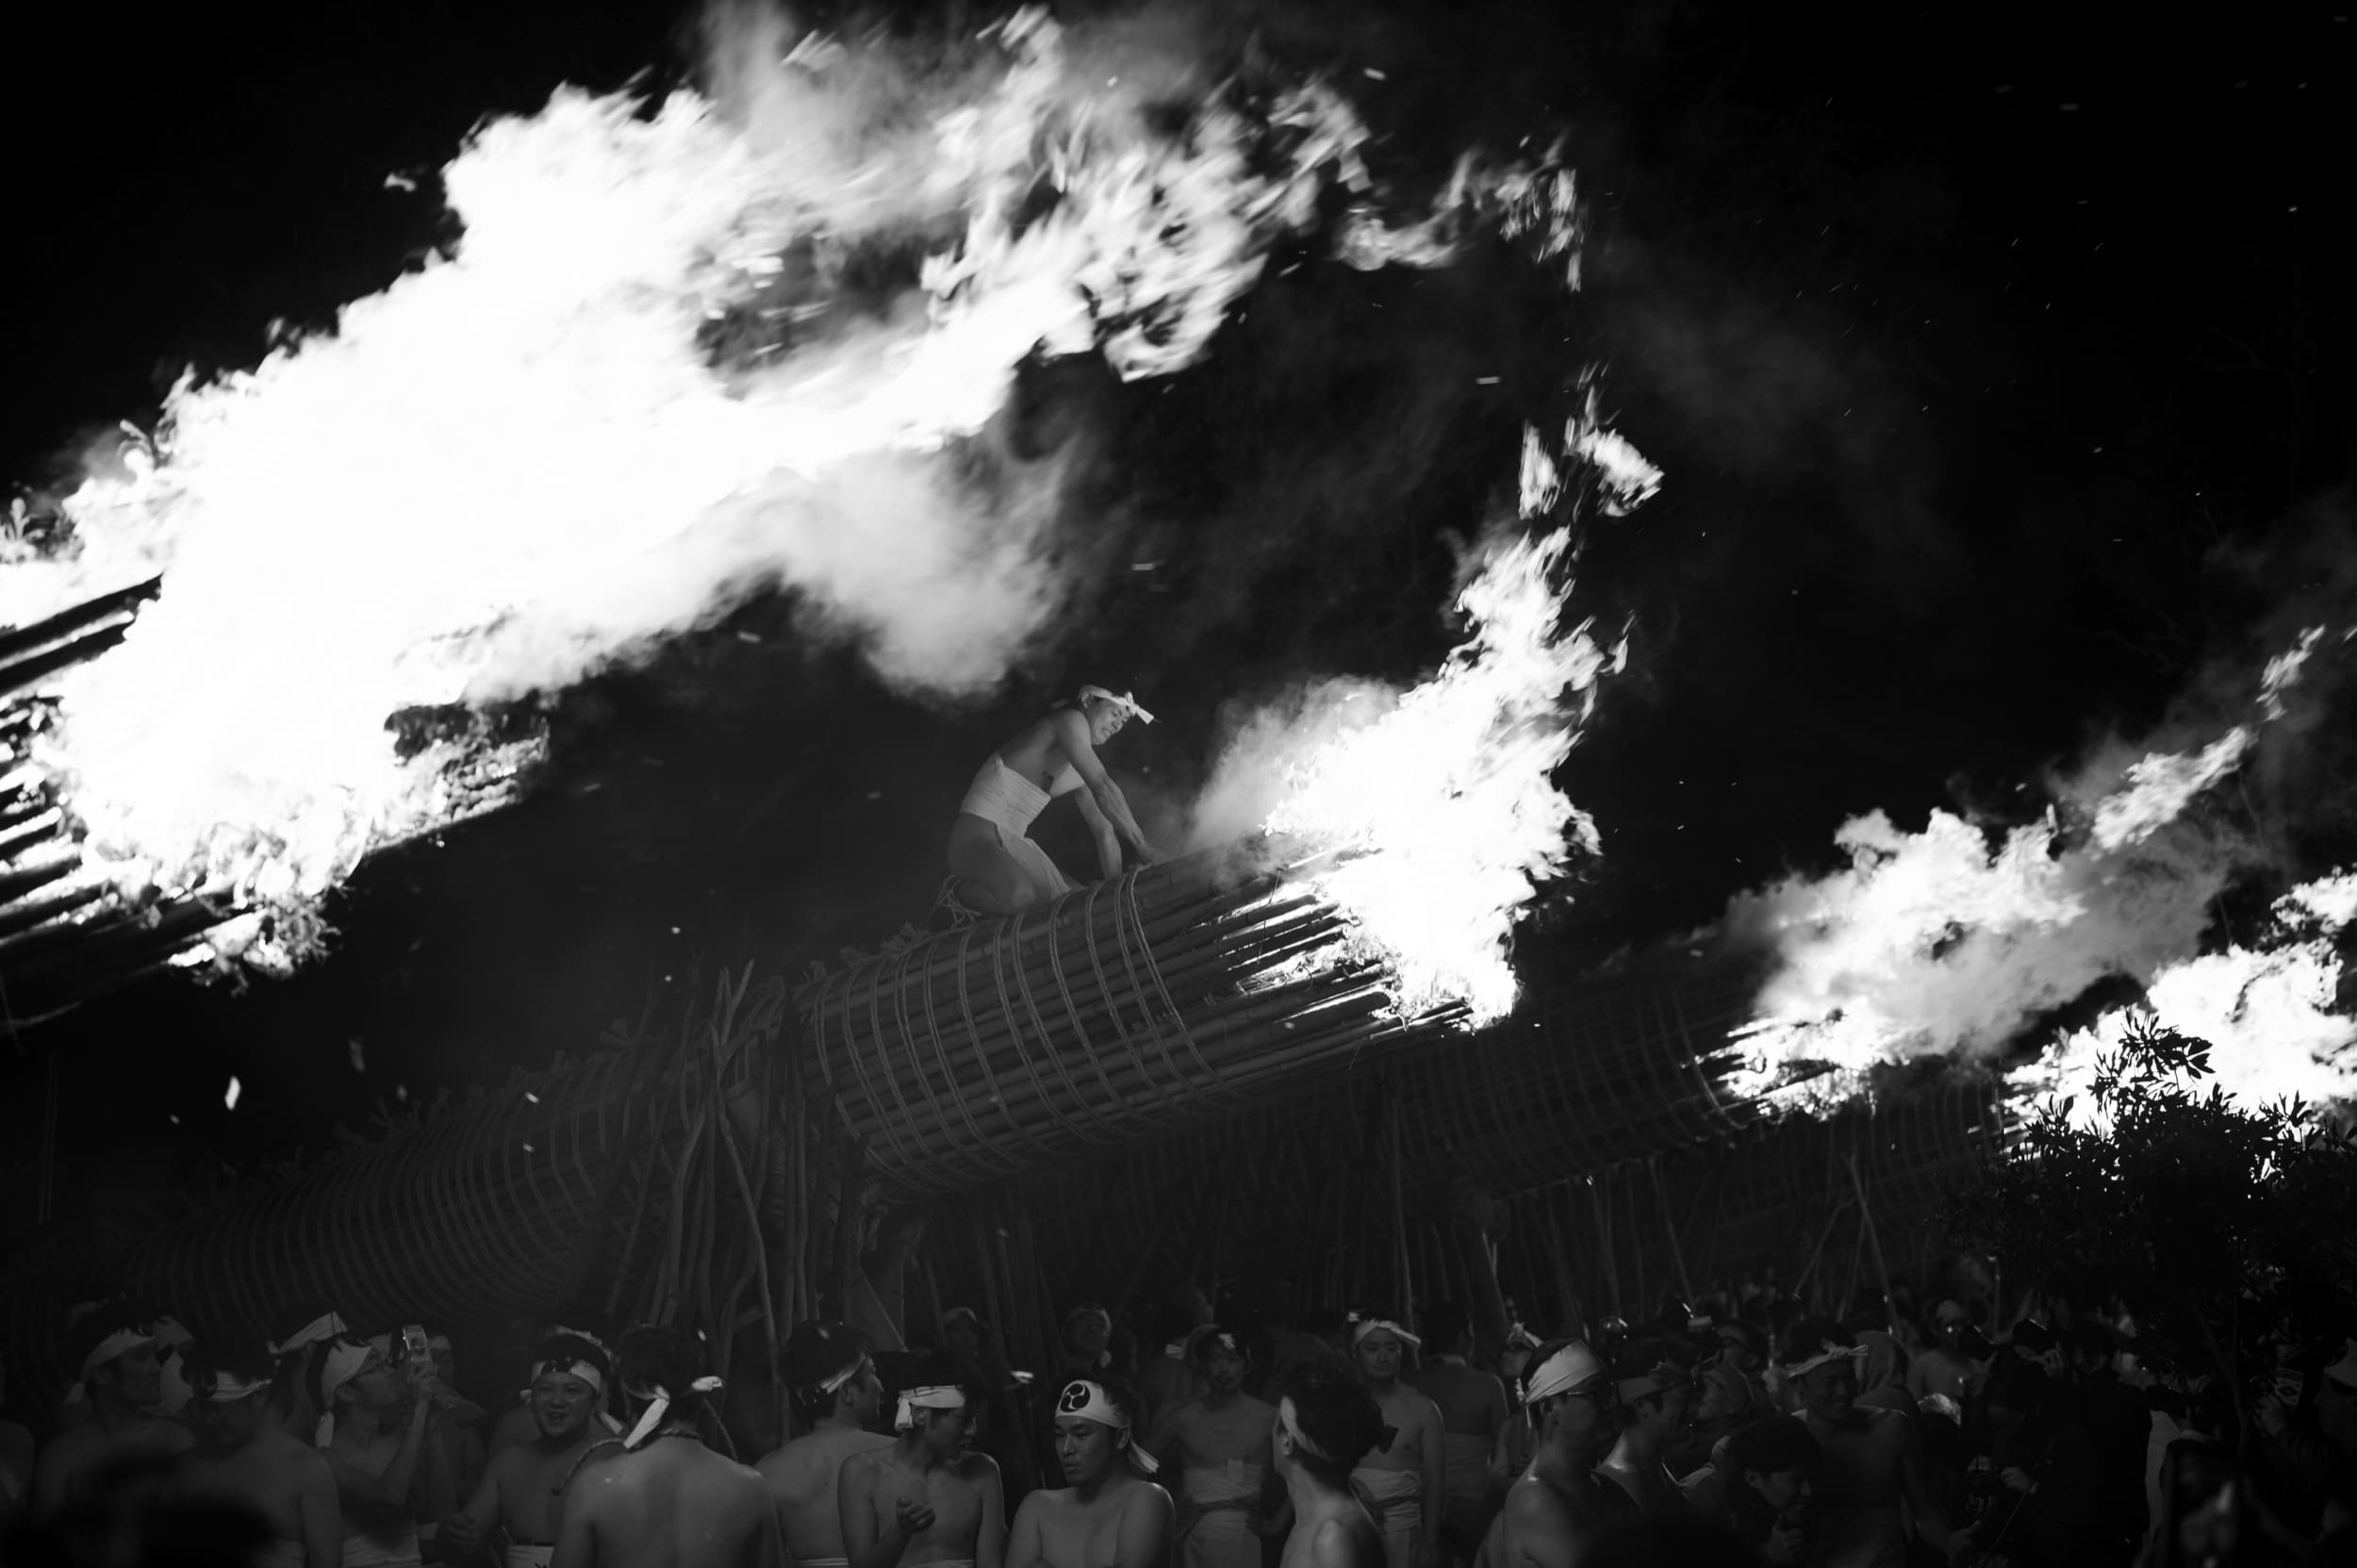
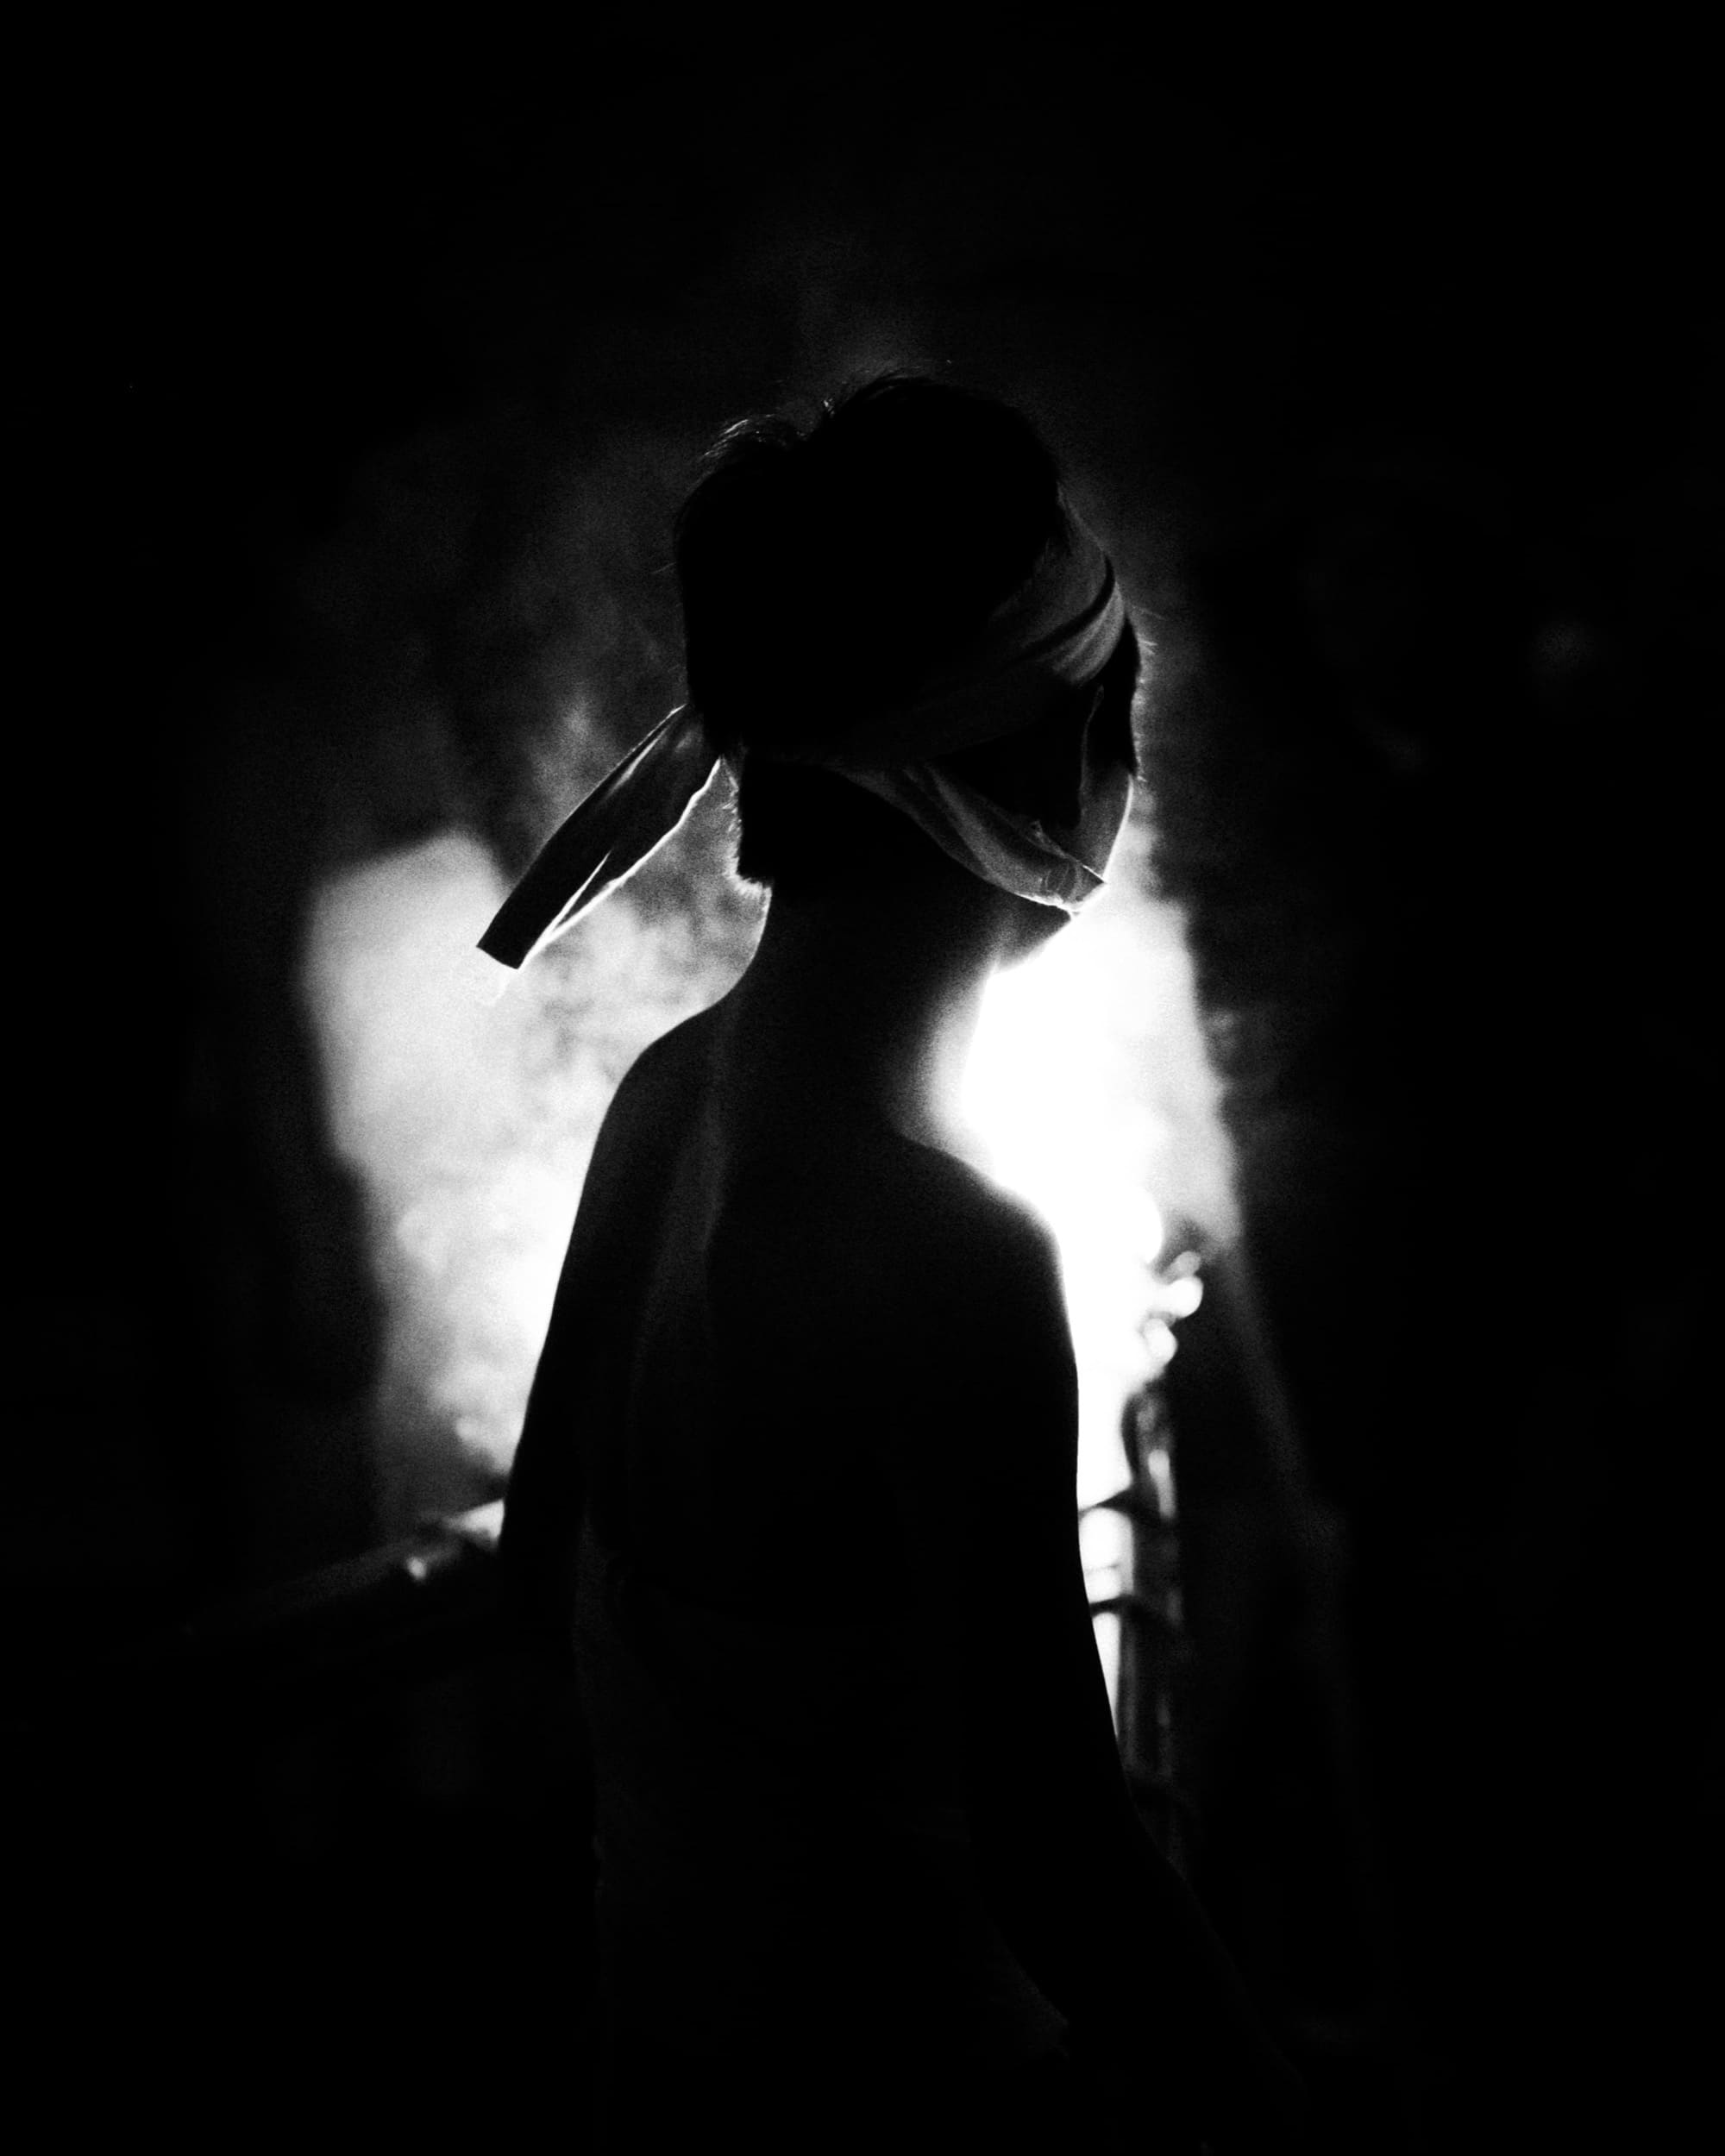
In calmer situations, you can see how the slower shutter gives the people here a bit more emotion and energy. In this shot you can feel the weight of the torch as he struggles to carry it across the field and with the motion blur we can get a sense that he is moving, not just standing static.

Here again, the motion blur helps capture the overall chaos. Embers falling to the ground as the participants struggle to move the weight of the giant torch.
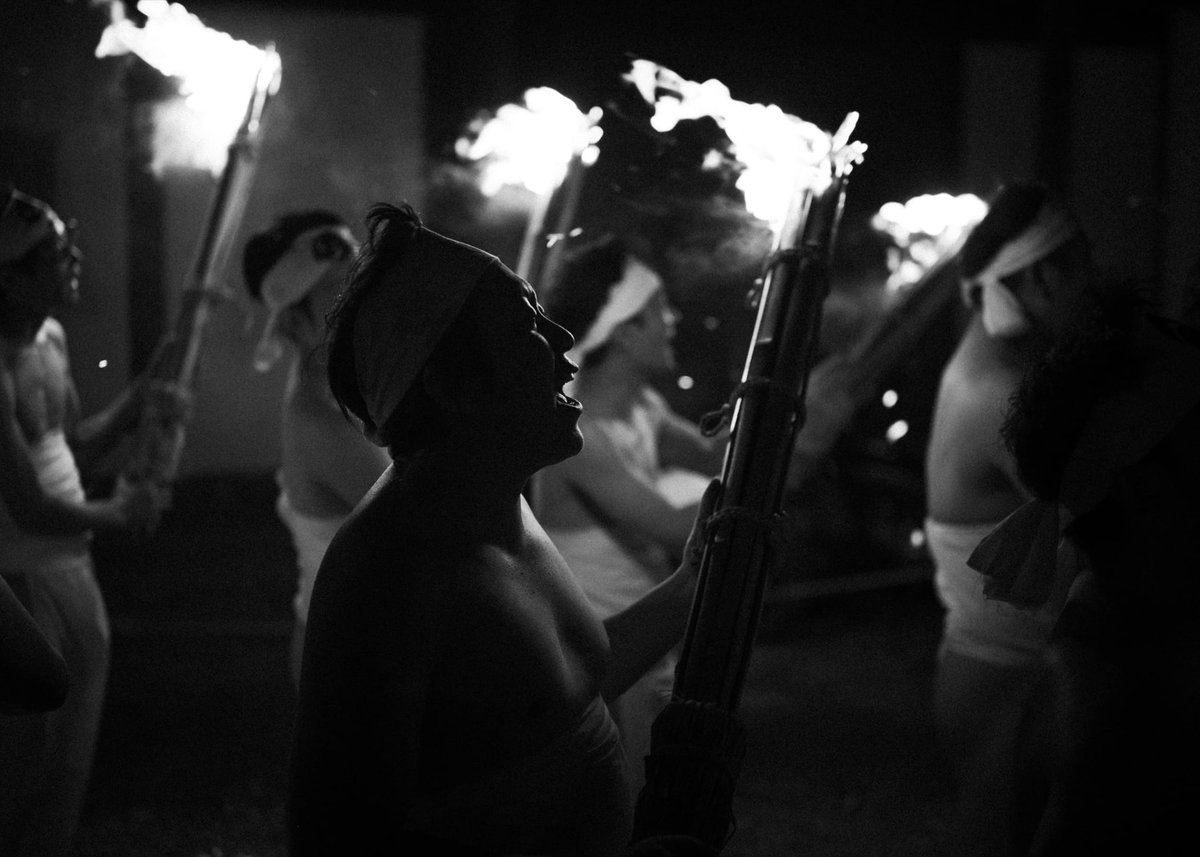
Here again, the motion blur gives the image almost a vintage feeling. Lots of motion and blurring of the action.
The embers had a nice motion here at 1/20 and it gives the image a character that we wouldn’t have seen with a faster shutter.

Later I brought the shutter up to 1/25. This still allowed a similar effect to 1/15, but when I was up close and in a group where everyone was closer to the camera it helped tighten up their motion a little bit as 1/15 was making things a bit too blurry.
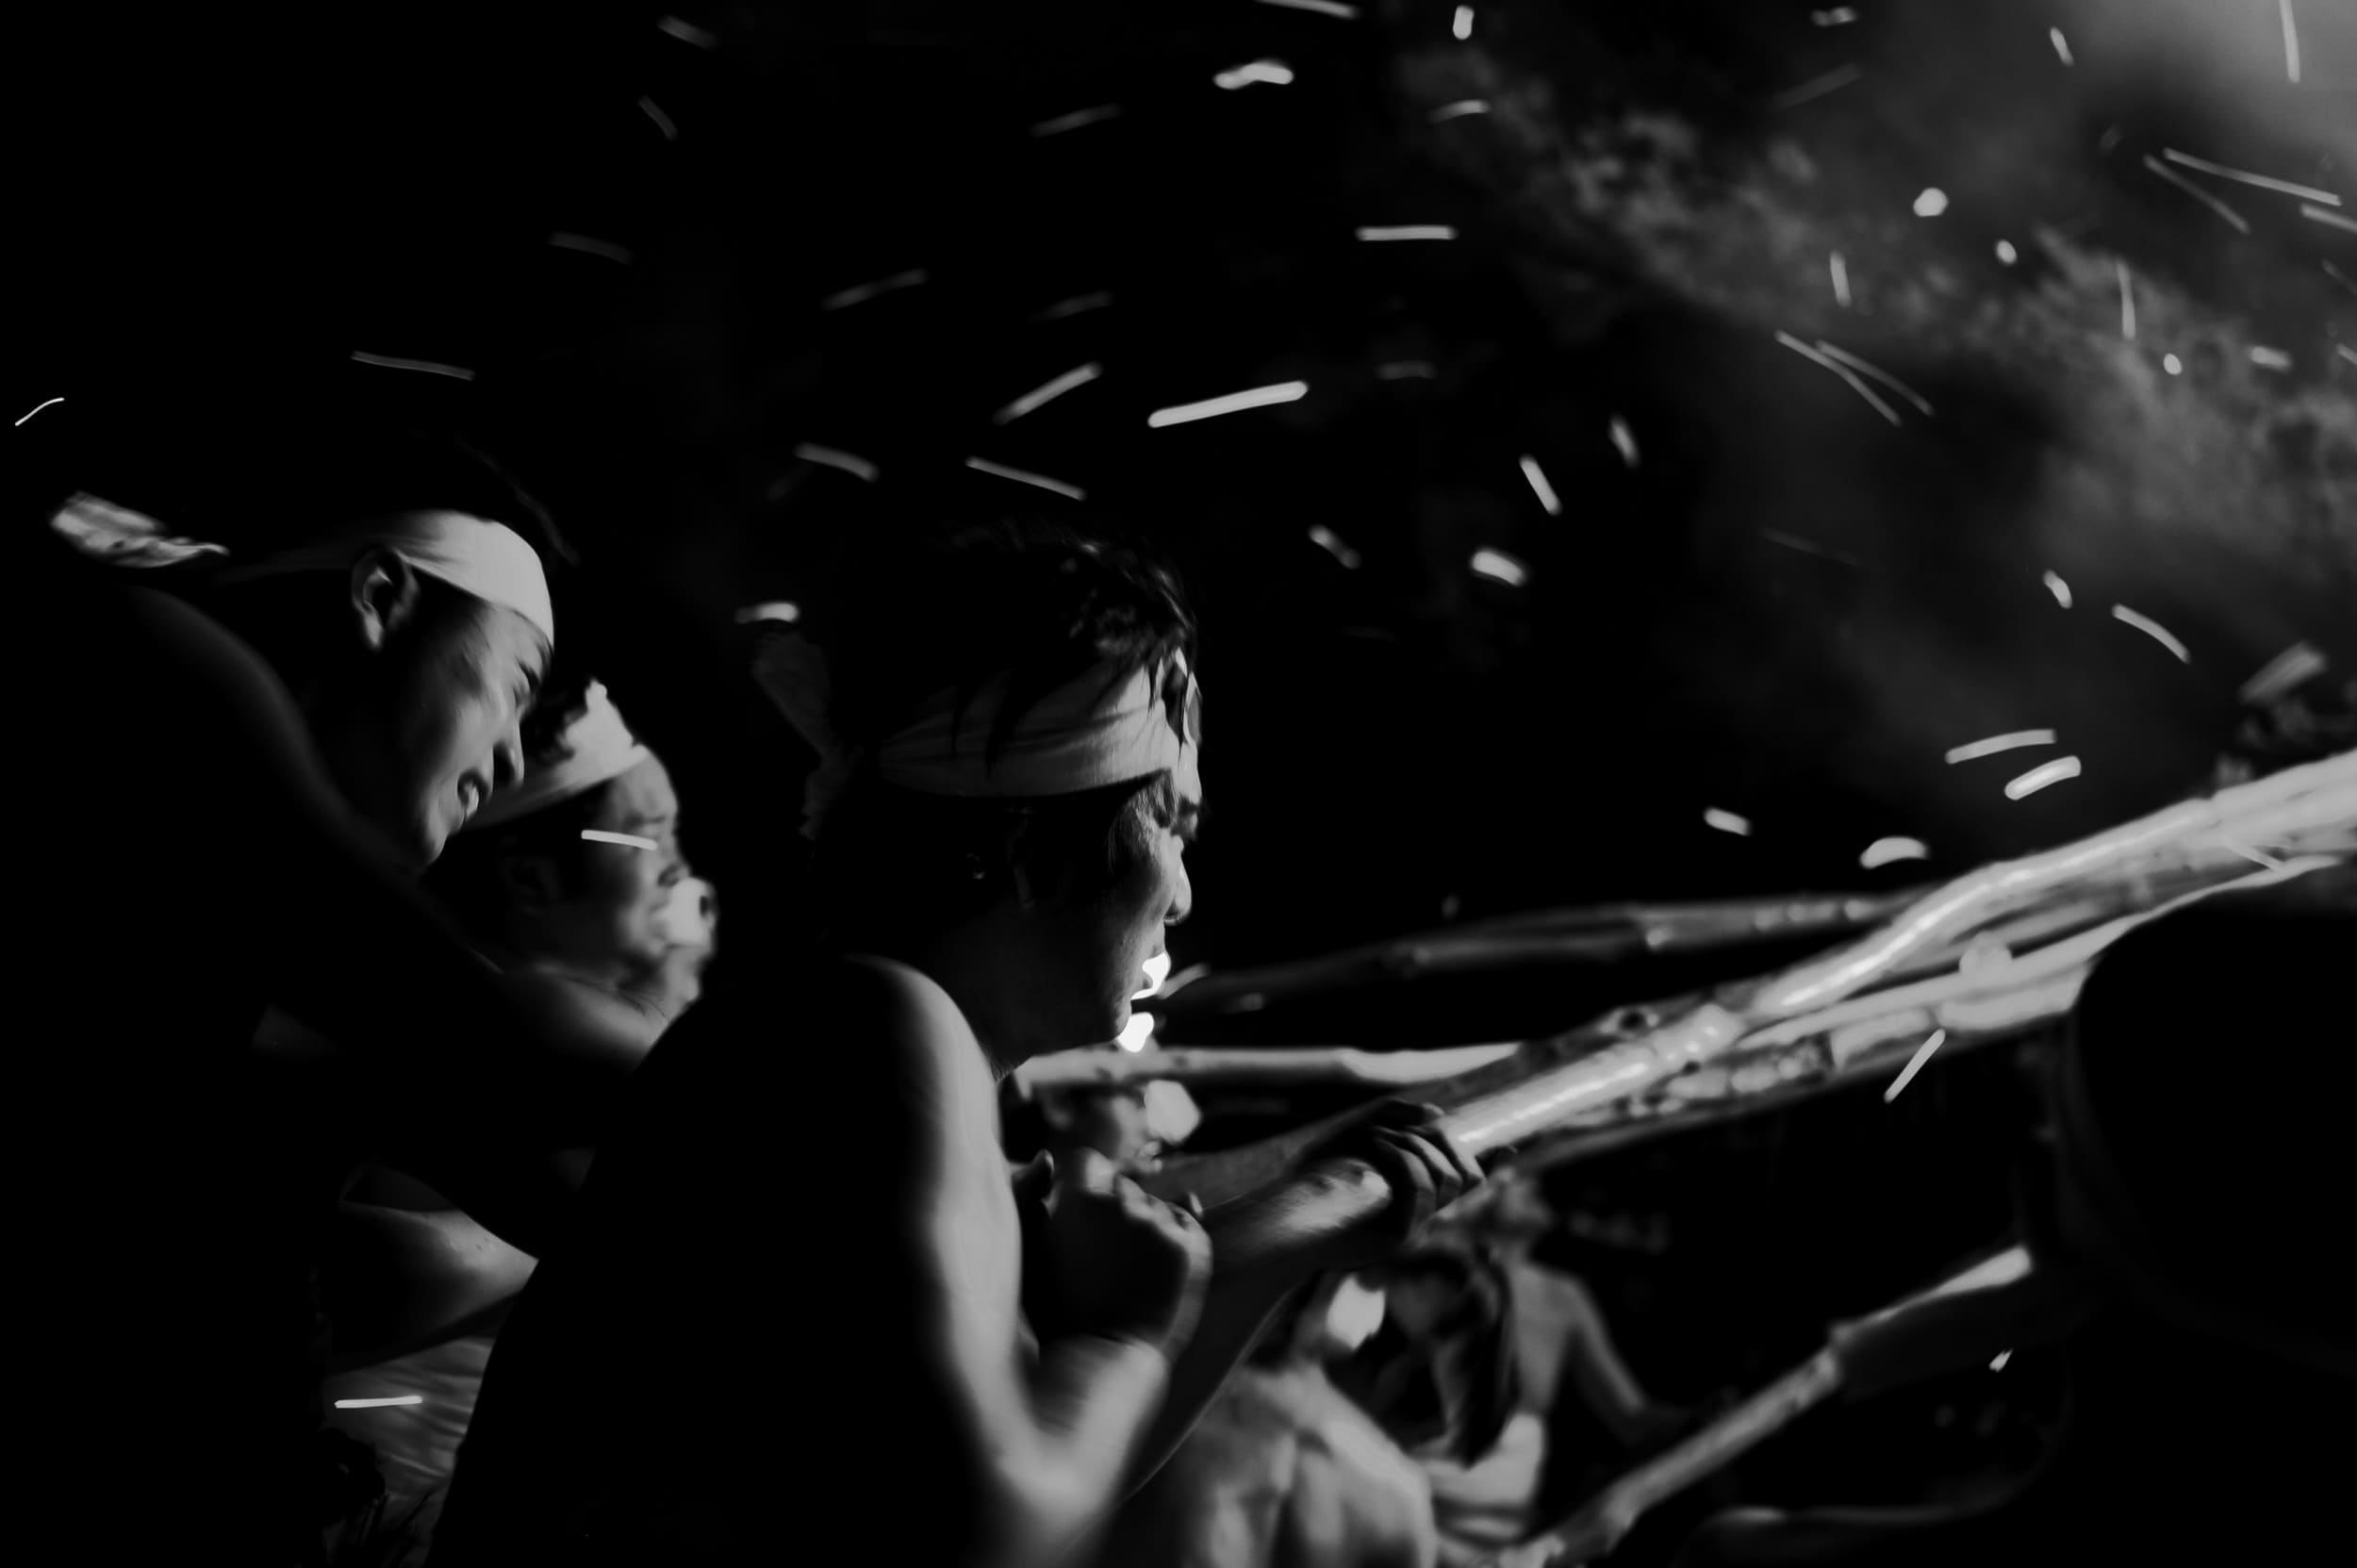
And yes, I was chimping like a mad lad to when trying to dial in these looks. Very important to do this when dialing in the looks.
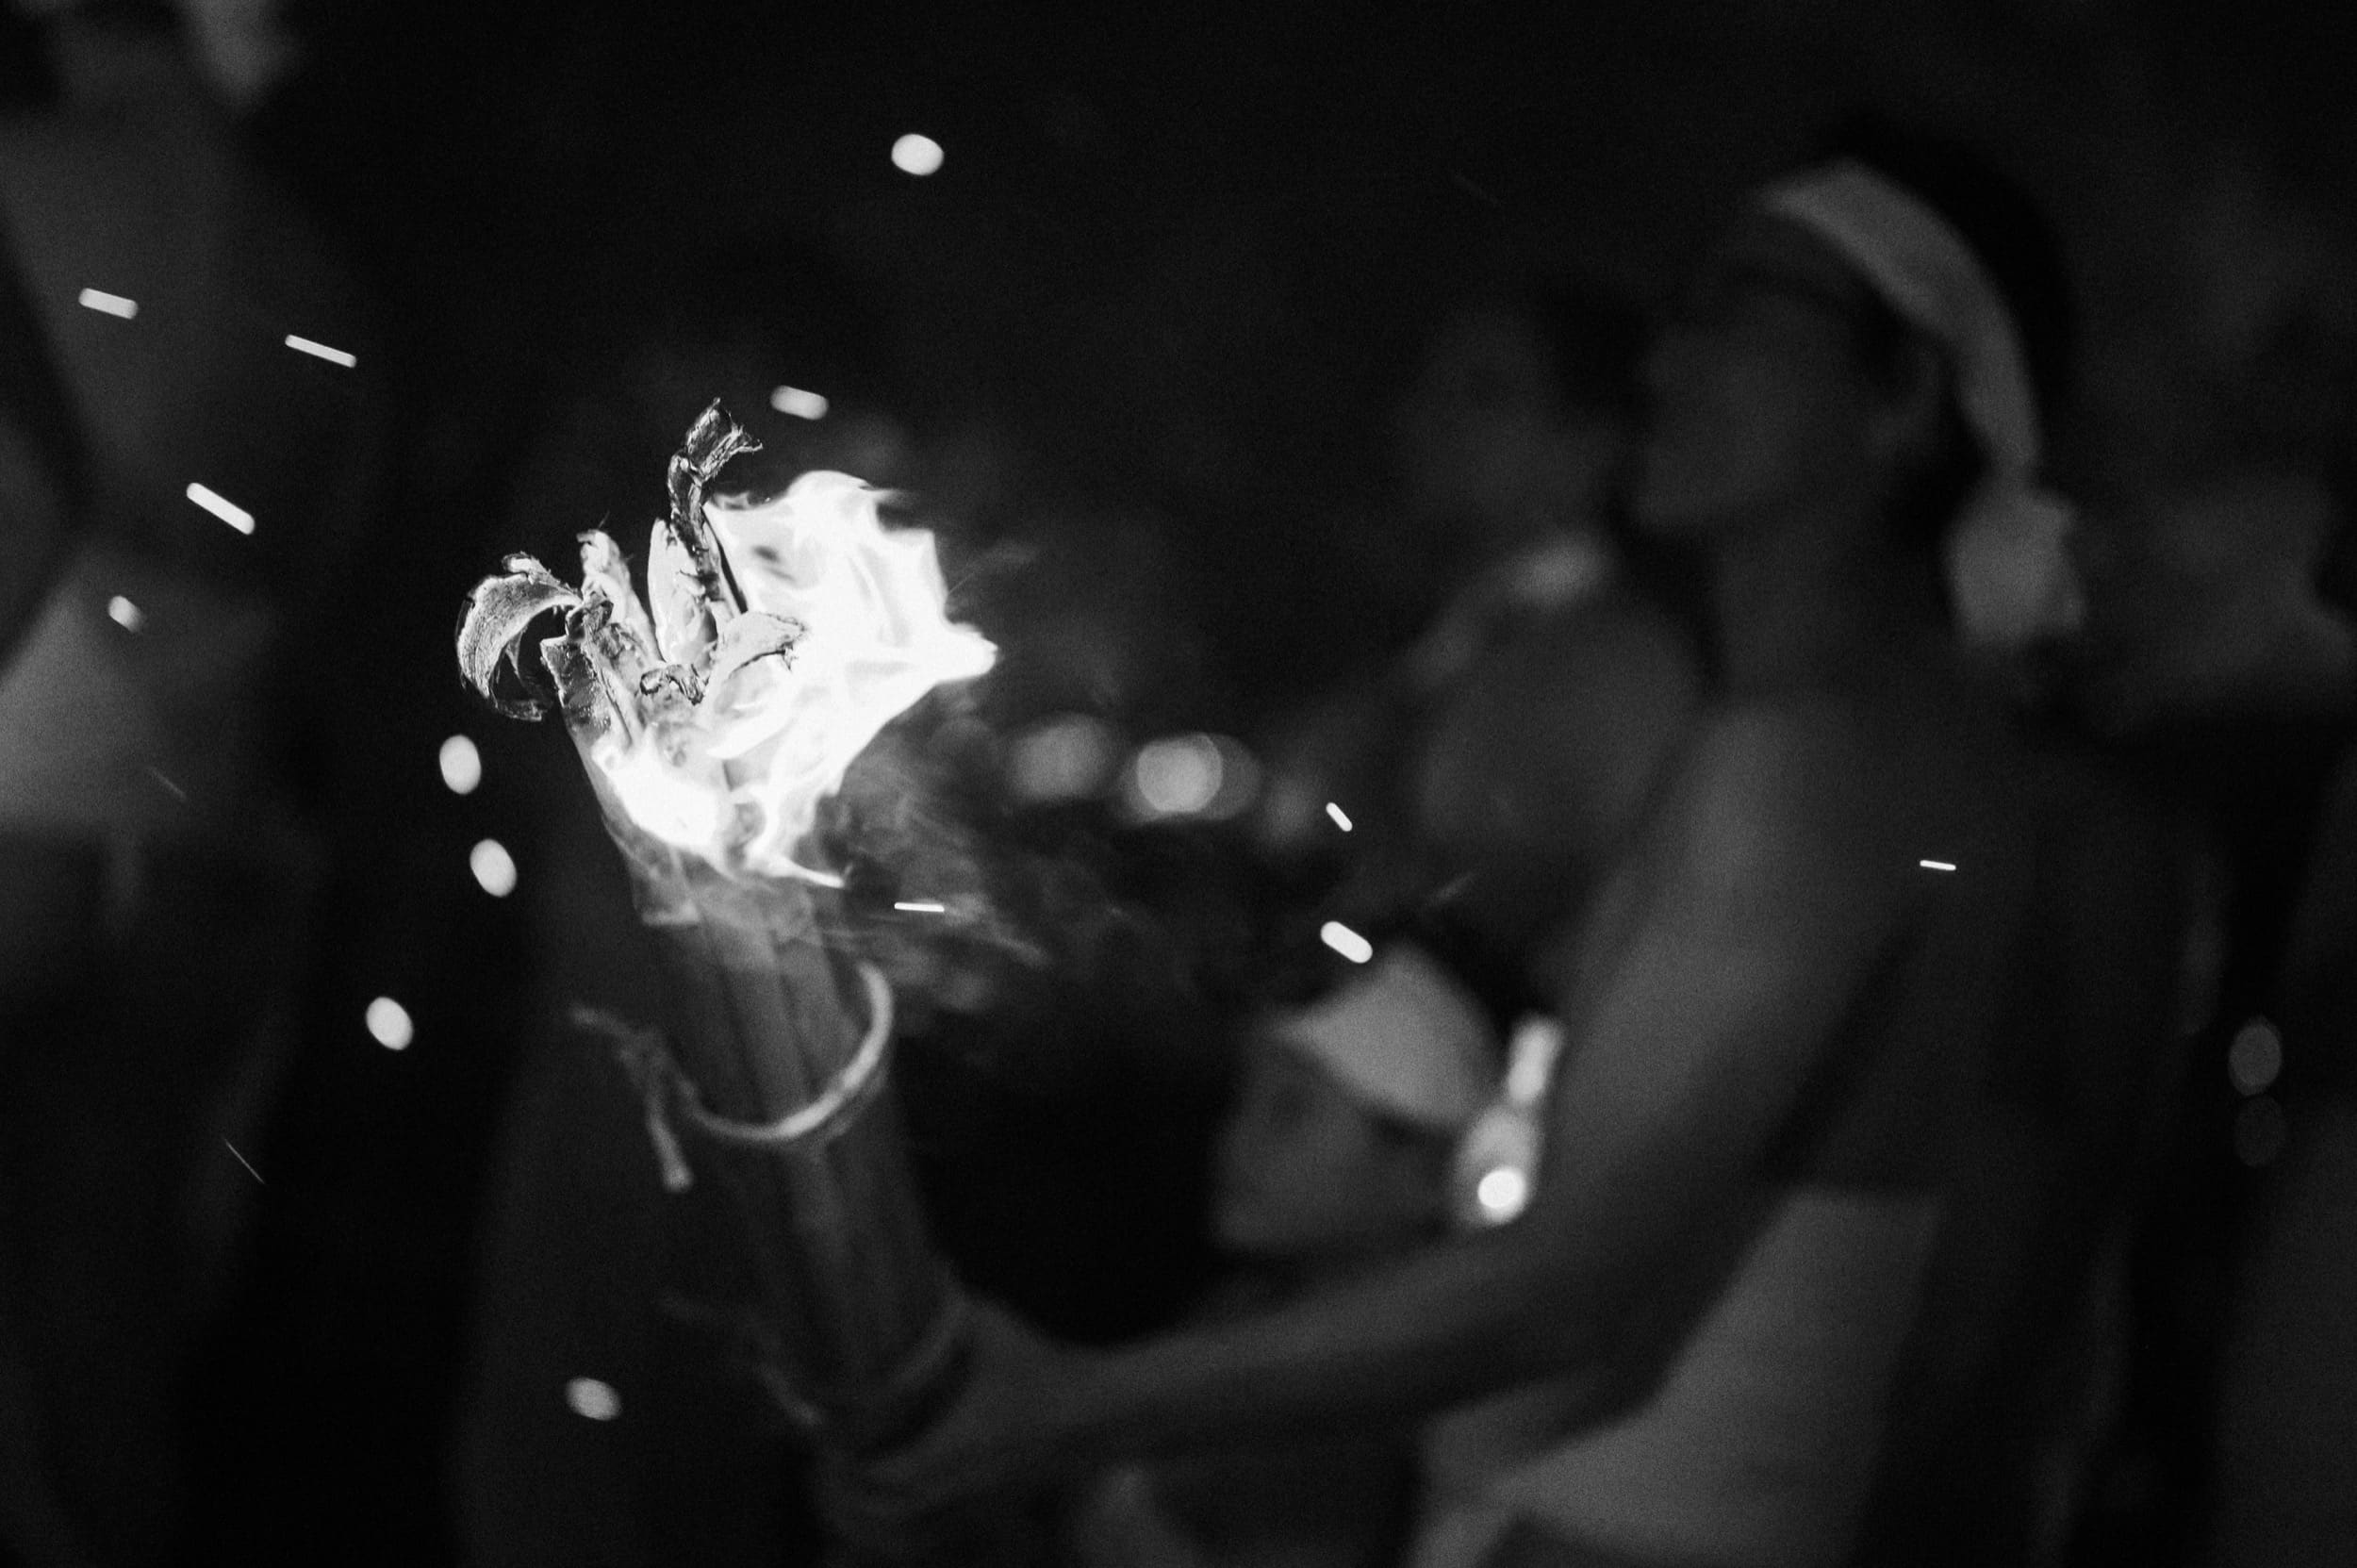
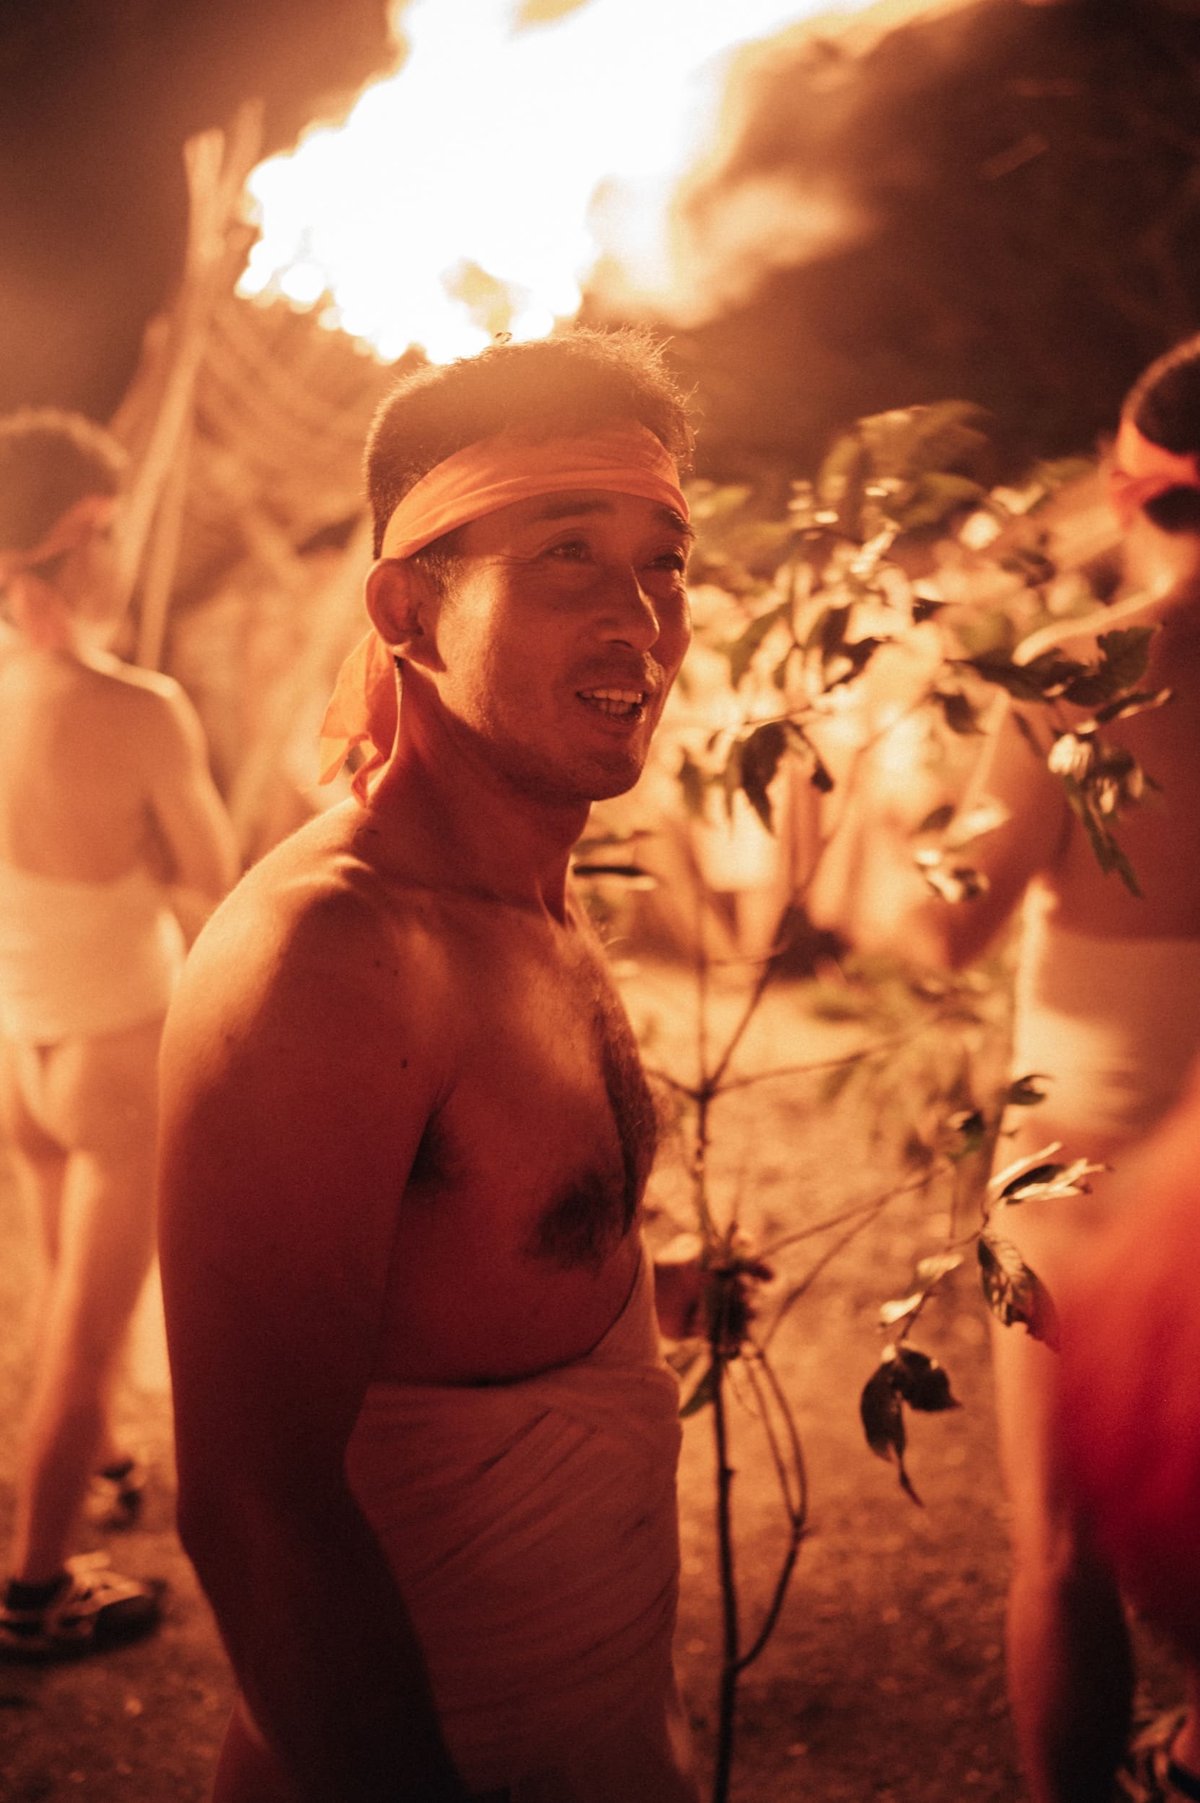
Faster Shutter Speeds 1/2000
I didn’t shoot too much with these faster shutter speeds except when things got bright. I wanted to keep that f1.8 aperture, but it worked out as you can see a faster shutter speed in these situations produces a totally different look and feel.
All the embers are frozen in place and you can almost see into the soul of the fire.
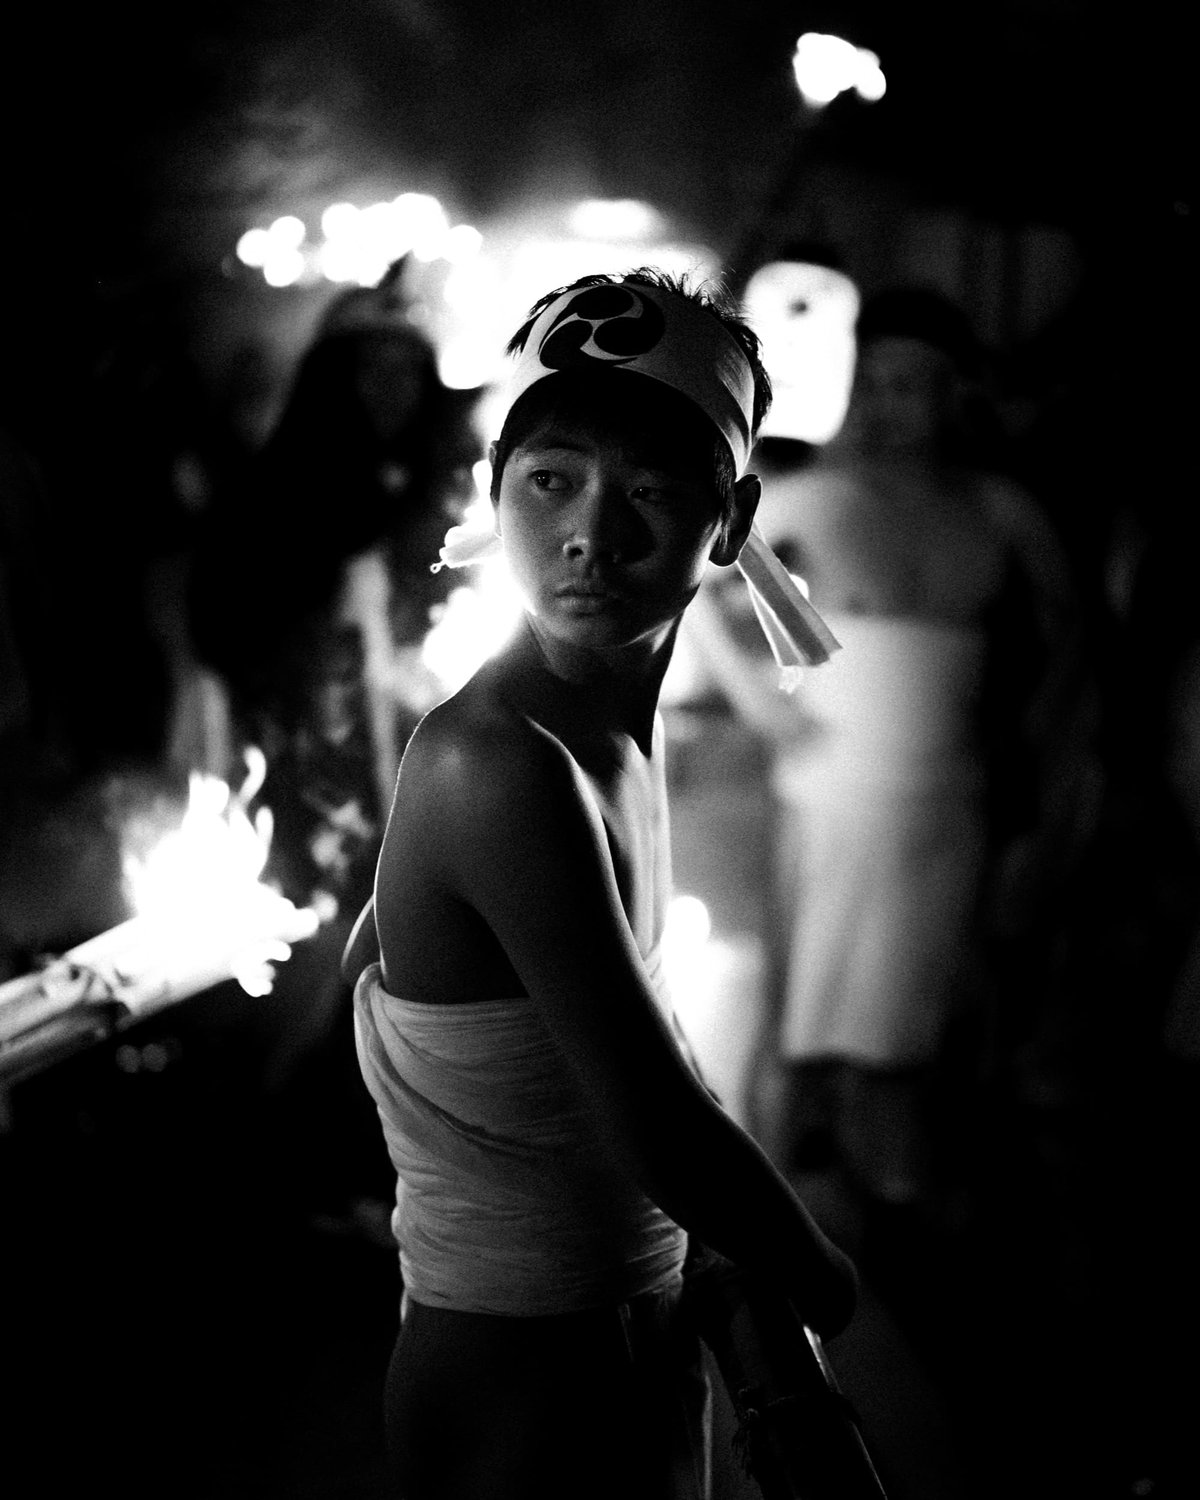
Then Back To 1/125
1/125 is what I shot most of the event at. I consider this a safe shutter speed for the 50mm and 35mm lenses I had with me. And once I got enough shots in the can, I started mixing it up a bit more.
I also had the 85mm but I didn’t use it because I didn’t have a UV filter for it which is not good with all the embers, plus it was raining during half the event. Pouring rain at the end.
There is often debate about whether we should use UV filters or not. After this event, I had lots of little holes burned into my hat and clothes that I discovered once I got home. Imagine if one of those little hot embers got stuck to your lens. UV filters have their place and I like to use them in rough situations.
There is No Best Shutter Speed | But Mix It Up
From this event where there is a lot of fire and energy, you can really see how different shutter speeds produced dramatically different results.
While the Oniyo Fire Festival is absolutely incredible no matter how you shoot it, various shutter speeds especially slower shutter speeds can be used to pull out some extra drama from a scene that might otherwise feel boring.


Leave a Reply