I’ve been experimenting with a new workflow. In my Fujifilm X100T review and other articles, I mention how good Fujifilm JPEG is. I often shoot Raw+JPEG or JPEG and have recommended that other photographers do the same. Well, this week, I started something new: shooting just RAW and using the in-camera RAW converter to make my JPEGs out of the photos I like.
When you shoot just JPEG, you’re bound to how the camera was set. If you shoot just RAW and don’t make your JPEG in camera, you have to rely on Iridient or Lightroom to simulate the look, which never ends up being the same. You can see this in my RAW+JPEG comparison.
This new workflow has been a lot of fun because it allows you to make as many JPEGs as you want out of the single RAW, and you can tweak everything from the film simulator, highlights, and shadows, sharpness, colors, or even doing some push and pull processing.
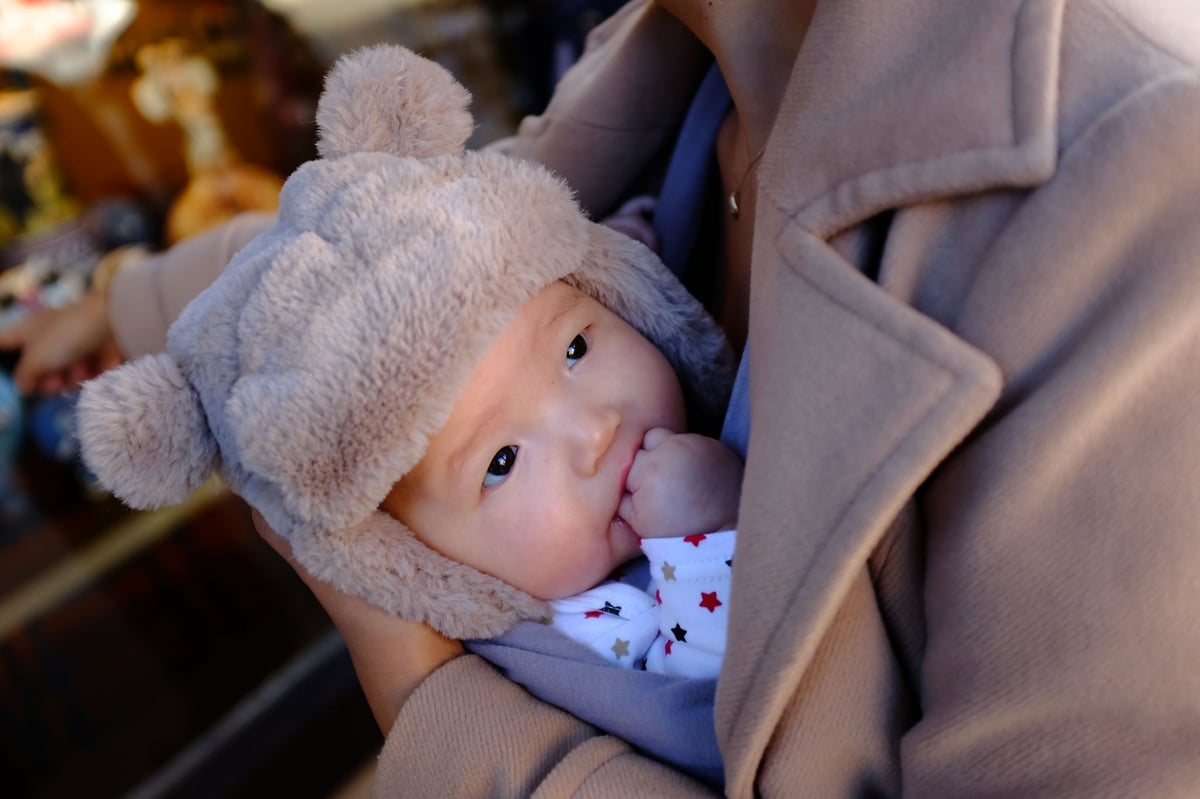
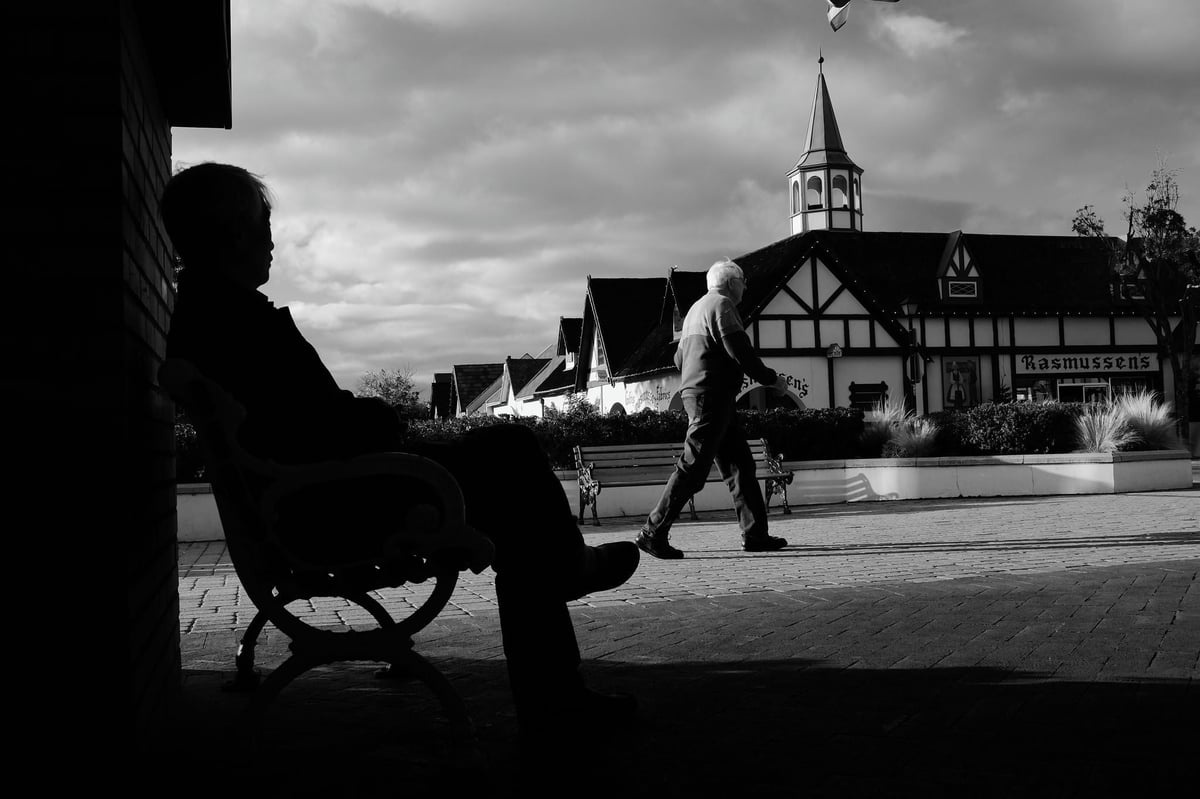
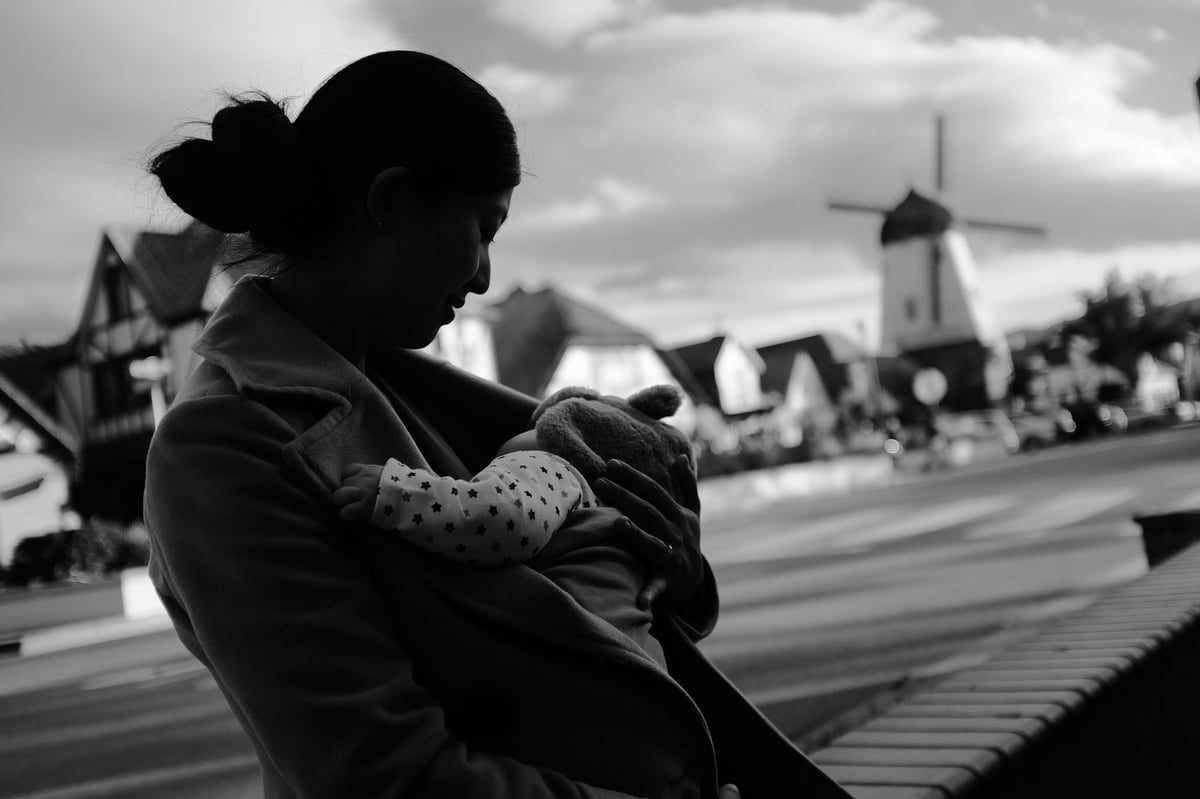
Here are some samples of JPEGs I’ve made that are SOOC (straight out of the camera) and have no other post-work on them, including the one above.
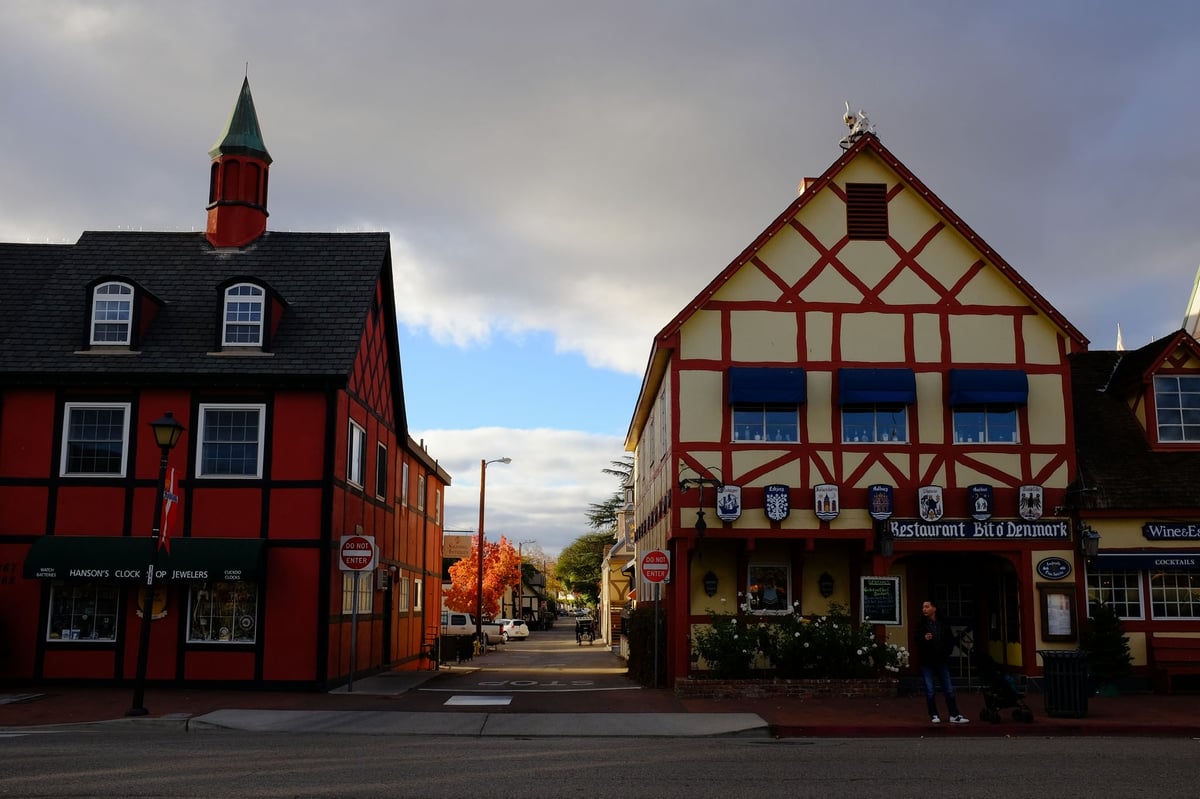
Solvang – X100T
The weather was doing a lot for me here, but it still shows how great and unique the in-camera colors can be when shooting with Fujifilm and what you can do with the tools provided. Who knows, we’ll probably be able to install Photoshop into our cameras. But until then, this has been a lot of fun, and I hope Fujifilm continues to develop and enhance this feature over the years.

For the color photos here, I used Velvia or Provia. The black-and-white photos, I believe, were B&W+R. I usually max sharpness, soften the highlights a bit, and make the shadows a bit darker. The X100 line has come a long way since the T — the X100VI review covers how the film simulations have evolved, and the Fujifilm X-mount lens guide is worth bookmarking if you’re expanding into interchangeable lenses.


Leave a Reply