There is a magical lens by Fujifilm that I feel just doesn’t get enough credit or praise, and I wanted to dedicate a post to it and the insane bokeh it’s capable of producing.
Recently, the GFX camera dropped, and it’s been stealing all the conversation in terms of depth of field and bokeh. But . . . with the right gear, the little ol APS-C X-T2 camera can still produce some absolutely incredible and professional shots.
The lens I’m talking about here has been one of my favorites since the day I got it (about three years ago now), and it‘s a lens I never go anywhere without.
The lens I’m talking about is the Fujinon 56mm f1.2.
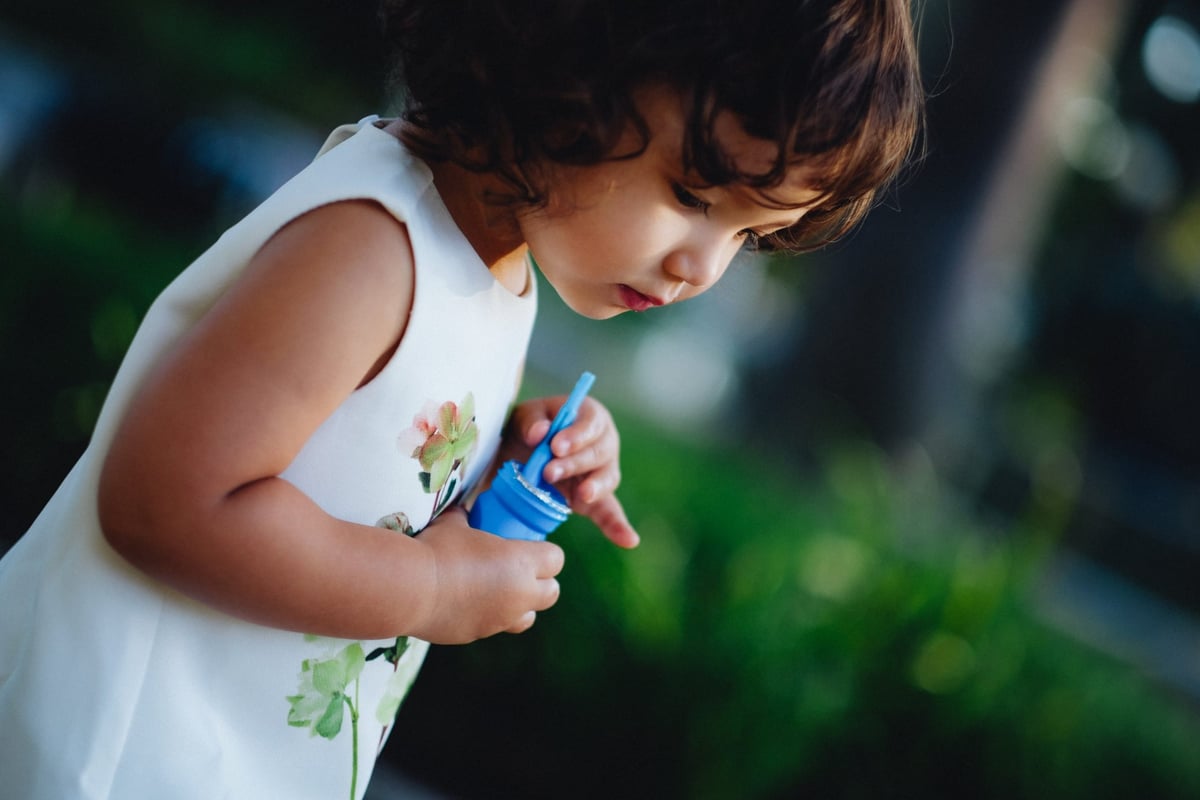
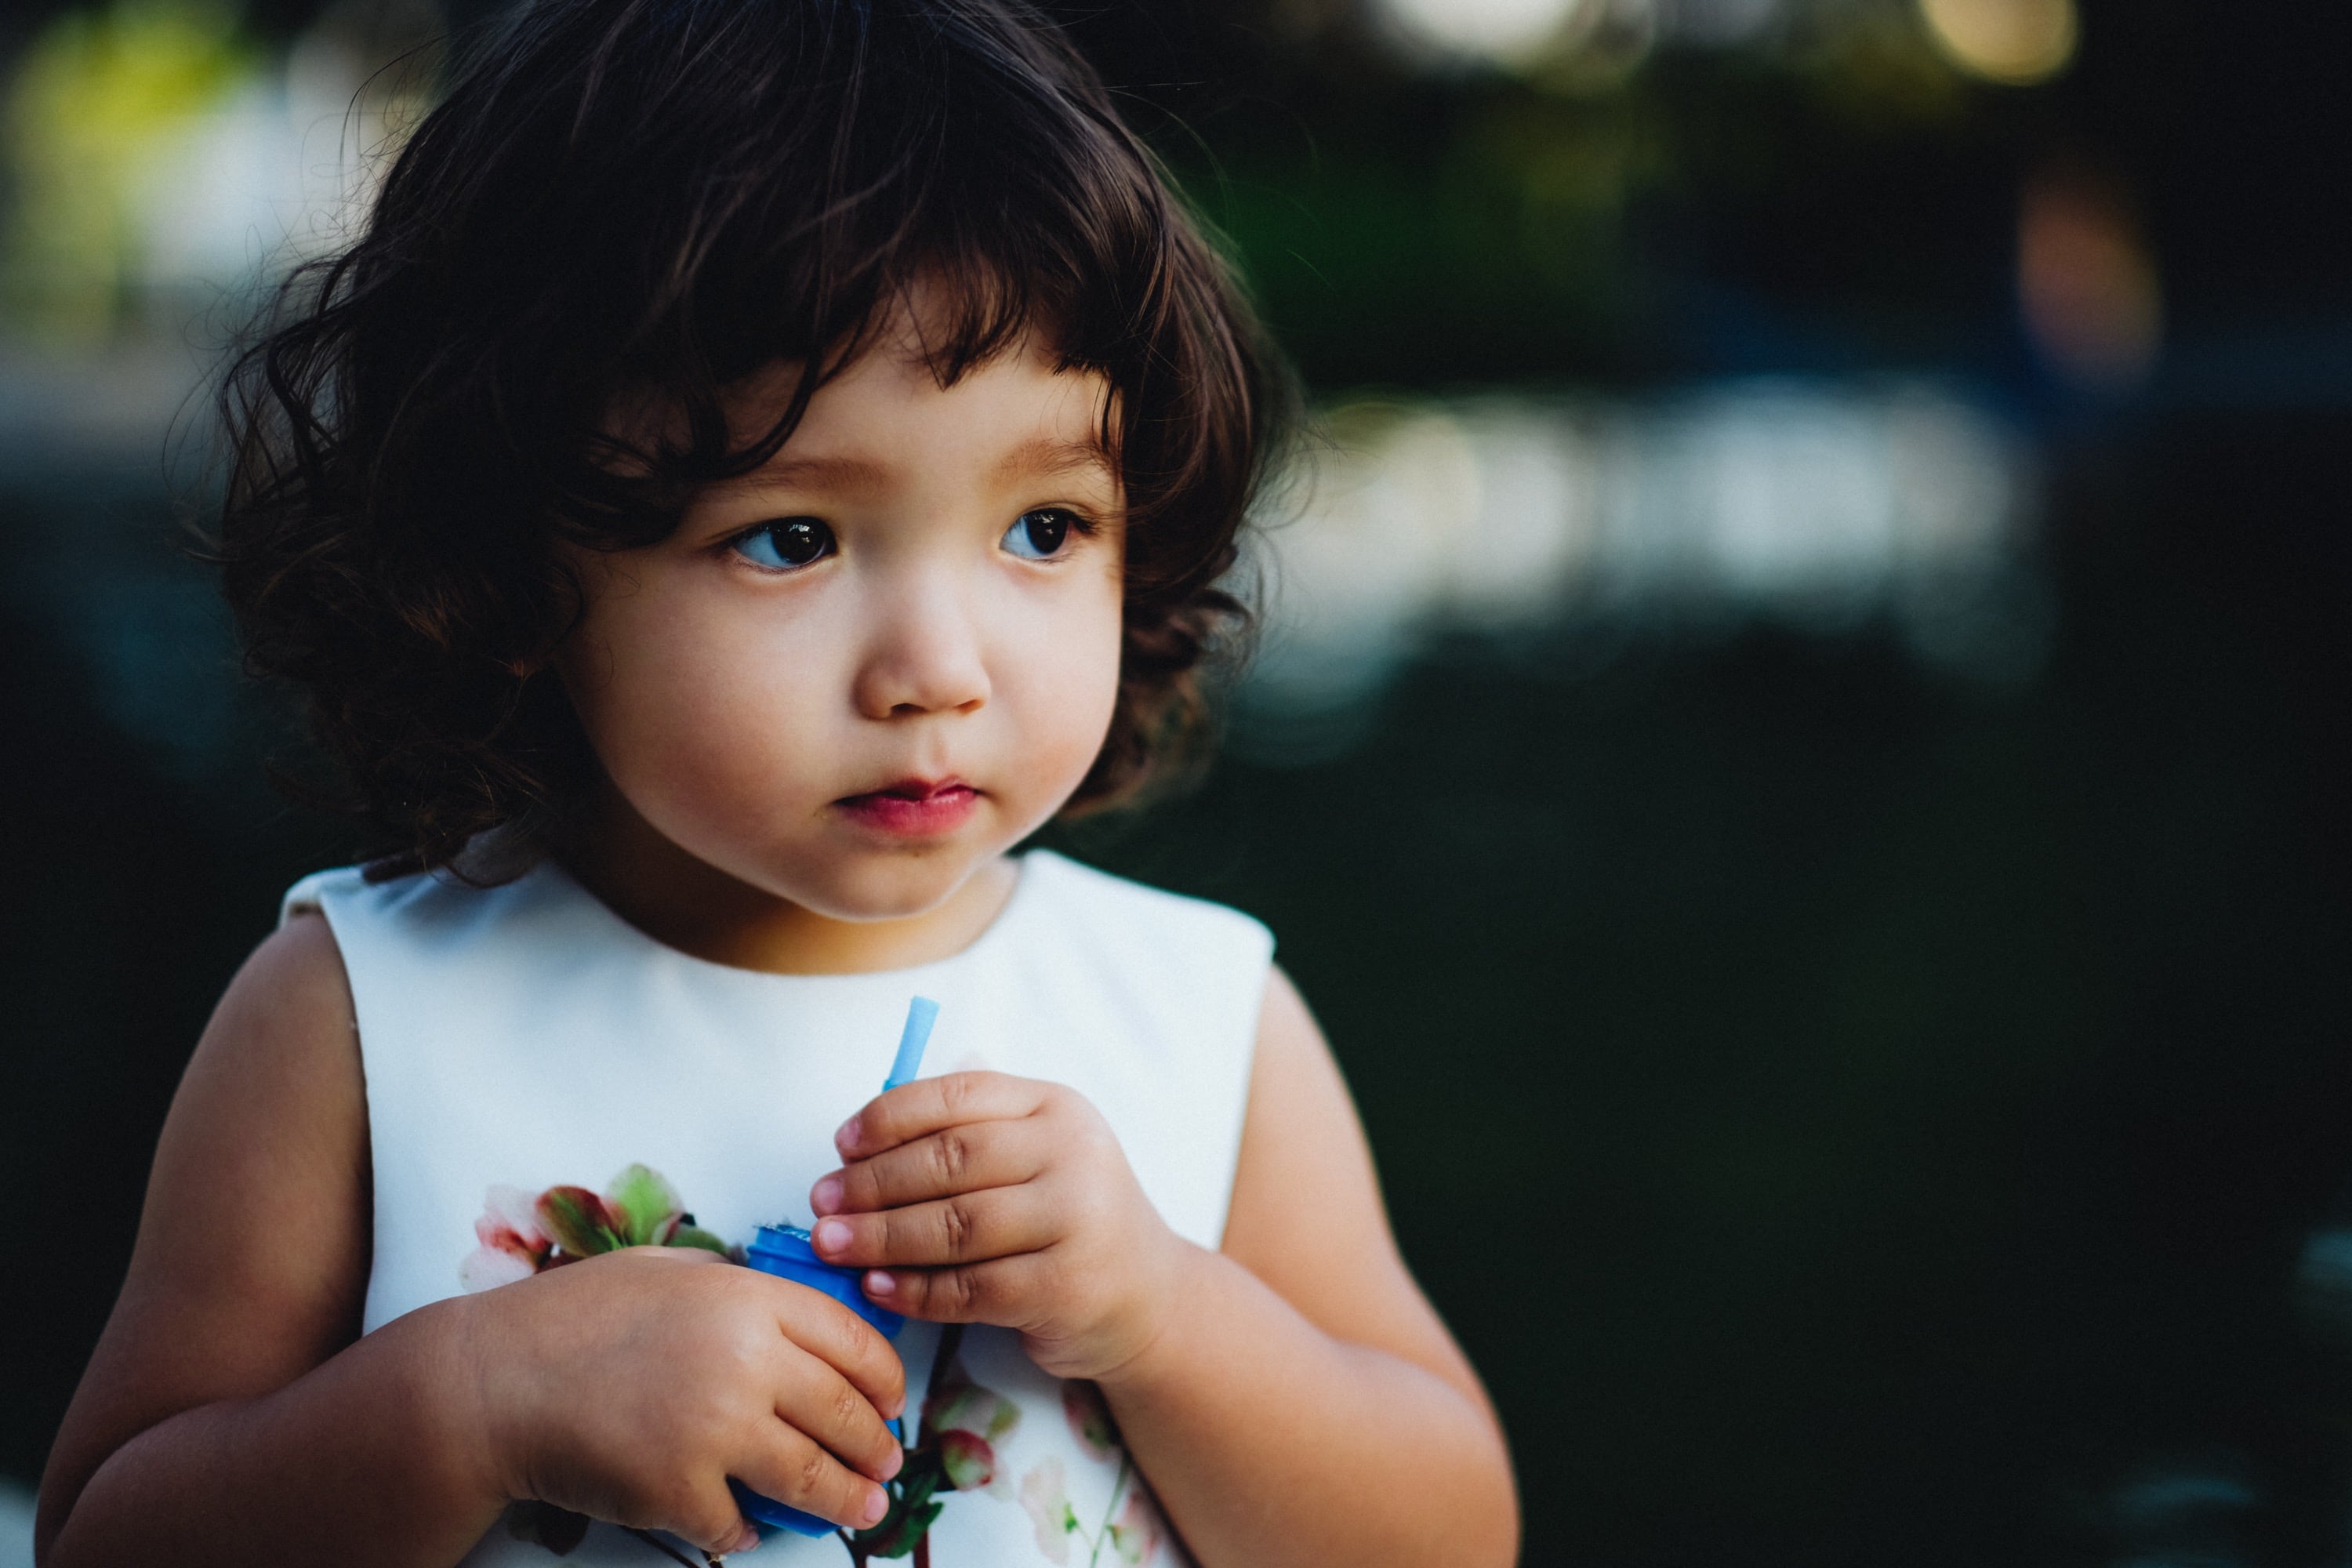
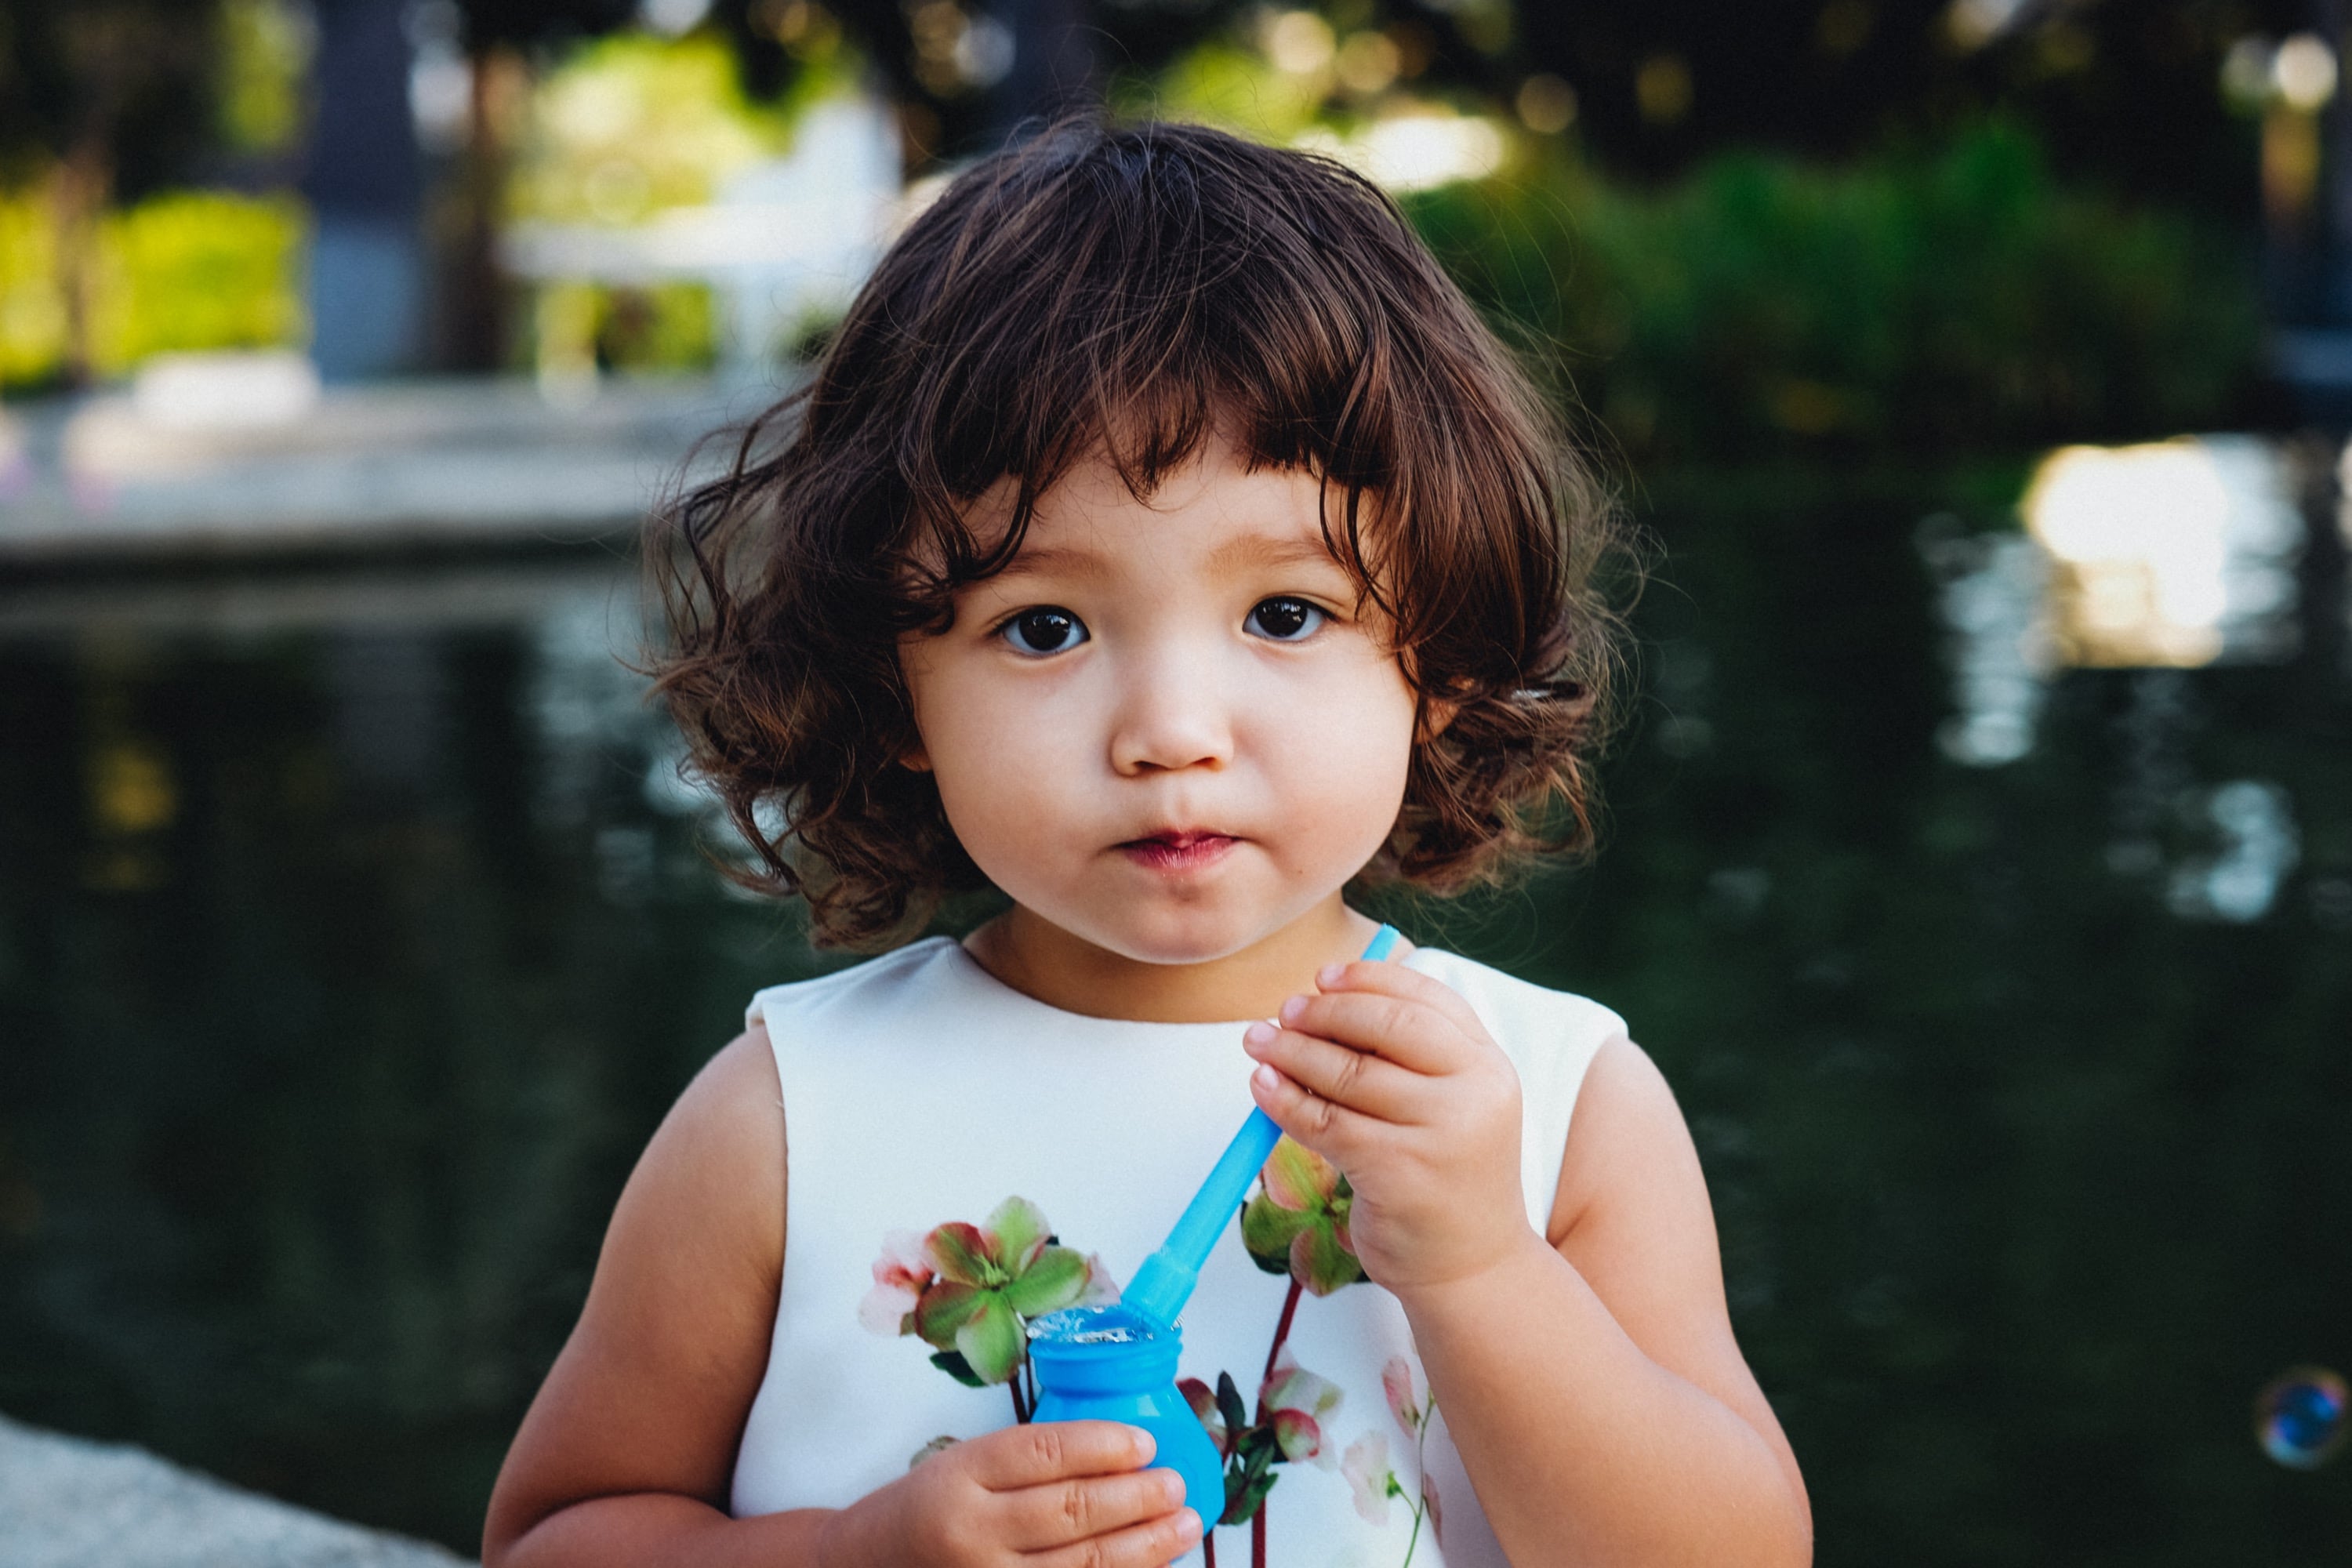
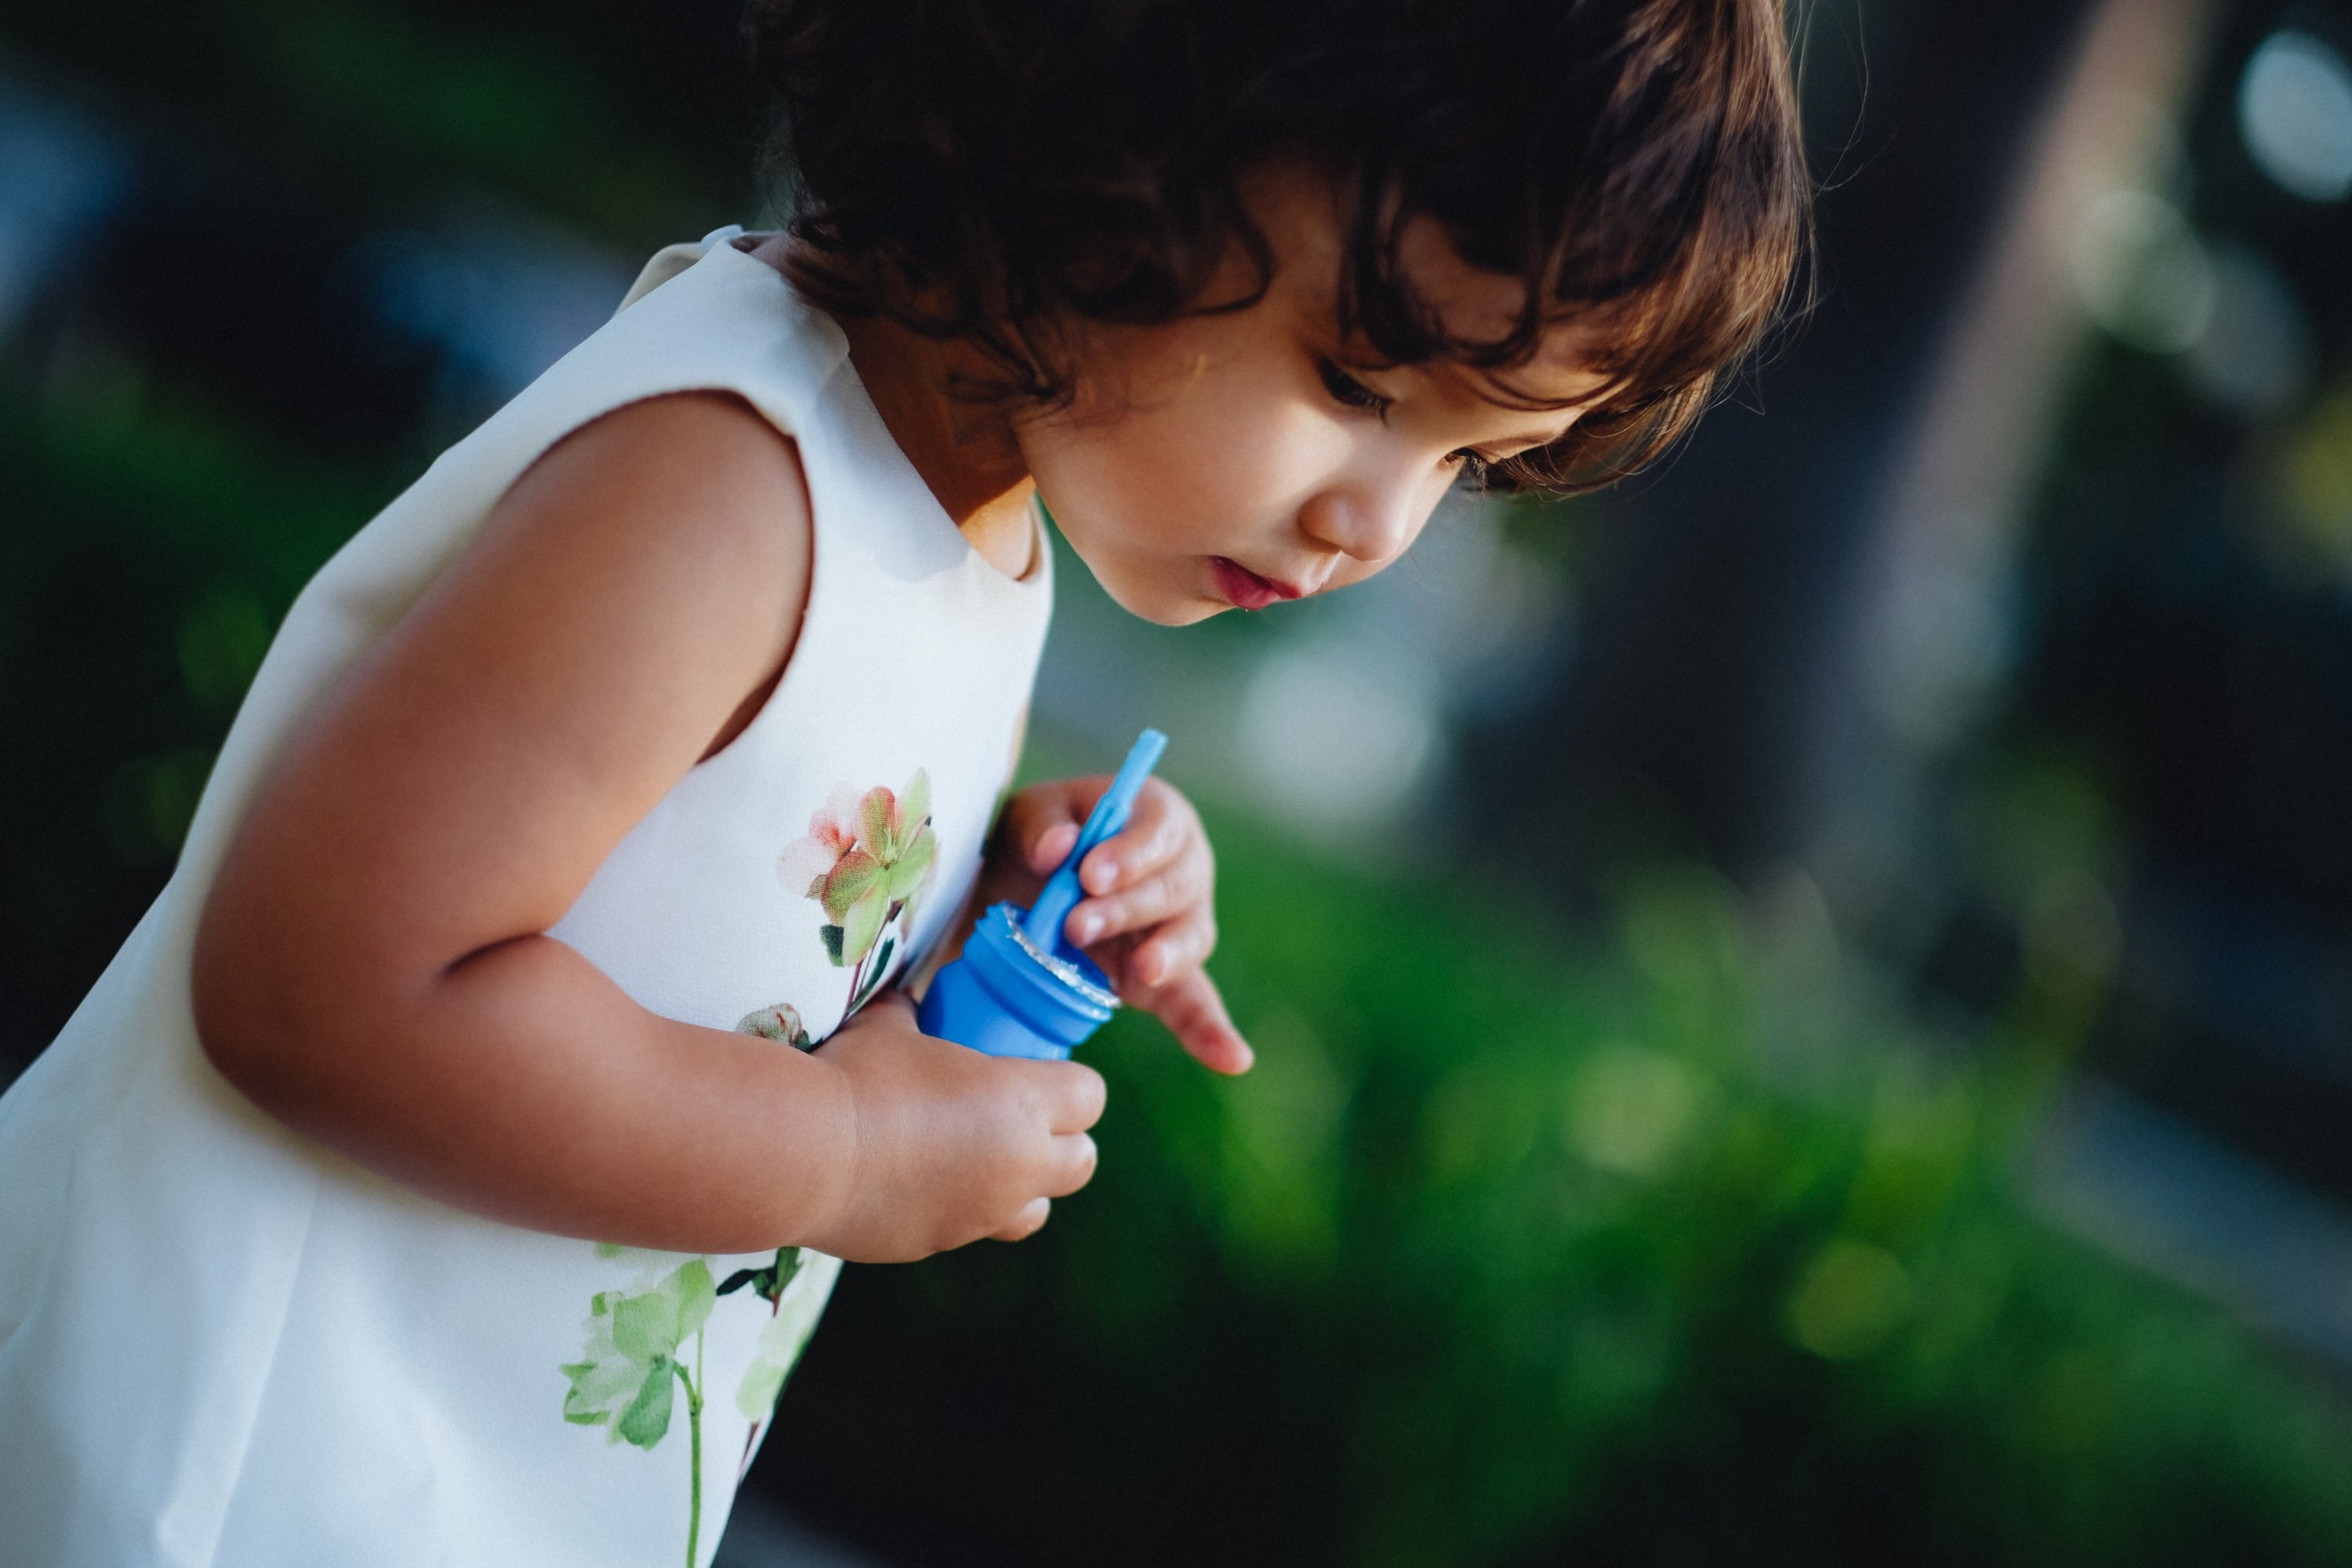
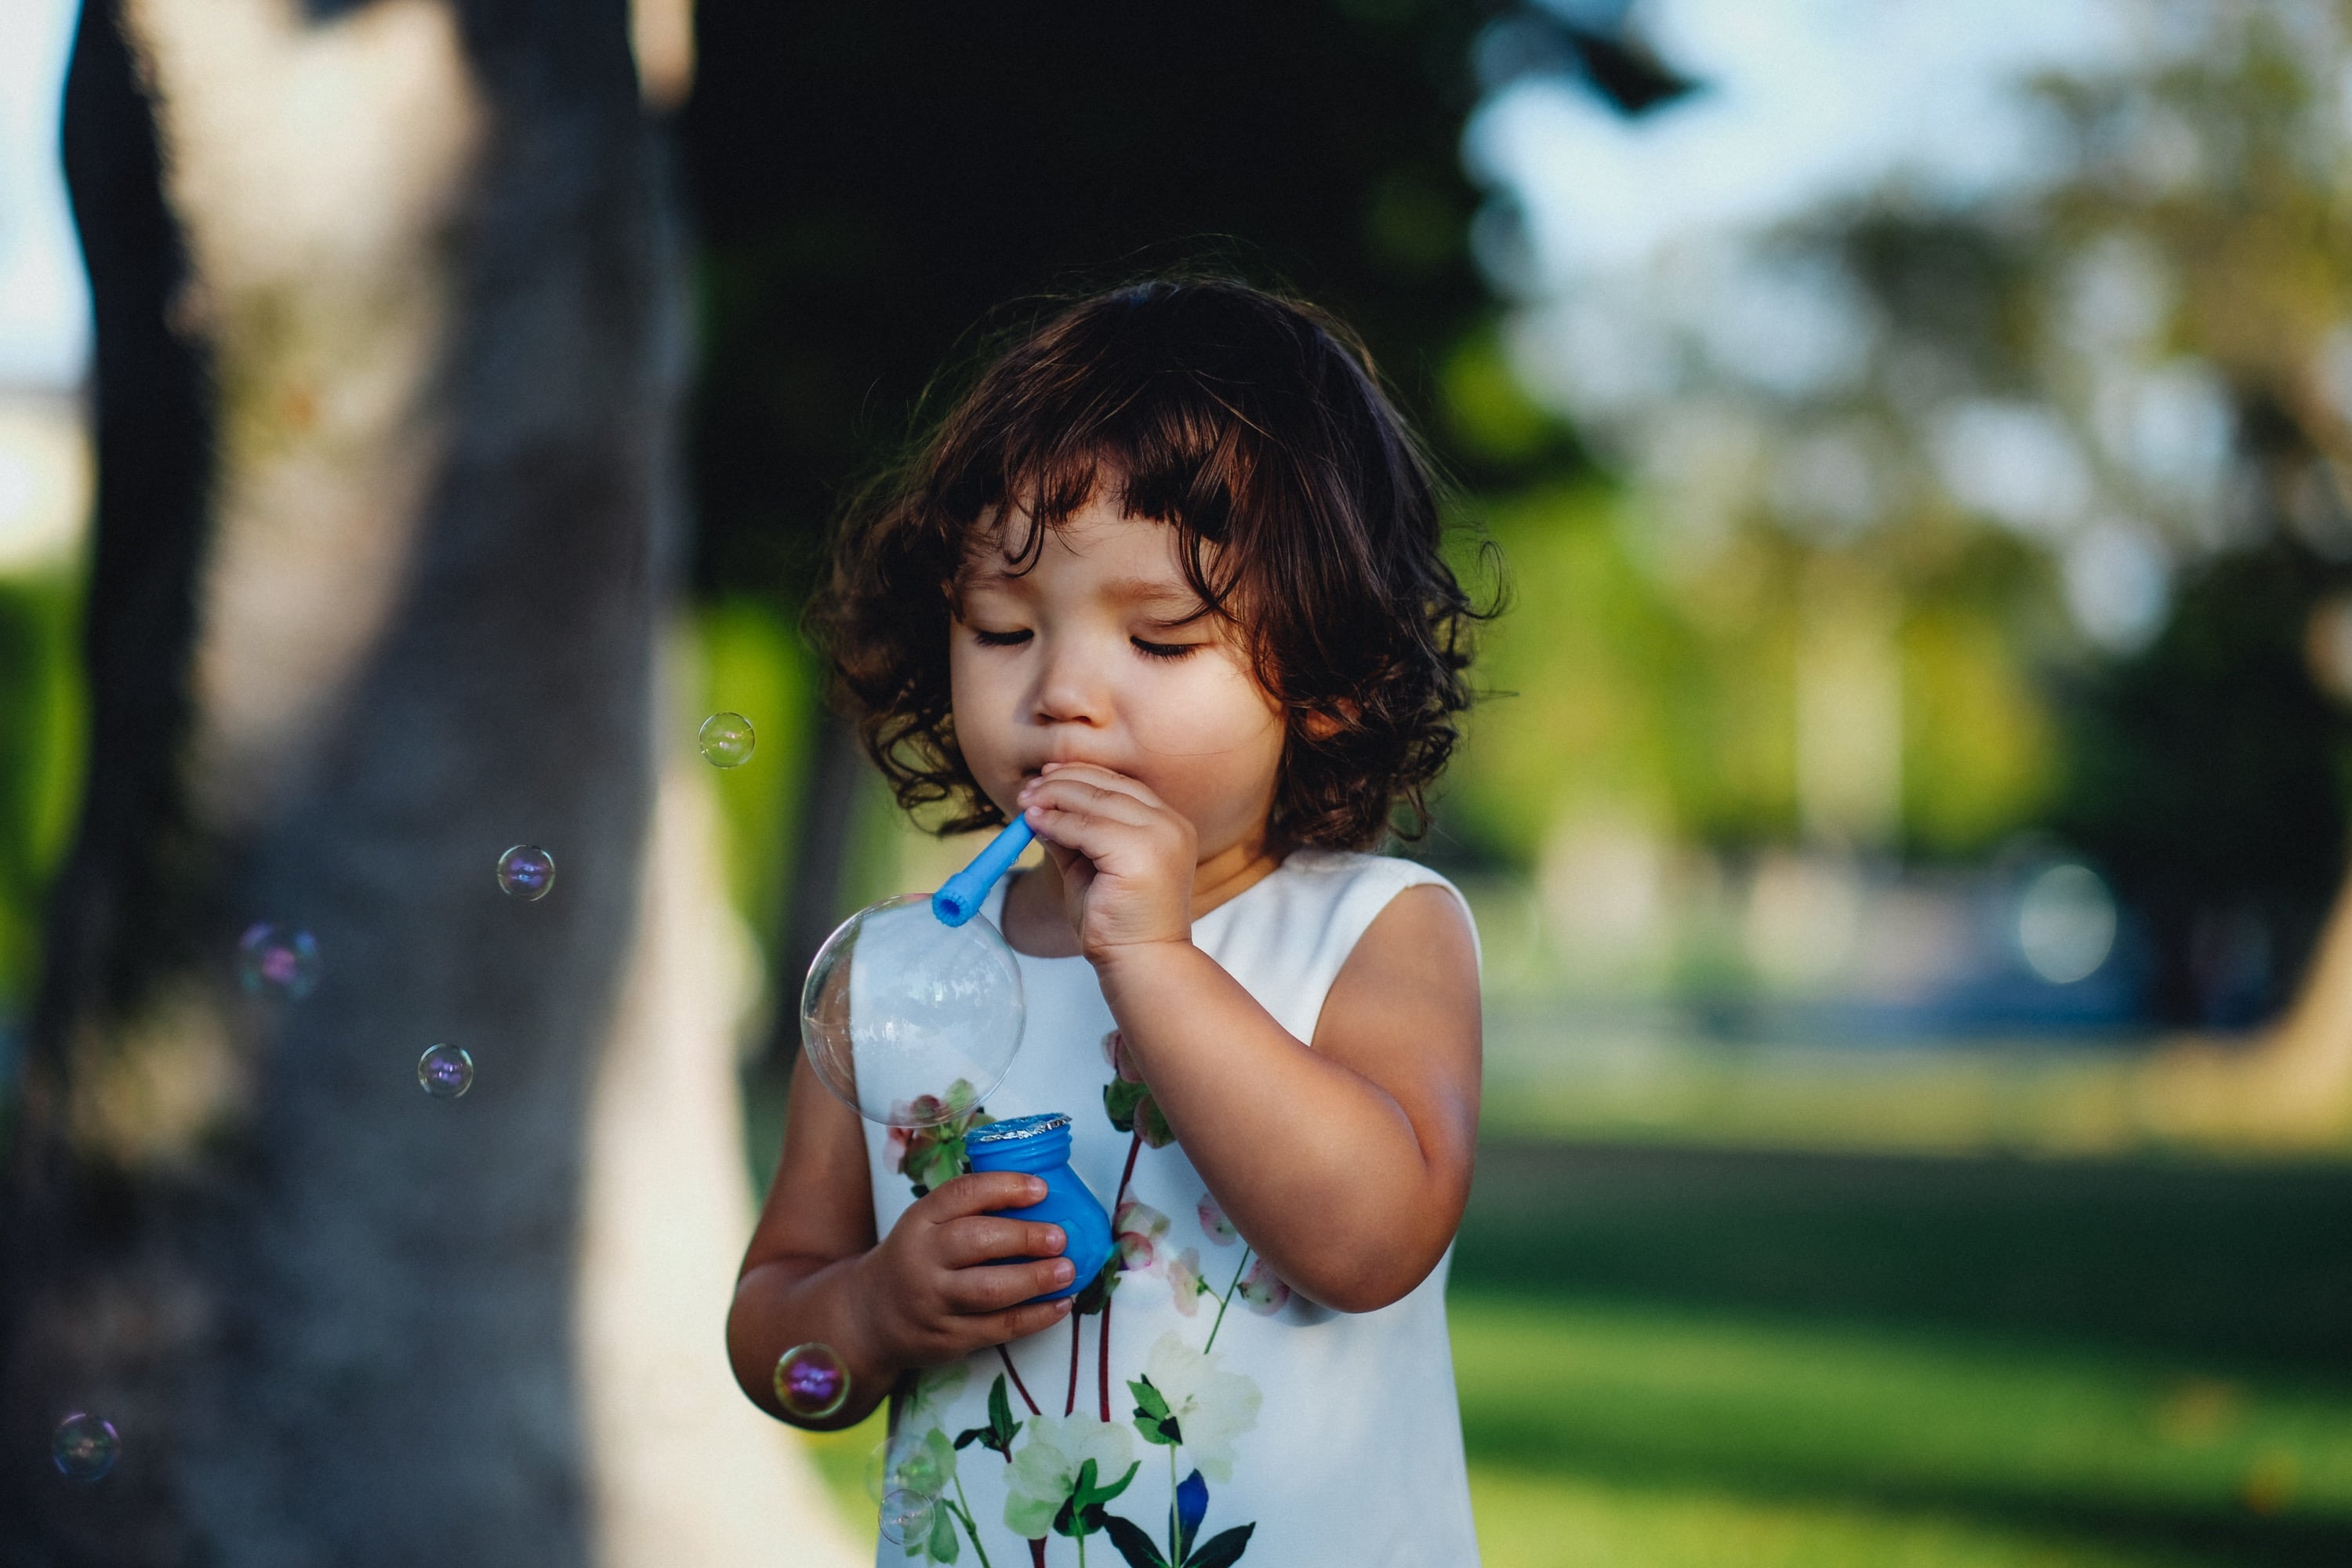
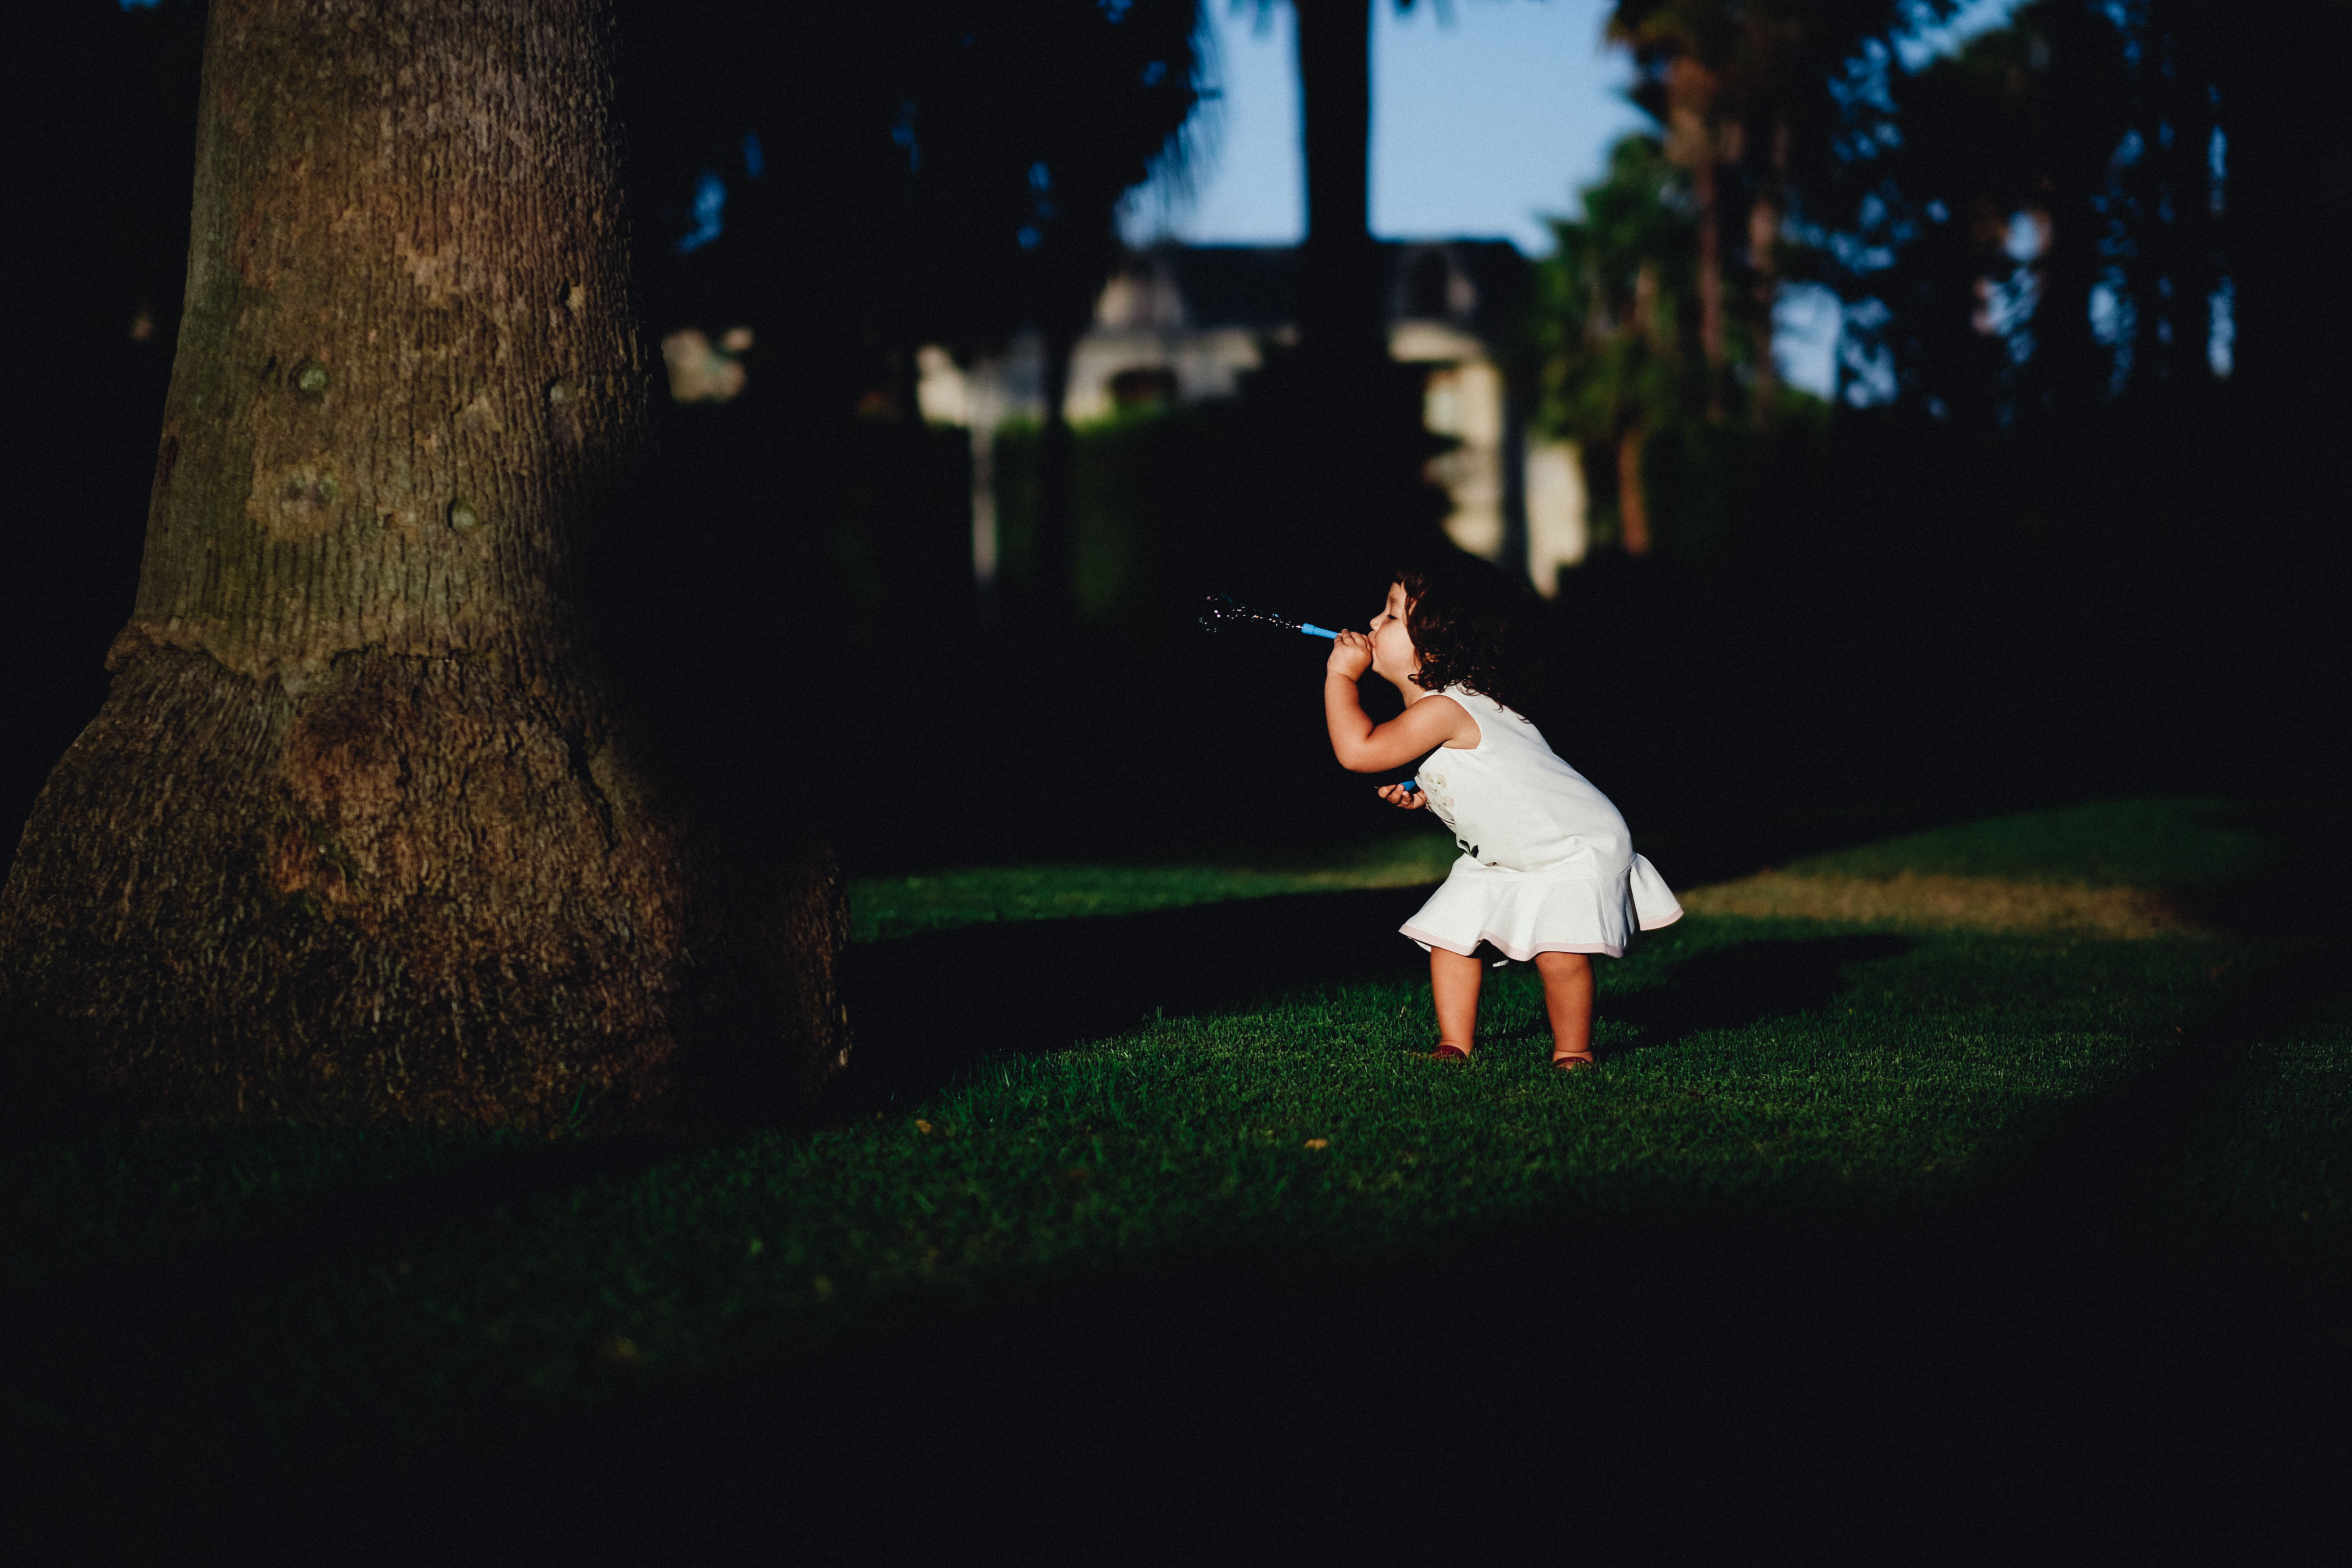
Bubble Girl | Will Rogers Memorial Park – Beverly Hills
I posted a review on this lens a few years ago and continue to update it as I go, but back then I never really shot portraits and feel that’s where this lens can really shine over other lenses of similar focal lengths like the 60mm f2.4 macro (insanely fun lens to use). But that 60 does not replace this 56; they are two different beasts.
The version I use is the non-APD version. The APD version is supposed to have even better bokeh, but the difference is almost negligible in all the reviews I’ve seen. There are also several negative characteristics associated with that APD lens that make it less worthwhile compared to the regular 56mm f/1.2. I remember the loss of phase detection autofocus and some light loss when wide open.
Now, if Fujifilm made a complete manual 56mm f1.2 APD lens, that would be a different story entirely.
I really don’t know why Fujifilm doesn’t make some all-manual lenses like Voigtlander and Zeiss do. Man, if they did that, people would be lining up.
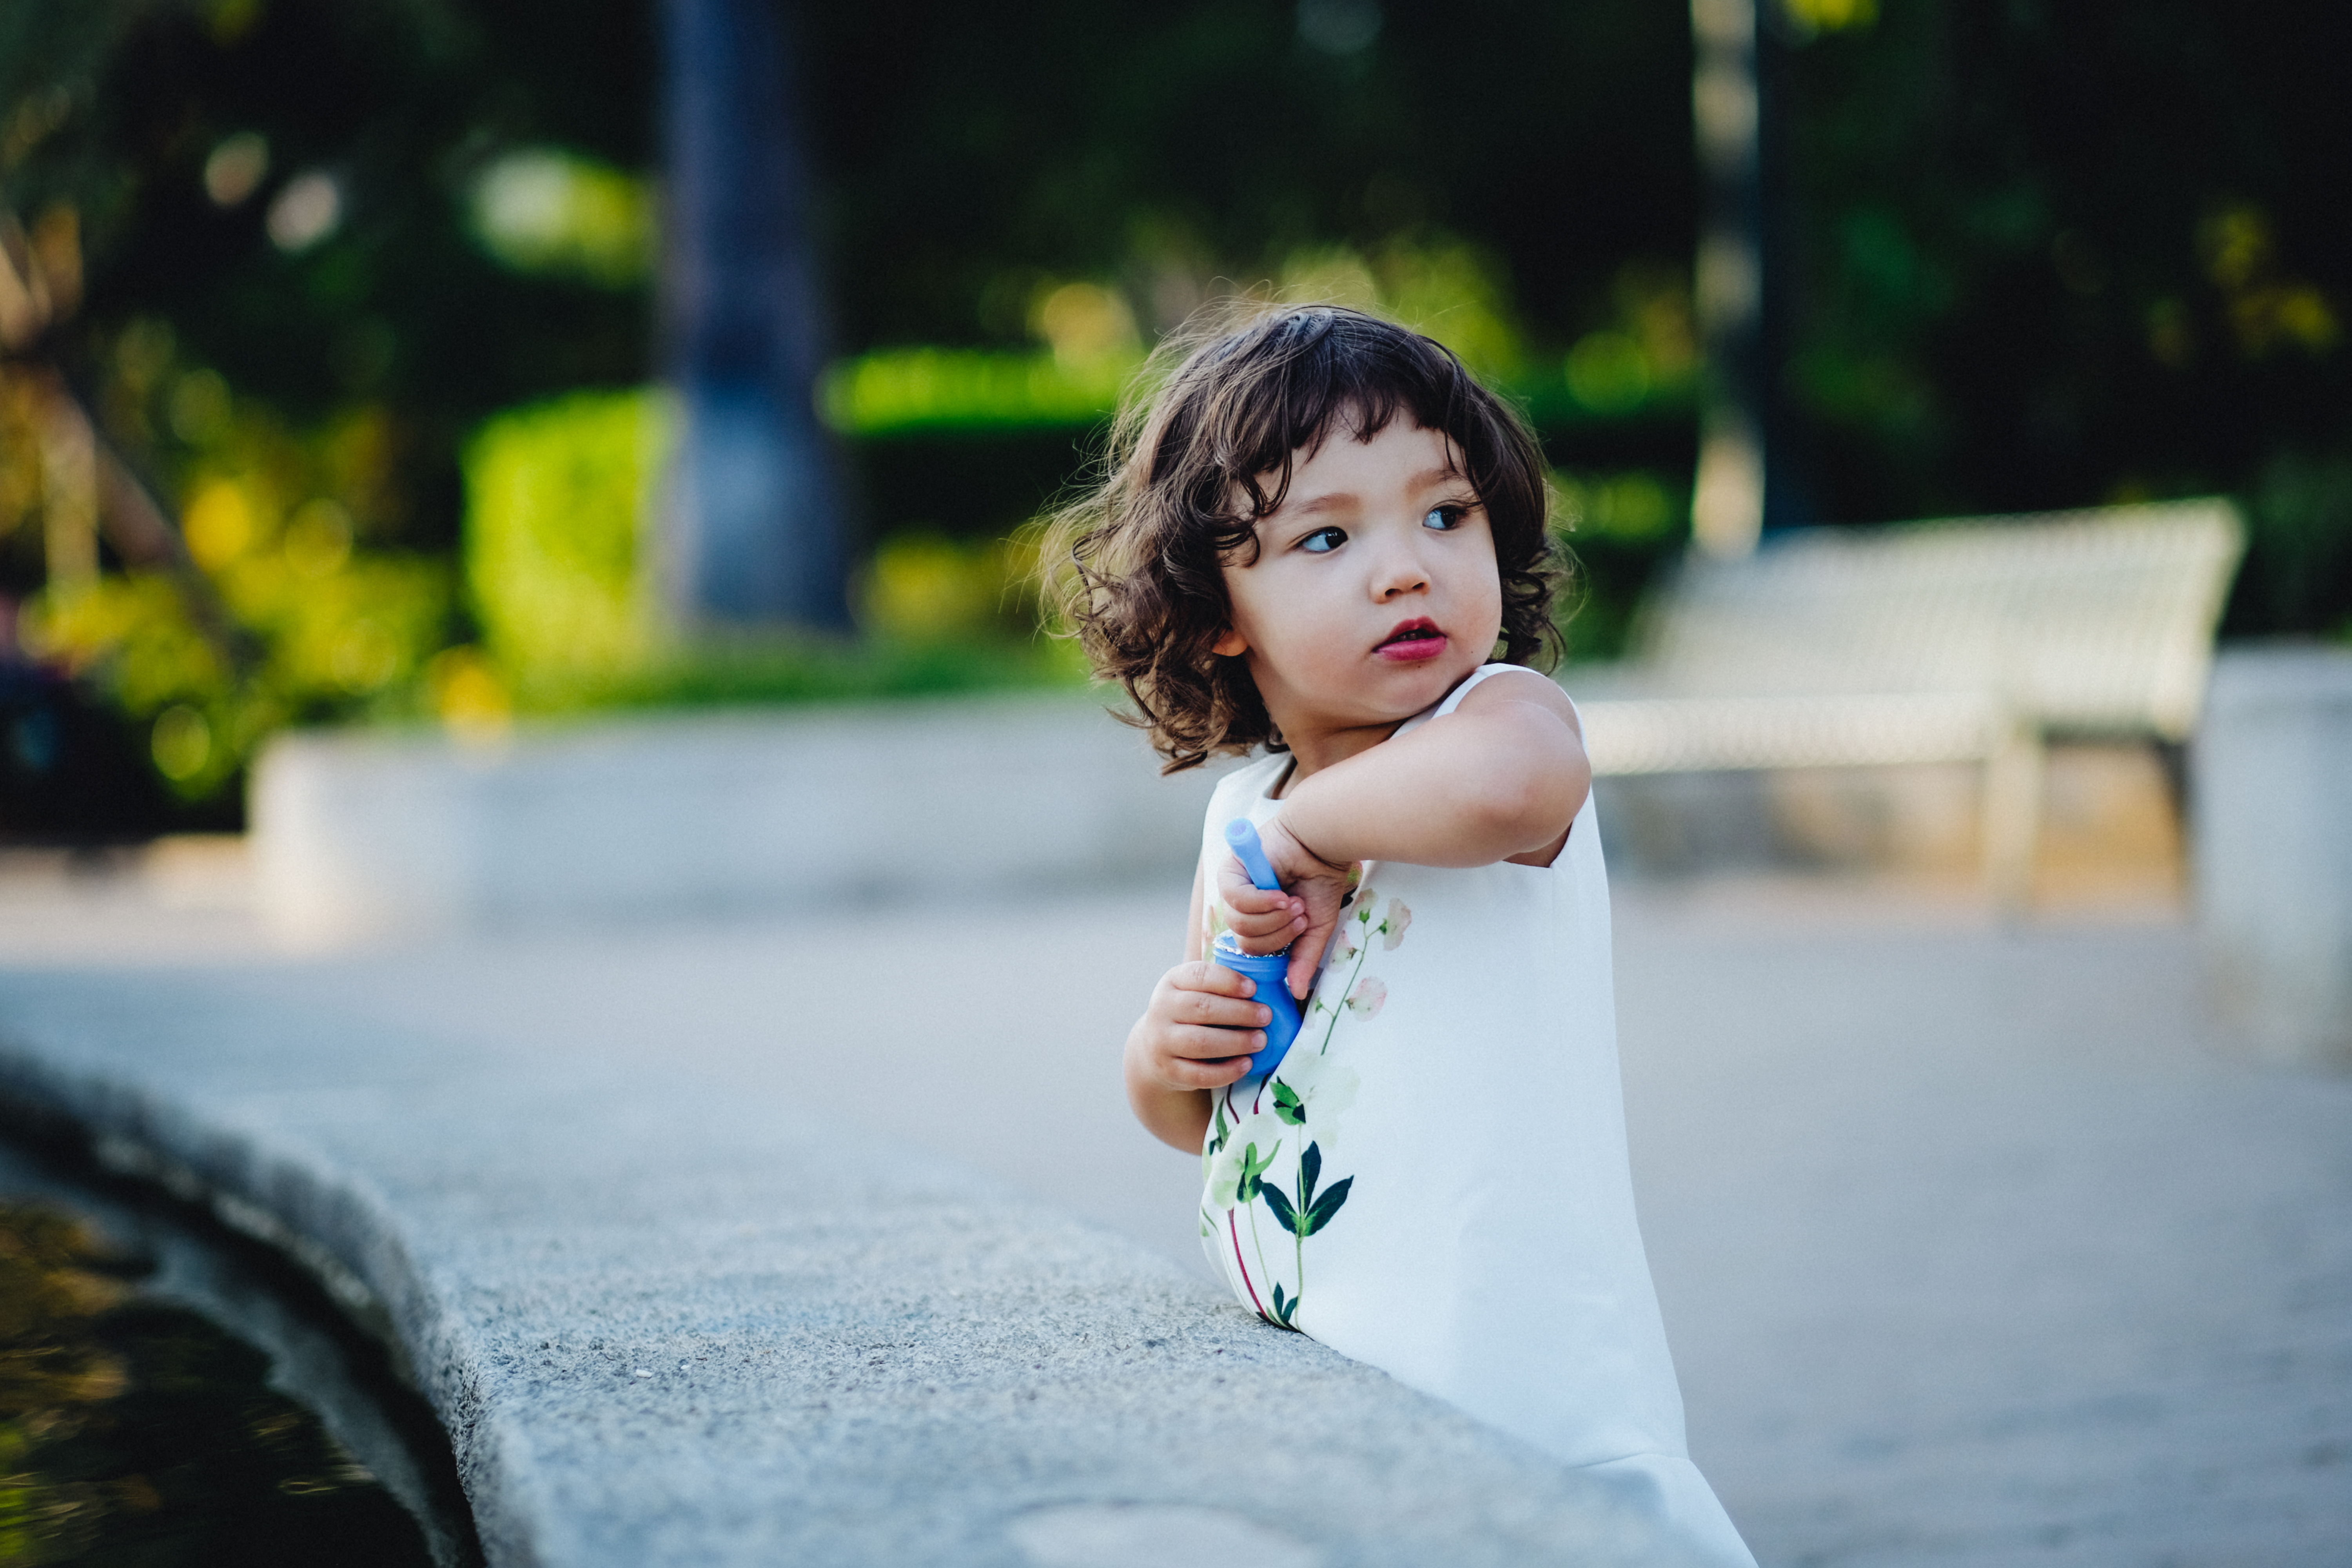
All the shots in this post are shot at f1.2, except the one below.
At f1.2, the 56mm isn’t as sharp as some may want, but it’s still sharper than most lenses I’ve tested that are this fast when wide open, and you can still see a very distinct area of focus.
The Workflow
People have been asking me lately to share more of my workflow, I’m sure they’re referring to my landscape photography which is an entirely different process that involves lots of color theory, Photoshop, exposure and focus stacking and blending, but I thought it would be nice to share my workflow with my casual photography as well.
Like with anything, landscape or incidental, I don’t have a set of rules when it comes to workflow, I just do whatever I feel works best for the shot, whether that be using third-party programs like Aurora HDR and Luminar or just sticking with Lightroom, which is my bread and butter.
However, my technique is always evolving, and I continue to grow and learn new processes.
I Shoot JPEG
A few months ago, I threw in the towel on shooting RAW for my casual photography. It’s just not worth it. Shooting JPEG with Fujifilm saves me a significant amount of time and work when processing the shots, as the camera already does a great deal of the work for me with its JPEG processing engine. I even shot a JPEG while playing around with the Canon SL2 the other day.
Shooting JPEG also allows me to leave a copy of most of my photos for the year on my laptop, since they take up almost half the space.
The exception is when I shoot landscape photography or use studio strobes, where I know I’ll be doing a lot of processing, regardless. In that case, I always shoot RAW or RAW+JPEG.
The other alternative, which I used to do, was to shoot only RAW and convert the shots I really liked to JPEG in the camera by pressing play, then pressing Q twice, which will convert your RAW to a JPEG in 3 seconds or less. That way, you can simply ignore the RAW files, but if you encounter issues that require recovering more highlights, you can always return to your RAW files.
The Processing
For processing shots like this, I usually start by shooting the JPEGs with Provia or Pro Neg if I want a crisp look, or Classic Chrome if I prefer a more classic street photography look.
If I’ve shot Provia, I sometimes combine it with other looks in Lightroom with presets like RNI or VSCO. In all these shots, I use a Porta look by VSCO. I couldn’t tell you which one since I made a custom preset based on one of their presets.
The preset I built essentially adjusted all the colors, saturation, and contrast while enhancing the blacks and adding a touch of color to the highlights.
I then use the brush tool to add a little contrast, clarity, and sharpness, sometimes lifting the shadows into areas of interest.
The final step is to tune the grain, sharpness and vignetting.
Time Management
If, for some strange reason, I have some free time, I’ll bring the shot into Luminar or Photoshop and add a little extra magic to it—maybe some glow or Radiance.
I processed all these photos in under an hour and have come to accept that not everything can be perfect when photographing on the side with a toddler hanging on you.
If I had the time, I could see myself spending an hour on some of these shots, like I do when I shoot landscape photography, which takes me at least an hour or two per shot.


If you’re shopping for lenses, remember that I keep a list of every lens made for Fujifilm cameras that you can use to help you decide on your next lens. I frequently forget about the various lenses available, which is why I started keeping records.


Leave a Reply