One of the great features of the Fujifilm cameras is the ability to control and manipulate the film simulators to give you absolutely incredible classic looks that are ready to go straight out of the camera.
This isn’t something I’ve really gotten into too much over the years since I’ve always liked editing by hand and experimenting with different looks on the RAW files in post. But as I get busier and busier with work and kids, simplicity is the new trend in my life.
Lately, I’ve been exploring the different JPG recipes for Fujifilm files that are out there on the inter-webs dot coms with my personal web computer browser, using my AOL disk. 🙂
This post is mostly about some JPG recipes I found on FujiXweekly. Actually I didn’t find it, a friend exposed me to these, so I want to expose you to what Richie is doing over there. It’s a fantastic resource. Hopefully, you can have as much fun with what he’s built as I’ve been having.
So go over to his site, and explore the different looks and presentation that he has.
This post is mostly about shooting with his recipes on the X100V and all the shots in this post are straight out of the camera. I just add a little fade sometimes which I’ll show you how to do in Lightroom.
The Dark Art Of FUJIFILM JPG Manipulation
While I was never into the dark art of using JPG manipulation in the older cameras (I never felt the tools were interesting enough to make it worth fully committing), today things are totally different.
Over the last few years, Fujifilm has really enhanced the JPG editing tool. They’ve added all the different color chrome effects, they’ve added more control over grain, a new clarity adjustment, and a few new film simulations.Â
Most importantly they allowed you to store the WB Shift in the custom C1-C7 presets. I think that came in with the X-Pro3? I know my older X-T2 won’t let me do this so using the different recipes is a little more difficult.
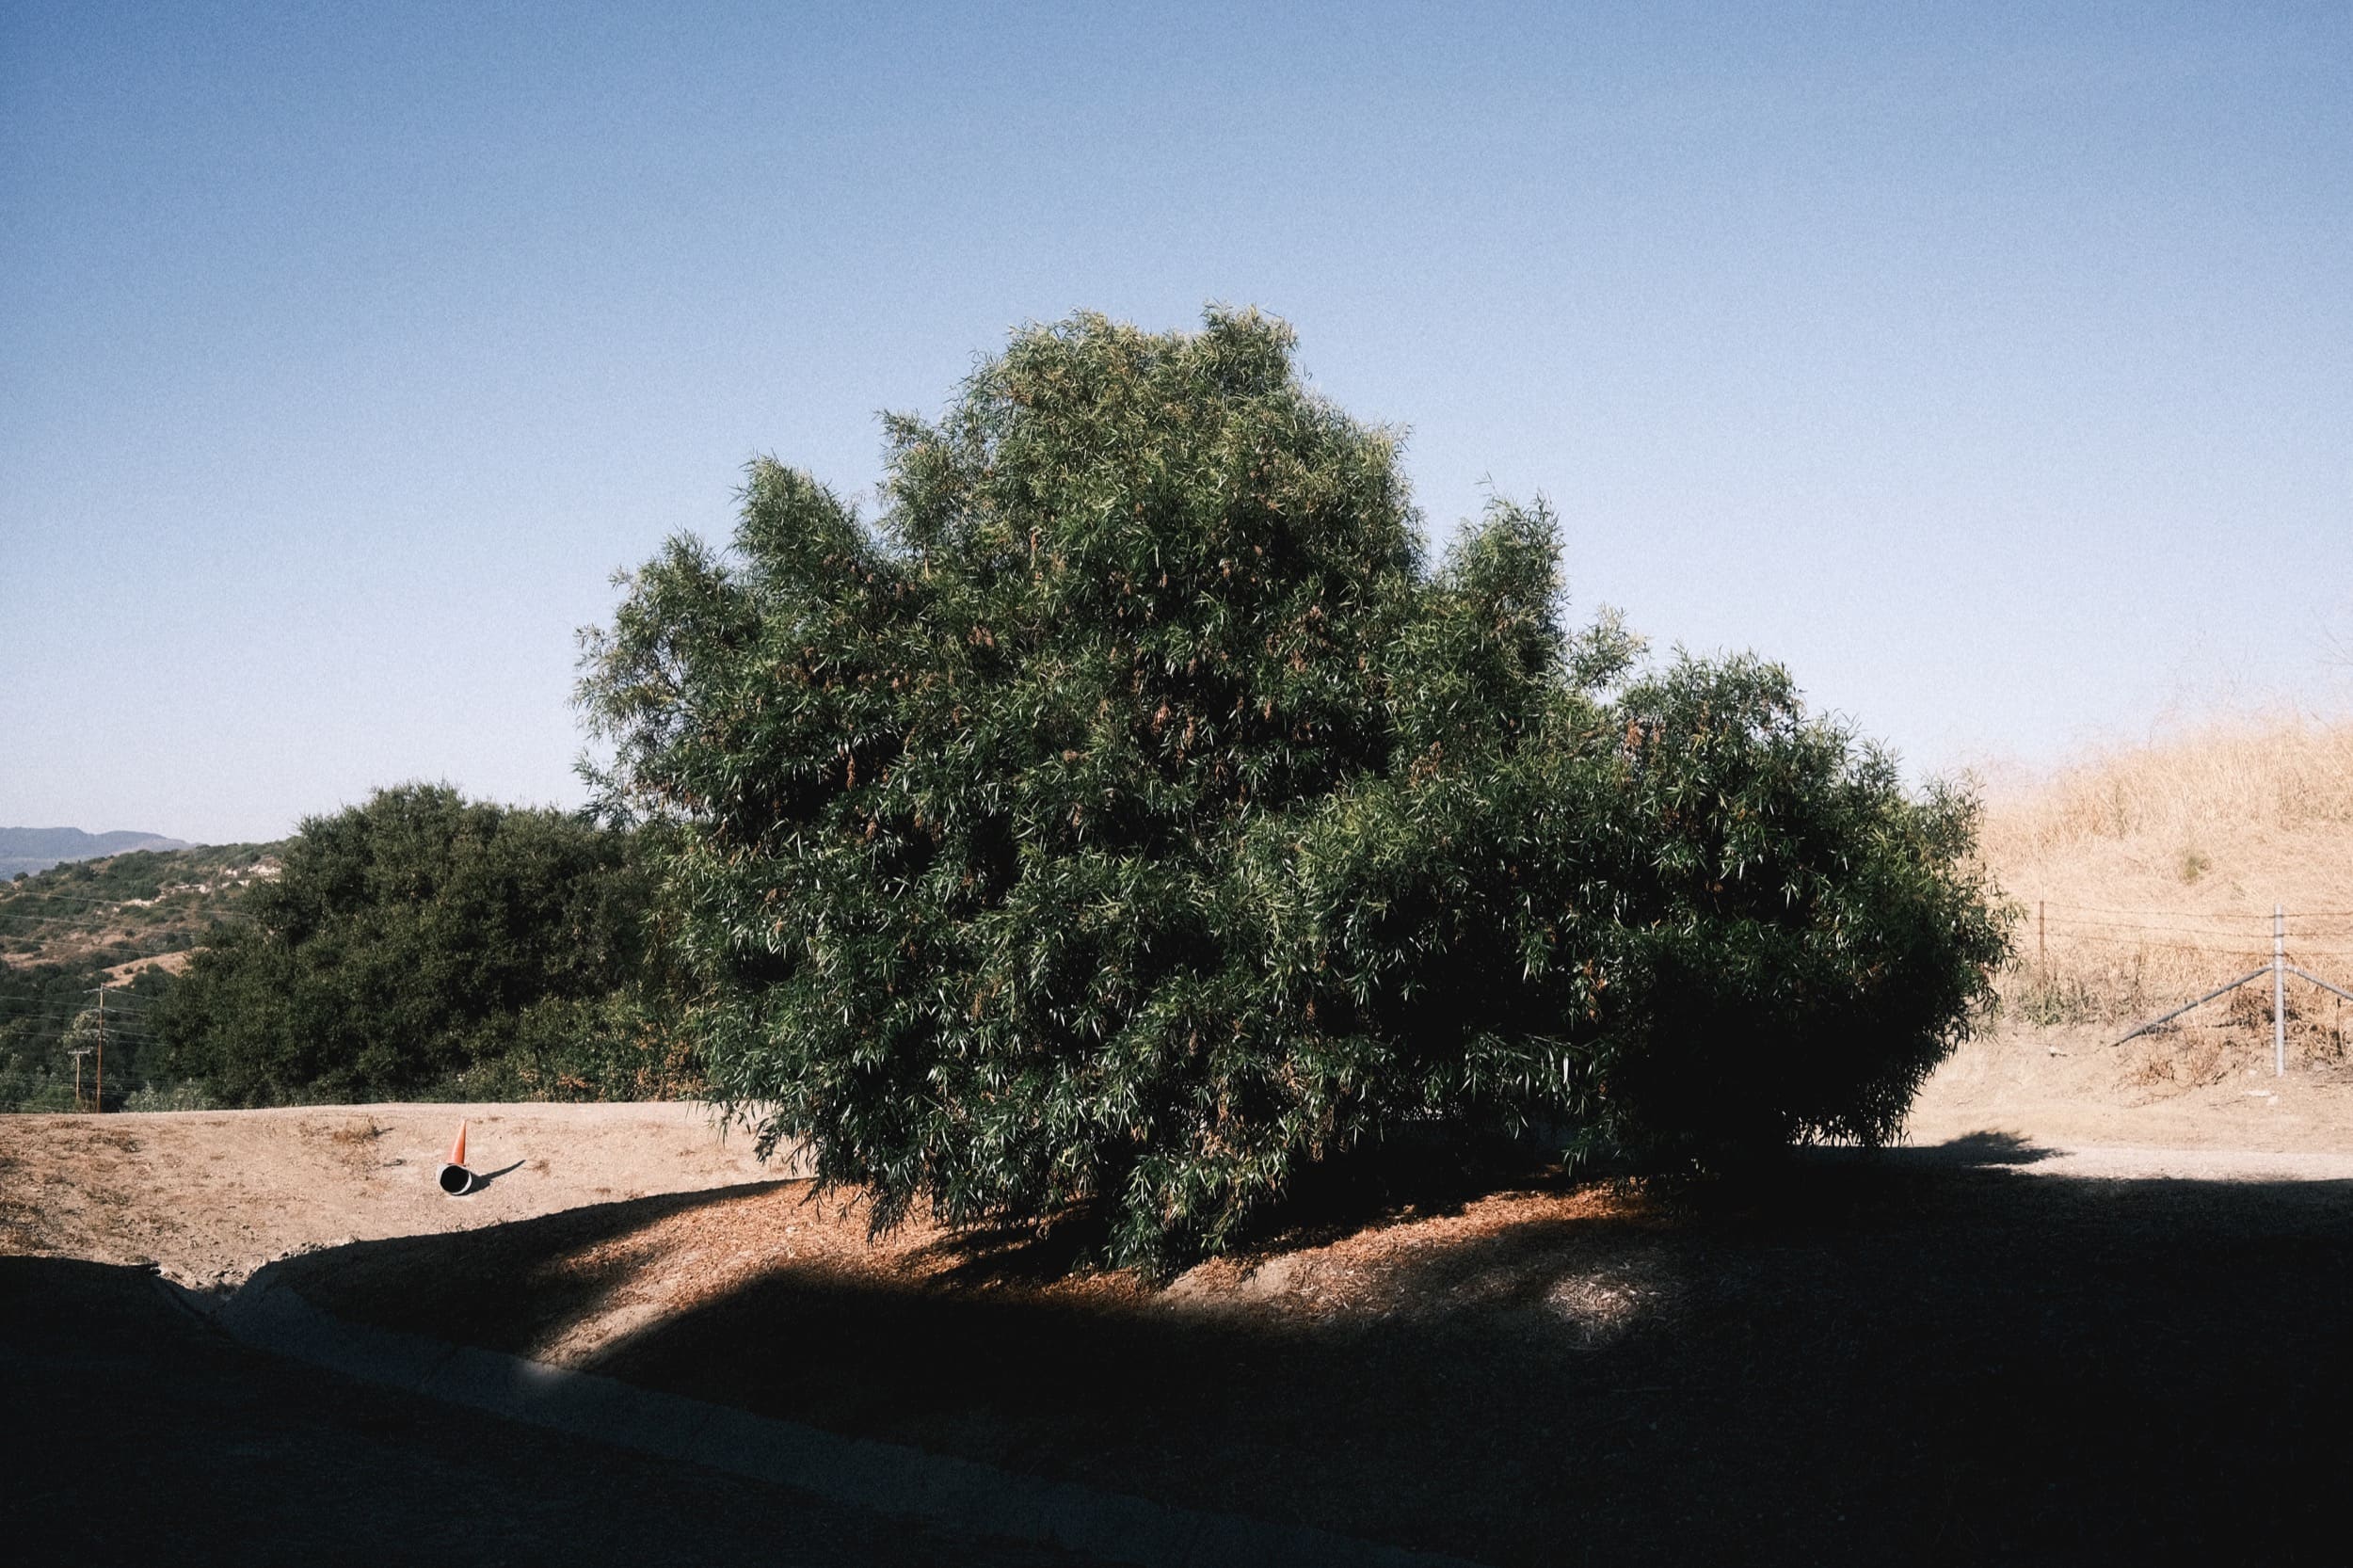
The three looks I’ve been playing with from Fujixweekly are the new Kodachrome 64, Kodachrome II, and the Fujicolor Superia 1600.
Are these close to the real thing?
Not really. But kinda sorta.
Are they still super fun and unique and just as awesome?
Yeah, pretty much.
I’ll probably end up modifying these a bit to personalize them but they are nice as is.
How the Fujifilm Recipes Work
The Fujifilm Recipes work by adjusting the various settings in conjunction with the Fujifilm film simulations while shooting JPG.
The secret is to adjust the WB shift.
You can program up to 7 custom looks that you can swap between in your Q menu. On some of the older Fujifilm cameras, it’s a little more difficult since the custom profiles won’t save white balance adjustments, but that’s been fixed with the latest cameras, I believe starting with the X-Pro3.
Why use these custom looks?
Because Fujifilm typically keeps their stock film simulations fairly safe for the standard consumer, but with just a little push you can get some really incredible and unique looks out of them.
The only downside is that you have to live in JPG land. Fujifilm would really have something special here if they would just give us a better base file to work with using these looks. A TIFF or a HEIC. But for now, this is still fun.
I think the GFX cameras let you shoot TIFF? Is that true? And do they retain the color recipes?
Fujifilm, please use the HEIC file format in future cameras.
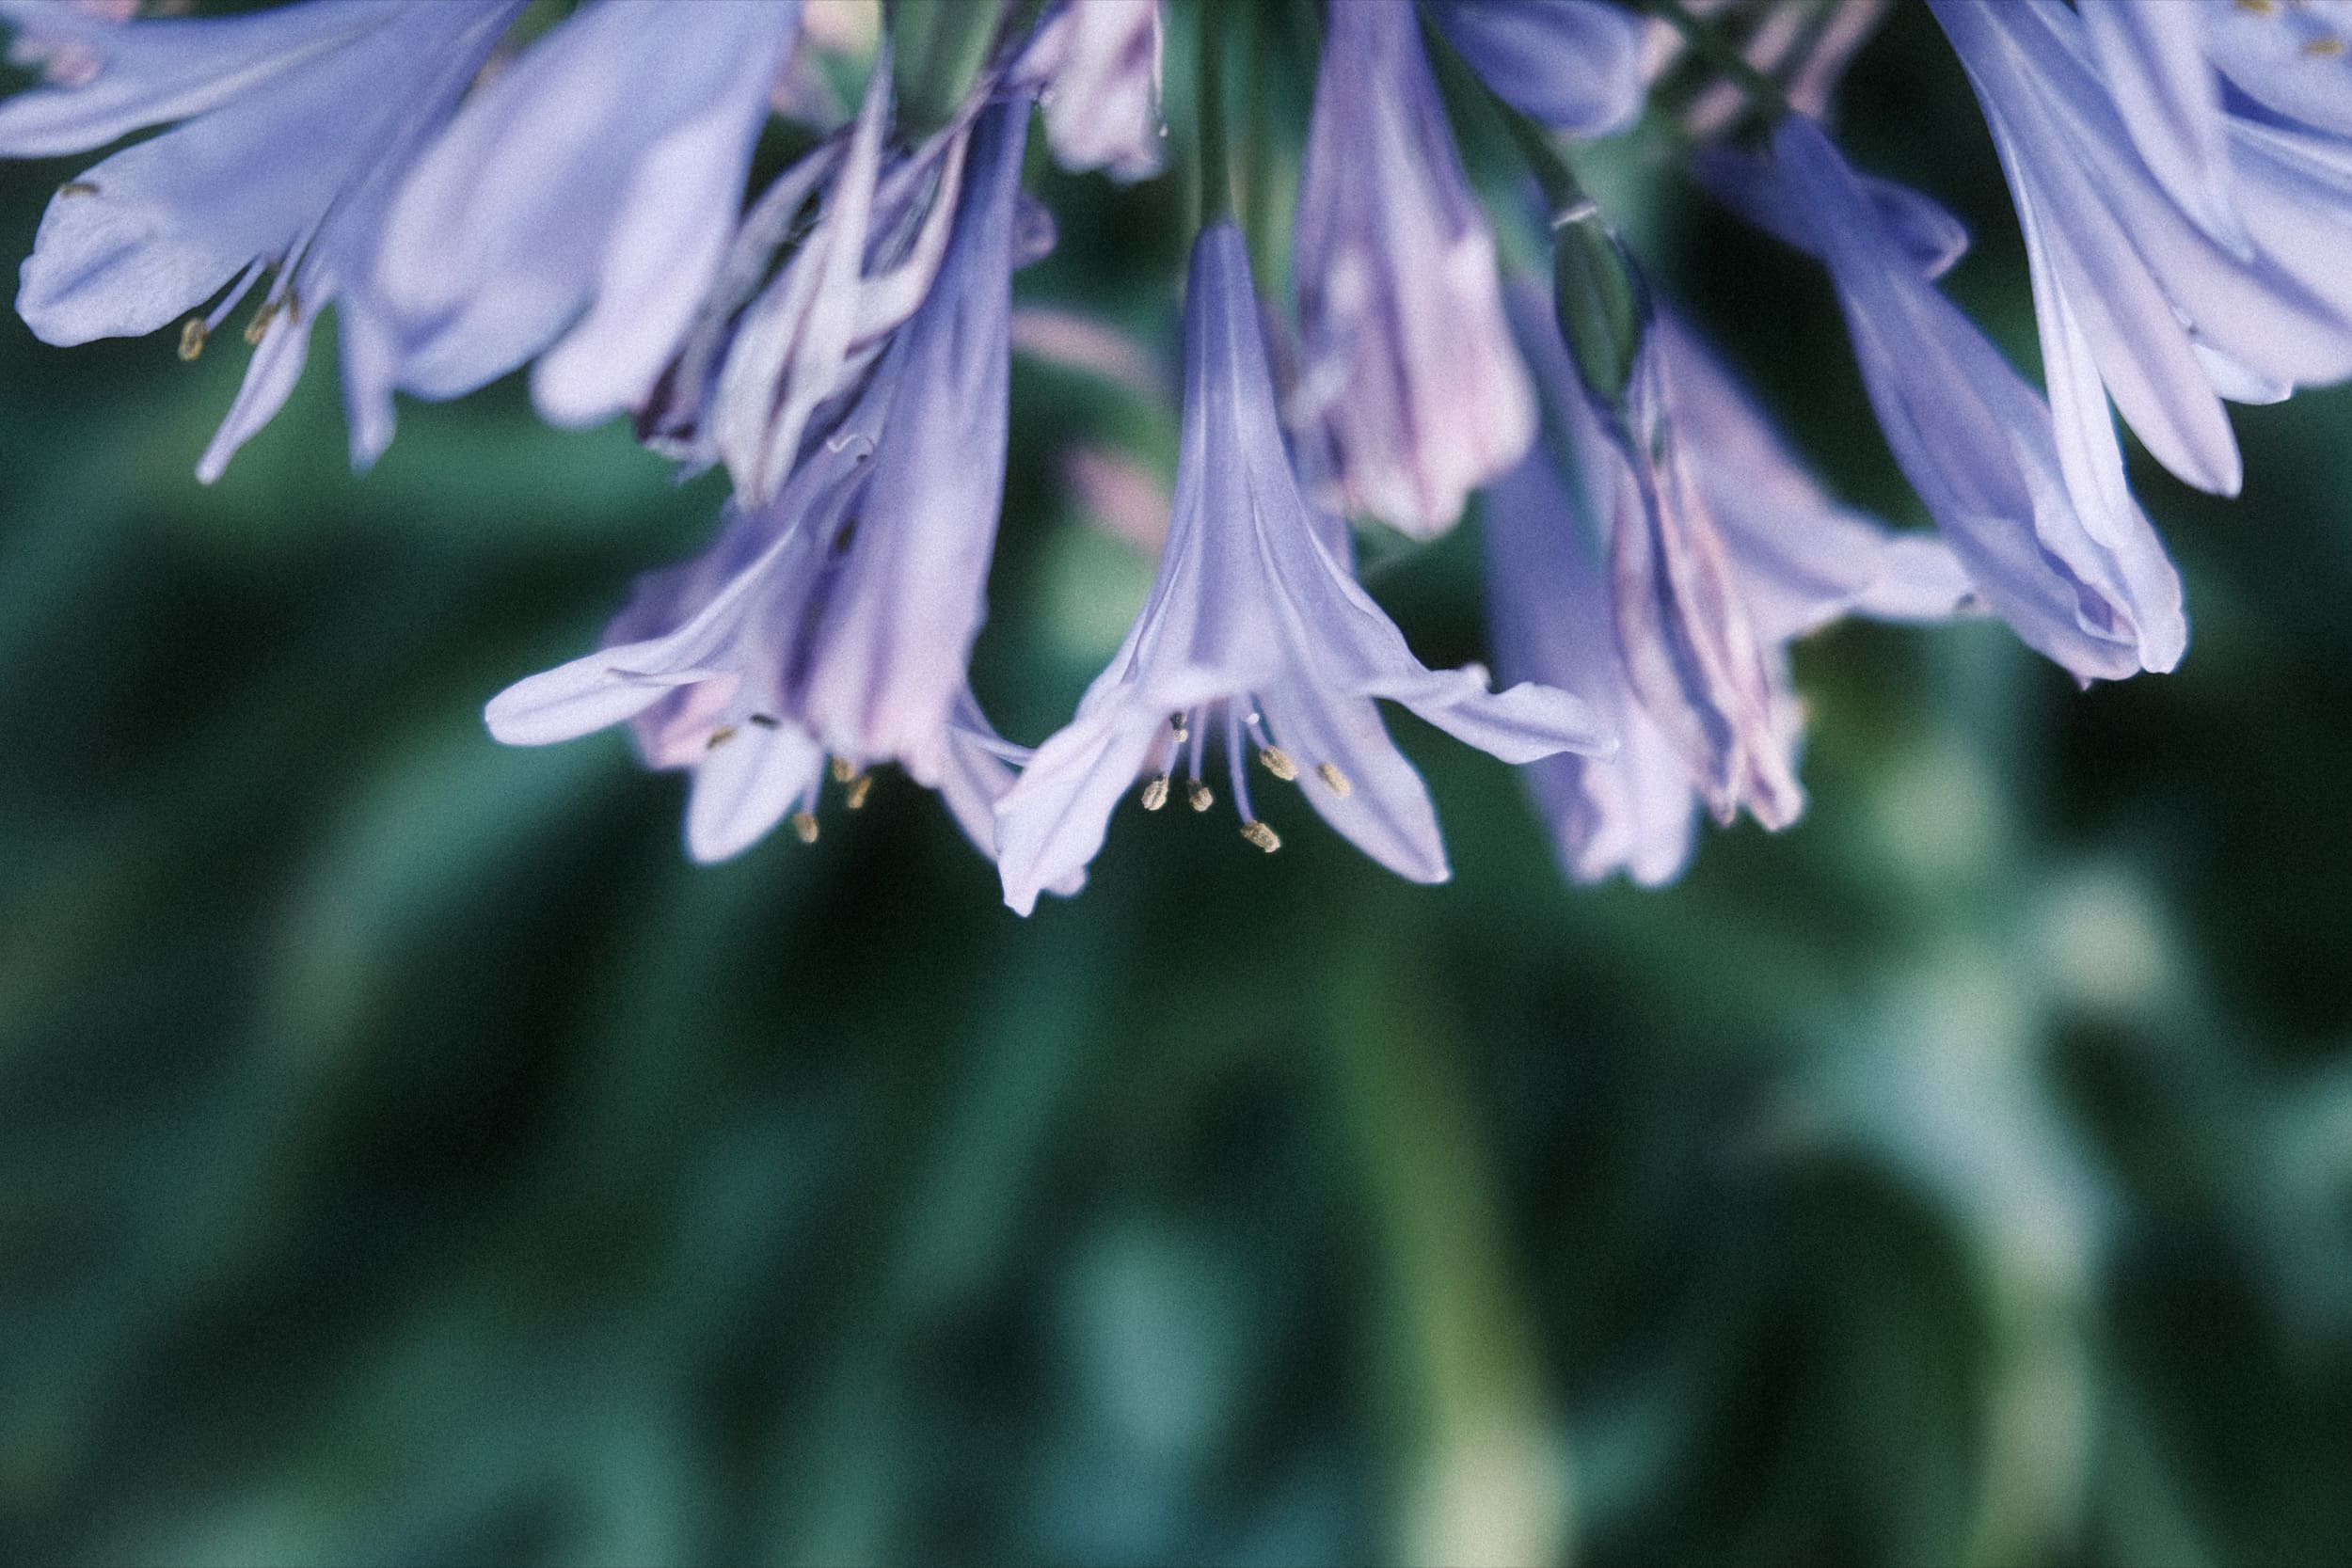
Kodachrome 64 Fujifilm Custom Profile
The Kodachrome look is built around classic chrome. You keep the camera set with a daylight white balance and remove some blue but add in some red. Then adjust some of the color chrome settings and you’re pretty much good to go. It’s a great look to use as a daily driver but it does often come in a bit warm because of the forced daylight white balance.
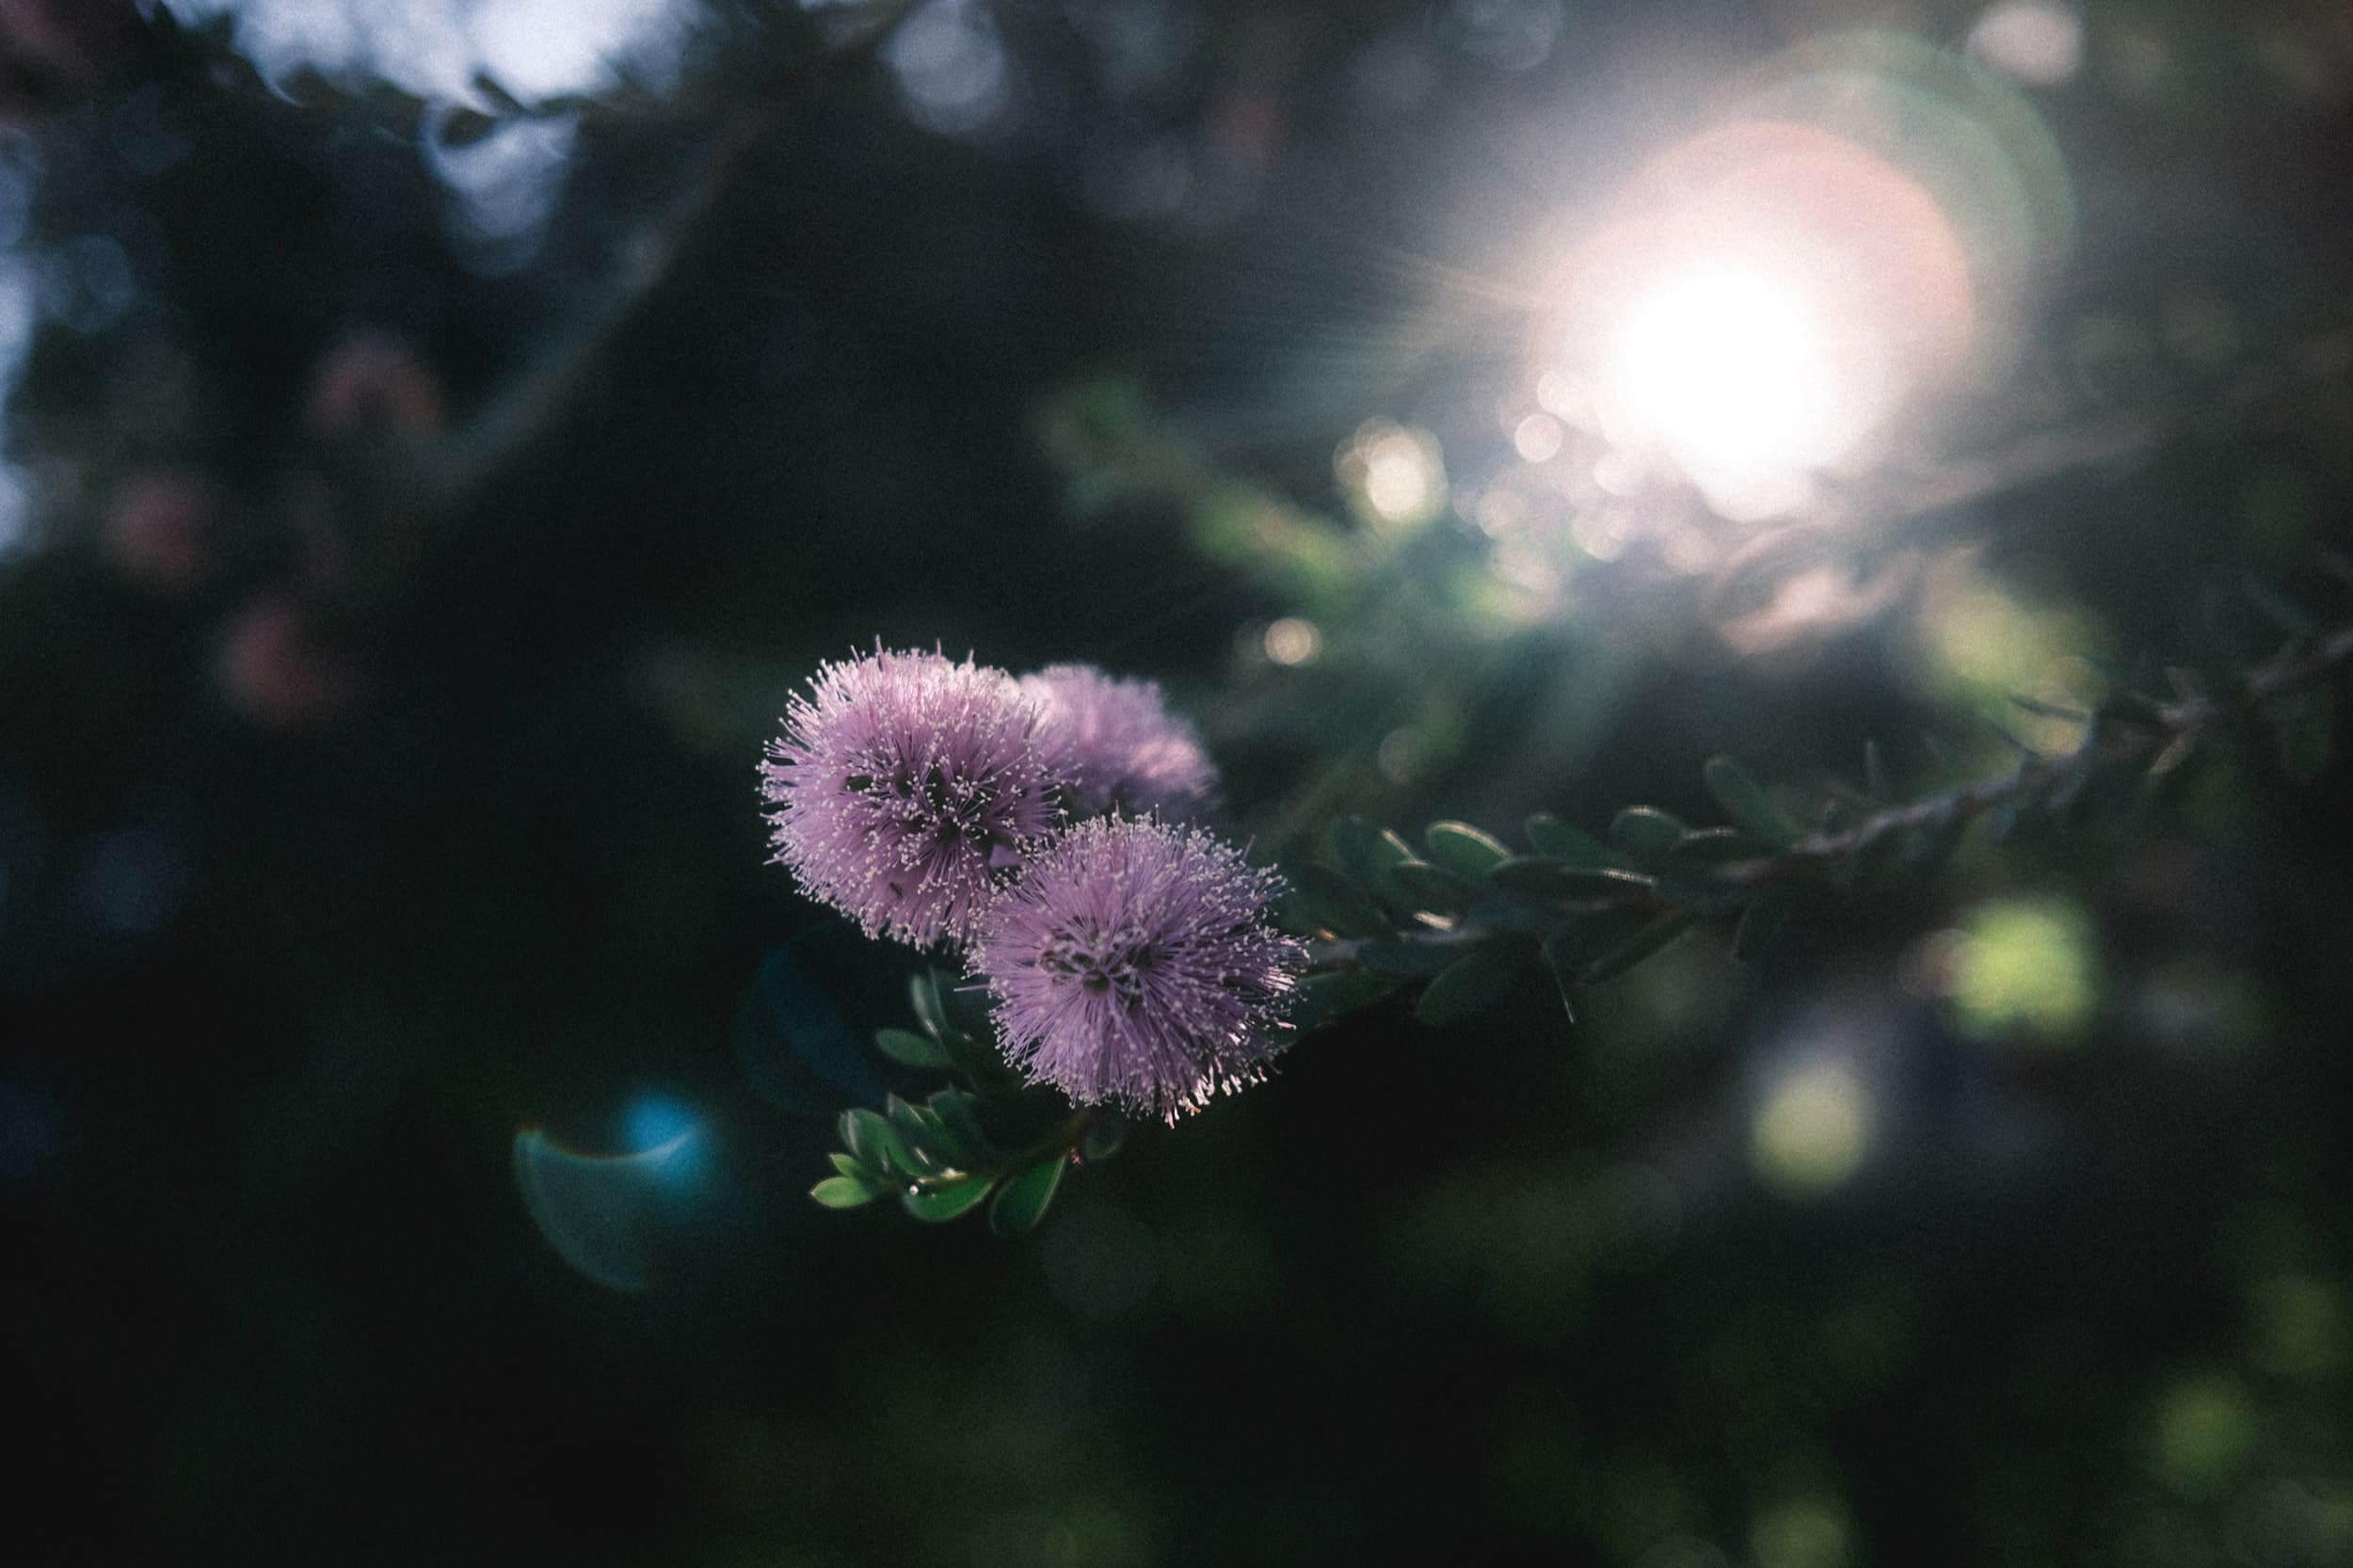
Kodachrome II Fujifilm Custom Profile
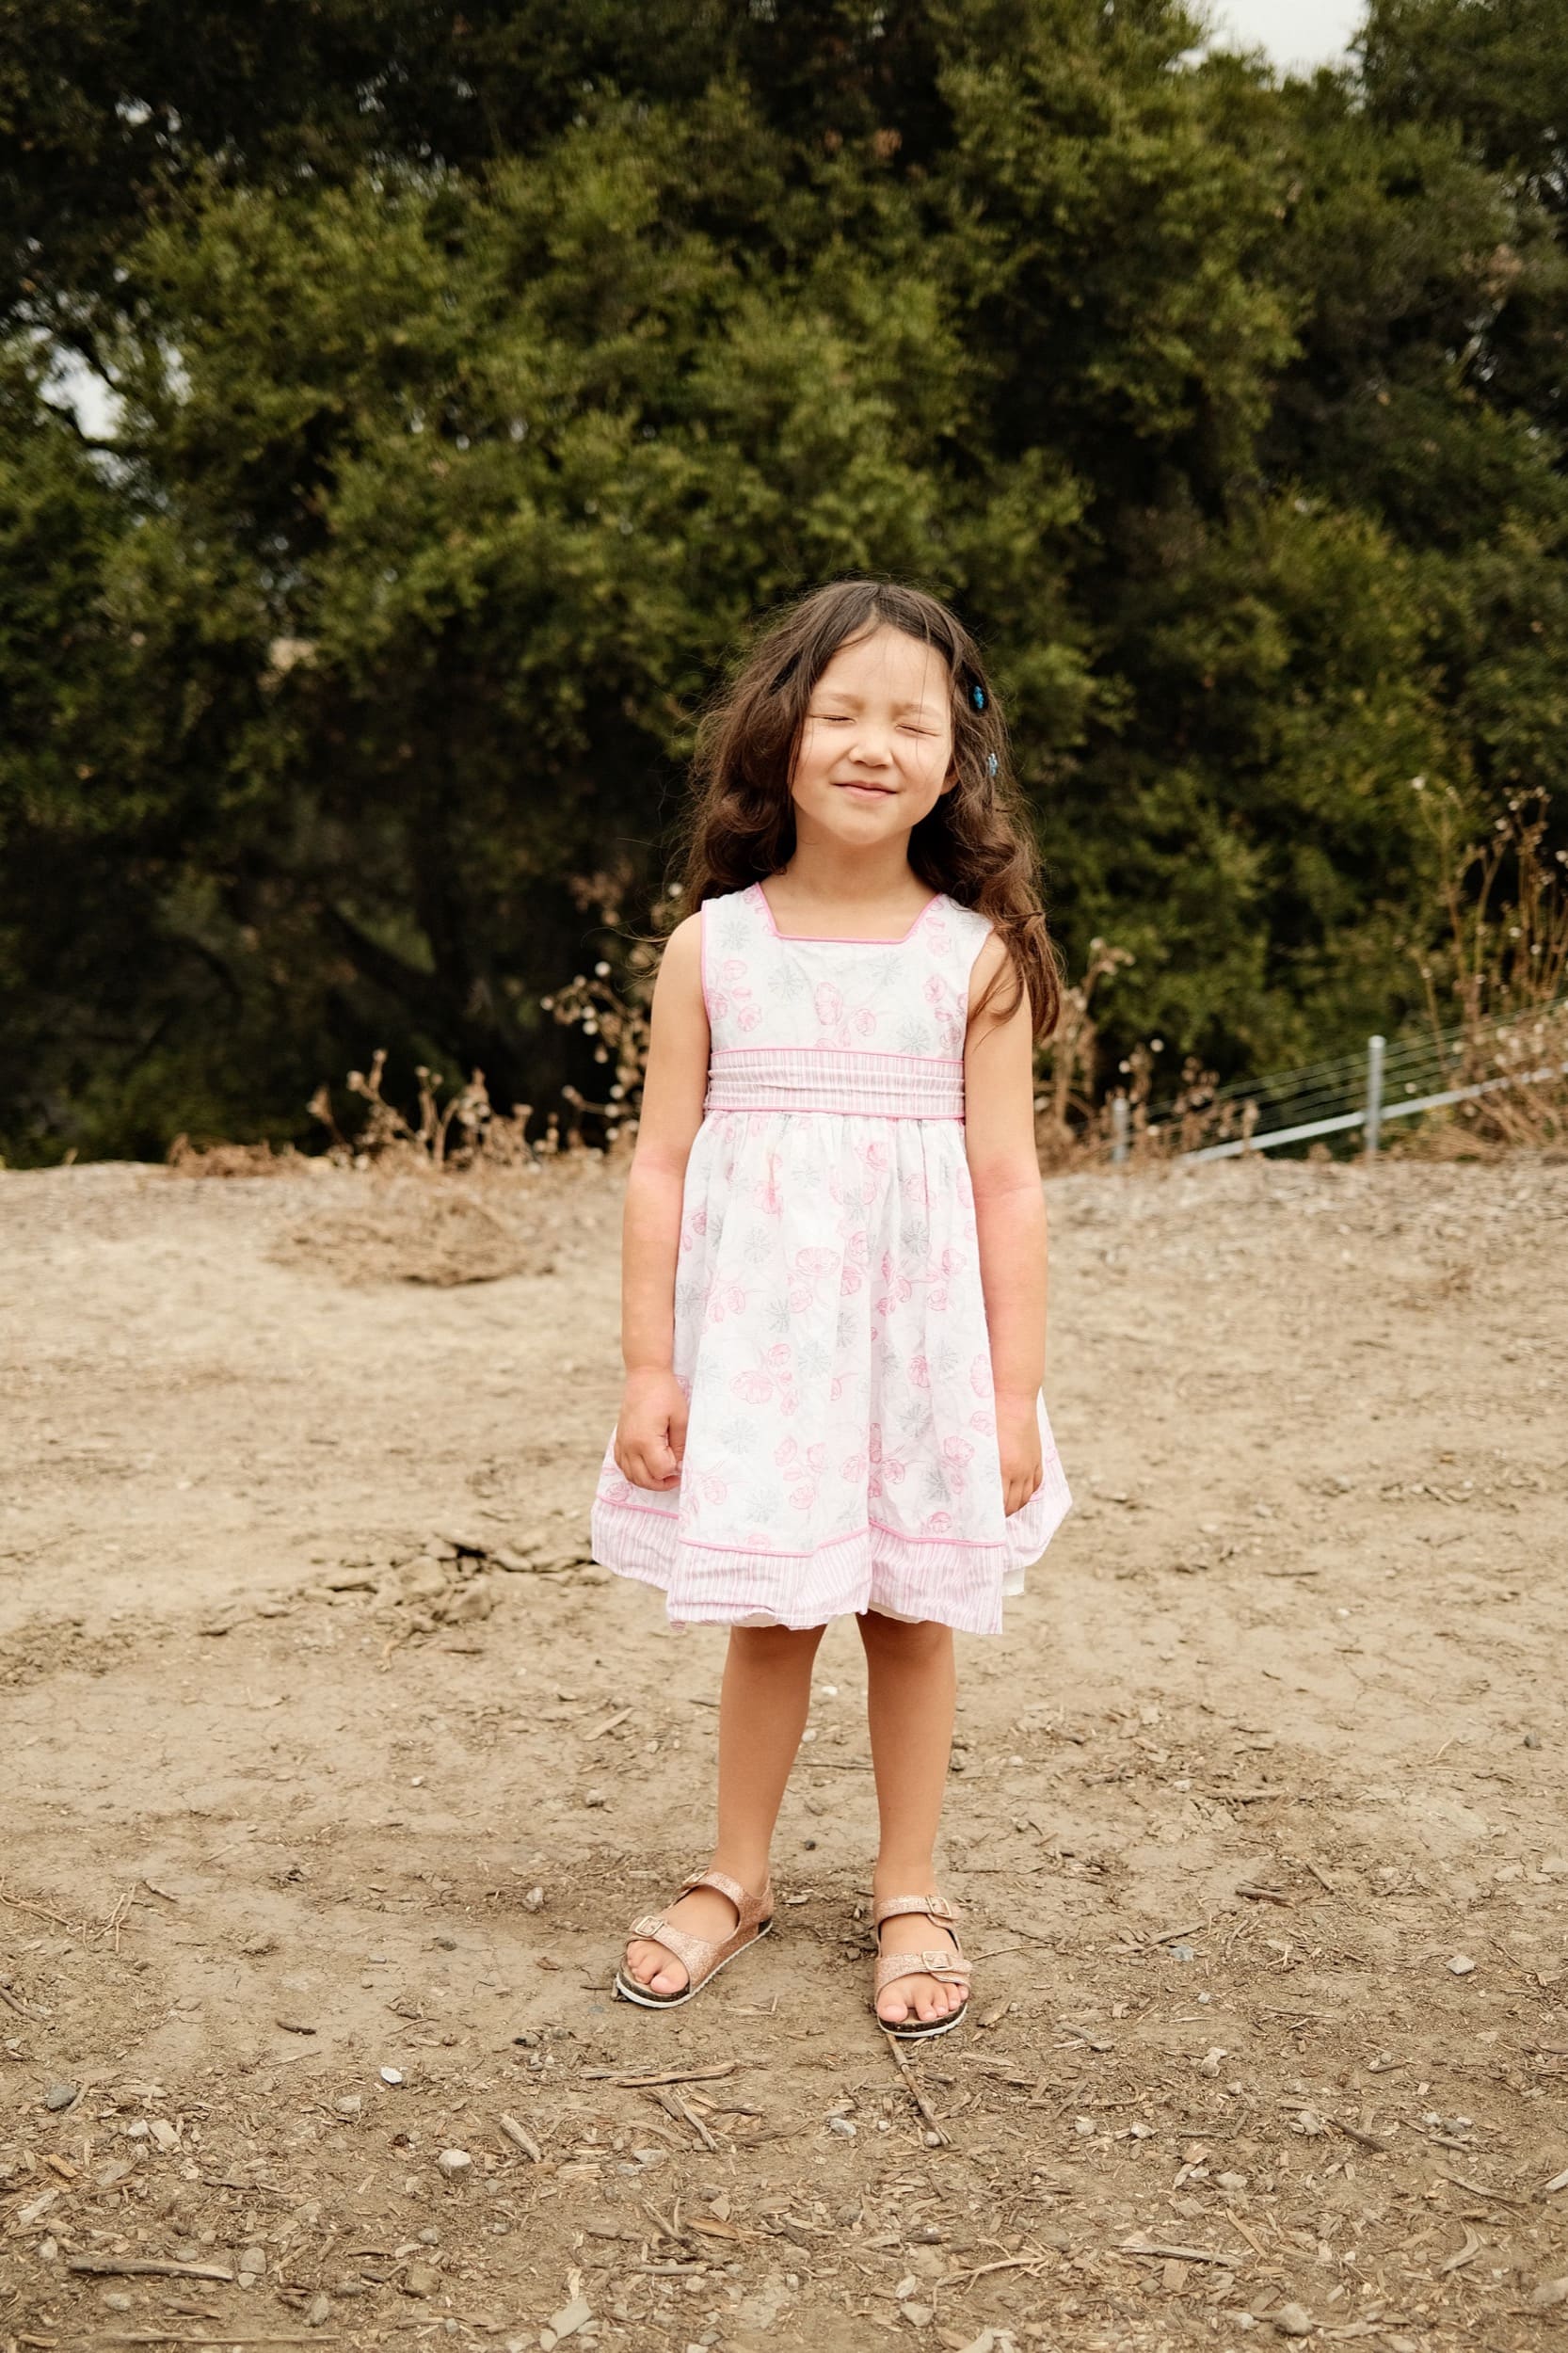
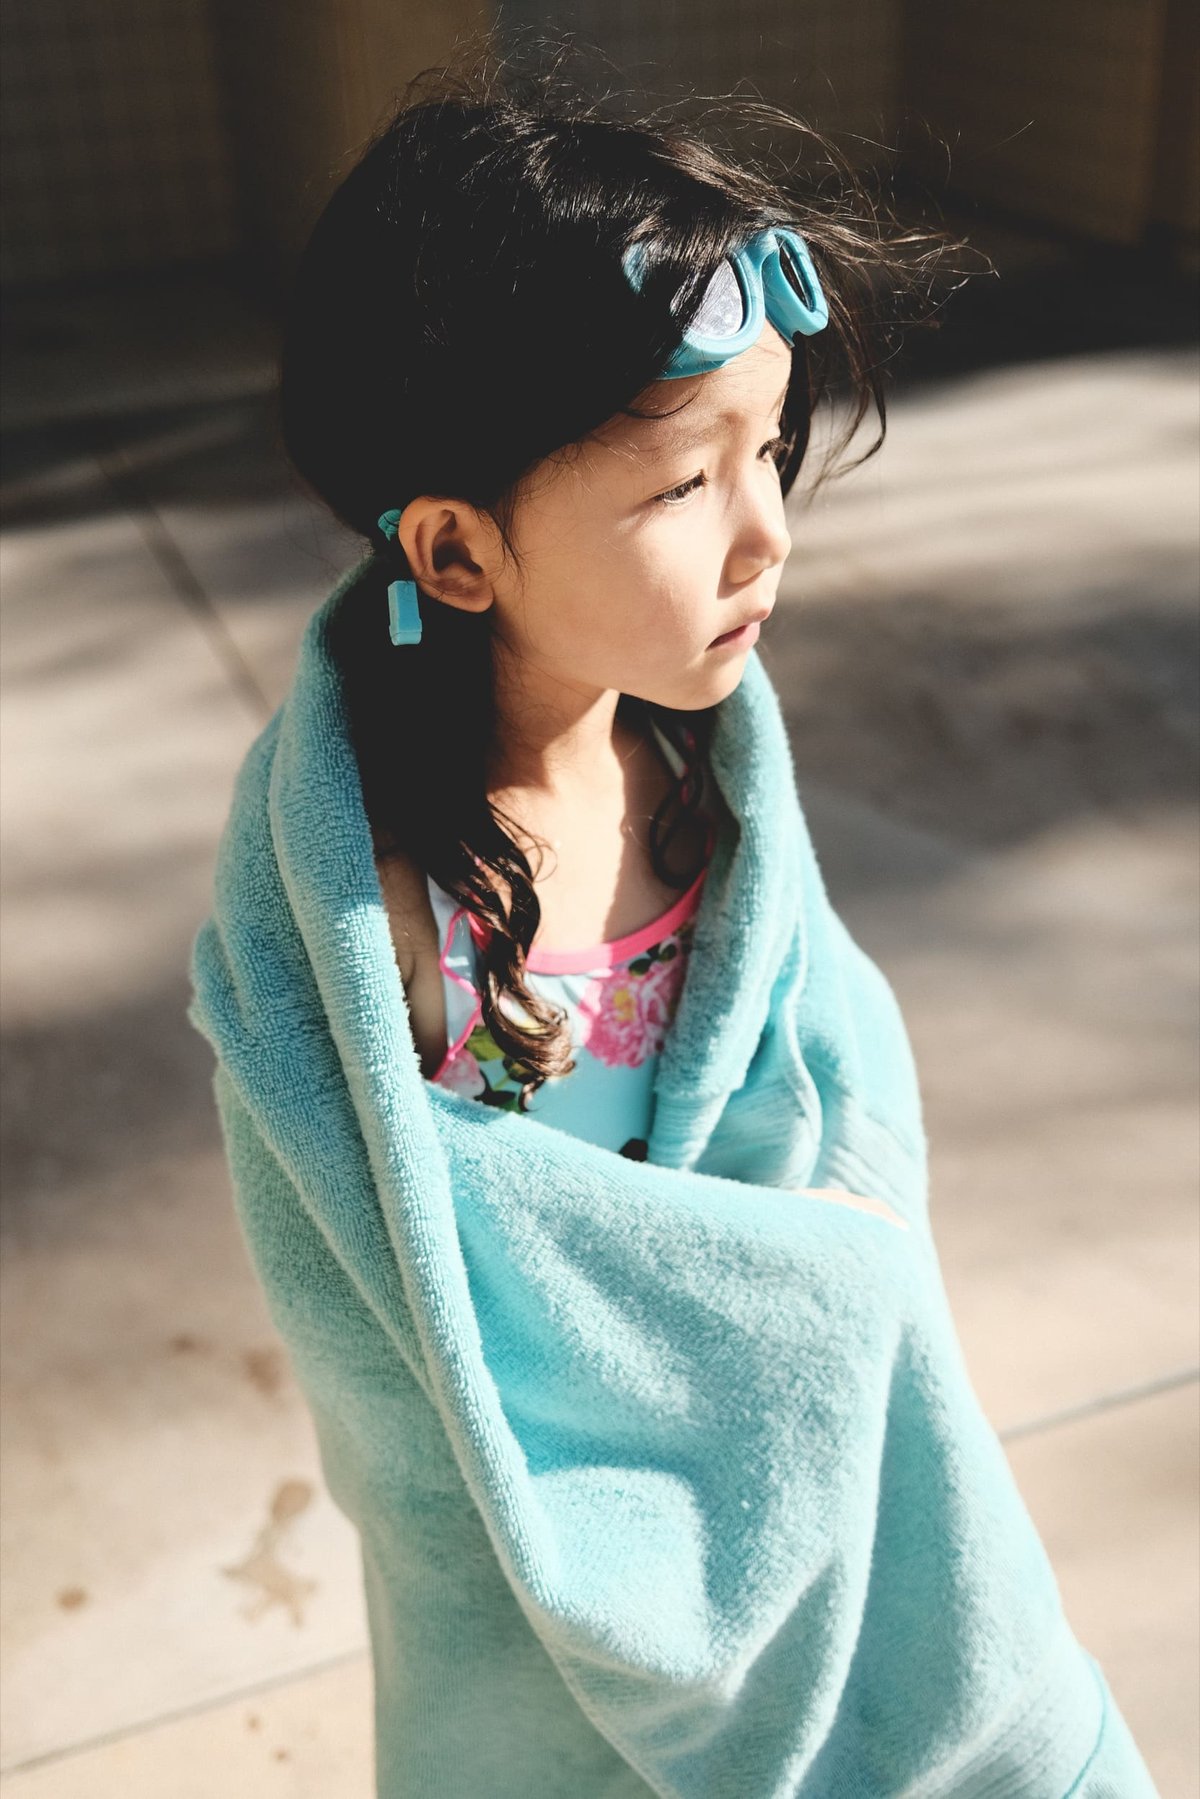
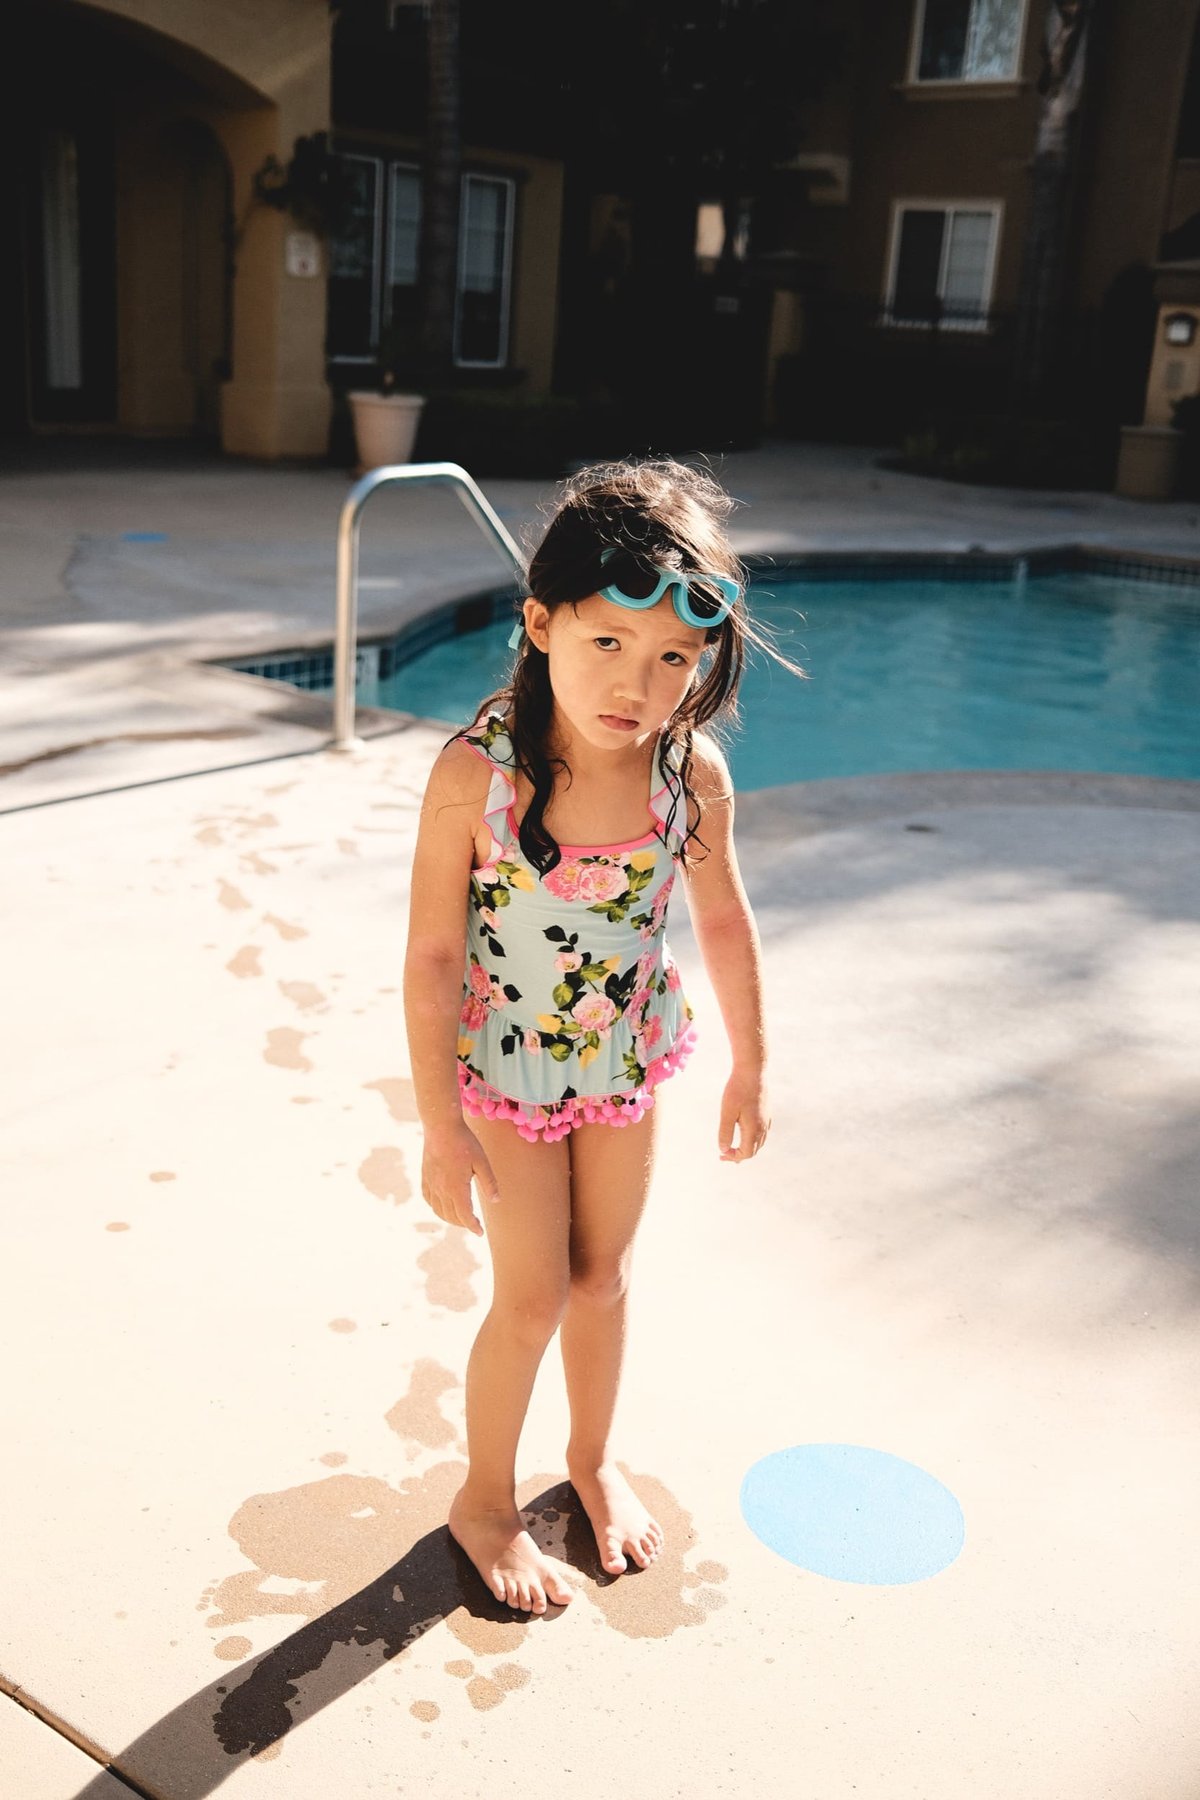
Kodachrome II is an older look also based around Classic Chrome. Unlike Kodachrome 64 this one uses an AWB which makes it a little more versatile. This look works really well with the blues and teals, but it probably could use a bit more warmth.
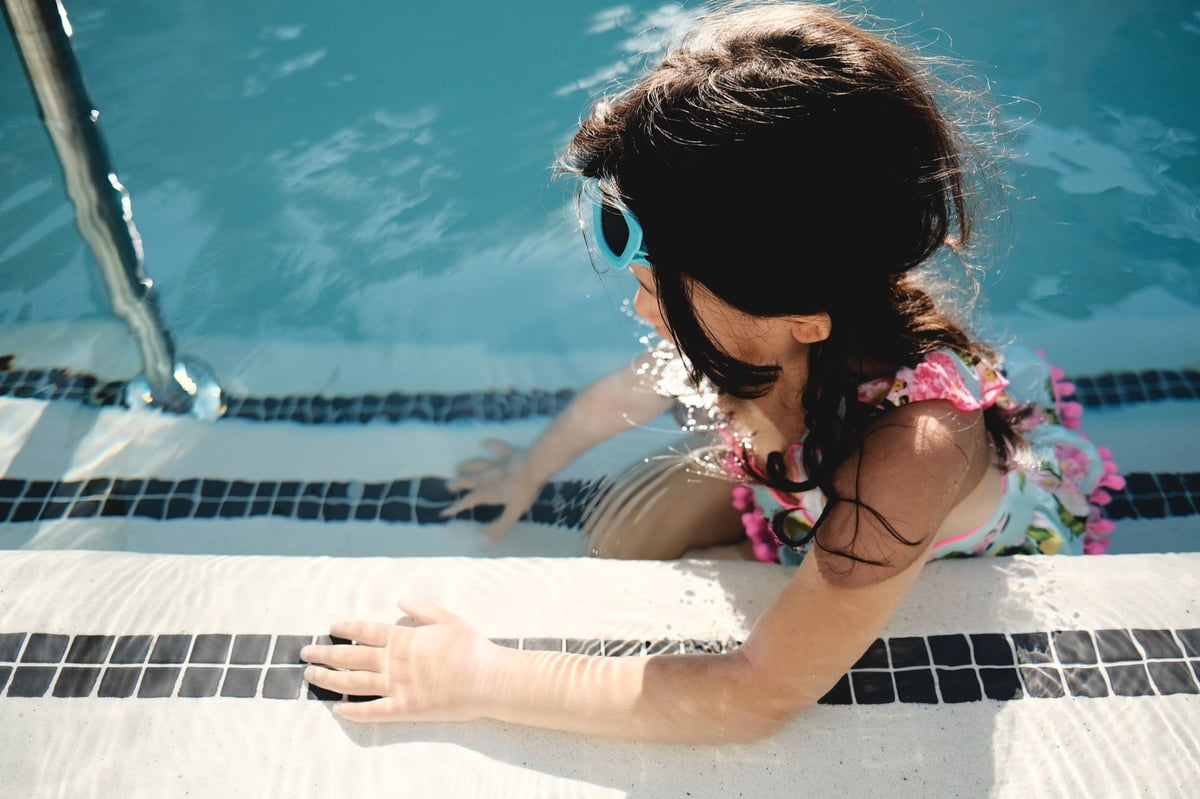
Even though it may not seem like it, this effect pushes the reds and reduces the blues with the WB Shift. By doing that you get a nice calm blue and almost peachy skin tones. Dress your kids in light blue or teal, with pink accents, and go to the pool or the beach. You’ll get an almost perfect triadic color scheme between the skin tones, the blues and the pinks, which you see here. Very pretty with a calming pastel look.
For years Classic Chrome was all I really used, it just works so well and this is a fantastic way to enhance it.
This look also can be done with the older X-T2, X-Pro2, or X100F.
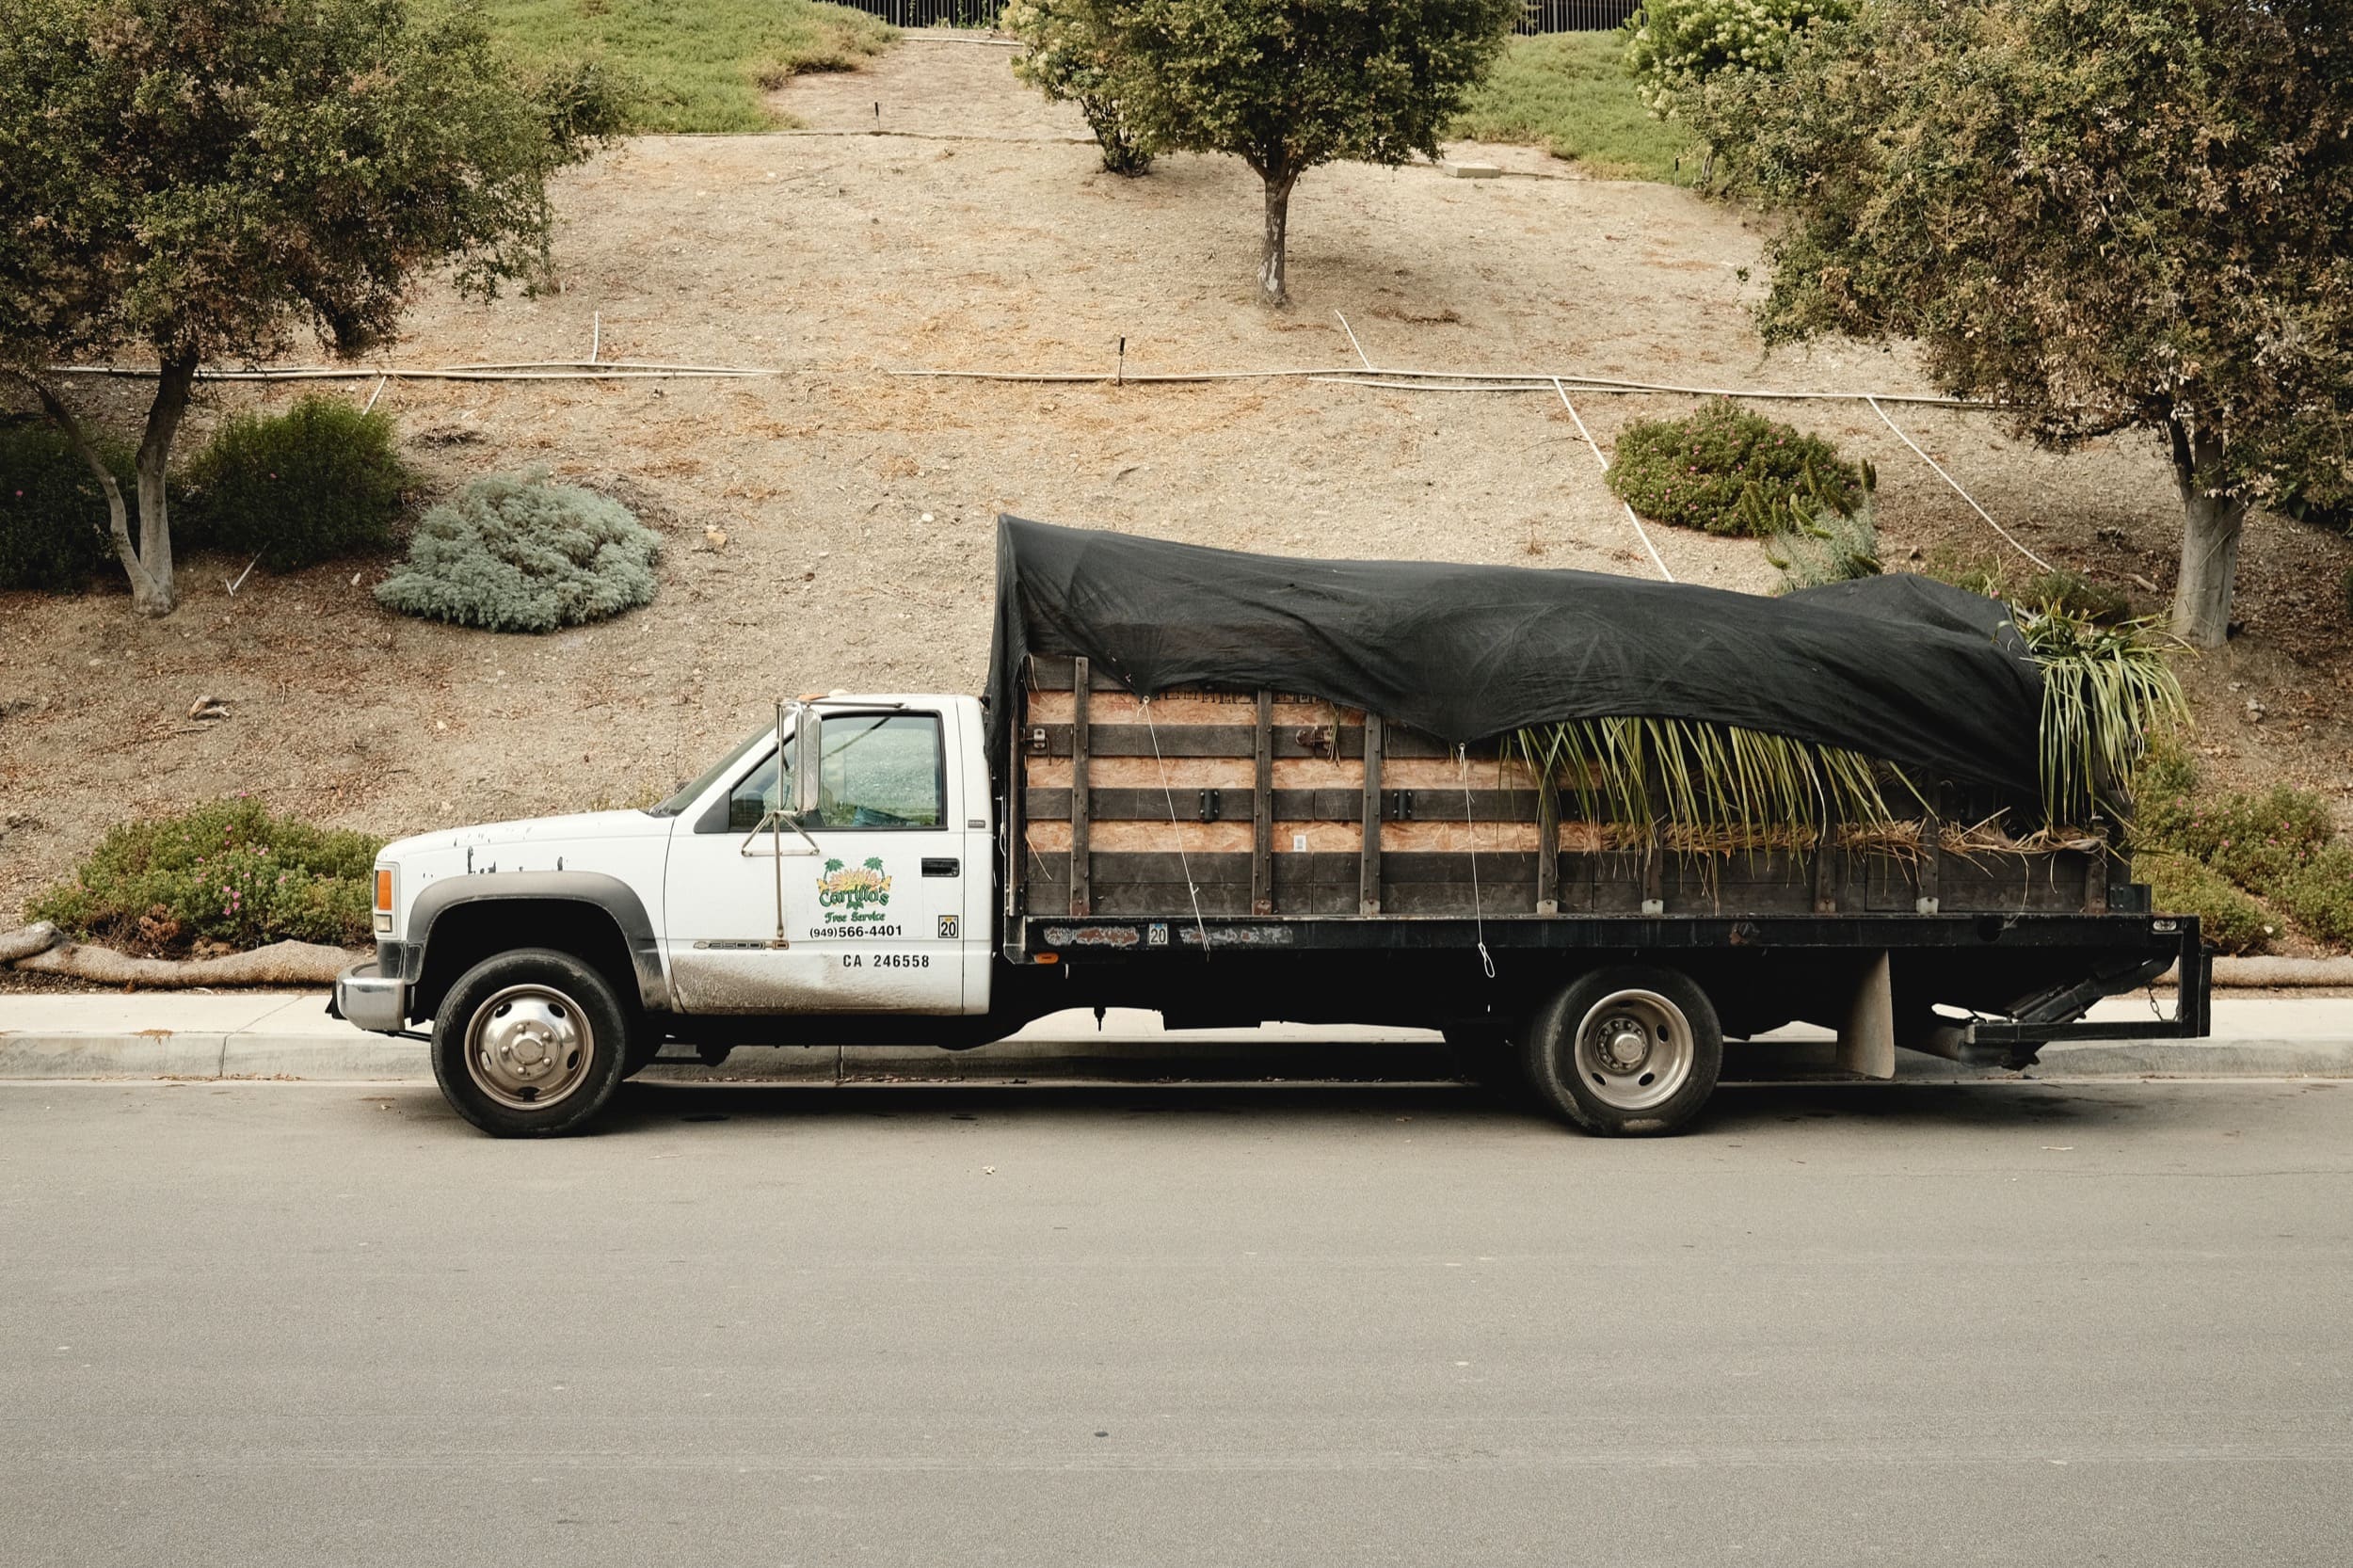
Superia 1600 Fujifilm Custom Profile
The Superia look is more of an analog look that uses the clarity filter, so it’s helpful to have one of the new cameras with clarity. It’s also based around Classic Neg, so you’ll at least need an X-Pro3 or newer camera to use it.
It uses the Daylight WB with some WB shift adding some red and blue and also some heavy grain. Although I do find the Large Heavy Grain to be a little too much so I’ve turned it down to a Heavy Grain set to Small.
I haven’t found a Classic Neg look I totally love yet (it just looks too retro), but this gets close. I think this look would work better with clarity at 0 or no more than -1. Right now it’s set to -4 which sometimes can make it look like you’re shooting with a plastic lens.
Can you match these looks with RAW files using the Lightroom profiles?
I’ve tried. It’s tough but I’m going to spend some time on it this year and see what I can come up with. The Lightroom profiles were never the same as what the Fujifilm in-camera engines would give you. The in-camera engine uses significantly more complicated color and tonal manipulation based on exposure and ISO, than what we get by just setting the profiles in Lightroom.
How To Get The Old School Film Look
Using the film simulators with the custom recipes doesn’t guarantee a cool 80s look, or a fashion magazine look. Often it’s very situation and you’ll need to use the right film simulator recipe in the right environment. Or find the right color harmonies to go with the right film simulators. You’ll also still need to apply a fade in post with a lot of the recipes.
Most of the looks really like lighter colors with light exposures and they don’t work so well with darker colors with a lot of saturation.
These shots don’t work well at all.
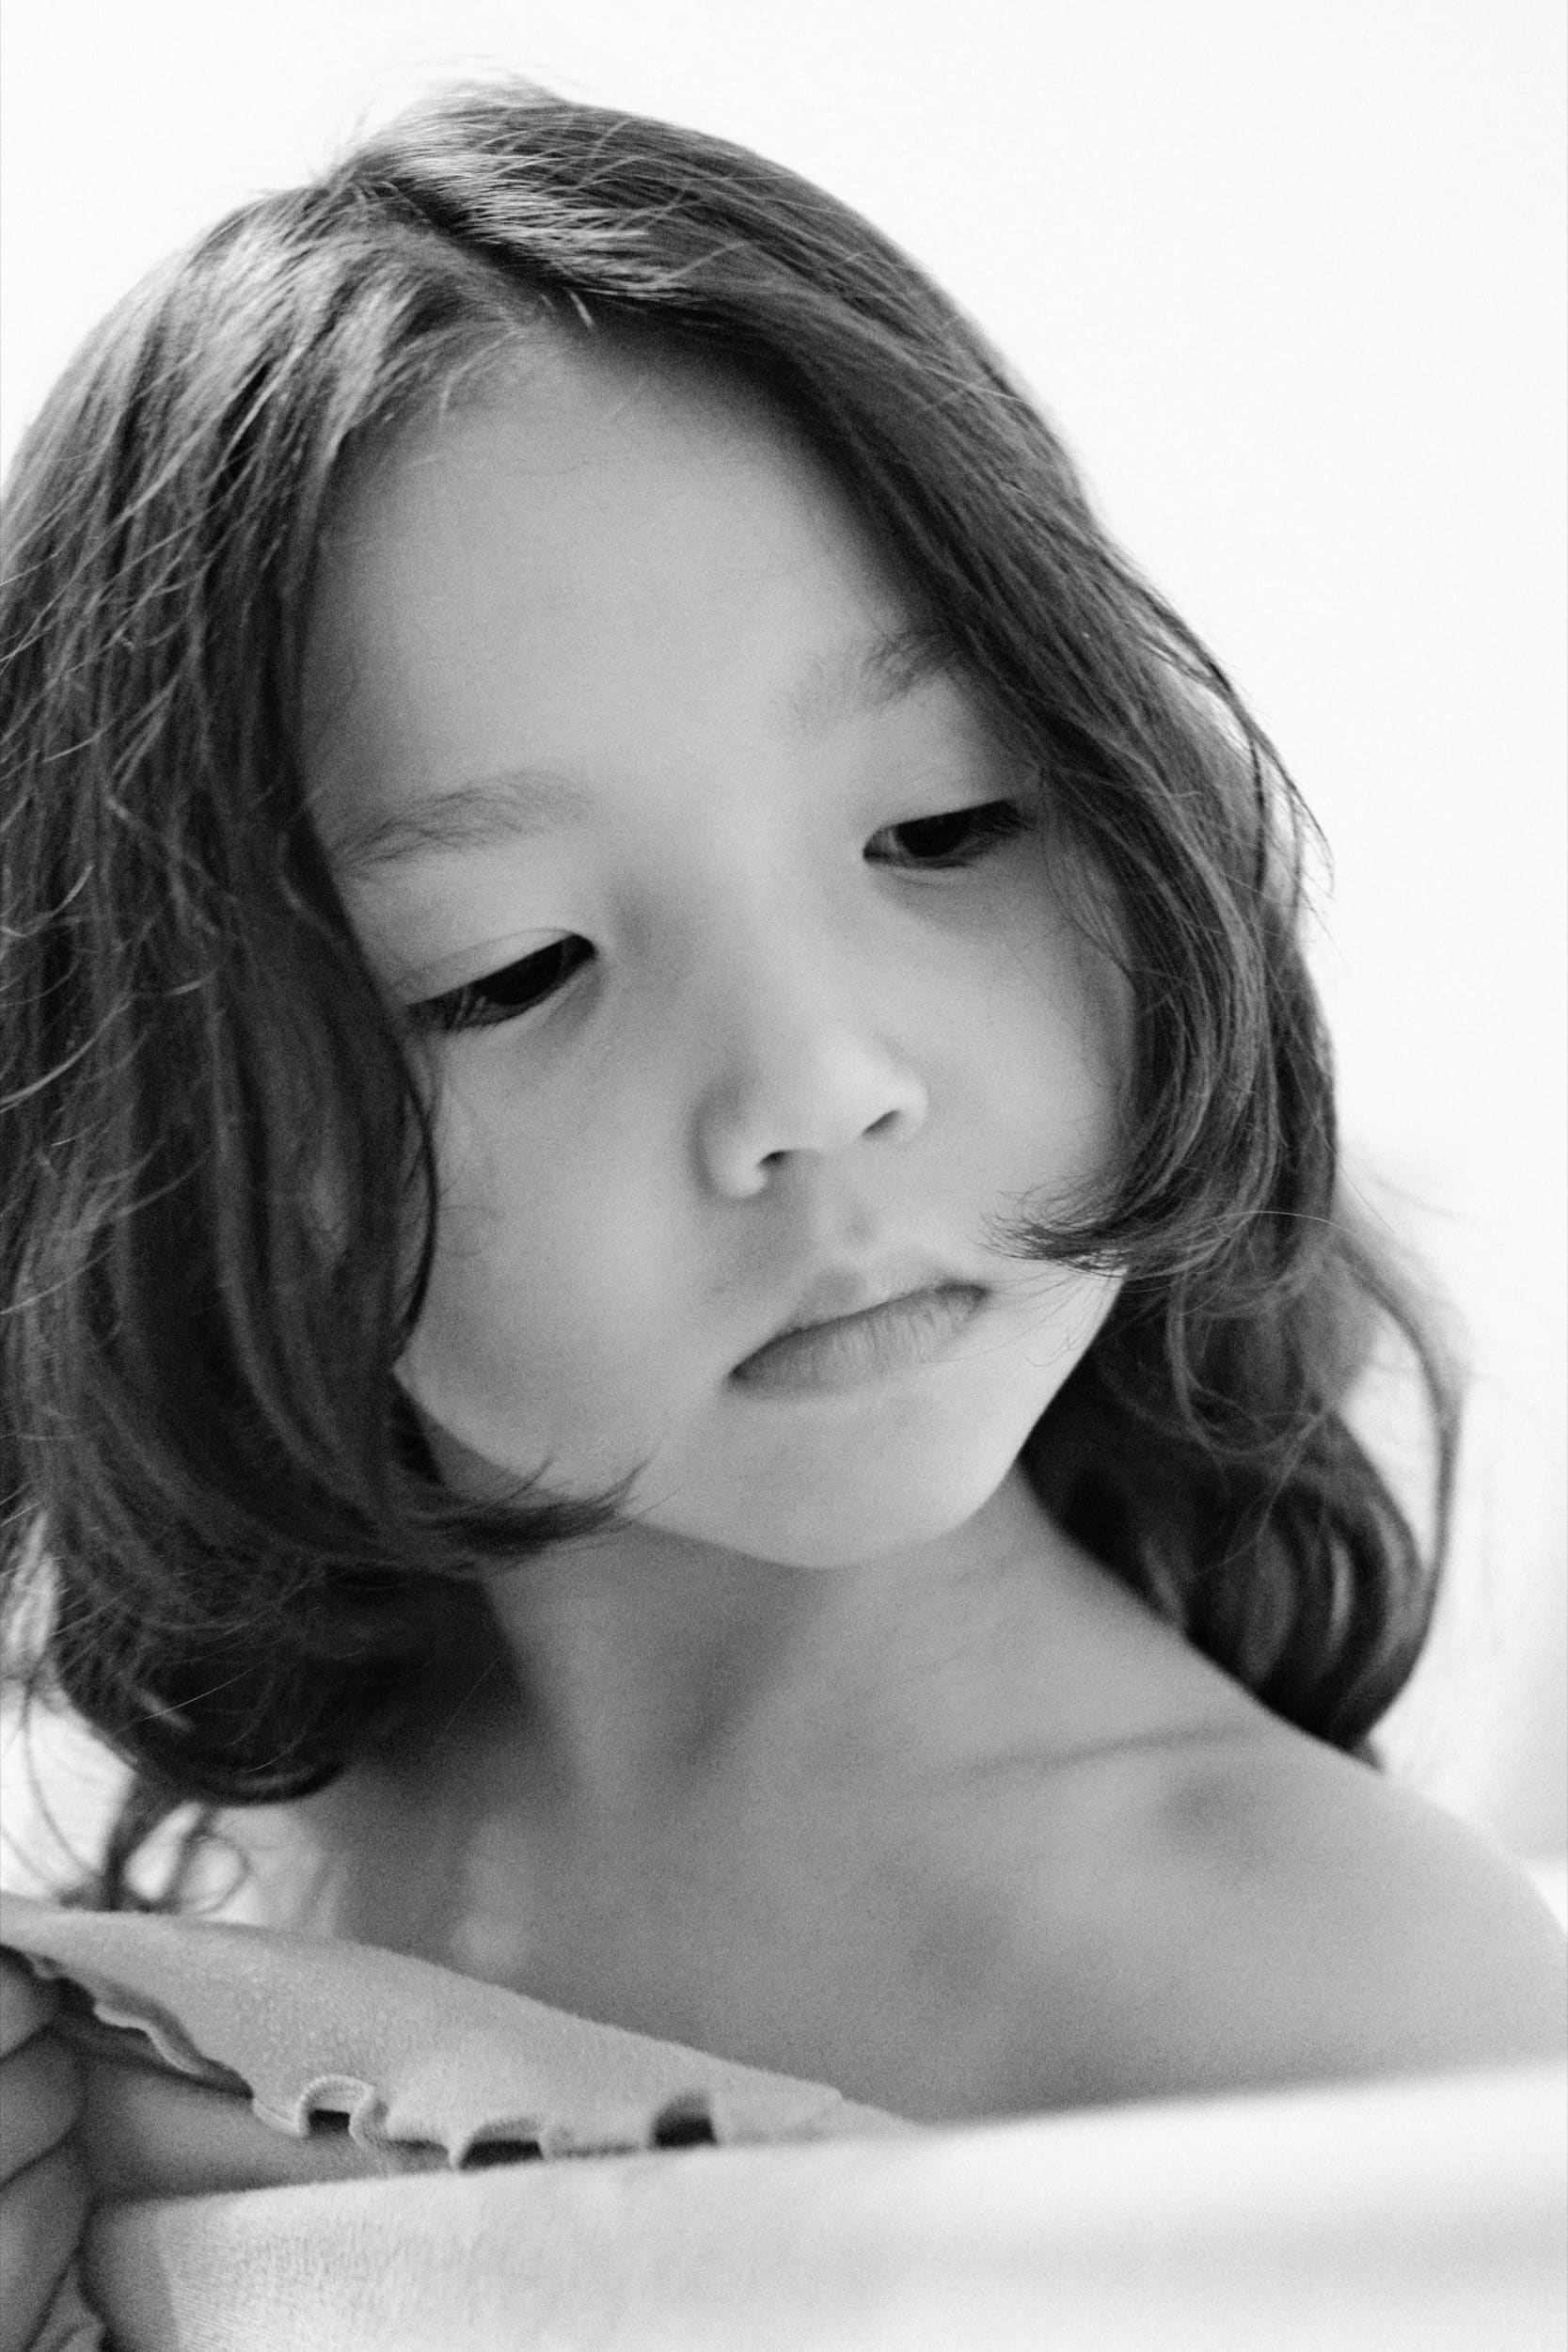
And I find it’s often best to just stick with B&W when shooting indoors at night.
This is an Astia+R look I built.
Once you learn what makes the best looking images you can train yourself to shoot for that and you’ll get some super classic looking shots straight out of the camera. It just takes a little time.
Enhancing The Look In Post
Fujifilm has yet to really add the ability to fade photos in-camera, so I like to add a little fade in Lightroom. I do this by just lifting the blacks a little with an Input and Output set to maybe 20. You can also really easily do this in Instagram. I usually add a 5-10 fade on all my photos on Instagram just to keep a consistent feel with the shadows.
The Kodachrome recipes sometimes look good with the highlights pulled down a bit too.
If you’re going to do anything in Lightroom you could also forego adding grain to your shots in-camera and instead add it in post. The Lightroom grain looks very good, same with Capture One, but I don’t do this.
So my workflow with these shots might involve bringing the photos into Lightroom for organization and backup, lifting the blacks a touch, maybe pulling down the highlights a touch if it works, maybe adding some grain, but I just do grain in-camera since I know I’ll always add grain anyway.
I also think I’m going to bring back the white border to my IG posts which helps to control the presentation.
Why Use These Color Recipes?
If you find you struggle with coloring your images and don’t really like to spend a lot of time editing but still want to find or create your own look and style, I recommend checking out what FujiXweekly has been doing or hunt down the other shooters that share their formulas. Find recipes learn from them and modify them to your own liking or make your own. It’s an absolutely fantastic way of generating styles different from everyone else without needing a lot of time in post. Especially if you create a synergy between color harmony and the film simulators.
One thing to keep in mind, a lot of these looks require setting manual white balance, so it’s often hit and miss, and the looks can be very situational so there is a bit of a learning curve. But once you get it, the images are unlike anything you can generate with any other camera system.
To learn more about the X100V check out the Fuji X100V Review.
**This website contains affiliate links. If you want to support this site, we will earn a small commission on any purchase made through these links. |
The XT3 was the first camera that allowed WB color shifts to be saved in C1-C7. Basically all of the Xtrans-4 cameras.
After developing a bunch of C41 film stocks last week I was reminded just how desaturated negative film can be. In 35mm it can be really unsharp and mushy too.
I actually don’t think this is the look many love about Fujifilm film simulations. What they feel like to me is professional prints from medium format studio shoots. Smooth tones, sharp, great skin tones and, yeah, desaturation or color shifts. What comes out of a Fuji as jpeg looks like what I would see in PDN magazines In the 90s from guys shooting Hasselblads and Fuji GX680. It’s less nostalgia and more picking up where we left off in the art of color science but at your fingertips.
Before Fuji X I was shooting full-frame Nikon and spending loads of time in Lightroom dialing in filmic looks. Now I just put in the effort to nail exposure and do raw conversions in camera. My SD cards rarely leave the camera these days.
It’s funny you mention this, I wrote about this in the draft of the article and then removed it thinking it wasn’t relevant.
When I was shooting film in college for our classes probably back in 2002, we were sort of trained to get the more professional look, to process it with the enlarger to get the correct color balance and contrast, doing everything by hand. Our film was to be kept in the refrigerated until used and we processed the film as soon as possible. You would even get points off your grade if your prints looked like crap. That’s still what I strive for, good looking prints, but I like the sort of color science that a lot of those films were set up to have.
I think the nostalgic look that we often see from point and shoot cameras comes a lot from totally miss handling the film. I still have a box of film from the 1990s and some point and shoot cameras that need to be developed. I’m so curious to see what they look like.
Another thing is that film evolved quite a bit from the 1970s to the 1990s. It got much more stable and better in low light, I think some of the point and shoot cameras were using more junk film maybe as well since a lot of our family photos from the 80s are heavily shifted, which also could come from the balance of the chemical processing.
I remember in school, if you got your film developed at Rite Aid vs a much more expensive professional shop, you would see completely different results. Then the paper you projected on could also shift and the chemical bath you soaked it in could also produce different results.
Man thinking back, it was such a pain. It took so much work, so much trial and error doing test strips.
How do you save WB shifts in the X-T3? I thought this was introduced with the X-PRO 3 which came later. People have been requesting this feature as a firmware update for the X-T3 but Fuji are doing fewer updates for older cameras now and have already moved on to the X-T4. If you know how to do this in the X-T3 then perhaps I missed something?
Ben, for the XT3 you make your custom profiles first w/o the WB color adjust. I always hit Q and scroll through these profiles. If I enter a custom WB profile while on that profile it’s associated with it. Even if I use a different profile with auto WB and come back the custom setting is there. The limitation is that you can only have 3 custom WB settings, outside of auto or incandescent light, etc.
Very nice work, Alik! Thank you! Could you please give me/us some screenshots from your Fuji-Rawconverter? Would be a huge benefit for me… Your fanboy Roman
I’m loaded up with 7 different looks. It’s hard to screen shot because there are WB shifts in them.
You can see what I used in this post here: https://fujixweekly.com/2018/08/19/my-fujifilm-x-pro2-kodachrome-ii-film-simulation-recipe/
and here:
https://fujixweekly.com/2020/05/27/my-fujifilm-x100v-kodachrome-64-film-simulation-recipe/
He has the setting all listed out.
@AlikGriffin:disqus – have you tried any of these on your Nikon Z https://nikonpc.com/?
No, but this looks awesome! Thanks for sharing! I”ll start messing with these. I was actually already experimenting with some of the Nikon JPG controls to see if I can get a similar thing. They have a lot of tools there.
You’re welcome 😊 I still shoot raw but I use these a lot to help me “see” whilst I shoot in colours and tones that I like. I use the Kodachrome quite a lot
Might be cool to mix these with even more of the in-camera WB controls and clarity to see if we push things even harder.
Will you do a post on your trials with the Nikon? I’d love to see what profiles you’d recommend.
Great article. 2 points:
1. Capture One will import RAW images with the same color settings as taken in-camera so you can start with the in-camera efforts and then tweak from there.
2. An in-camera fade can be achieved by using the double exposure option on the camera & then using a white or gray surface for the second exposure. Some experimentation is needed to get the desired results (i.e. you might want to bump color up a bit so it’s not completely washed out with the second exposure).
That’s good to know. Do you know if Capture One also do the Color Chrome effects? Or does it only just pull over the shadow, highlights and WB shift?
I had a trial but it expired.
That’s… a good question. From what I can tell there isn’t a way to “toggle” color chrome in C1, although it is possible to reprocess a RAW image in camera with custom settings. (For anyone who isn’t aware, hitting the Q button while displaying an image will open up a menu option to edit the image properties & then create a new JPG — it’s really useful for taking 1 image as a baseline and then applying custom settings against it to see how they change the image.)
Otherwise, what C1 will do is set the ICC profile to your camera, then the Curve to “Auto” which applies the in camera adjustments to the RAW file. The “Curve” selection is a drop-down with all of the Fuji film simulations being available to select. I’m pretty sure though that if you drop down and select, say, Astia or Eterna film sim, it then applies all of the “standard” adjustments associated with that film simulation. (White balance settings should stay the same, I believe.) So if you’ve created a “kodachrome” custom film simulation, then switch to Eterna, it’ll readjust the highlights/shadows etc to that stock film sim. Fortunately, you can always go back to your in camera settings by just reselecting “Auto” from the drop down.
You do have me curious now to do some research into how one can apply the color chrome effect in post. I’m a huge fan of the option, I seem to enable it on just about all my custom film simulations. It’s such a subtle difference, but I tend to lean towards a richer depth of color.
At any rate, I’ve found C1 to be the most “Fuji” compatible editor available. (The Fujifilm specific version of the program is significantly more affordable than the full blown version, with all the same features — it’s just limited to editing files from a Fuji camera.) I opted to purchase C1 for Fujifilm outright, and then I pay for Adobe CC’s photo package monthly as I need it. (I think I paid ~$120 at the time, but they’re running a 25% deal on it right now so it’s $98 — I went to check the price so I didn’t misstate it & saw the deal.) They do also have a free edition which is still rather powerful (not a trial); I don’t recall what the delta is between free vs paid, but it’d be worth checking out.
I’ve definitely seen my post processing workflow be reduced or in a lot of cases eliminated entirely with the Fuji in camera options. At the very least, being able to get ~75% or more of my intended result applied in camera and then just applying minor tweaks in post is far more efficient than my pre-Fuji days (read: Canon) of PP’ing every “keeper” image from a session.
It’s also brought me back to the film days of doing everything I can to ensure my composition and camera settings are where I want them to be before smashing that shutter button, as opposed to relying on post processing to be a magical fix-all. (I’m anxiously awaiting a firmware update to my X-T3 to bring it closer to the X-Pro 3 / X-T4, particularly on storing the WB shifts & possibly some of the other adjustments like clarity etc; I don’t expect all of them, but I’d sure like to get some of them without feeling compelled to upgrade the whole camera body.)
I don’t know why your long reply to my reply isn’t showing here, but I would also love to figure out how to do Color Chrome in post. I remember when Fujifilm first offered it they said, something like “you could do this in post but it take you awhile.” So it’s possible. It might just be some sort of tuning the vibrancies of certain colors, or is it something like color contrast like found in Luminar? It might be, in that case it might be a trick you need photoshop for. Or luminar.
“But as I get busier and busier with work and kids, simplicity is the new trend in my life.” LOL! Welcome to the club! Diaper changes, feeing, playing, entertaining… Love ’em to bits, kids are amazing! But “ME” time has all but disappeared! 😀
ha ha ha ha yep!
Heh, I finally get the film simulations, Alik. I recently decided to order some prints and was going through my shots from my trip to Japan before COVID hit. It’s taken me hours after culling just to get a few pictures the way I like them. It would’ve been so much easier to start from some nicely dialed-in JPEGs…
Are you not able to mimic this in raw and lightroom? Seems like that is possible, but I dont know enough…
You can get close when you use the profiles and get the WB and mix right. You can actually set LR to match your camera settings on import. It’s never exactly the same because the in-camera processor does a lot more intelligent processing and mixing. They have those tools like color chrome and the color chrome blue that you can’t just duplicate in LR.