
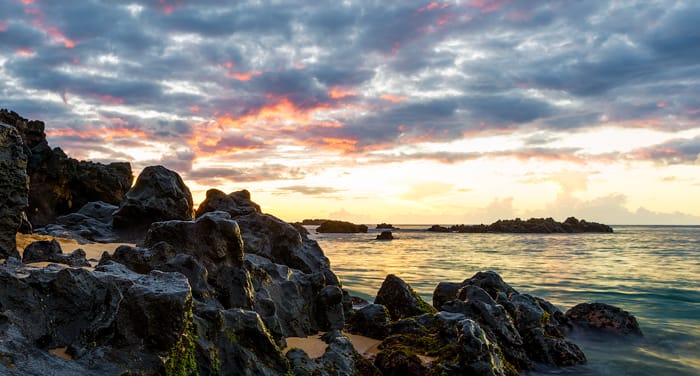
Often times when shooting sunsets you’ll find the area just around the sun gets blown out by the intense light. It’s important to bring down those highlights to help avoid lost colors and pixels in your images which will also help give you a much deeper rendering of both colors in the highlights.
It sounds complicated and it looks complicated, but I’ll show you the easiest and quickest way to correct those washed-out highlights.
First off this only works if you haven’t completely overexposed your highlights to begin with. This is why shooting bracketed exposures in landscape photography is especially important. However, on this particular shot, I was able to get all the detail I needed out of a single exposure. And that is why I love my Sony A7r. 🙂
Building Luminosity Masks The Quick Way
This technique can be done at any point in your sequence of processing your photos. I usually do it somewhere in the middle, after noise reduction and basic color and exposure adjustments.
Begin by applying a curve and selecting the layer mask.
Next, from the top menu select Image – > Apply Image
Repeat two to three times until you see that the layer mask is showing white in just the highlighted area you’re trying to correct.
Shown Here on Curves 3.
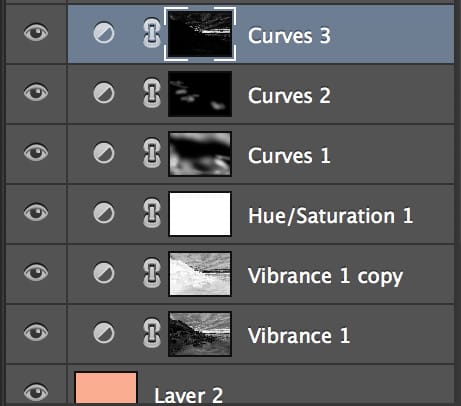
Now any adjustments you do to your curve will only be shown in the highlights of your layer masks. I usually start with just a slight dip in my curve and that’s often all you need.

The Corrected Image
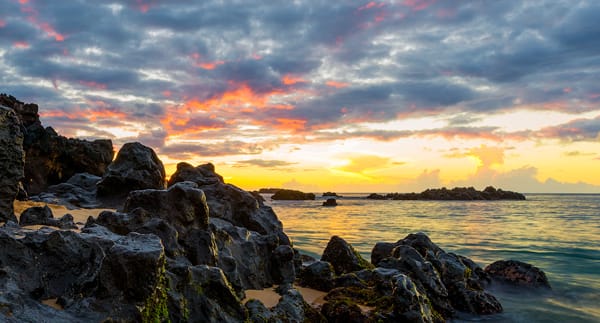
Much more detail and saturation in the highlights and clouds.
The best part about this technique is it applies the effect to all the targeted highlights. But if you don’t want everything adjusted you can avoid this by dropping the curves adjustment in a folder and applying a layer mask to the folder, then painting in only the area you want visible on the folder’s layer mask. Make sense? Good.
Recovering Blown Out Highlights
If you have overexposed some of your skies this is also a great way to bring back some color. All you need to do is select a few of the channels in the curves adjustment and bring some color back into the highlighted area, essentially applying a tint to them. You can do this by lifting the red slightly and dropping the blue to give you a nice orange or gold.
The Final Picture – Edge Of Darkness
This photo was taken in Waimea Bay of Oahu Hawaii. Processed with Lightroom and Photoshop.
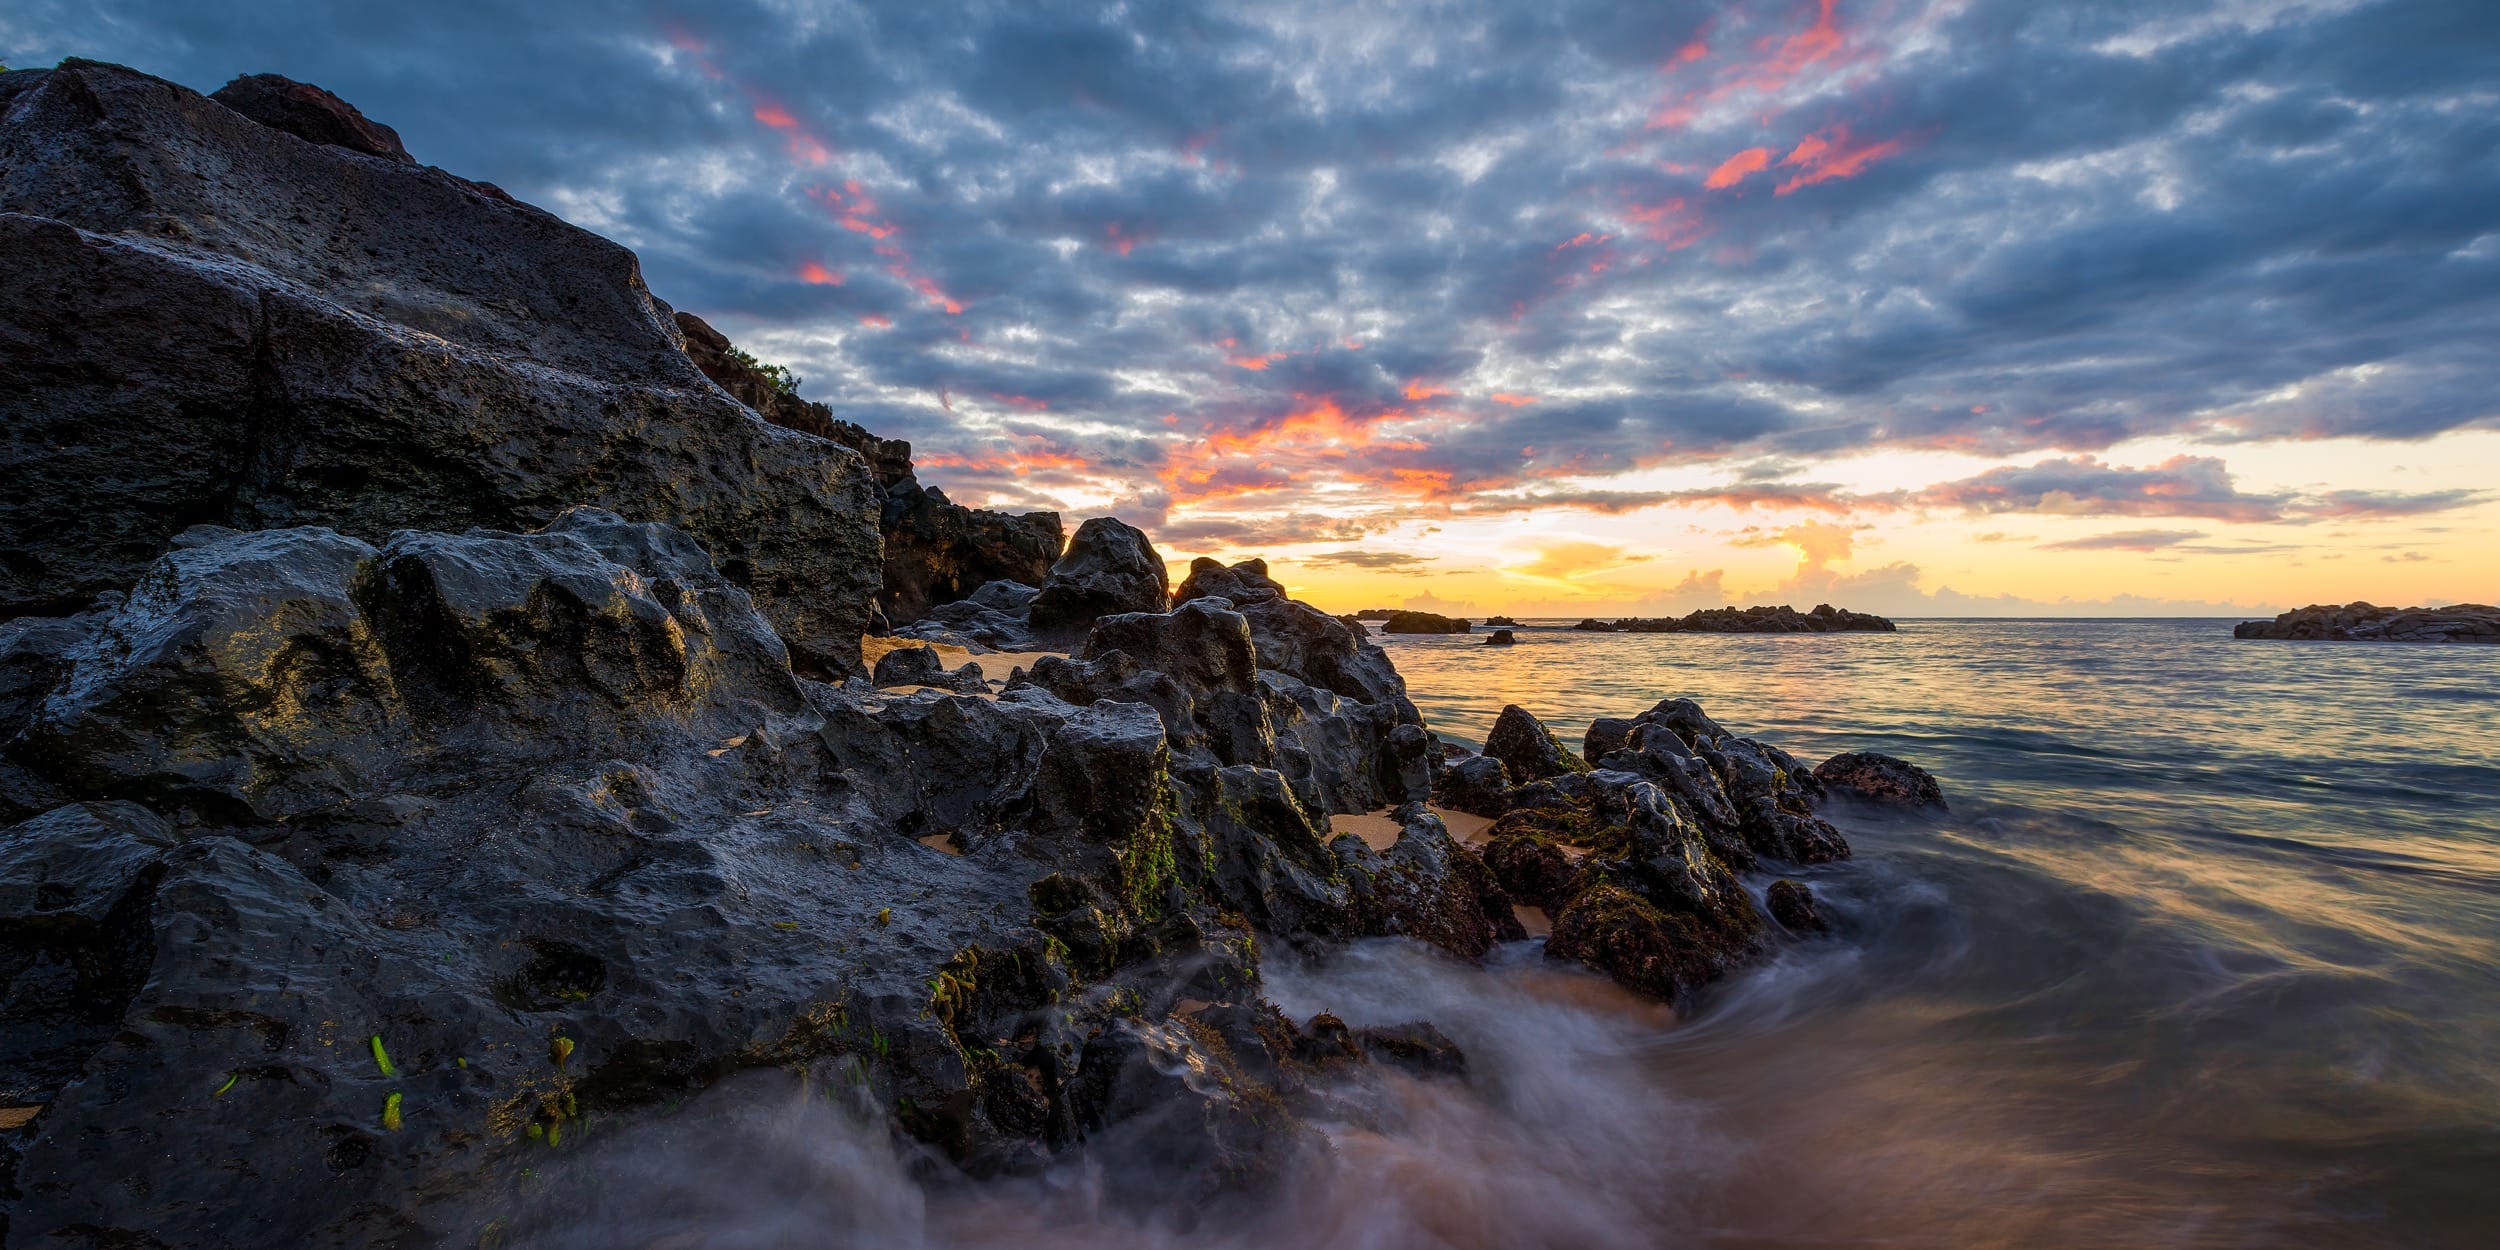
Location: Waimea Bay – Oahu Hawaii
Camera: Sony A7r
Lens: Canon 16-35mm f2.8L II
ISO 100, f13, 0.5 sec.


Leave a Reply