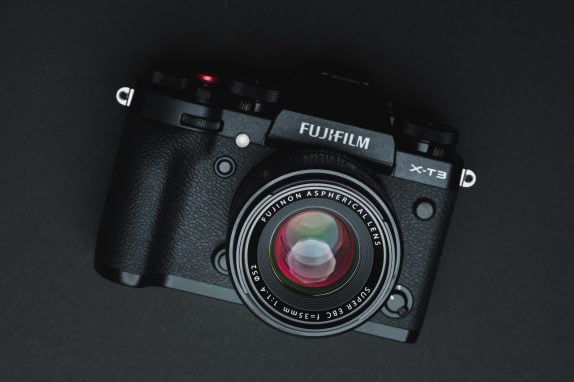
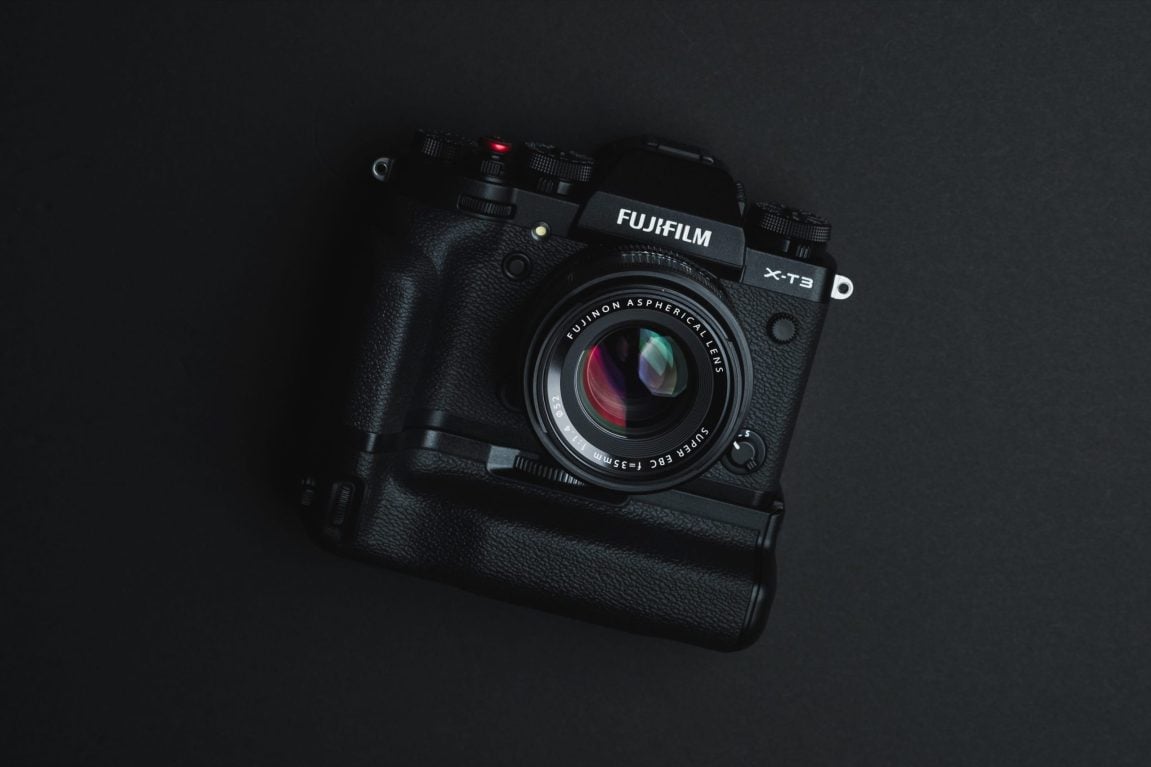
For the last few years, APS-C digital photography has been battling the war of relevancy, trying to find its place in photography among enthusiasts and professionals. Some people love APS-C, for others, it’s just not good enough.
For the second time now we’ve really been shown what APS-C can do, first with the X-T2, now the X-T3.
What Fujifilm delivered with the X-T3, man, I was not expecting this. It’s now outperforming or at least matching the Panasonic GH5s with video features and matching the sensor technology of full-frame cameras with the new BSI sensor. Fujifilm also managed to deliver crazy fast autofocus with flawless eye tracking and face tracking with 20fps or 30fps with a 1.25x crop.
Here is a short list of some of the specs.
Camera Specs
Sensor: 26.1MP APS-C X-Trans BSI CMOS 4
Processor: X-Processor 4 with Quad CPU
Video Specs: 4K60 Video; F-Log Gamma & 10-Bit
Auto Focus: 425 Focus Points
EVF: 3.69m-Dot
LCD: 3.0″ 1.04m-Dot Tilting LCD Touchscreen
Continuous Shoot: 11fps Mechanical, 20fps ES, 30fps ES 1.25x crop.
Connect: Bluetooth and Wi-Fi
Yeah, look at all those specs! 🙂
Fujifilm X-T3 Body Only / Kit Lens – Amazon / Adorama / BHphoto
Get all the best Fujifilm X-T3 accessories here.
See all the Fujifilm X-Mount Lenses
In this Fujifilm X-T3 review, I’ll be going over a few things you don’t see most people or reviewers talking about, and I won’t be diving too deep into the nitty-gritty of the specs. If you care about specs, go watch one of the 2,000 Youtube videos of some 14-year-old listing off specs and complaining about battery life or IBIS for 20 minutes. The specs honestly aren’t that important, the X-T3 is all about the user interface, how you can customize camera output and the experience of using it, with some beautiful specs sprinkled on top.
Without a doubt, this is the most incredible camera ever made. Nothing comes close. I would even go as far as saying the Sony A7III is a toy by comparison.
Fujifilm XT3 Review | First Impressions
Before I knew any specs or any features I was thinking of actually skipping the X-T3 and hanging on to my X-T2 a bit longer. I didn’t really think Fujifilm would be able to do that much more with the X-T3 that would really change my experience shooting streets, portraits or landscapes. I was wrong. The X-T3 was improved in every way conceivable.
Funny how Fujifilm announced and shipped the X-T3 before Nikon or Canon could ship their cameras. Smart, because more and more people are going to run into the reality that APS-C is more than good enough for most styles of photography. This I think is why a lot of people have this strange bias towards Fujifilm, they’ve invested so much money into full-frame glass and now see APS-C cameras with less expensive and smaller lenses with close enough performance to full-frame, and it crushes them.
Landscape and studio portrait shooters will now have the option of using an affordable medium format camera for their work, then the X-T3 for everything else. It might even be a perfect setup for wedding photography. Pull out the medium format for the studio-style bride shots, or low light getting dressed shots where the action is a little slower and you have more time to work with composition and focus, and then pull out the X-T3 for the event portion.
Fujifilm X-T3 Build Quality & Performance
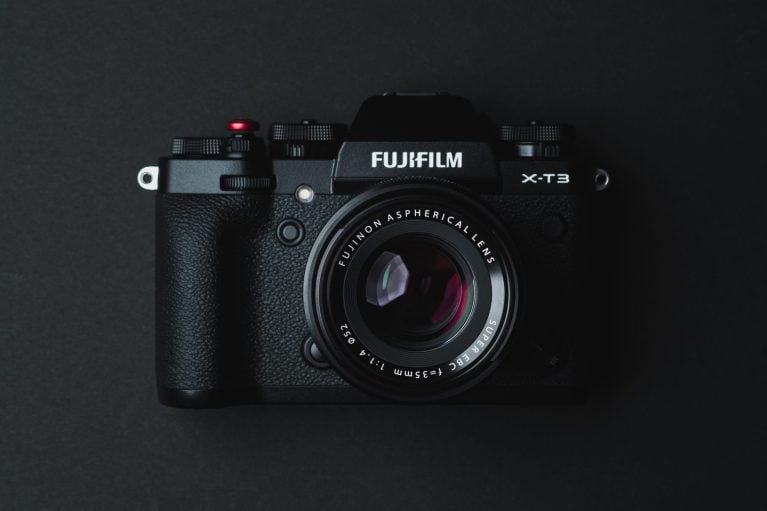
The Fujifilm XT3 is now assembled in China compared to the XT2, which was assembled in Japan. I’m not seeing or feeling any difference in overall build quality. That’s probably because most of the parts in these cameras come from either Korea, the USA, or Japan.
Build Updates
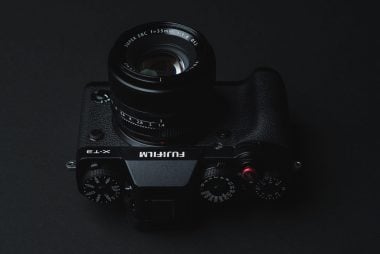
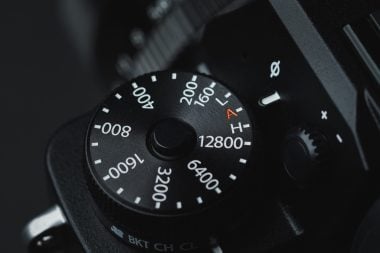
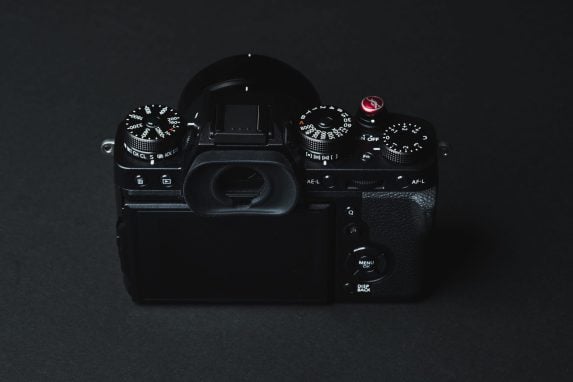
In terms of design, the X-T3 has been all-around refined. The biggest change is the touch screen with a few minor cosmetic changes like some tapering to the dials with a slightly different shape. There is now a 160 ISO setting on the ISO dial and the EVF optical focus nob works like a Rolex watch where you have to pop the wheel out before you can make an adjustment.
There is a headphone jack built into the camera body and the camera now accepts USB-C for charging.
Here is the best part!
Firmware updates are now done through Wifi with your phone! It’s never been easier to update your firmware.
Touch Screen
There is now a touch screen with swipe functionality that you can customize to work as function buttons. Overall, it’s very responsive, pinch zoom and swiping all works flawlessly. You can even use it to drag your focus when looking through the EVF which I don’t particularly love doing. Using the touch focus is never as precise as using the thumbstick. I only use touch focus when I need to make big moves quickly to my focus point.
If you’re shooting people, you won’t really need to adjust the focus point with precision because of the face and eye-tracking work very well.
Battery Life
Fujifilm has programmed in some power-saving firmware to help preserve battery life for those idiots that don’t know how to turn off their camera between shots. Just kidding. 🙂 – but not really.
Because of this new power-saving mode, you will see an improvement in battery life over the X-T2 and especially the X-Pro 2 if you weren’t already religious about turning off your camera after each use.
I’ve spent the last 5 years shooting with Sony cameras where I had to always immediately power off the camera when it wasn’t in use, otherwise, you were looking at a maximum of a 45-minute battery in the A7rII. Yes, it was really that bad. I feel like the new Sony’s overcorrected for this because now their cameras while having great battery life, are too damn heavy.
Battery life overall is going to depend on how you use the camera. I can get 1,000 with no problem on the X-T3 if I conserve the time the camera is powered on.
For those that don’t know how to power manage their cameras, there is this new very annoying power-saving feature that happens after a few seconds of the camera being idle, where the LCD screen dims and sets a playback speed to something like 5fps. If you spend too much time composing or adjusting a manual focus lens, it may trigger this power-saving mode and it will drive you nuts. To get around it, you have to put the camera in boost mode, which you can now do without the grip.
Battery Life In Boost Mode
I feel like when the X-T3 is in boost mode, the actual battery life is worse than it was with the X-T2. Don’t hold me to that, but I can burn through a full battery when shooting for a half-day of casual street photography if I’m not careful when in boost mode. I would almost never use a full battery in the X-T2 in any situation. I’ll continue to test this, but battery life in boost mode is something you will have to keep an eye on. It could be just because the camera is new and I’m tinkering with settings in the menu more.
If battery life is a problem for you, try turning off Bluetooth.
Charging with USB-C
You can now charge the camera through USB-C. It does not quickly charge though. In fact, I was only able to put about a maximum of 9 watts into it using a 3Amp USB-C to USB-C cable and charger. That was the best way to charge it. Otherwise, I was only able to do about 5-6watts with a standard USB to USB-C cable depending on the source.
You can now use the camera for video or stills while charging via USB-C.
Charging With The Vertical Battery Grip
The Vertical grip has a slightly different build. The handgrip sticks out further and comes more to a point. It’s a little bit less comfortable if you have long alien fingers since your whole hand has to sit back further to comfortably hold it. I may have to get a Lensmate thumb grip to help, but just holding the camera by your side with the grip is way more secure now.
While you can charge the camera with USB-C while it’s on, you can’t charge the camera via the vertical grip when it’s being used.
The USB-C charger port only chargers the battery inside the camera and the charging cable for the vertical grip only chargers the batteries inside the grip. To change everything, you have to have two power sources going into the camera. It seems like it only takes about two hours to charge everything. A huge improvement over the Sony A7III with a grip that takes 10 hours, because it can only charge one battery at a time.
The new X-T3 grip also fixed the weather-sealed plug over the charging port. On the X-T2 that rubber plug was extremely difficult to get open, now it’s much easier.
The Fujifilm X-T2 grip does not work on the X-T3. I tried. 🙂
Fujifilm X-T3 New Features and Enhancements
A lot of people look at the X-T3 and they can’t really see why it’s that much better than the X-T2. Sure, if you’re just running around shooting casually with manual focus lenses, this camera won’t give you a tremendous amount of image quality improvements, but there are some new features you may find handy.
Autofocus Speed & Tracking Has Significantly Improved
The obvious thing to mention is the autofocus speed. Here is the thing with the autofocus, it’s not just about the eye-tracking or face detection, it’s that the camera no longer does that hunting and pecking. I have so many memories and pain of shooting with the 56mm f1.2 in low light where the camera would just peck and hunt like a cracked-out pigeon. It was always accurate once it found focus, even on the X-T1, but it was always annoying. That is gone, even in low light.
All those older stepping motor lenses focus faster now by hitting the targets right away. It’s mainly because there is no more of that seeking and pecking unless you’re on a macro like the 60mm f2.4, but even then, I would say the 60mm is about twice as fast.
It’s really a new experience with old lenses and it’s kind of hard to describe the thrill that comes from focusing quickly and accurately with glass I would usually have to slow down with.
Update: Here we are in Feb 2020 and the Camera is even better with new firmware updates. The eye-tracking now works at farther distances and is overall more reliable and stable.
Fujifilm X-T3 Eye AF compared to Sony
I only have the Sony A7rIII that I only mostly use for landscape or street photography these days so I never use eye AF. However, after spending about thirty minutes trying to figure out how to turn on eye AF and watching a few YouTube videos, I finally got it working. It’s literally hidden in a menu and the only way you can turn on Eye AF is to assign it to a function button that you have to always press to use it – ridiculous.
Compared to the Sony A7rIII the eye-tracking with the XT3 does not stick as well. The Sony AF just locks on without any interruptions with Sony and it seems like it has a higher refresh rate or calculation cycle rate. With the XT3, eye AF does drift around a little bit more and I tested all the different settings.
Update: A lot of this has been fixed in firmware.
The Sony eye-tracking also seems better about tracking the eye closest to you.
In real-world use, X-T3 eye tracking is still flawless. You can also customize which eye it tracks with the X-T3 plus it works with video. I don’t think EYE AF works in video with the Sony cameras. Correct me if I’m wrong.
So there are some interesting pros and cons to Eye AF with each system. Sony’s math and cycle rate is still faster, but there are a few more options with Fujifilm and when it’s set up, it’s always on.
New Features For Manual Focus
Those who like manual focus lenses will be happy to see a new feature. It’s called the Focus Prism.
It’s cool and really good when you are outside in brighter conditions and can’t quite see your screen with great clarity.
I find it works best with decently fast lenses to medium-speed lenses, think f1.4 and up. However, If you’re shooting with ultra-fast lenses like f0.85 or f0.95, it’s just not going to give you the precision you get and need from focus peaking. It’s cool but does take a lot of practice. I kind of wish they would add a focus light that would flash like the Canon cameras do to go along with this feature.
With the prism, you can’t move it, but you can punch in for 100% crop view. I’m still getting used to this, but right now I still prefer focus peaking. I also still wish they would add a more aggressive option to focus on peaking.
Huge Upgrades To JPG
A lot of people have been indoctrinated into believing that they’re not allowed to shoot JPG. Well, if you’re not a professional and you’re shooting for fun, there is nothing wrong with JPG. A lot of guys, even professional Fujifilm X photographers like Patrick Laroque shoot JPG for fun and have only great things to say about it.
With Fujifilm, you’re missing out by ignoring what you can do with JPG images. So much work time and science has gone into making the JPGs look great with Fujifilm cameras and they’ve taken it a step further with the X-T3.
It is so much better to let the camera do as much processing with the RAW sensor data than to try to fiddle with the RAW files yourself with expensive third-party programs.
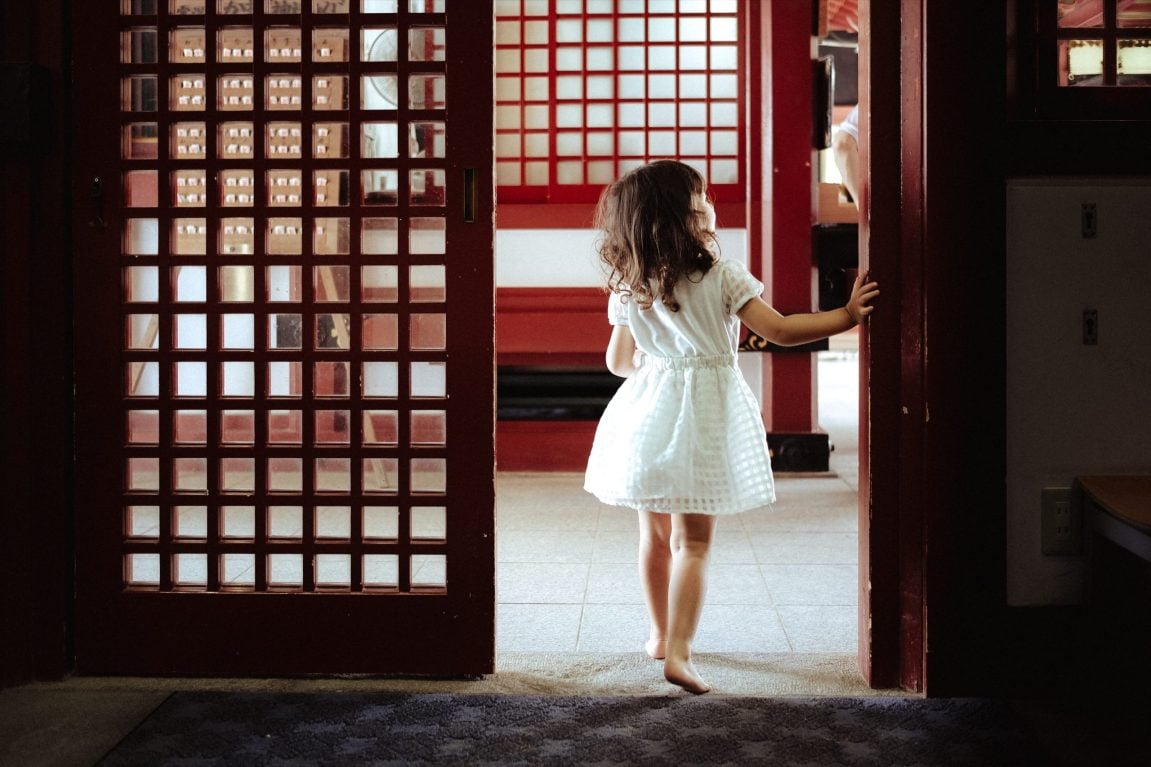
Every image in this review was shot JPG and then noodled a little with Lightroom.
Here are some of the new JPG features for the Fujifilm X-T3.
Color Chrome
We saw Color Chrome in the GFX, but never in the X-Trans cameras. What this does is enhance the color tonality while maintaining a high contrast to simulate more of a Fortia reversal film. This effect increases the color depth, but not by adding contrast or saturation.
Instead of just giving us the look of Fortia, Fujifilm gave us the science of Fortia with the Color Chrome effect that can be applied to any film simulator.
I really like the look and what it does to the colors, but it is fairly subtle – in a good way. You’ll also see it more in some situations vs others but it does help every photo pop.
For example, this is a straight-out-of-camera JPG using Provia. It’s pretty much perfect and good to go when using film simulators with a color chrome setting.
In the comparison below, you can see the greens have a slightly different quality, and look at the purple flowers, on the left you can see more texture in the petals whereas the pink is kind of washed out on the right.
D Range Priority
There is new enhancements to the tonal controls of the JPG they call D Range Priority. In the X-T2 we saw Dynamic Range and you could set it to 100%, 200% or 400%. This would pretty much work by raising your ISO to preserve your highlights.
The D Range Priority does this a little differently in that it adjusts the Shadows and Highlights of the image along with the ISO to give you more of a flat or protected JPG file to work with. It’s actually really cool because if you’re shooting a sunset, you can turn D Range Priority on, and it will pull down your highlights and keep your skies from overexposing while trying to recover your shadows.
Using D Range Priority For Landscape Photography
If you combine D Range Priority with Color Chrome, you pretty much have a landscape JPG shooting beast for on-the-fly sunset shots. It’s really, really cool. If you don’t like it, just shoot RAW+JPG and use whatever works best for your needs.
I’ve been playing around with this new feature and found that if you turn D Range Priority on Auto, you can sort of adjust the intensity by manually adjusting your ISO. It won’t let you use D Range Priority unless you’re set to at least ISO 320. Then between ISO 320 and 640, it will adjust the intensity of the sort of HDR effect of the JPG.
The best part is, if you shoot RAW+JPG and you want even more recovery from your shadows, you can stack on your RAW in Photoshop and mask in more data where needed while keeping all the rich JPG color science.
Here are some straight-out-of-camera JPGs using Velvia, D range Priority, and Color Chrome set to Strong. I’m not sure there is any other camera out there that can do this, it’s pretty incredible. These photos look like they came out of Aurora HDR.
Straight out of camera JPGs.
Dynamic Range With JPEGS Is Very Usable
I’ve found that because most of the tonal details are protected with this effect, you usually don’t need the full dynamic range of the RAW files as long as you nail your exposure. You can then get away with a lot with your tonal and color adjustments.
The only downside is the Fujifilm JPGs are not the sharpest things on the planet and you have to shoot between ISO 320 and 640, but I haven’t had any issues with noise yet. I’ve also discovered you shouldn’t really turn up the sharpness on your JPGs in the camera settings, save it for post. In-camera sharpness does bad things to fine details like hair.
Here are some shots with a few basic Lightroom adjustments, all single-shot JPGs.
It would be cool if one day Fujifilm APS-C cameras gave us TIFF files or something similar with all the color science already baked in, instead of just JPGs. I love the colors of the JPGs but sometimes need more data for recovery. While you can load in the color profiles in Lightroom, it will ultimately never produce the same look as what you get out of the camera.
Eterna
You can use the video film simulator Eterna for your photos now. It’s a little low in saturation but, when you turn on color chrome and add +3 to saturation, you get a pretty cool-looking image. A lot of the JPGs in this post have that look as their base.
It’s a very pretty look with really nice soft blues that you can see in this straight-out-of-camera sample.
Dramatically Improved User Interface and Experience
Fujifilm didn’t just add a touch screen. They added a touch screen that works very well with swipe features that you can customize. Basically, you have four extra swipe fn buttons by swiping left right up, or down.
Pinch and zoom and swiping around photos in playback all work as well as any smartphone. This is actually the first camera I’ve owned with a touchscreen where it’s useful enough that I can actually leave it turned on.
When in playback reviewing a photo, you can also zoom in much closer to your images that were shot RAW. On the X-T2 you could only zoom in so close to a RAW image and you had to convert it to JPG to get closer. This is actually a really nice improvement.
LCD Contrast Settings
There are new display settings for your LCD screen contrast. You can turn to contrast high (for bright outdoors), medium or low, or turn it to amber for low-profile indoor shooting.
Large Indicators Disp. Settings
You can make all the settings on the display larger and you can customize what gets modified. I have this set as a swipe feature on my LCD so I can instantly make my settings larger or smaller.
Mount Adapter Setting Customization Expanded
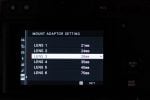
With the X-T2 you could only customize three of the six slots when using third-party manual lenses. Now all six slots are customizable. This was something that always bugged me with the X-T2 and X-Pro2.
Bluetooth Pairing
There is now Bluetooth pairing like the GoPro Hero 6 and 7 to help your camera sync to your phone. You no longer need to set your camera up with Wireless Communication, find the Wi-Fi on your phone, and then go to your Fujifilm App. Now just go to your Fujifilm app, pair it to your camera, and it will automatically connect via Wi-Fi.
The Video Features Are Insane
I’m sure this camera pissed Sony and Panasonic off. With the X-T3 you have the option for F-Log, or Eterna, you can shoot 4k60 and you have a new H.265 codec with a 10-bit internal 400mbps data rate.
There are a few limitations with these specs.
With ALL-Intra
You can shoot 4k60, but only with H.264 at 200mbps and only 8-bit internally and 10-bit externally.
You can shoot 4k30 with H.265 10-bit 4:2:0 internally at 400mbps, but you can shoot 4:2:2 10-bit externally.
With Long GOP
You can shoot 4k60 with H.265 10-bit 4:2:0 but only 200mbps.
F-Log
If you’re coming from Panasonic, it will take you a while to get used to the F-Log, it’s a little different from the Panasonic, but there are LUTs, which help. You might be best off just using Eterna for everything other than serious film production work.
H.265 Video Compression
If you decide to shoot using H.265, you’re going to need a processor that is Kaby Lake (2015) or newer to get native decoding support. Otherwise, you might need to edit with proxies in Premiere Pro.
4GB Chaptering – Update: fixed in next firmware according to Fujirumors.com
One thing I’m not too thrilled about is the chaptering of the video clips that the Fuji X-T3 does. It breaks up your clips into 4GB chunks. – Fujifilm fix this, please! Update: It’s fixed!
If you’re shooting 4k at 400mbps, you’ll get a bunch of 4GB clips that are 1 minute and 20 seconds long. You’ll really need to record to an external capture device if you’re serious about 4k 400mbps footage. Or you can combine the clips in Davinci Resolve, After Effects, or work with nested clips in Premiere, all pretty easy workarounds, but it is just one more painful step in post-production that really sucks if you don’t have a few AEs to help out.
I’ll probably post more tips and tutorials on this in the future to help you out.
Headphone Jack
There is a headphone jack built into the camera. You don’t need to buy the grip. The Audio preamp is supposed to be pretty good in the X-T3 now as well, but I haven’t tested this.
Crazy New Sports & Shutter Features
There are now a bunch of new shutter settings. Some features will be useful to casual shooters, and some features you’ll never use.
Electronic first will use a digital-first curtain trailed by a mechanical shutter. This significantly increases the life of your shutter, plus it helps reduce shutter shock.
You can even combine all the different shutter settings to suit your needs.
M, ES, EF, M+E, EF+M, EF+M, EF+M+E
Best Shutter Mode For Daily Use
90% of the time, unless you’re shooting with strobes, you’ll want to be on EF+M+E. It gives you an electronic first shutter, which works until 1/2000 sec, then it stitches to MS when faster than 1/2000 until 1/8000 where ES kicks in.
If you want 20 frames per second of continuous H shooting, you’ll need to be in ES mode, which gives you blackout-free shooting. To shoot in 30fps, you have to shoot with a 1.25x sports crop. There is also a flicker reduction option to help with artificial lighting.
PRE-SHOT ES
The PRE-SHOT ES option will start shooting a few frames and filling a portion of the buffer before you actually press the shutter all the way down. You’ve seen this before with ultra-high-speed video, it’s the same thing. It just helps ensure that you are never late at catching the action by shooting a stream to the buffer at all times.
It seems to give me about one second worth of burst photos before I press the shutter. So if I’m shooting 30fps, it will give me a dump of 30 frames from before the moment I pressed the shutter.
New Sensor 26.1MP- BSI X-Trans IV
This is sort of a big deal but you’ll probably never notice it. The new BSI sensor is rumored to be supplied by Sony but this time it does have a different grain pattern than what you’re used to with previous models. From the looks of it, we’re getting a little bit more grain at a higher ISO than the X-T2, but more tonal details. This means after you apply noise reduction, you get a slightly superior image.
You can read all about and see samples in the X-T2 and X-T3 sensor comparison.
This new sensor also allows for a base native ISO of 160. This means you get about half a stop more shutter time out of your ND filters if you shoot landscapes.
If you’re shooting waves or ocean with a strong ND, that will mean you can use a 45-second shutter instead of a 30-second shutter without changing your ND. It really adds up when you’re doing long exposures.
X-Processor 4 with Quad CPU
The reason we get so many new features with the Fujifilm X-T3 is because of this new processor and more memory. With a quad processor, the camera now has four lanes of data it can handle at the same time. This means autofocus and exposure data will be processed independently from each other, which is one of the many reasons why we see such a huge leap in performance.
There is also way more bandwidth for JPG processing. I can’t even imagine what Fujifilm will unlock with this camera in future firmware updates. It’s always fun and exciting to see how the X-T cameras grow.
If you’re wondering if you’ll be able to get any of these features in the X-T2 with a firmware upgrade, the answer is no. Most everything in the X-T3 is there because the new processor allows for it. It just won’t be possible with the old X-Processor 3.
Fujifilm X-T3 Review | Technical Notes
This is a list of some issues I was having with the camera as well as some features that could maybe be improved on.
Auto Rotate Display
Auto Rotate Display does not work when the camera is upside down. It would be cool to hold the camera upside down and have all the information on the display flip. Sometimes I have to mount my camera upside down on a tripod to get extreme angles when shooting landscapes.
Strange color bug in the EVF occasionally
I’ve had a few issues where the EVF shifts to some strange colors until I take a picture. It’s like the red channel drops or something. I’ll try to get a photo of it next time it happens.
Update: This is Fixed!
Strange specs when looking at images live view 100%
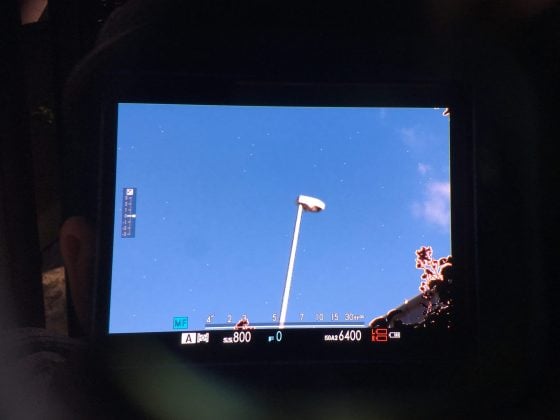
When looking at images in the EVF or on the LCD when zoomed in (like you do when shooting with manual lenses), I’m seeing these little specs. Possibly dead pixels that are usually pixel mapped to not be seen in the final output, but they are everywhere and are a pretty significant distraction. It’s not my EVF or my LCD because they move with the photo as I pan it around.
Update: This is Fixed!
Frame NO Full Issue
This is a serious problem still found in Fujifilm cameras. I haven’t reached the max file number on the X-T3 yet so I can’t test it, but it still happens in the X-H1 so I’ll assume it wasn’t fixed in the X-T3.
I’ll explain.
Fujifilm cameras all have a terrible problem where when the folder name reaches 999 and you reach the photo number DSCF9999 you get locked out of taking photos with that card until you format. If you show up to an event and you get through half your event then hit file number 9999, you’ll get a Frame No Full Issue. Meaning, the camera is out of numbers to assign to the shots.
If you don’t have an extra card, you’re done. I had this happen in a family outing with my X100F, halfway through the night and I was locked out of using that card unless I formatted or found a new card.
I’ll look out for this in the X-T3 and update this article. But if you start to get close to folder number 999, you’ll need to reset the file name count by toggling Frame No. CONT and RENEW options. Or always bring extra cards.
Update: This is fixed sort of! They’ve increased the number of shots that can go into a folder now to something much larger like 9,999 instead of 999.
Memory Cards
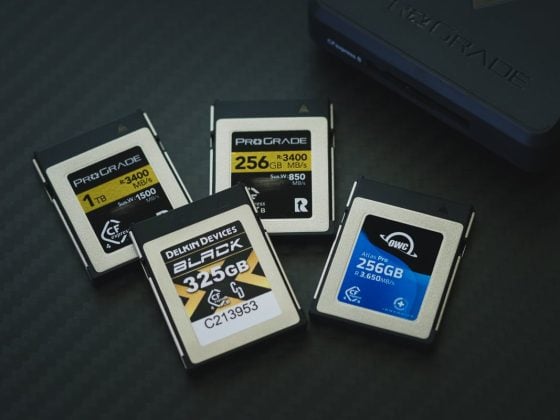
I’m all testing various memory cards for the Fujifilm X-T3, but there are only a few cards that will be fully compatible with 4k 400mbps video. While most memory cards will let you record 4k 400Mbps, you will run into issues with in-camera playback if you don’t use the best UHS-II cards.
See which memory cards to buy for the Fuji X-T3.
Memory Card Lockups
I’m still running into some issues with memory card initialization lockups from some brands. In other words, the camera will get stuck initializing and won’t shoot and you won’t be able to turn it on or off either. You’ll just get LCD display but no information. The only card so far that completely killed the camera was by ProGrade. The slower UHS-II Delkin tends to take a while to initialize as well, but it never locked the camera as the Prograde card did.
Update: This is fixed!
Reasons To Not Buy A Fujifilm X-T3
There are still a few things holding people back from this camera. Battery life, IBIS, and some people are waiting for the X-Pro 3.
IBIS
In body image stabilization has been in micro four-thirds cameras for years. Micro four-thirds cameras were never great in low light so IBIS was introduced to turn the camera into mini gimbals. It was always kind of a gimmick and was really only useful in some situations or in video.
History Of Sony IBIS
In-body image stabilization first found its way into a large sensor camera with the Sony A7rII. After using the A7r for so long, people found that the shutter shock from the larger shutter and micro-vibrations were causing some excess micro camera shake that leads to motion blur when viewing images at 100%. With the A7r, it was hard to get perfectly sharp images handheld at the normal 1/60 shutter speeds.
To remedy this, Sony added in an electronic first shutter and some vibration controls to the A7rII. This tech was later shared with other bodies as a nice marketing point. Mind you, this is not the stabilization you see in Olympus and Panasonic cameras or even the Fujifilm X-H1, not even close. This IBIS was designed to reduce very subtle micro shake to create sharper images at slower shutter speeds with the A7rII. The tech carried over to the A7III and A7sII, and now everyone thinks they’re gots to have it.
IBIS For Video vs. Photography
I’ll admit, it’s nice to have IBIS for video, but it’s by no means a replacement for a gimbal or shoulder mount. Its ultimate purpose was to allow you to shoot handheld photography at fairly slow shutters like 1/60 with the A7rII.
Lower resolution cameras like the X-T3 or A7III, don’t have the extreme resolution of the A7r series cameras, the Fujifilm APS-C cameras even have smaller sensors and even lighter shutters, so you’re rarely affected by the same micro camera shake at slower shutter speeds ( 1/60 – 1/100 ) the same way you are with high-resolution cameras. This is exactly why Fujifilm included IBIS in their 100MP medium format camera. You need the sensor to be perfectly still when you’re dealing with that kind of resolution.
So the Sony style IBIS is nice for video if you don’t use a tripod, shoulder rig or gimbal, but you only need IBIS for photography for high-resolution cameras like the A7rIII or the Nikon Z7 and only when the camera is not on a tripod or other mount. The Fujifilm X-H1, Panasonic, and micro four-thirds IBIS pretty much replace your need for a gimbal for videography.
So really, most people will not need IBIS in a 26MP APS-C camera and it’s not the end of the world that it doesn’t have it. It’s really just a crazy gimmick people are overly obsessed with now. Actually, I shouldn’t say it’s a gimmick, it definitely has its purpose, but it’s just not as important as people are making it out to be. Granted, it would be nice if Fujifilm developed the dumbed-down IBIS like Sony uses, which uses less power and fits into smaller bodies for future cameras, simply because people are dumb and they’ll never stop complaining.
Battery Life
Battery life is totally fine with this camera. Trust me, you don’t want a bigger and heavier battery. I have the Sony A7rIII and it’s too heavy now. With the X-T3, learn to power off the camera after each shoot session, or buy a vertical grip, which gives you three batteries. Performance-wise, the X-T3 with the vertical grip gives you almost as many shots as the Sony A7rIII with its vertical grip. Battery life in the X-T3 is fine and if you think otherwise, you’re tripping.
Also, there is a 15% battery life improvement over the X-T2 when not in boost mode.
The Fujifilm X-Pro 3
I keep seeing people say they are waiting for the X-Pro 3. Fujifilm X-Pro 3 is a niche camera and Fujifilm has priorities and limited resources. Fujifilm will have to upgrade the X-H1 and X-T20 before they upgrade the X-Pro 3.
They might even have issues with heat in the X-Pro 3 if they cram all this tech into it. I notice the X-T3 gets hot. It runs much hotter than the X-T2. The X-Pro2 and X-E3 got very hot compared to the X-T2 with the same tech inside. The X-E3 would actually overheat shooting video and shut down. The X-Pro 3 has to run perfectly, so I would assume they can’t make an X-Pro 3 with the same tech right now without having serious heat issues.
I can almost guarantee we are at least a year, maybe two years away from seeing an X-Pro 2 replacement and I wouldn’t wait for it if I were you. Remember, there were many years between the X-Pro 1 and X-Pro 2. Just keep enjoying the X-Pro2; it’s a great camera. I personally just want a monochrome X-Pro2 but Fujifilm would probably have to source a different sensor, so it will probably never happen.
Fujifilm X-T3 Review | Bottom Line
If you don’t absolutely need a full-frame camera for professional work, then the X-T3 is all you’ll ever need. Nothing else comes close. Fujifilm really left nothing out of this camera and it can do just about anything. On top of that, no other camera out there can come close to matching the color science of the XT3. This means better images with less time in post.
All this camera really needs are some more hardcore super long sports lenses and maybe some ultra-fast primes that can get closer to matching the shallow depth and bokeh of full-frame. Luckily for us, the 33mm f1 is just around the corner.
In the meantime, if you do require a shallow depth of field, there are still some really nice lenses out there like the Mitakon 35mm f0.95 or the Kipon IBELUX 40mm f0.85. The Mitakon will be more of a street art lens, while the IBELUX will be more of a portrait art lens. All you have to do is learn to focus manually and the tools found in the XT3 couldn’t be better.
If you still need a steady image for the video, then take the money you saved by not buying the Sony A7III, and buy a gimbal or a few OIS lenses instead.
Fujifilm X-T3 Body Only / Kit Lens – Amazon / Adorama / BHphoto
Did I miss anything? Let me know if there is anything else you’d like to see.
Fujifilm X-T3 Sample Photos
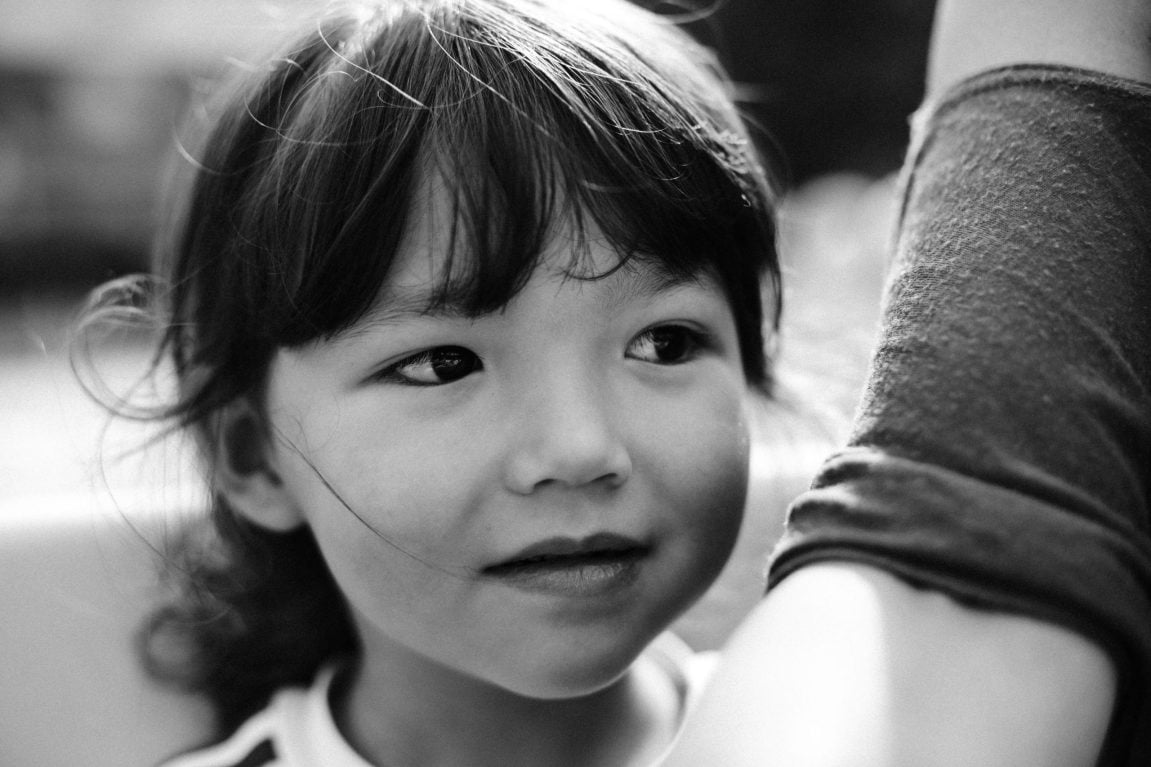
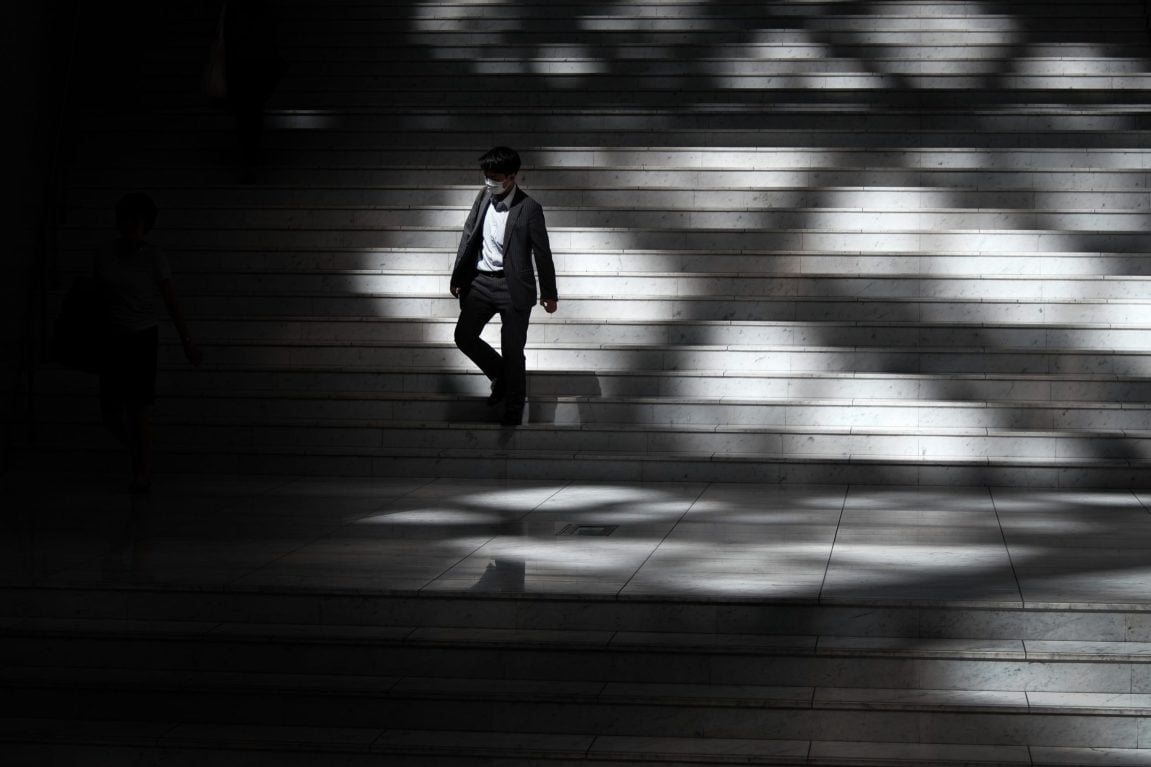
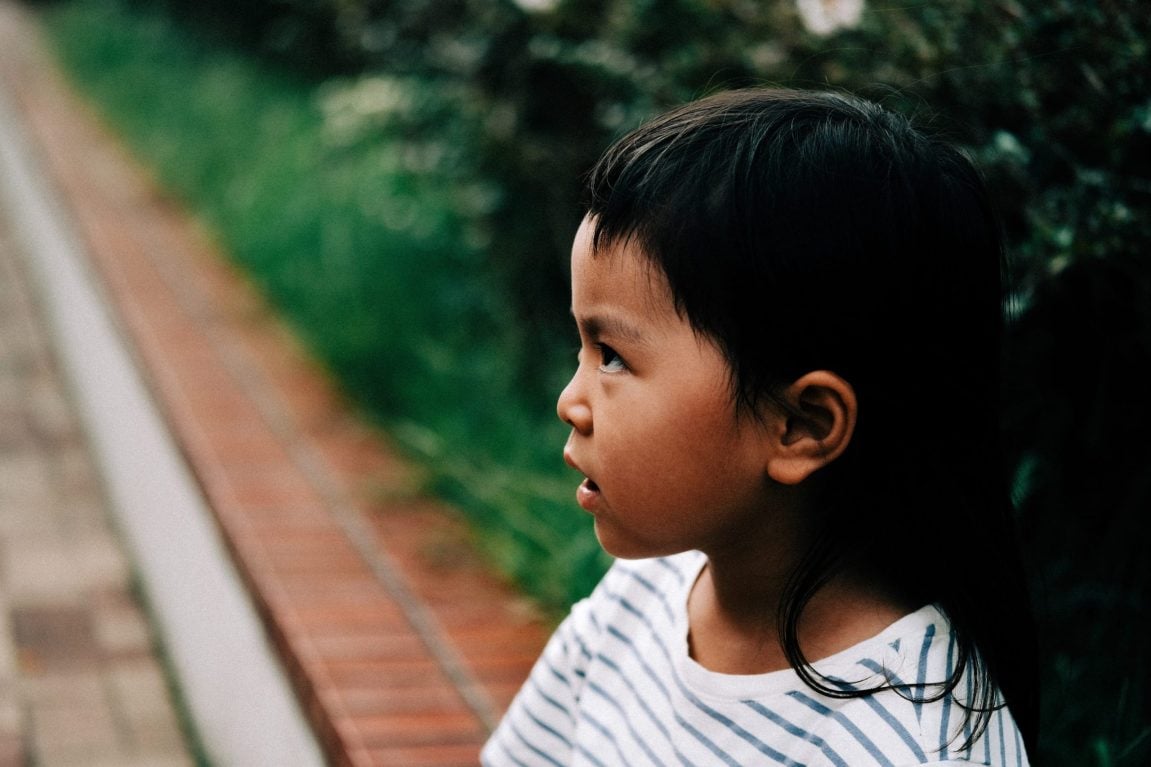
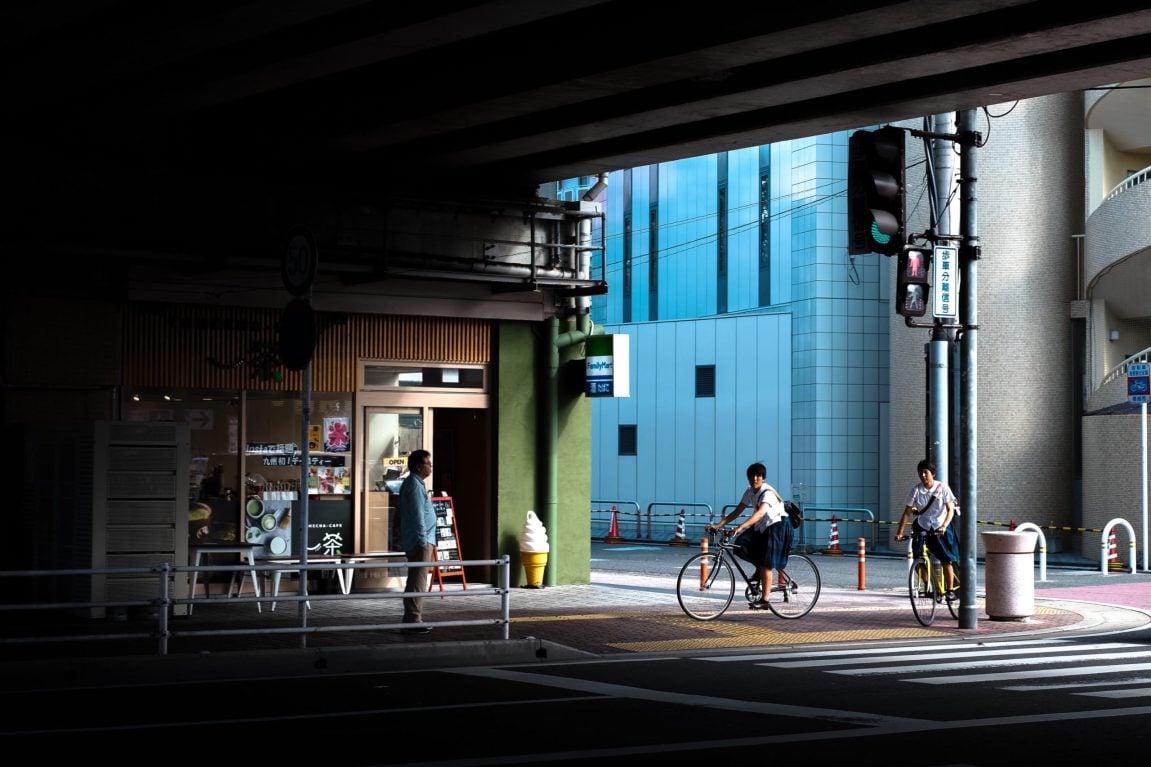
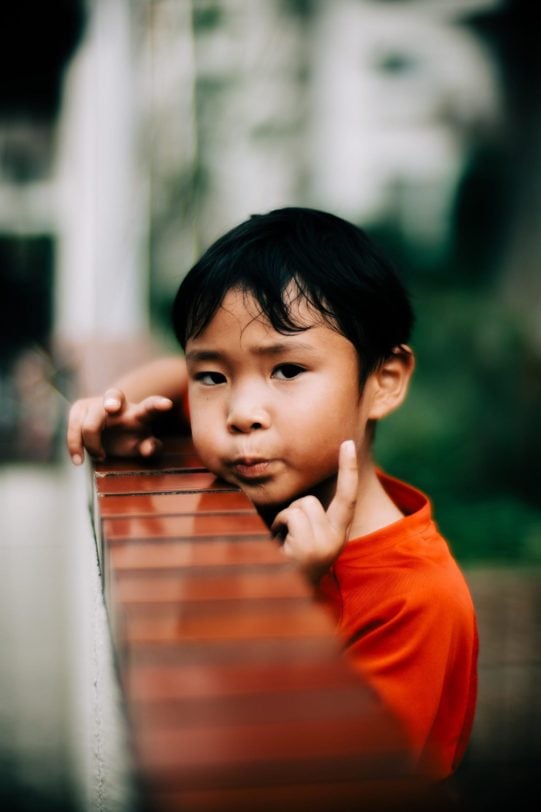
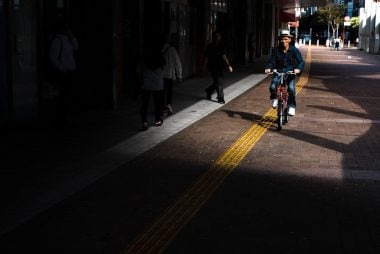
Photos shot with the Fujifilm X-T3 with various Fujifilm and third-party lenses.
| **This website contains affiliate links. We will earn a small commission on purchases made through these links. Some of the links used in these articles will direct you to Amazon. As an Amazon Associate, I earn from qualifying purchases. |

