The Eterna Film Simulator from Fujifilm can be a great tool for photography, providing filmmakers and photographers with a classic film look without the hassle of shooting on film. Learn how to unlock the full potential of this simulator to achieve stunning results when shooting stills.
How To Use Eterna For Photography
A lot of people talk about using Eterna but mostly for video, but if you tune it up, it actually ends up being one of the better profiles to use for stills.
A lot has changed with Fujifilm’s JPG processing engine since the X-H1 or even when I originally first started using Eterna with the XT3, not only do we have a newish BSI sensor but Fujifilm has also expanded on the image processing tools in the new cameras so that we can really tune and modify the looks even further.
Mainly, we now have more color chrome effects, color chrome blue, more grain control, and clarity.
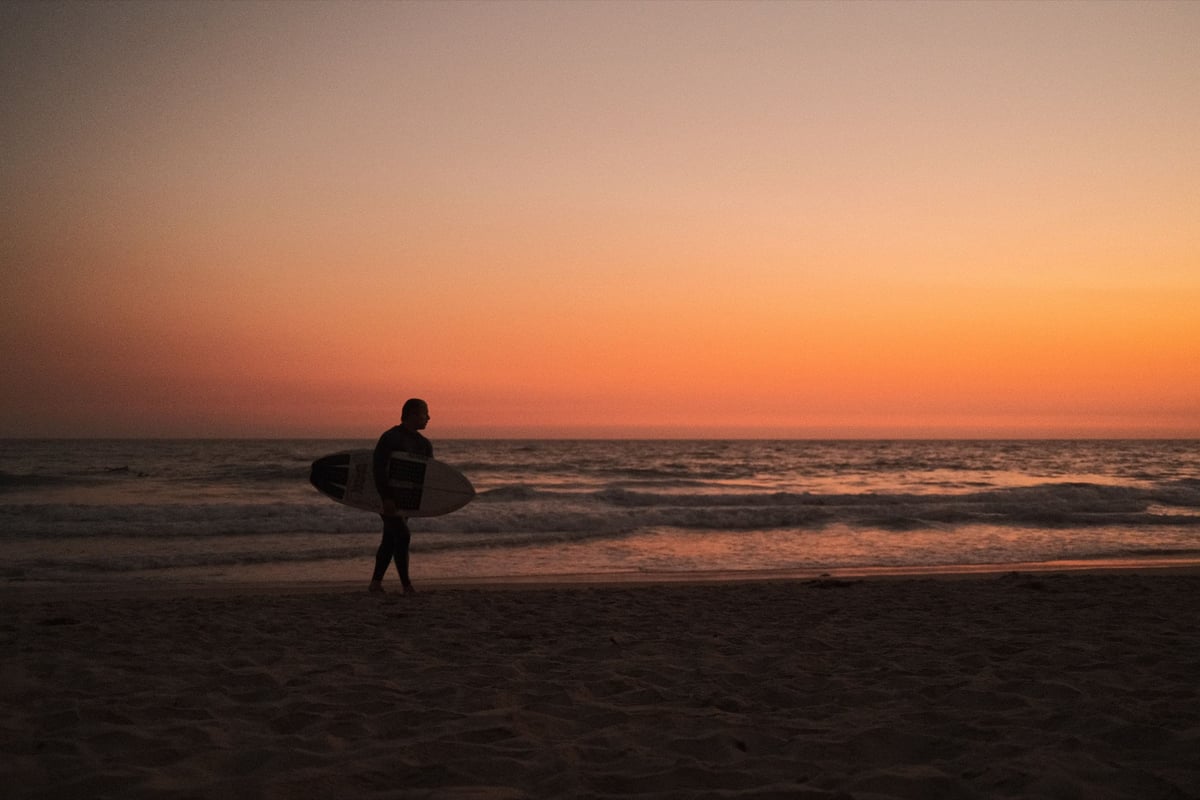
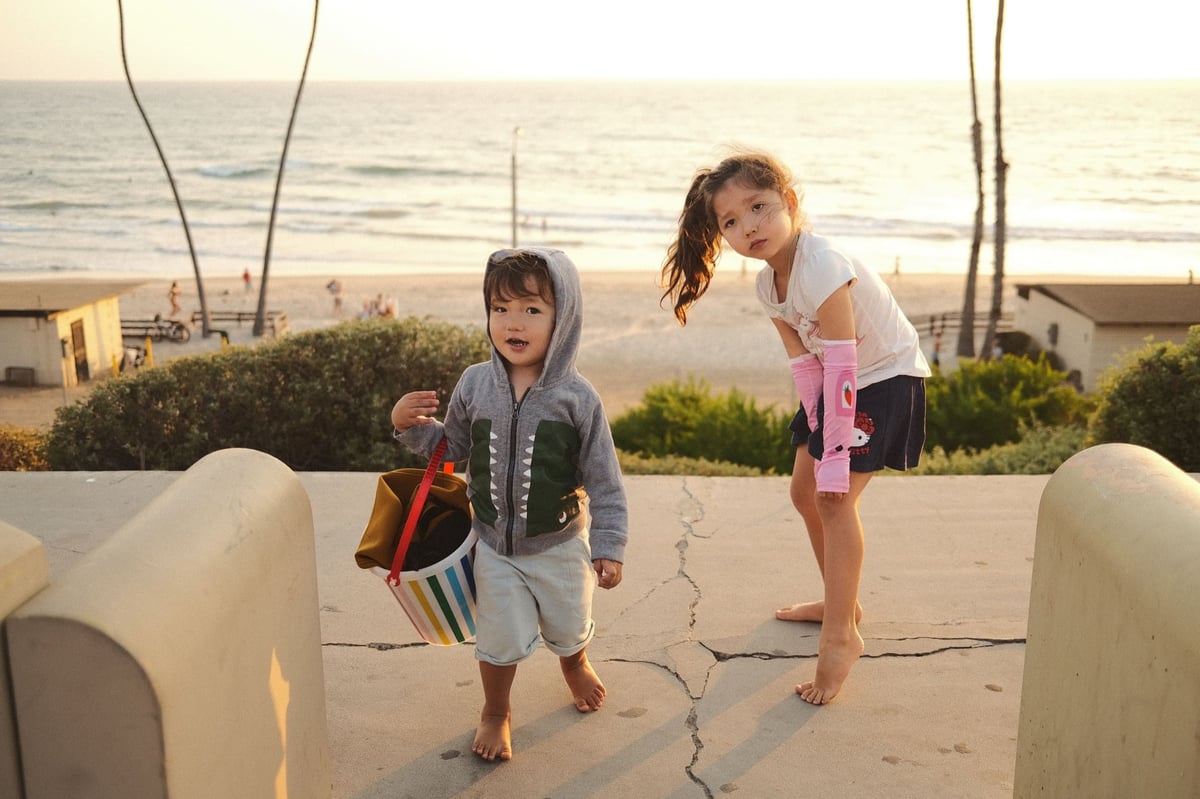
I always found Eterna to be a little too blue, but I saw Richie at FujiXWeekly heavily tweaking the WB with it and that’s where this look began. This might now be one of my favorite looks to come out of a Fujifilm camera. I’ve since done some modifications to protect the highlights a bit more and bring out a little more color with the chrome effects, but R+5 with a -6 B just seems to always work best when going for the warm tones, so no changes from what Richie was doing, but there is a more Teal look I’ve been experimenting with that does WB Shift at R-3, B+2. Gives a colder look which does some nice things when shooting landscapes.
Fujifilm ETERNA Recipe
Here is where I am at with it right now.
Film Simulator: Eterna
WB: AUTO | R +5 B: -6
Exposure Comp: + 2/3
Tone Curve: H-1, S+3
Color: +4
Sharpness: +2
Clarity: 0
Noise Reduction: -4
DR: 100
DR Priority: Off
Grain Effect: Small Weak or Large Weak
Color Chrome Effect: Strong
Color Chrome FX Blue: Weak
You always need to turn Noise Reduction down otherwise you’ll notice the camera eating fine details like hair. It’s better to just let there be noise and then add your own grain as a layer on top so you don’t lose details.
There are a few settings you might adjust on the fly depending on your situation. I play around a lot with the Tone Curves if I need more or less contrast, but a -1 with Highlights and +3 with Shadows is a great start and works 90% of the time.
The clarity I don’t mess with too much anymore since it slows down the camera processing. It’s nice to maybe do a -2 on landscapes when you don’t need to take several pictures quickly, but when dealing with people where you might want to grab a few quick shots in succession, I keep it off. Then I can always add it later with the in-camera controls since I shoot RAW+JPG.
For my other settings when I’m shooting fairly static subject matter like this I still like to limit my shutter speed to no slower than 1/80 and I limit my ISO to 6400. This will give you pretty sharp images with very little motion blur when shooting handheld.
You also don’t really need to adjust the DR when using Eterna since it’s already a fairly flat profile and does a decent job of protecting your highlights. If your highlights are getting clipped, you can turn that on to DR200, or mess with your exposure comp dial on your Tone Curves. Or just turn on Dynamic Range Priority, but Dynamic Range Priority does tend to have a little bit of a mind of its own.
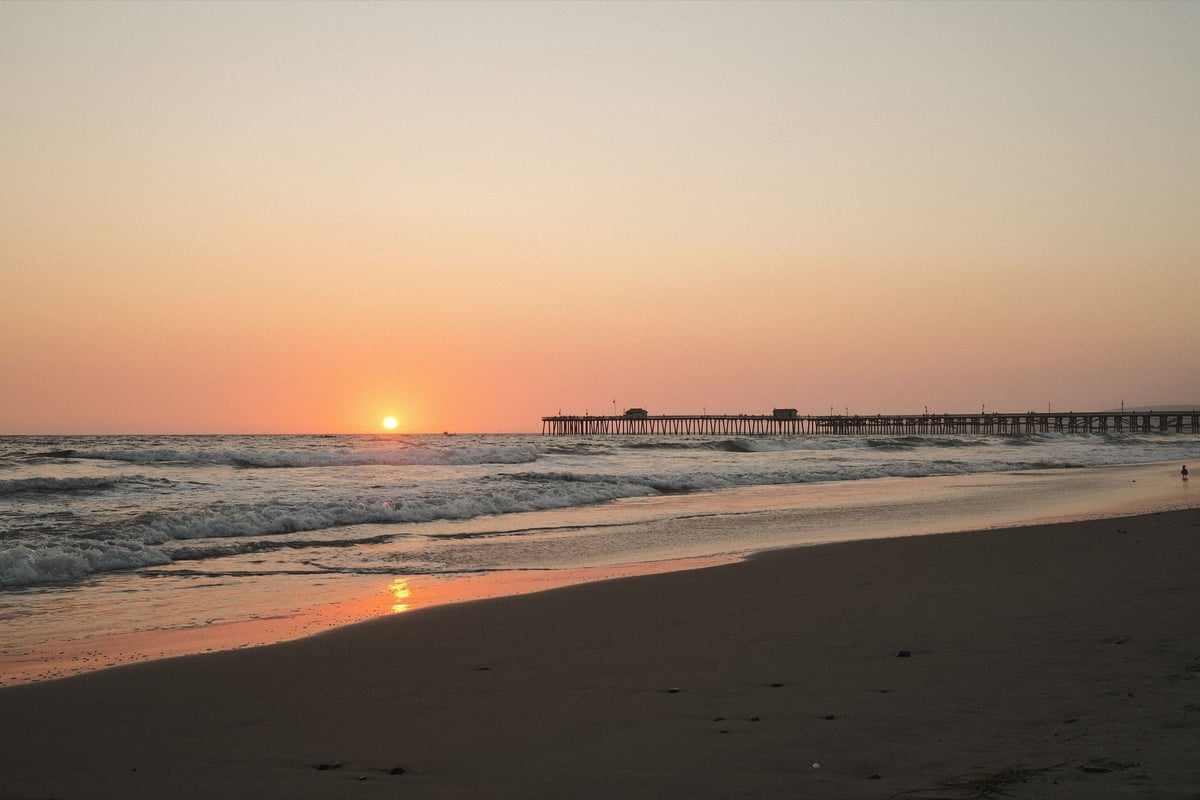
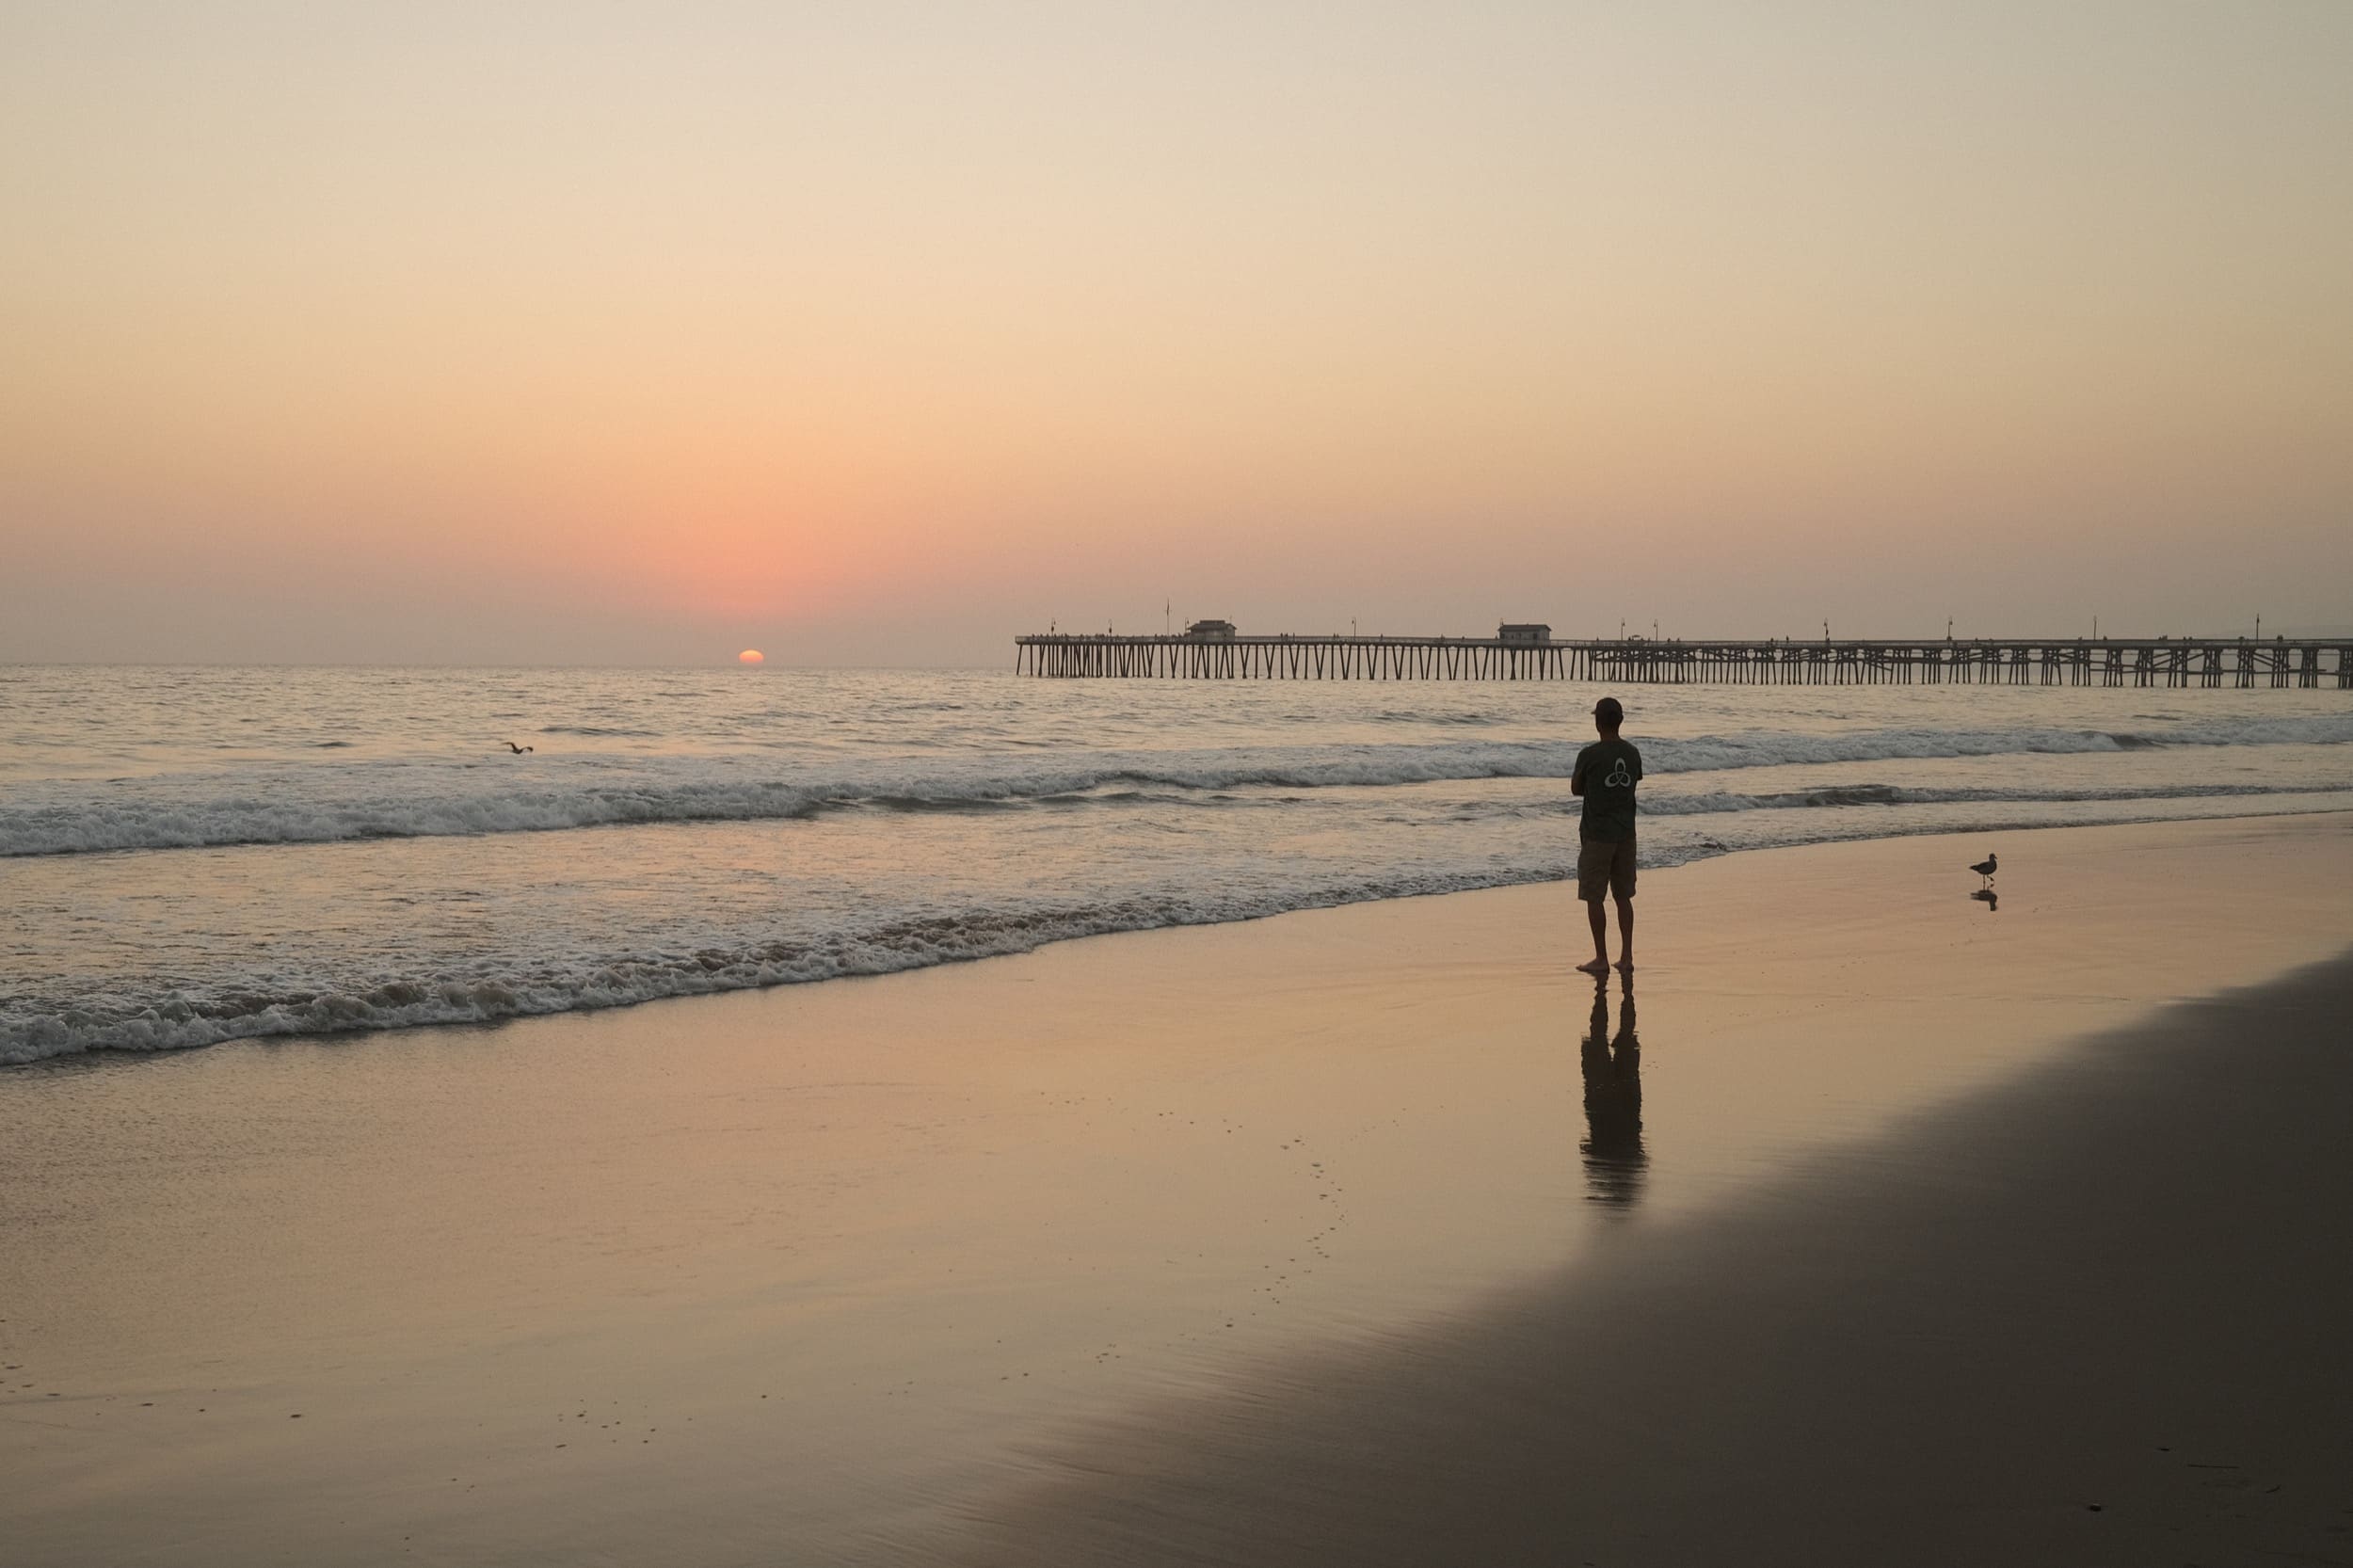
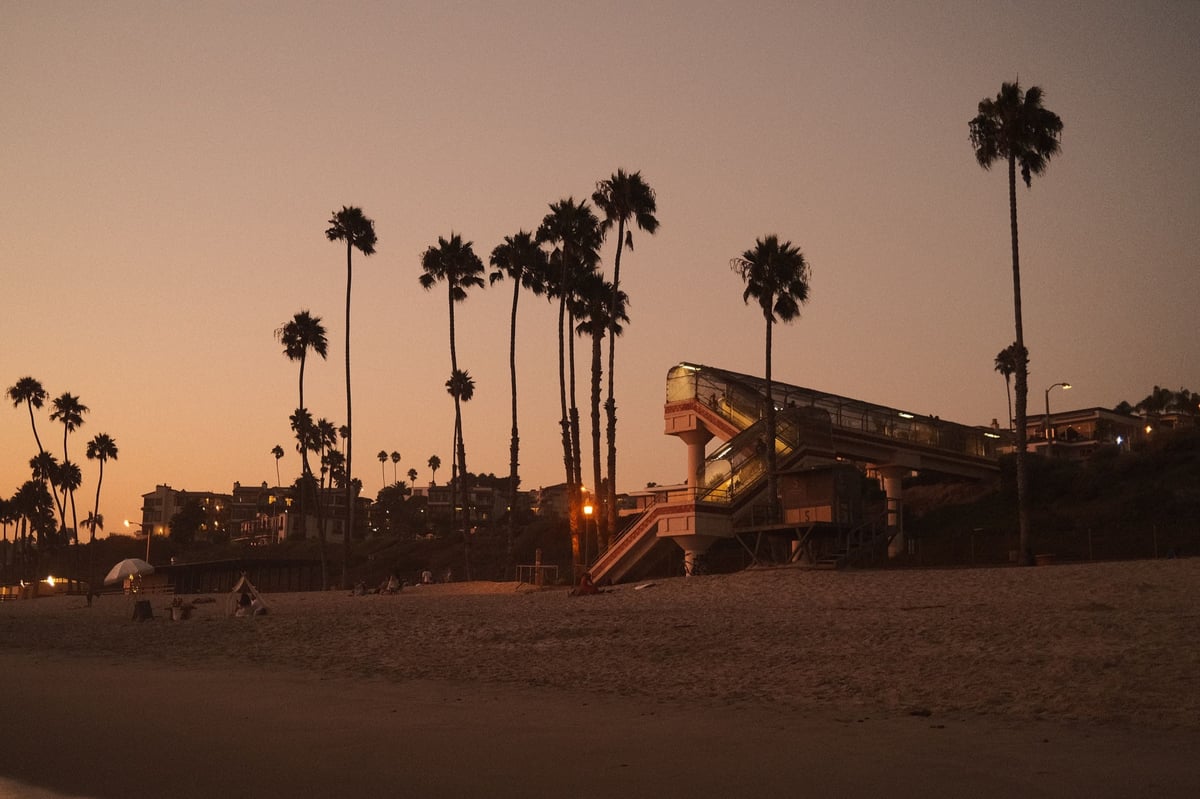
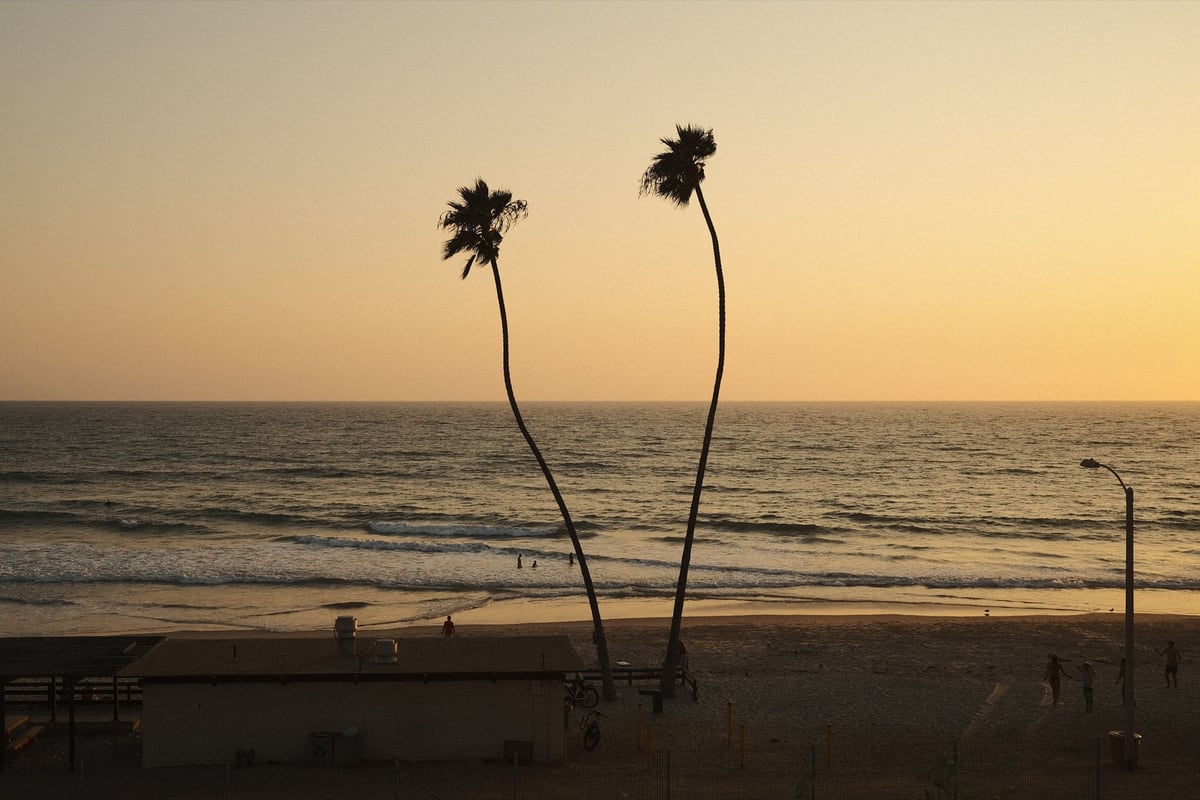
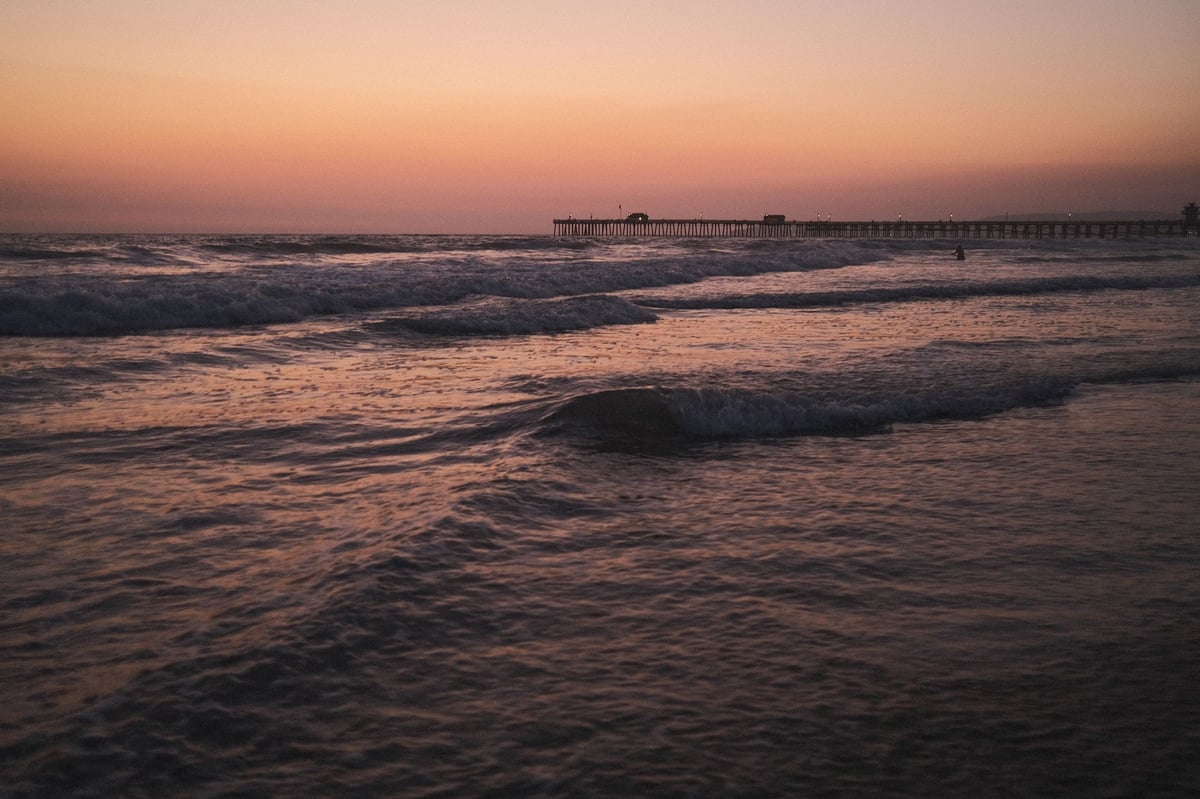
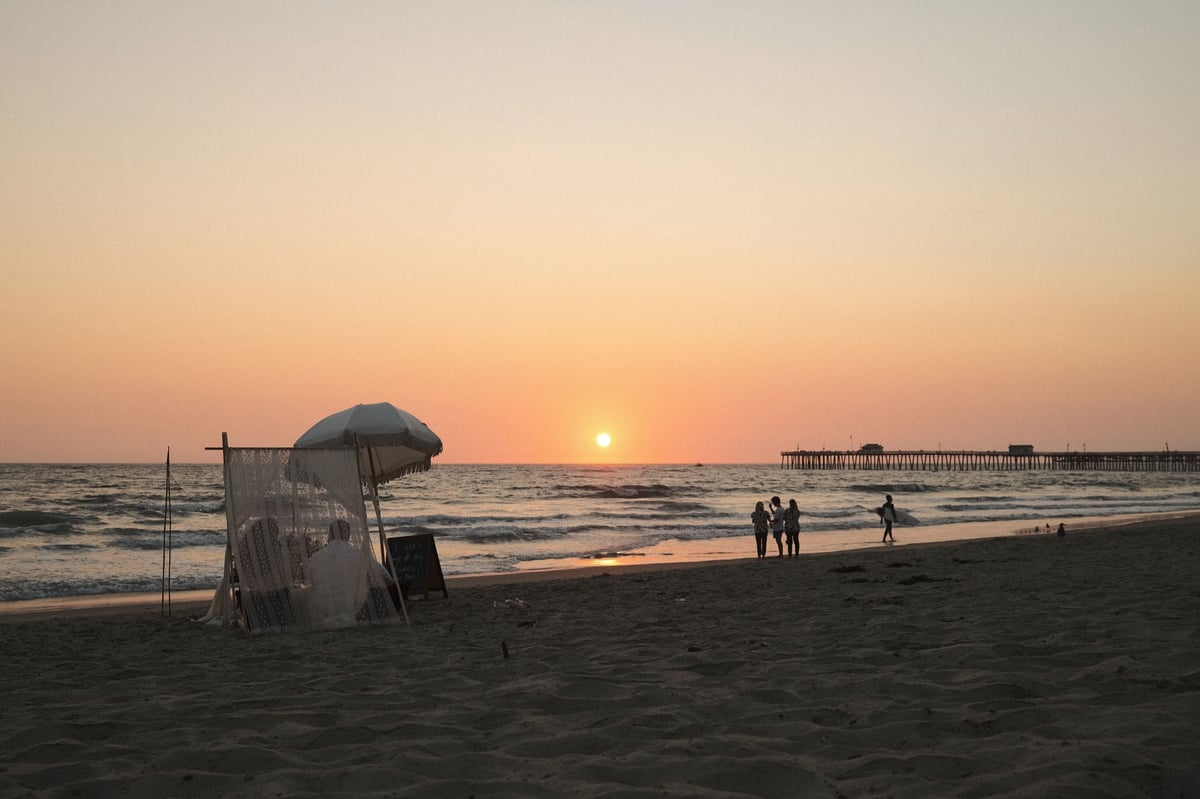
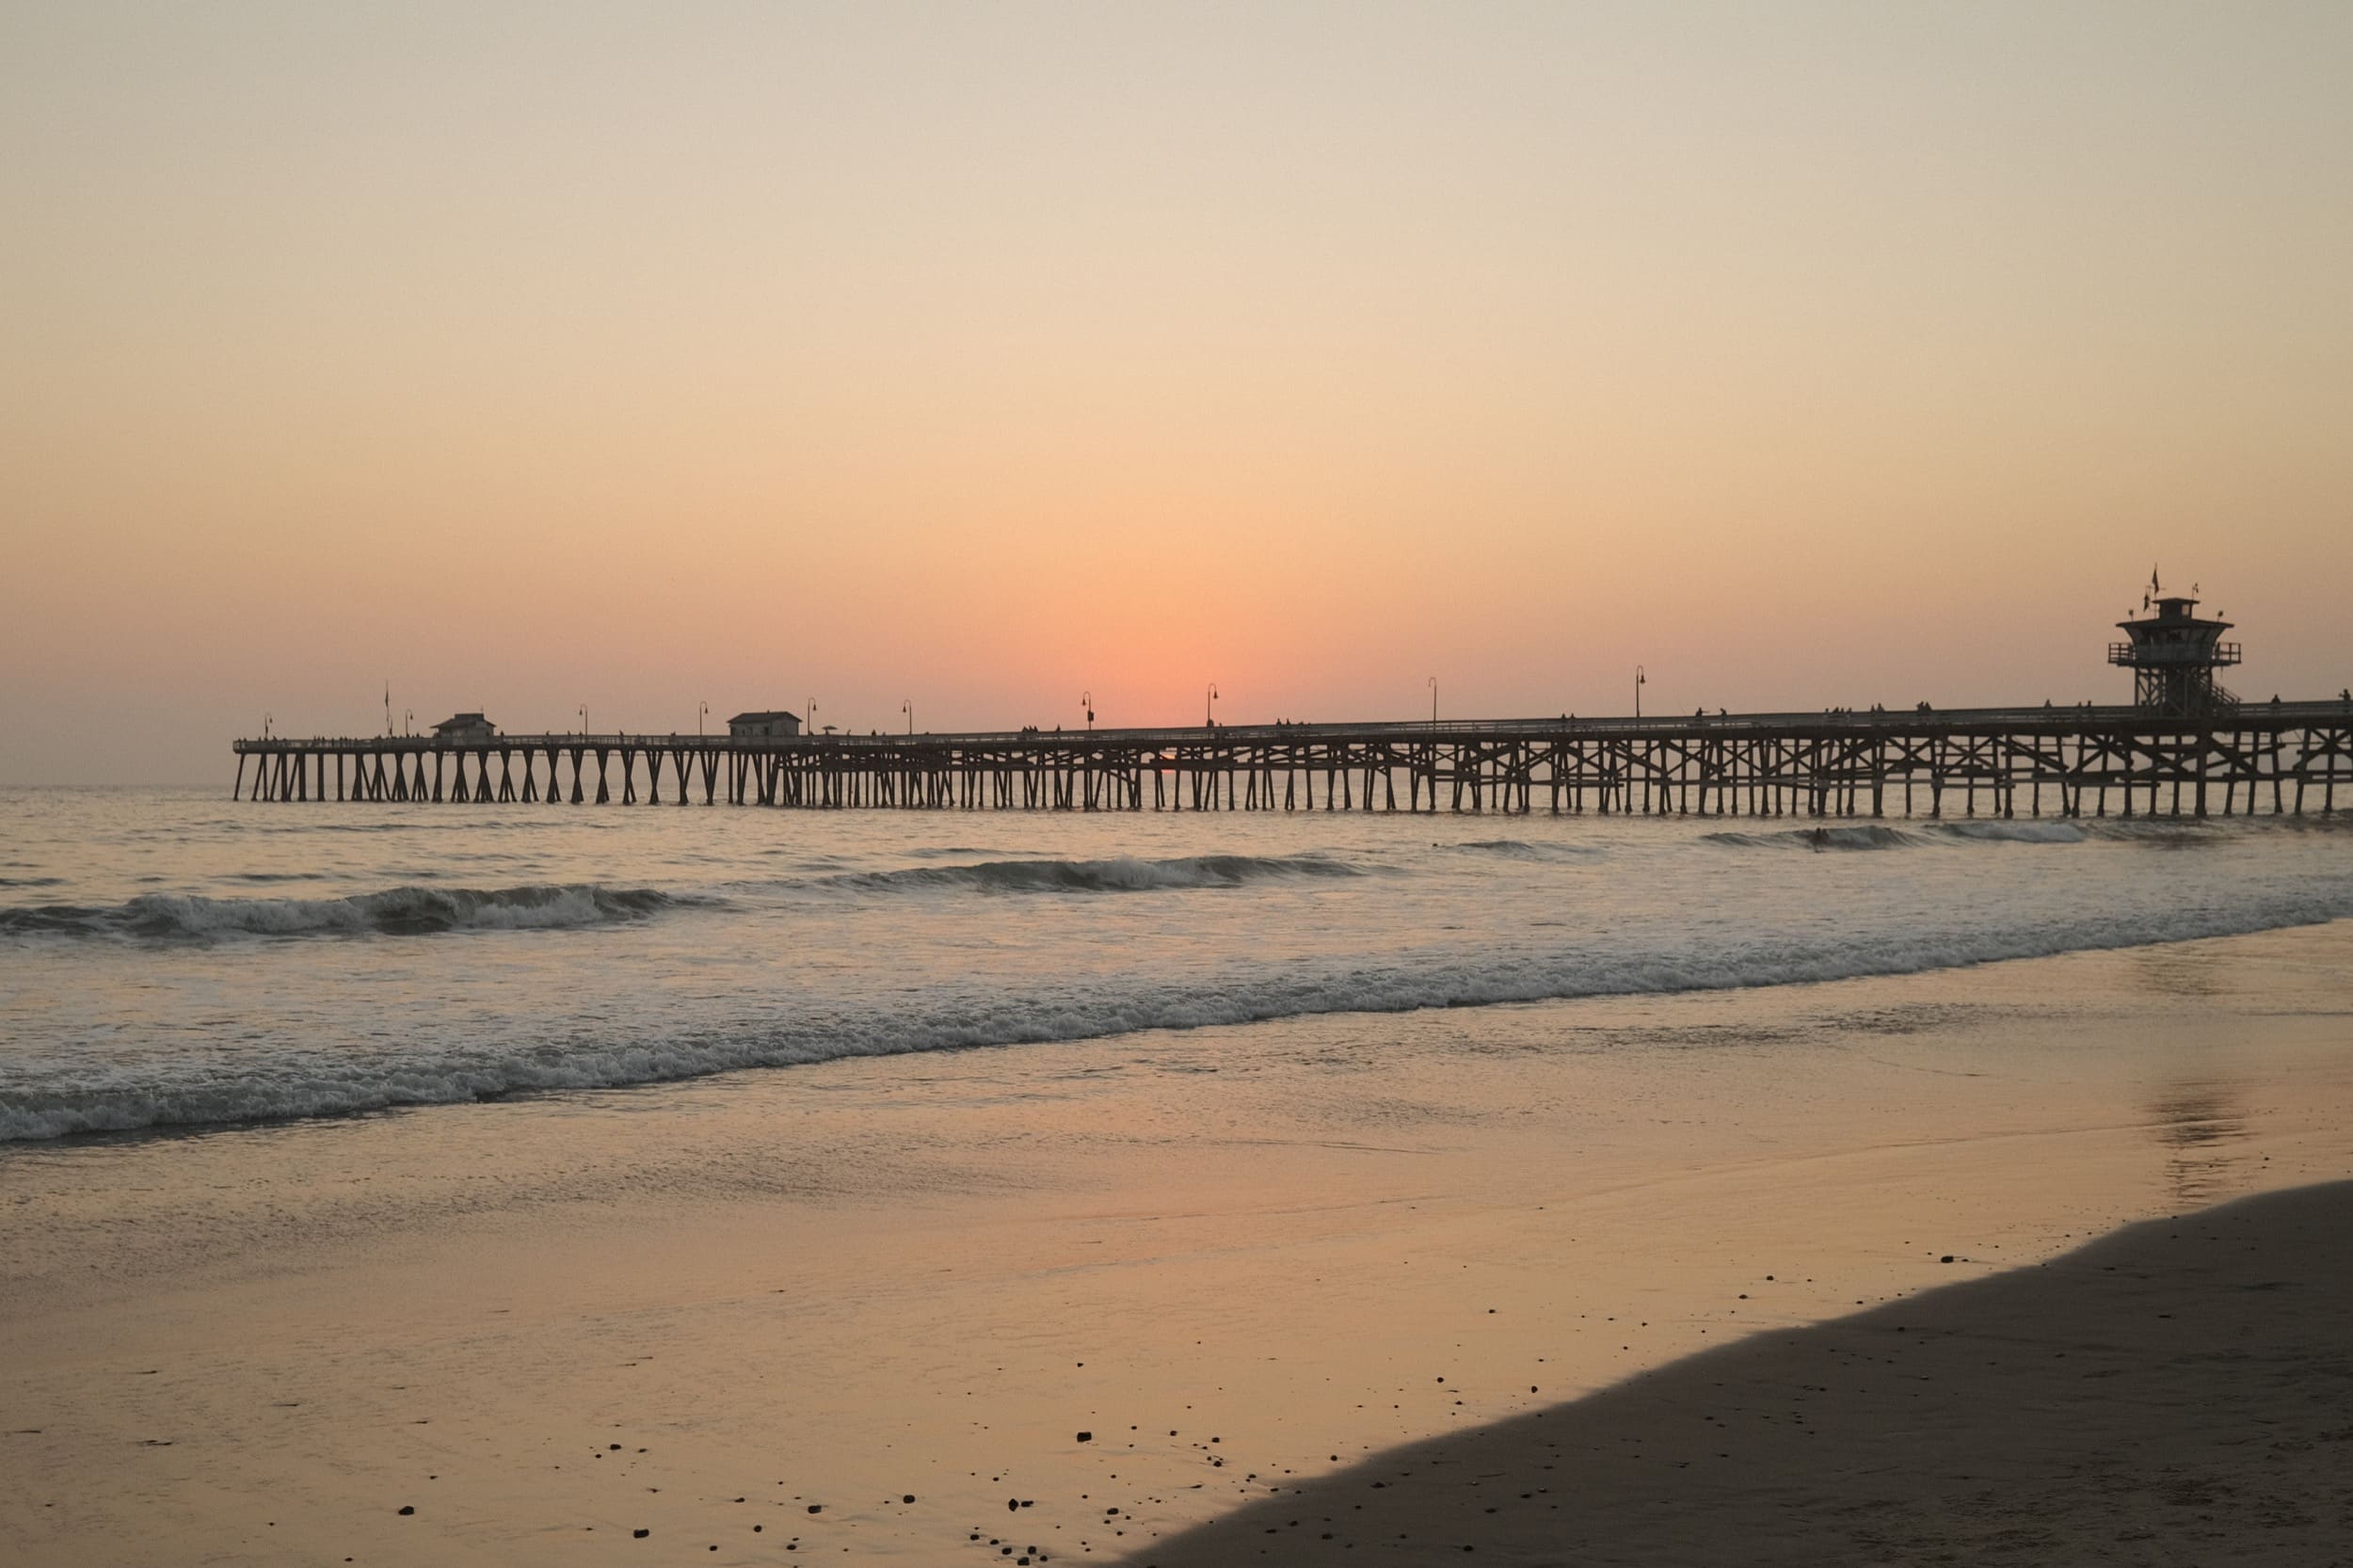
This look does come in a little on the orange side, but you can also turn the WB shit to be a bit more teal and it also works for a cooler look. Try a WB shift of R-3, B+2 for cooler landscapes.

Using ETERNA With The On-Camera Flash
I’ve been on a quest for weeks to find a look that works really well indoors with crappy lighting and I think this is it. But, it’s even better if you use the flash.
Here is how to get the best performance from your flash.
Set the flash up to TTL with a -2 Compensation, and set your Exposure compensation down to 0. This lets you shoot with your flash subjects that are fairly close without blowing things out.
You can, and maybe should use that little flash that came with your X-T3 or X-T4 as well, it helps a lot when shooting indoors on low power.


Leave a Reply